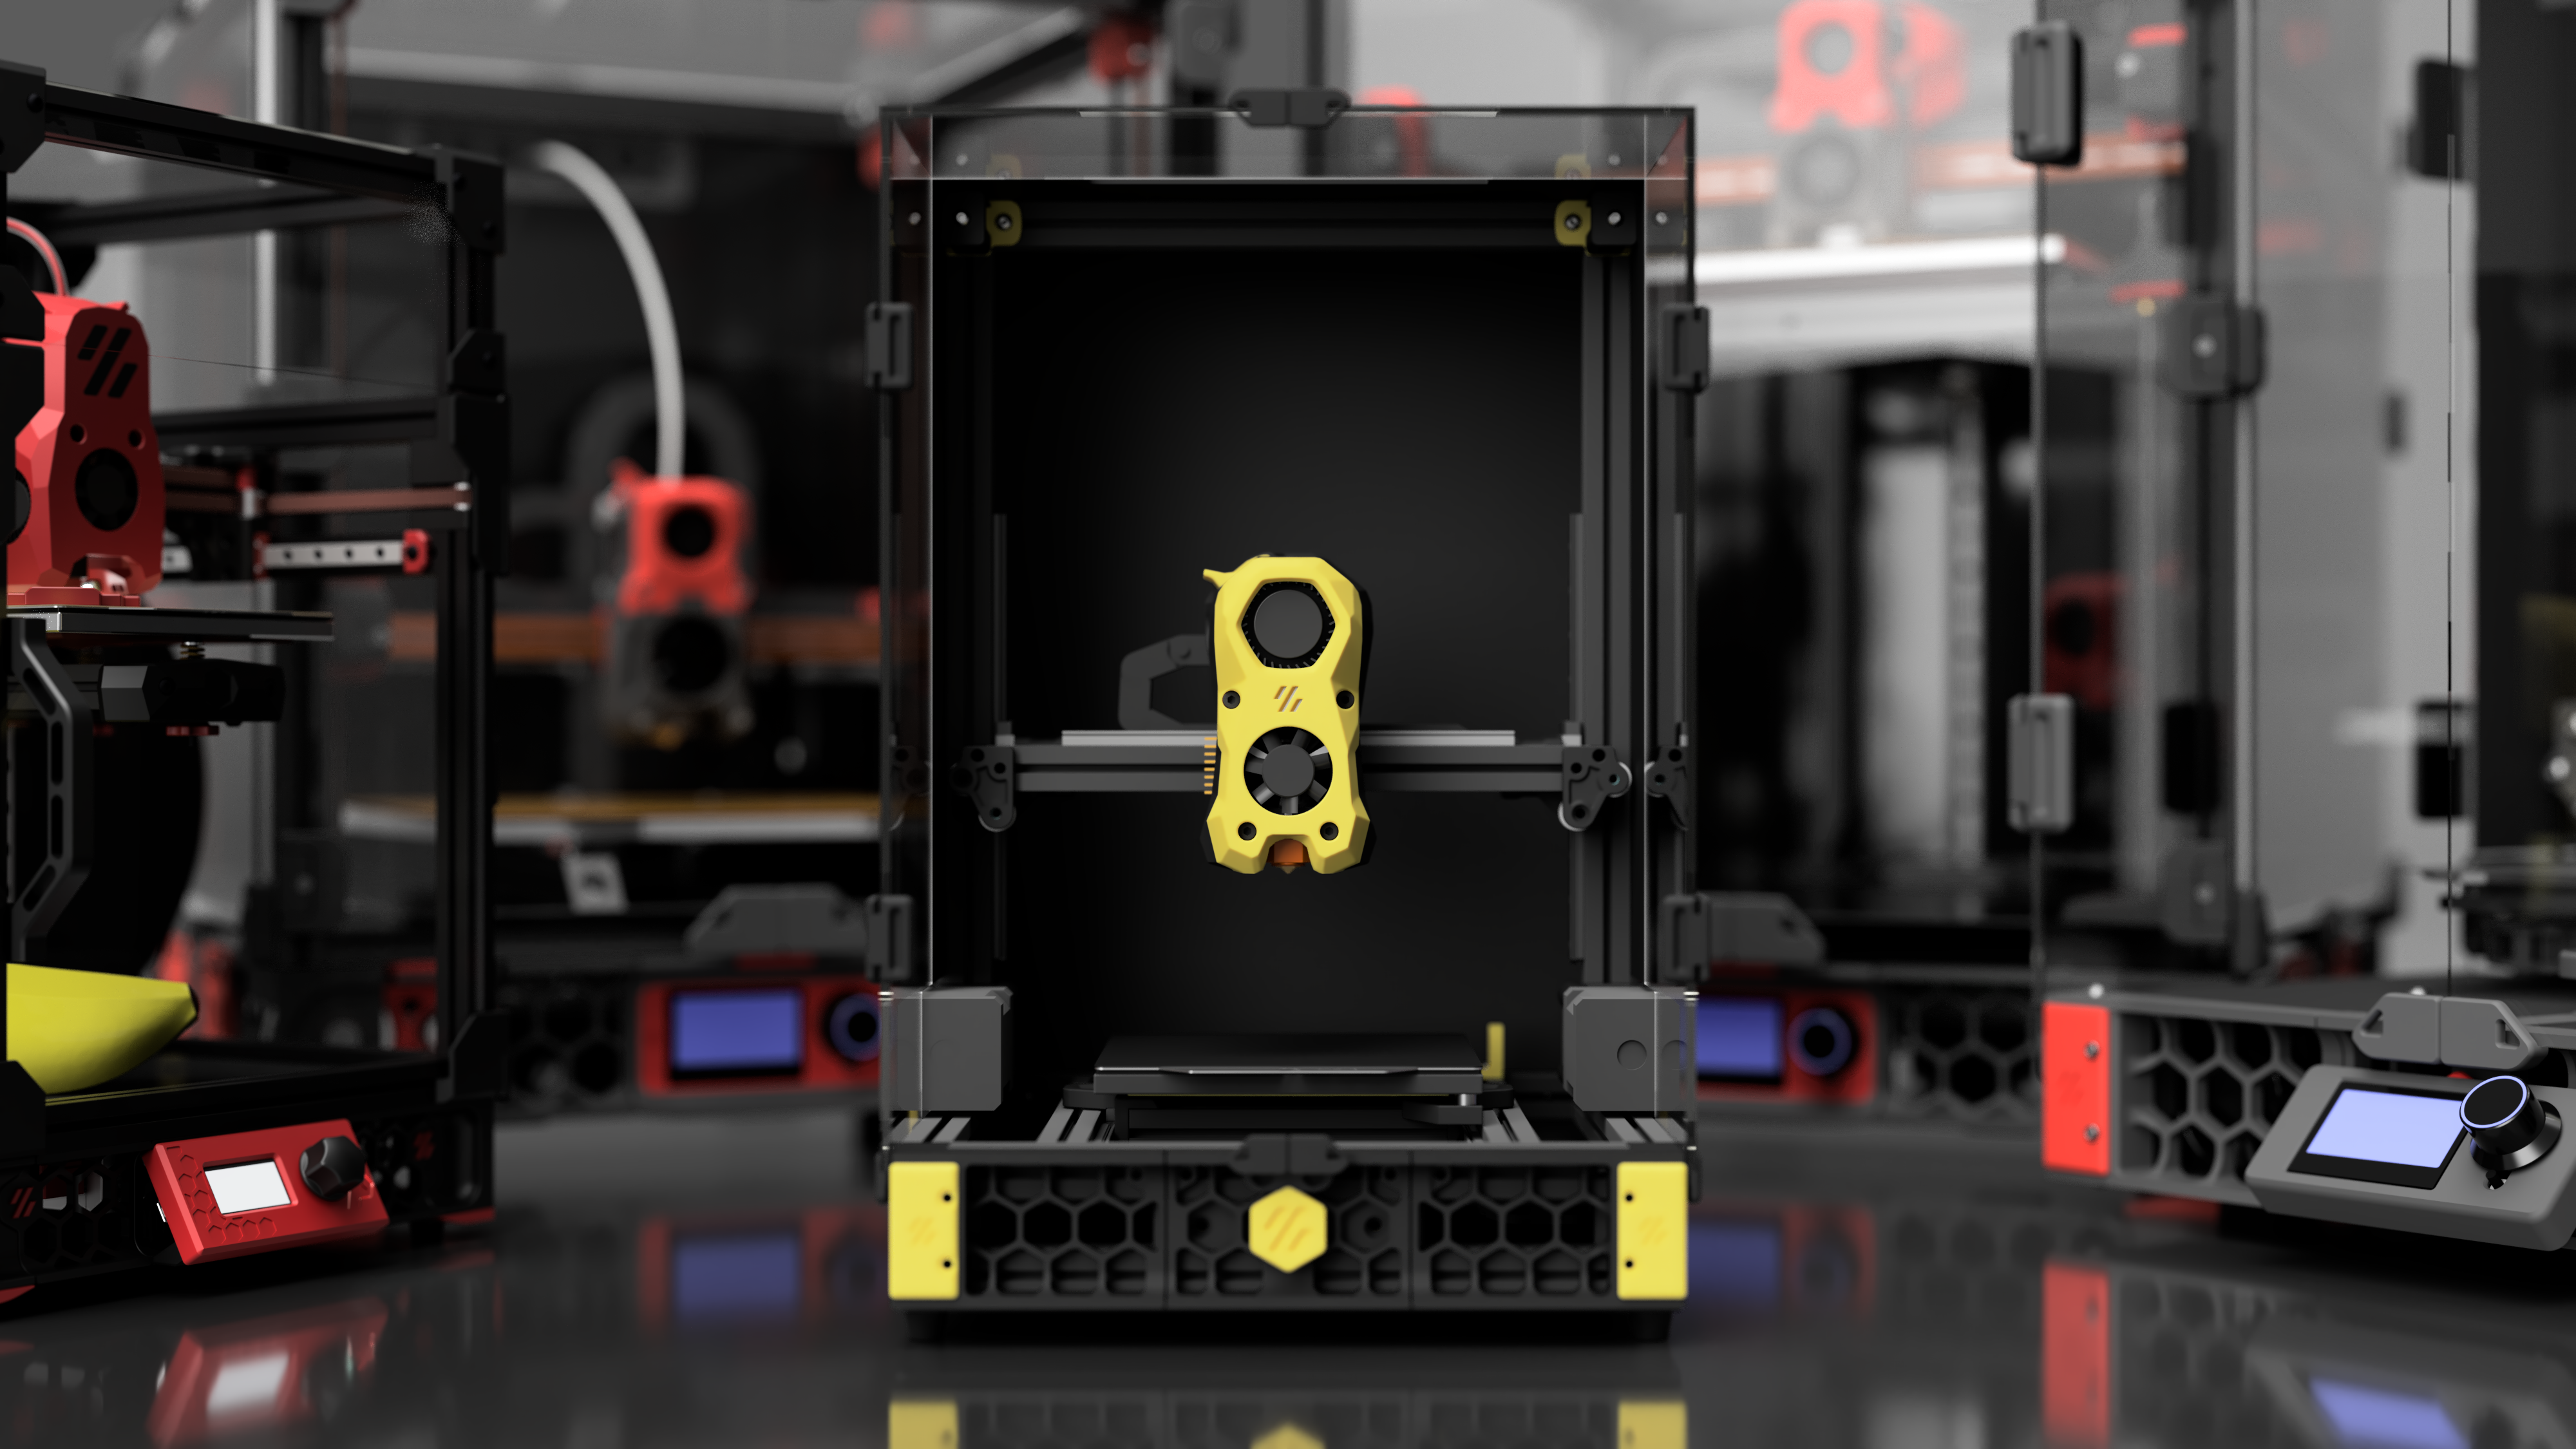
The SwitchThread is a smol version of the Voron Switchwire. The goal of this project was/is to keep it in the rules of the Printer for Ants - this means 1515 extrusions, a 120mm³ build volume, MGN 7H on all axis, Mini Stealthburner and so on.
This is a very early work in progress. If you start building, you risk reprinting parts or spending money on hardware that will not be used in the final design. Please take a look at the SwitchThread channel on the Doomcube Discord.
The XZ gantry will be getting an update soon. I'm not a fan of the XZ tension mechanism, so I'll be customizing that part. So I would recommend waiting to print the XZ Gantry parts.
- The printer is based on the Voron Switchwire designed by the awesome Voron Team. Thanks for making this open source and allow fun projects like this!
- Also many thanks to the Printer for Ants Team and Doomcube members for giving me chance to participate to project.
- And very special thanks to Schlongky for pushing me to finally start this project. Thanks for SwitchThreads name, your ideas and all the help with sourcing parts. Also thanks to Oldcrazy and Kyle for jumping on this project even though the CAD wasn't even finished yet!
The SwitchThread is pretty much a V0 in a different shape, so with a V0 kit you will cover 99% of the parts you need. We're working on a more detailed BOM, but so far you should be fine with a few extra meters of belts and one or two extra pulleys (depending on the Y setup you want to use).
- GT2 Open Belt 6mm: V0 BOM calls for 3 Meters and I used exactly 3 Meters with dual Y, but then you shouldn't misscut
- F623-RS Bearing: V0 BOM calls for 24. You will need 22 with single Y and 28 with dual Y
- Frame: Setting a V0 Frame + a 100mm Tophat Kit as default you get everything you need to build the SwitchThread Frame. The SwitchThread has 300mm long Z extrusions, by deafult you're supposted to join a 200mm extrusion with a 100mm tophat extrusion (two times). Two more 100mm profiles are needed for the bed (so you need 4 100mm extrusions in total, 2 for the bed and 2 to raise z). This beeing said, the following scenarios are possible and should help you to understand what you need:
- V0 Frame + 100mm Tophat Kit: Join a 200mm extrusion with one of the 100mm tophat extrusions - works perfectly fine with a M3 threaded rod or a headless M3 screw (Take a look here)
- V0 Frame + new 300mm profile: Rather than joining two extrusions together you can also get a new 300mm z extrusion. Probably the easiest way, requires more parts and money though
- V0 Frame + a saw: If you only have a V0 Frame, you can use a saw to solve this. The SwitchThread will give you 1 spare 200mm profile - you can cut that in half to get the extra 100mm profile (remember you need 4 in total). I would use the cut profile on the bed, simply because it doesn't matter if your cut isn't 100% straight but it does for z.
- Boop: If you want to use Boop, the bed springs are a nogo, I will add a link to nylonspacers once Boop is confirmed.
I try to keep this short: You have to decide if you want to use a single or dual Y Motor setup and if you want to use Boop or not. Alternatively you can also use an ADXL Probe or any other bed probe - I also want to implement Klicky + Sexbolt to use the Automatic Z-Calibration macro - I assume we will need a longer x rail for that though, I can't tell right now.
The goal is to support Boop - a mini version of the Voron Tap. This hasnt been tested yet but I tried my best to make the Bed as rigid as possible - we will see if that works out. However the decision if you want to use Boop or not is important for the frame build. If you*re going to use boop, you can reuse the counterbore holes in the E-Extrusions of the V0 Frame. If you don't want to use Boop, you will have to drill your own holes.
Since we use a 120mm casted bed, there's quite some mass to move around. We had the idea to squeeze to Y motors in there to double the power. This means that you will need an extra Nema 14 stepper (not a driver, you can use the parallel z port on most Mobos) and some extra belts + bearings (see BOM section above). Also the LRS150 wouldn't fir under the printer - I will find a solution for that.
01.08.2023: XZ Update
- Fixed an issue with the belt path on the right idler
- Added Alternative XZ Tensioners, these will require some different hardware, main difference is a M3x40mm screw and a F623 bearing per side
28.07.2023: Initial Upload


