Malouf Electronics - ESP8266 Dev Board
The ultimate ESP8266 development board built by makers for makers.

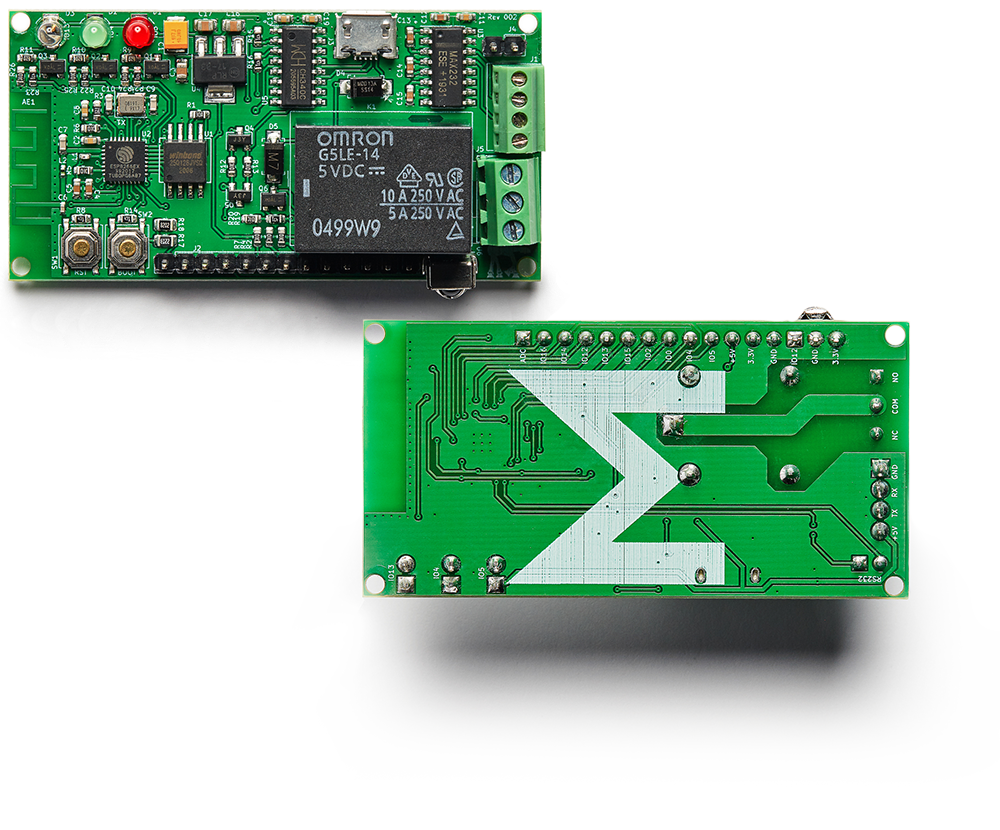
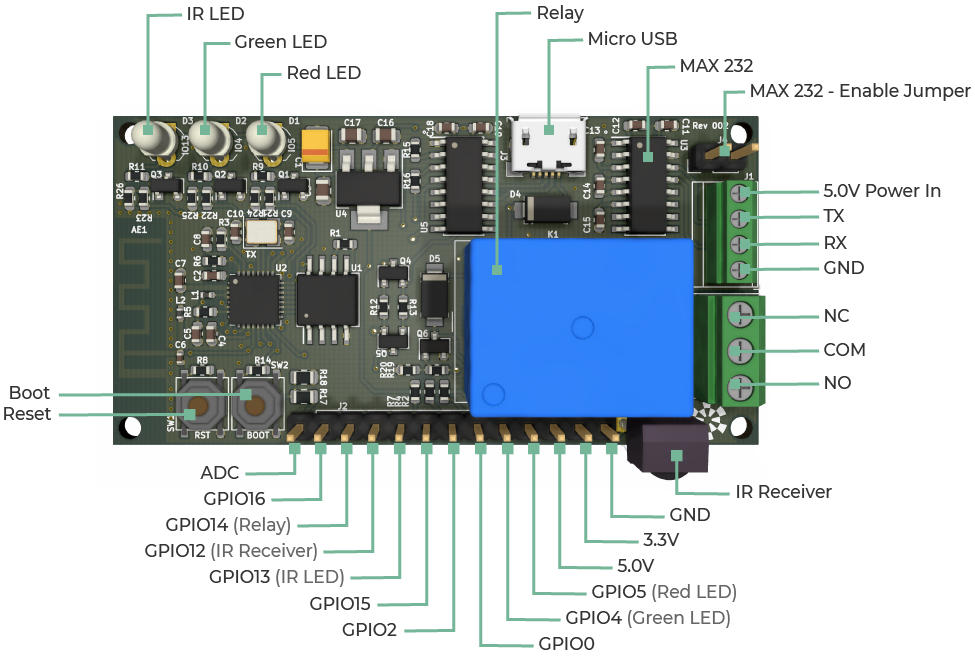
- 16 MB Flash
- 5V Relay
- RS232 interface
- IR Receiver
- IR LED
- Terminal Block for Power & RS232
- Terminal Block for Relay
- Easily accessible GPIO
- Micro USB (power & programming)
- Download Arduino IDE (https://www.arduino.cc/en/Main/Software)
- Setup ESP8266 support for Arduino IDE:
- Start Arduino and open Preferences window.
- Enter https://arduino.esp8266.com/stable/package_esp8266com_index.json into the Additional Board Manager URLs field.
- Open Boards Manager from the Tools > Board menu and find esp8266 platform.
- Select the version you need from the drop-down box.
- Click the Install button.
- Don't forget to select your ESP8266 board from the Tools > Board menu after installation.
- Select "Generic ESP8266 Module"
- Pick the following from the Tools menu:
- Upload Speed: 115200
- CPU Frequency: 80MHz
- Crystal Frequency: 26MHz
- Flash Size: 16MB
- Flash Mode: DOUT
- Flash Frequency: 40MHz
- Port: (the serial port of your USB cable)
- Paste the code below into a new sketch and upload to the board:
const int LED_RED = 5;

void setup() {
    pinMode(LED_RED, OUTPUT);     // setup red LED as output
}

void loop() {

    digitalWrite(LED_RED, LOW);   // turn the LED on
    delay(1000);                  // wait for a second

    digitalWrite(LED_RED, HIGH);  // turn the LED off
    delay(1000);                  // wait for a second

}
If all goes well the board will program and the red LED will start blinking.