Easy GNSS

Introduction
Easy GNSS is a Graphical User Interface (GUI) for low-cost GNSS using Raspberry Pi. It provides different types of GNSS processing using the Open Source library RTKLIB. It is based on RTKBase and on TouchRTKStation.
How to assemble Easy GNSS
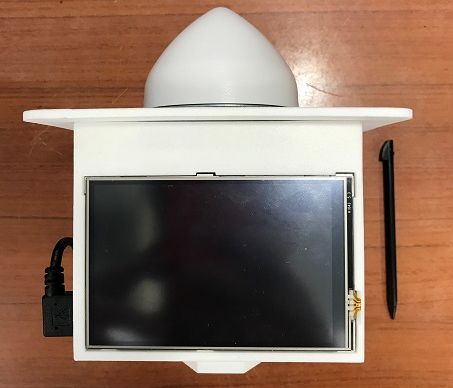
Parts

- Case: Create using 3D printer (STL data is here) or buy from Shapeways
- GNSS receiver: u-blox M8T CSG shop
- Mini-USB cable
- GNSS antenna: Tallysman TW3710 or TW3740 (GPS+GLO+BDS L1) Digi-Key(TW3710) or Digi-Key(TW3740)
- Raspberry Pi: https://www.raspberrypi.org/products/
- Micro SD card
- TNC(P)-SMA(J) connector
- SMA(P)-SMA(P) cable
- 4inch Screen: Waveshare 4inch RPi LCD Waveshare
- DC-DC converter: 7.4V to 5V Strawberry Linux, Amazon
- Micro-USB cable
- Battery holder: Lilliput Battery Plate for Sony Battery F-970 eBay, Amazon
- Battery: Sony NP-F550/F570 (2900mAh) or NP-F750/F770 (5000mAh) Amazon
- Ground plane
Steps
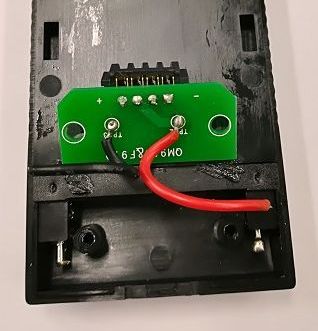
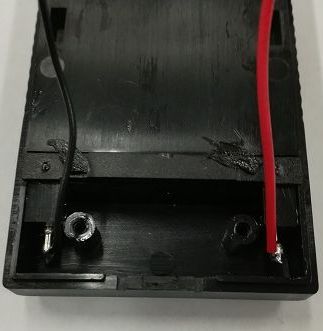
-
Modify the battery holder Open and directly connect to the DC-DC converter


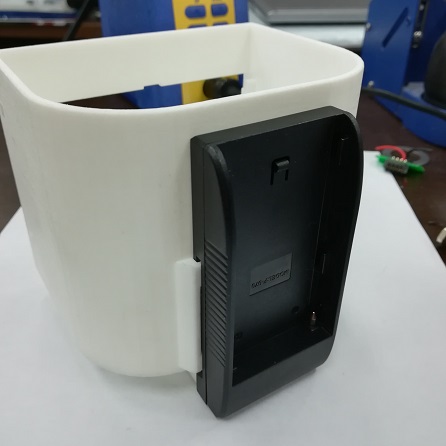
-
Mount the battery holder to the main case
-
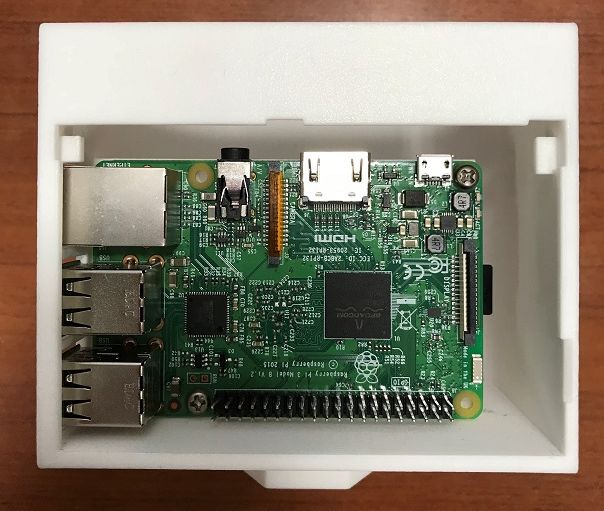
Mount the Raspberry Pi on the main case
-
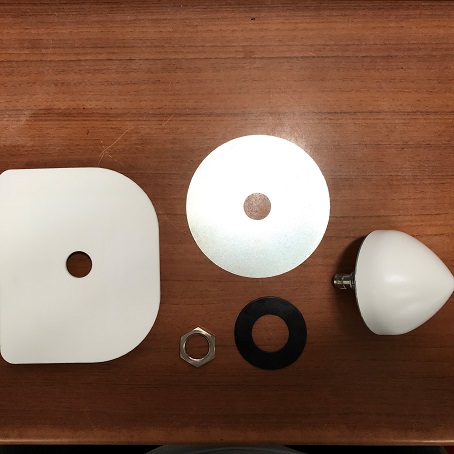
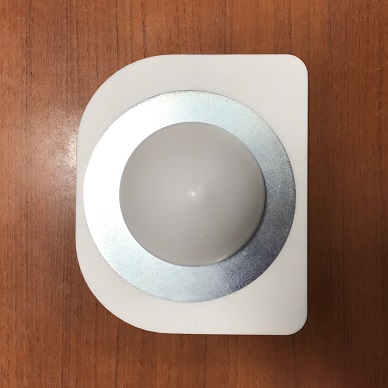
Mount the Tallysman GNSS antenna to the top plate
-
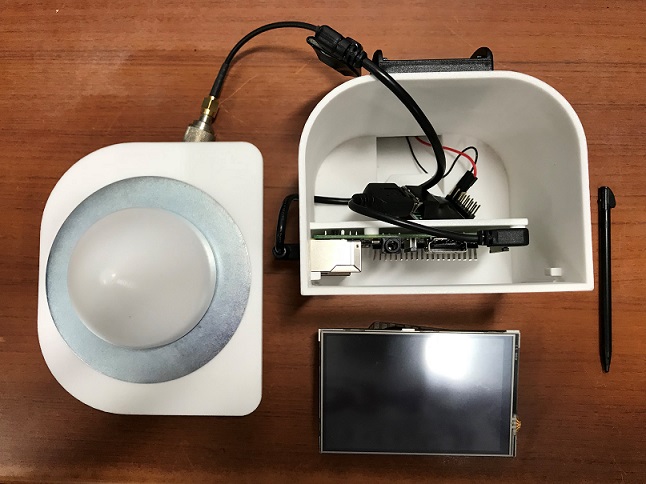
Connect the GNSS antenna cable to the GNSS receiver
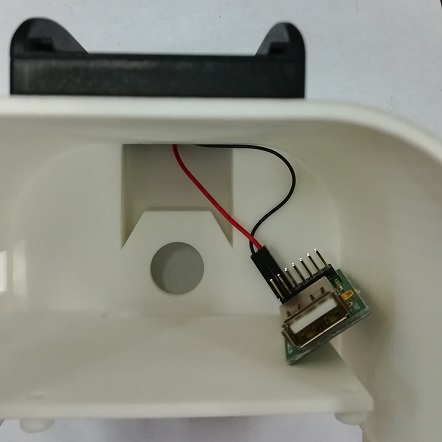
-
Connect the USB cables
-
Mount the touch screen and put the top plate to the main case


How to install Easy GNSS
Install Raspbian on the Raspberry Pi
See here
Install Easy GNSS on the Raspberry Pi
- Connect a keyboard and a mouse
- Connect the Raspberry Pi to the internet
- Open a terminal
- Download Easy GNSS
$ git clone https://github.com/NChebbah/EasyGNSS - Run install.sh
$ cd EasyGNSS/install
$ sudo sh install.sh - If you want to automatically start Easy GNSS, run autostart.sh
$ cd /home/pi/EasyGNSS/install
$ sudo sh autostart.sh
Connect the screen to the Raspberry Pi
- Go here
- Go in the README and find your screen
- Note the driver for your screen
- Open a terminal
- Launch the next command lines
$ cd /home/pi/EasyGNSS/LCD-show$ sudo ./your-driver
How to run Easy GNSS
`$ sudo python3 /home/pi/EasyGNSS/app/src/main.py`
How to use Easy GNSS
See the User Guide here
Based on the installation guide of TouchRTKStation.