

To begin with Jetson Nano 2GB, go to this link write image to the microSD card (Before write image to your SD card, make sure your JetPack version, notice that Jetson Nano only supports up to JetPack 4.6.3)
After inserting the microSD card, you can connect the power supply, which will automatically boot up the system.
When you boot the system for the first time, you'll be taken through some initial setup, including:
- Review and accept NVIDIA Jetson software EULA
- Select system language, keyboard layout, and time zone
- Create username, password, and computer name
- Log in
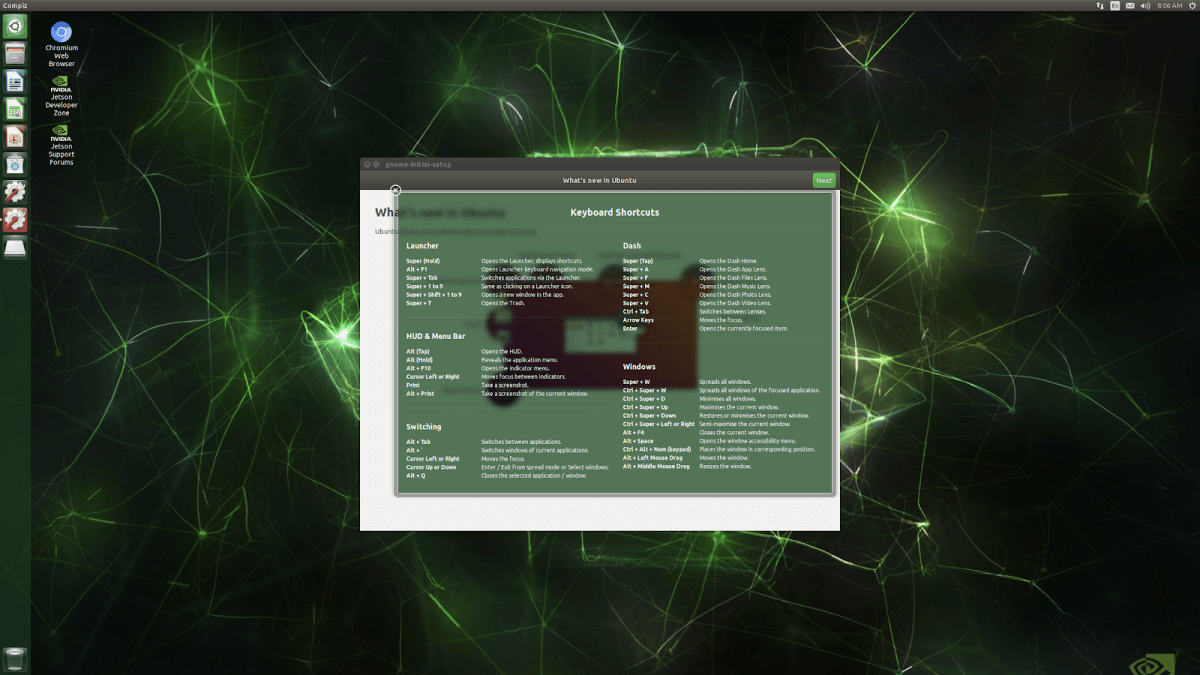
After the initial setup, you should see the following screen:
After successfully logging into the desktop, we recommend completing the following steps for later use:
git clone https://github.com/JetsonHacksNano/resizeSwapMemory
cd resizeSwapMemory
 ./setSwapMemorySize.sh -g 4
After executing the above command, you'll have to reboot the Jetson Nano for the changes to take effect.
Now that the Jetson Nano is ready to go, we will create a deep learning environment. We will start by installing all prerequisites and configuring a Python environment, and how to code remote using VSCode Remote SSH.
sudo apt-get update
sudo apt-get upgrade

sudo apt-get install git cmake python3-dev nano

sudo apt-get install libhdf5-serial-dev hdf5-tools libhdf5-dev zlib1g-dev zip libjpeg8-dev
Next, we will configure our Python environment. This includes downloading pip3 and virtualenv.
sudo apt-get install python3-pip
sudo pip3 install -U pip testresources setuptools
sudo pip install virtualenv virtualenvwrapper
To get virtualenv to work, we need to add the following lines to the ~/.bashrc file:
# virtualenv and virtualenvwrapper
export WORKON_HOME=$HOME/.virtualenvs
export VIRTUALENVWRAPPER_PYTHON=/usr/bin/python3
source /usr/local/bin/virtualenvwrapper.sh
To activate the changes, the following command must be executed:
source ~/.bashrc
Now we can create a virtual environment using the mkvirtualenv command.
mkvirtualenv ml -p python3
workon ml
If you are like me and hate writing long scripts in nano or vim, the VSCode remote development plugin is for you. It allows you to develop remotely inside VSCode by establishing an SSH remote connection. To use VSCode remote development, you'll first have to install the remote development plugin. After that, you need to create an SSH-Key on your local machine and then copy it over to the Jetson Nano.
# Create Key
ssh-keygen -t rsa
# Copy key to jetson nano
cat ~/.ssh/id_rsa.pub | ssh user@hostname 'cat >> .ssh/authorized_keys'
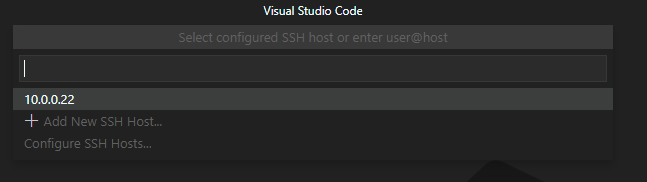
Now you only need to add the SSH Host. Ctrl + Shift + P -> Remote SSH: Connect to Host.

jetson-stats is a package for monitoring and control your NVIDIA Jetson [Orin, Xavier, Nano, TX] series.
jetson-stats is a powerful tool to analyze your board, you can use with a stand alone application with jtop or import in your python script, the main features are:
- Decode hardware, architecture, L4T and NVIDIA Jetpack
- Monitoring, CPU, GPU, Memory, Engines, fan
- Control NVP model, fan speed, jetson_clocks
- Importable in a python script
- Dockerizable in a container
- Do not need super user
- Tested on many different hardware configurations
- Works with all NVIDIA Jetpack
sudo pip3 install -U jetson-stats
Don't forget to logout/login or reboot your board
Start jtop it's pretty simple just write jtop!
jtop
Installing OpenCV on the Jetson Nano can be a bit more complicated, but frankly, JetsonHacks.com has a great guide, or see the tutorial from Q-engineering.
Since JetPack 4.6 has Python 3.6, you cannot install PyTorch 1.11.0 on a Jetson Nano.
Install torch-1.9.0:
# install the dependencies (if not already onboard)
sudo apt-get install python3-pip libjpeg-dev libopenblas-dev libopenmpi-dev libomp-dev
sudo -H pip3 install future
sudo pip3 install -U --user wheel mock pillow
sudo -H pip3 install testresources

# above 58.3.0 you get version issues
sudo -H pip3 install setuptools==58.3.0
sudo -H pip3 install Cython

# install gdown to download from Google drive
sudo -H pip3 install gdown

# download the wheel
gdown https://drive.google.com/uc?id=1wzIDZEJ9oo62_H2oL7fYTp5_-NffCXzt

# install PyTorch 1.9.0
sudo -H pip3 install torch-1.9.0a0+gitd69c22d-cp36-cp36m-linux_aarch64.whl

# clean up
rm torch-1.9.0a0+gitd69c22d-cp36-cp36m-linux_aarch64.whl
Install torchvision-0.10.0:
# Used with PyTorch 1.9.0
# the dependencies
sudo apt-get install libjpeg-dev zlib1g-dev libpython3-dev
sudo apt-get install libavcodec-dev libavformat-dev libswscale-dev

# download TorchVision 0.10.0
gdown https://drive.google.com/uc?id=1Q2NKBs2mqkk5puFmOX_pF40yp7t-eZ32

# install TorchVision 0.10.0
sudo -H pip3 install torchvision-0.10.0a0+300a8a4-cp36-cp36m-linux_aarch64.whl

# clean up
rm torchvision-0.10.0a0+300a8a4-cp36-cp36m-linux_aarch64.whl
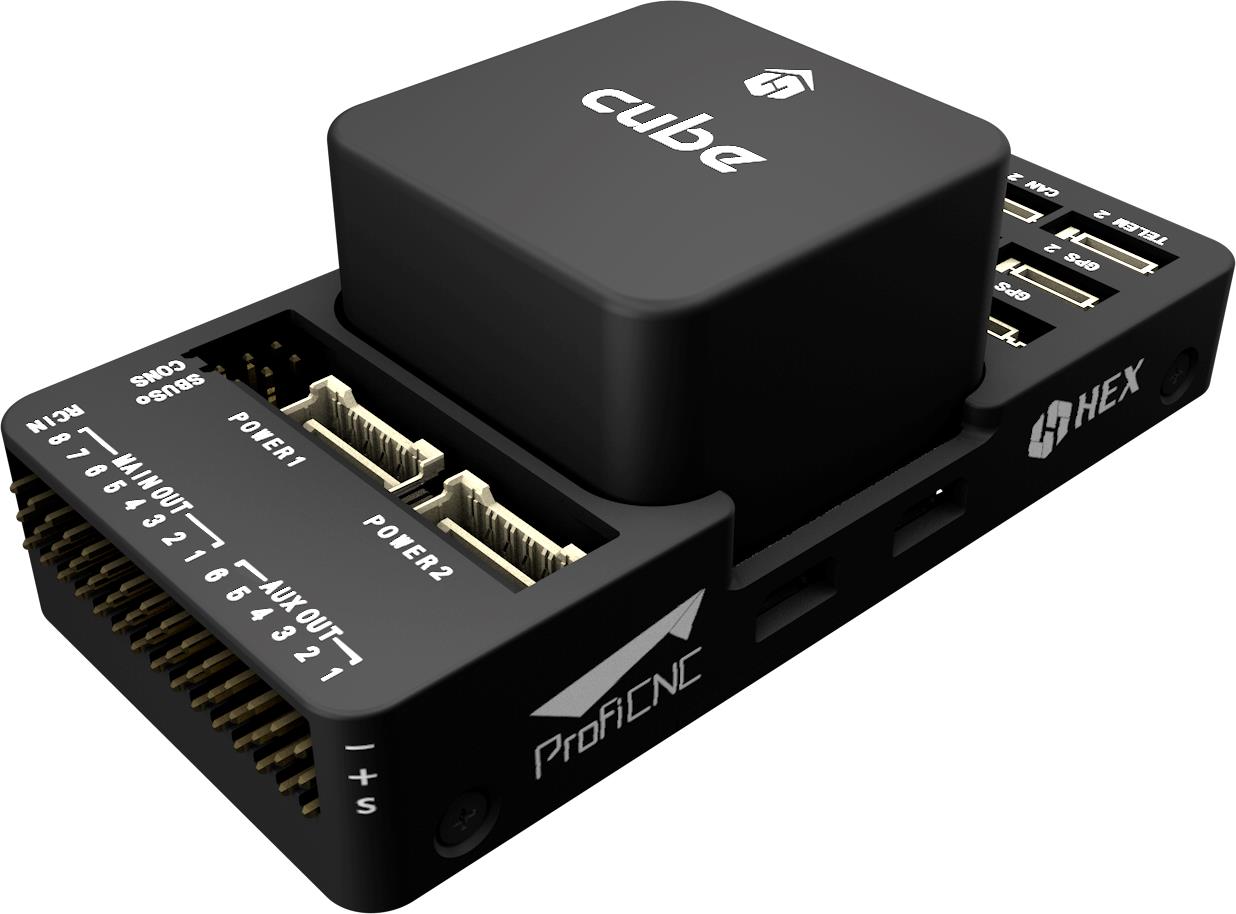
We are currently using QWinOut Q705 6-Aixs RC Drone from previous team's drone for this project, and using Cube Black flight controller for the drone.

We will using QWinOut J630 4-Aixs RC Drone for this project, but it's currently not working (Power distribution circuit board burned out), and the flight controller is based on APM2.8.


Download Mission Planner to connect to your APM2.8 Flight Controller, Cube Black Flight Controller or Pixhawk PX4 Flight Controller, then we need to install MAVProxy and DroneKit-Python on Jetson Nano, MAVProxy is a powerful command-line based “developer” ground station software, and DroneKit-Python allows you to simply control flight controller using the Python scripts.
This section will implemented using PyTorch and uses YOLOv5 and MiDaS models for object detection and depth estimation respectively.
- Python 3.x
- PyTorch
- OpenCV
- Clone this repository:
git clone https://github.com/ultralytics/yolov5 - Install the required packages:
pip install -r requirements.txt # install
- Connect your USB camera to the computer
- Determine the camera port number and modify it in the 11th line of the code, if necessary: cam_port = 0
- Run the script in the terminal:
python Identification/object_detection+depth_estimation.py
- The script will open the camera and start detecting objects and estimating their depths in real-time.

Press 'c' to exit the script and close the camera window.
This section contains Python scripts to control a drone using DroneKit and pymavlink libraries.
- A drone compatible with DroneKit and pymavlink libraries
- A flight controller connected to an embedded device
- Python 3.x installed on the device
- DroneKit and pymavlink libraries installed on the device
To test hovering in the air, run sudo python3 Drone Control/Hover_test2_successfully.py in a terminal window. This script will let the drone hover in the air about 1 foot for 1 second, then safely land on the ground.
Before running the script, make sure the flight controller is connected to the embedded device and check the port name. Modify the 6th line vehicle = connect('/dev/ttyACM0',wait_ready=True, baud=57600) accordingly, where /dev/ttyACM0 is your port name.
To interrupt the script and shutdown the drone, use ctrl + c.

To test movement, run sudo python3 Drone Control/Movement_test3_successfully.py in a terminal window. This script will let the drone hover in the air about 2 feet for 1 second, move forward with 1 ms about 1 foot, hover in the air about 1 second, and finally safely land on the ground.
Before running the script, check the connection and modify the port name if necessary.
To interrupt the script and shutdown the drone, use ctrl + c.

To test rotation, run sudo python3 Drone Control/Rotation_test2_successfully.py in a terminal window. This script will let the drone hover in the air about 1 foot for 1 second, rotate clockwise about 90 degrees, hover in the air about 1 second, and finally safely land on the ground.
Before running the script, check the connection and modify the port name if necessary.
To interrupt the script and shutdown the drone, use ctrl + c.

To test QR code tracking, run sudo python3 Drone Control/Hover_and_qr_code_tracking_successfully.py in a terminal window. This script will let the drone hover in the air about 1 foot, then open camera and start to detect QR code, if QR code on the right side of the drone, drone will rotate clockwise until QR code in the center, this script won't automatically land on the ground, you need to interrupt it using ctrl + c.
Before running the script, check the connection and modify the port name if necessary.
To interrupt the script and shutdown the drone, use ctrl + c.
![]()
Unable to complete this semester, we encountered problems with the Window OS version and incompatibility between AirSim and Unreal Engine versions.
Follow this tutorial: https://ardupilot.org/dev/docs/sitl-with-airsim.html
We use SIK radio connect Cube Black flight controller, and send flight controller's status to SIK radio receiver, receiver connect with Laptop, then we can check the real-time status using Mission Planner, as shown in following figure.


The link can be found here: https://wiki.ros.org/noetic/Installation/Ubuntu
Follow the steps to compelete the installation. Then, source the Installation by:
source /opt/ros/noetic/setup.bash
Clone the ROS workspace to local workspace:
cd ~
git clone https://github.com/Rice-MECE-Capstone-Projects/Autodrone.git
cp -a ~/Autodrone/Drone_Function/autodrone_folder/ROS_Drone/. ~/
Create and build a ROS workspace with you preferred name:
cd ~/autodrone_ws/
catkin_make
Wait for the make to complete.
Source the workspace. You have to do this everytime you open a new terminal, or add this line to .bashrc file to make it permanently effective.
source devel/setup.bash
To make sure your workspace is properly overlayed by the setup script, make sure ROS_PACKAGE_PATH environment variable includes the directory you're in.
echo $ROS_PACKAGE_PATH
/home/youruser/autodrone_ws/src:/opt/ros/kinetic/share
Before running or launching any files, run:
roscore
roscd
roslaunch camera_test camera_trackqr.launch
Check the port that device connected.
roscd
../dev_path.sh
sudo chmod 666 /dev/<port_name>
Launch the camera-LiDAR fusion
roslaunch fusion_sensor fusion.launch
This project is licensed under Electrical and Computer Engineering Department at Rice University