
Imagine how you might query GitHub's REST API to find a user's repositories, and the commit history for each one. First, you might GET /users/:username/repos to get a list of repositories, then for each repository, GET /repos/:owner/:repo/commits to get the commit history. Not only did this make n+1 API calls (where n is the number of repositories), it also returned WAY more data than we'd actually use.
GraphQL is an efficient, powerful alternative to the REST API spec. In contrast to a REST API, GraphQL APIs typically expose just one endpoint and allow the client to declare the fields of data it needs. In fact, using GitHub's GraphQL API, we can (and will!) accomplish the above in just ONE API CALL!, and only receive the data we want.
In this tutorial we will:
- check out GitHub's GraphQL API with their explorer
- build a pretty complex query, and play with some mutations that the GitHub API exposes to us
- wire up Apollo in a React application so that we can make GraphQL queries from the front end
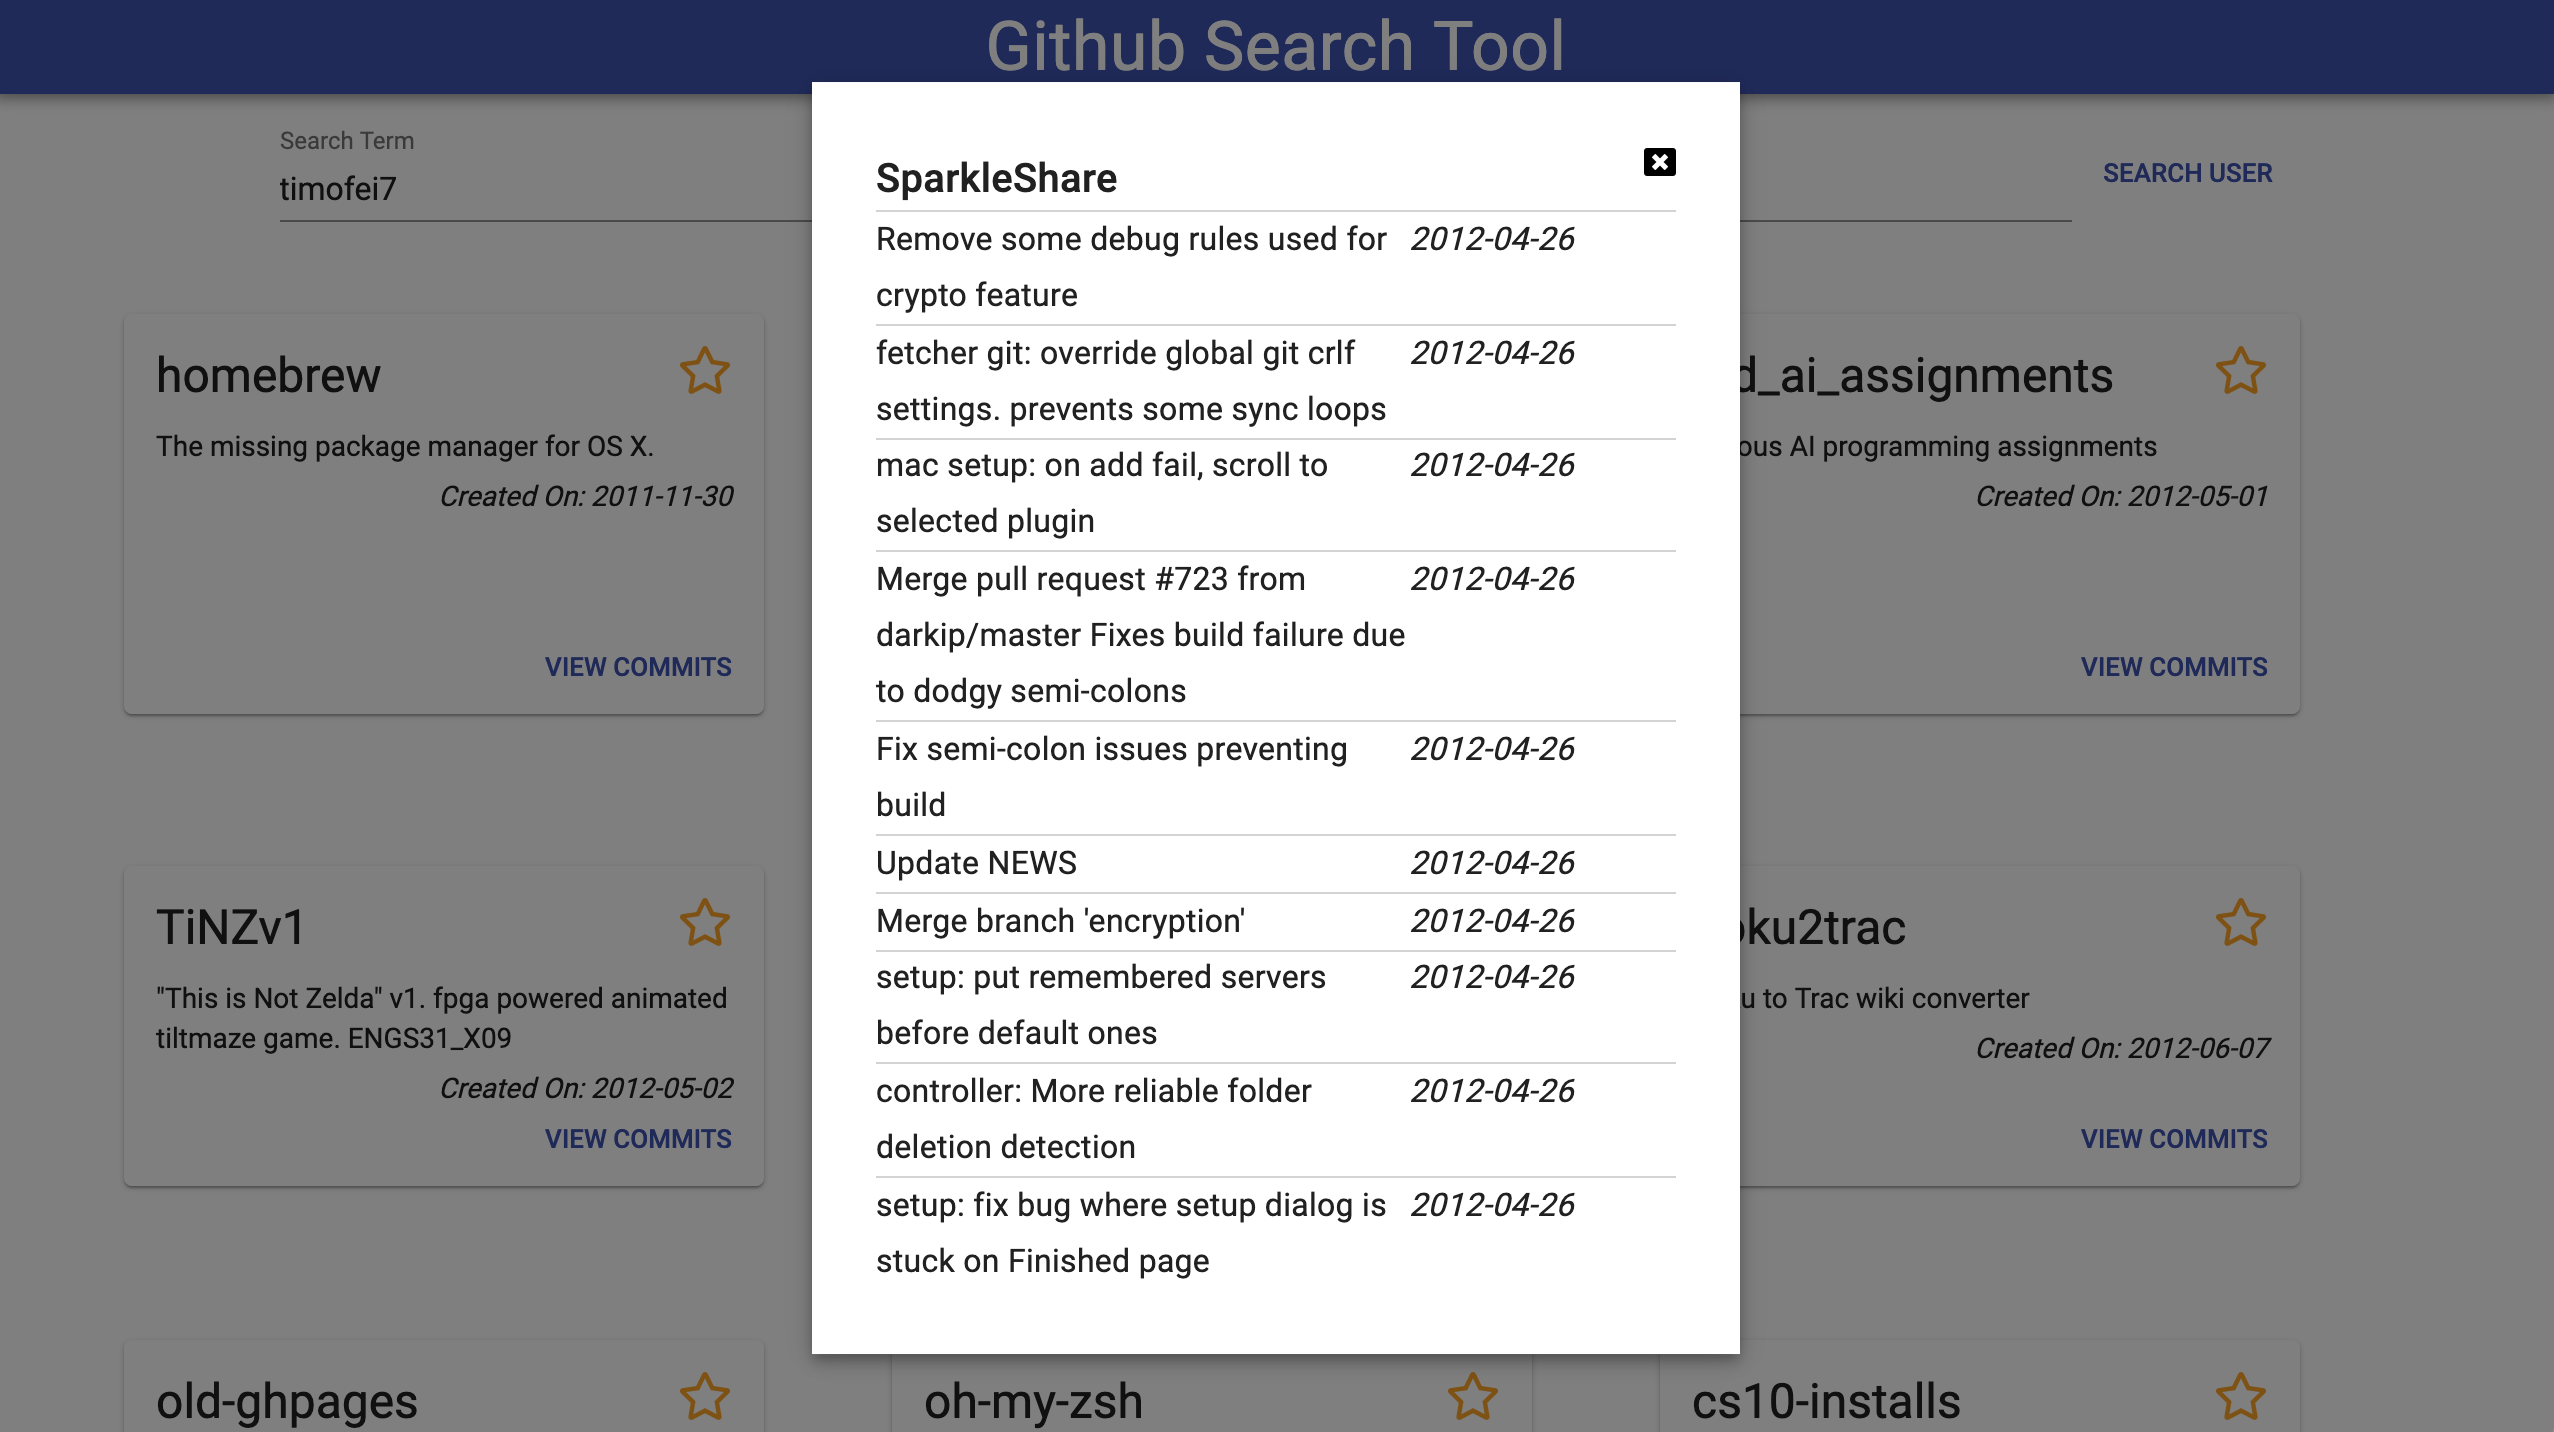
- incorporate the queries we built into a GitHub search tool React app!


git clone https://github.com/dartmouth-cs52-19S/workshop-graphql-workshop.gitcd workshop-graphql-workshopyarnyarn start- In your browser, head to GitHub to generate a personal access token, and paste it somewhere safe.
In this section, we'll explore the GitHub GraphQL API a bit. Then, we'll build a GraphQL query that, given a GitHub username, returns some information about that user's repositories.
First, head over to GitHub's API explorer (make sure you're logged into GitHub).
If it's your first time using the explorer, the editor should contain the following query to show your username. If not, copy and paste this snippet into the API explorer's editor:
query {
 viewer {
   login
 }
}
Take a look at this little query. The keyword query is the intended operation, and means that we want to read some data. The keyword viewer acts as the root of our query (think of the root of a graph). Everything that follows (viewer and login) are called the payload of our query, and specify the exact fields of data we expect. Notice that the payload appears to be shaped like the keys of a JSON object!
Try it out by pressing
We'll use this interface to build and test our query and mutations before integrating them into our front end.
GraphQL supports introspection, meaning we can ask the API about the operations it supports.
Let's check out all of the types defined in the GitHub schema. Paste the following query into the API explorer and check out the result by pressing
query {
  __schema {
    types {
      name
      description
    }
  }
}
Cool! GitHub's GraphQL server just responded with an object containing all of its types -- from the more primitive Boolean to the full Repository type. Additionally you'll find some helper types, such as StargazerEdge (which represents a user that has starred a repo) and StarredRepositoryEdge (which represents a repo that has been starred).
Because we're building a query to look at repositories, let's further inspect the Repository type. Paste the following query into the API explorer.
query {
  __type(name: "Repository") {
    name
    kind
    description
    fields {
      name
    }
  }
}
Notice that we've passed an argument to the __type field (name: "Repository"). Fields can accept arguments that are specified in the schema. Let's see the result by pressing
Cool! Now you should see some more detailed information about the Repository type, including all of its fields. Feel free to explore a bit more through introspection (or the API docs), and when you're done and let's build our application's query!
We want to write a query that, given a GitHub username, returns a listing of some of their repositories along with some extra information (such as commit history).
With the REST version of GitHub's API, this would likely require hitting a few different endpoints a few different times (for example, fetching commit histories for each repository), and receiving extraneous data in each request. With GraphQL, we can get all of our data in one fetch, and only get the data we want!
We'll use GitHub's search field to accomplish this, because we want to list out all of the repos that match our criteria. search accepts a few arguments -- we'll be using first, type, and query, but you can check out the rest here.
first: returns the first n elements from the list.type: specifies thetypewe're looking for.query: specified the string we are searching for.
One thing to notice about the search field is that it returns a SearchResultItemConnection. We can explore this type using the following query to see what data we can extract.
Query:
query {
  __type(name: "SearchResultItemConnection") {
    name
    kind
    description
    fields {
      name
    }
  }
}
Result:
{
  "data": {
    "__type": {
      "name": "SearchResultItemConnection",
      "kind": "OBJECT",
      "description": "A list of results that matched against a search query.",
      "fields": [
        {
          "name": "codeCount"
        },
        {
          "name": "edges"
        },
        {
          "name": "issueCount"
        },
        {
          "name": "nodes"
        },
        {
          "name": "pageInfo"
        },
        {
          "name": "repositoryCount"
        },
        {
          "name": "userCount"
        },
        {
          "name": "wikiCount"
        }
      ]
    }
  }
}
There are a few things to note here:
- Notice that the
SearchResultItemConnectioncontainsedges. If we exploreedgesthrough the documentation or introspective query, we find that they containnodes, which are the items at the end of edges (in our case, aRepository). - The
searchquery resolves at runtime, so we need to use a special syntax called inline fragments to specify the type that we want to operate on.
We can start building our query with this information. To start, paste the following snippet into the API explorer (change the username first), and press
query {
  search(query: "YOUR_USERNAME", type: USER, first:1) {
    edges {
      node {
        ... on User {
          name
        }
      }
    }
  }
}
This simple query doesn't do much, but contains examples of the syntax we'll use in building out our query.
- On the second line, you'll see that we passed the three arguments to the
searchfield discussed earlier. - Next, you'll see that we are requesting the
edgesand thenodeswithin them. - Next, you'll see the inline fragment discussed earlier (
... on User), which specifies that the following payload items relate only toUsertypes returned in our search results. - Finally, we return the
nameassociated with theUser.
With a REST API, you might have to make a follow up request now that you've got the User. Not with GraphQL though, we can just include more nested fields!
Along with the name field, let's request the first 20 repositories that are returned from the search. Now you should have something like this:
query {
  search(query: "YOUR_USERNAME", type: USER, first:1) {
    edges {
      node {
        ... on User {
          name
          repositories(first: 20) {
            edges {
              node {
                name
              }
            }
          }
        }
      }
    }
  }
}
Press name of each repository, let's also ask GitHub for id, viewerHasStarred, createdAt, description, and url. Press
query {
  search(query: "YOUR_USERNAME", type: USER, first:1) {
    edges {
      node {
        ... on User {
          name
          repositories(first: 20) {
            edges {
              node {
                name
                id
                viewerHasStarred
                createdAt
                description
                url
              }
            }
          }
        }
      }
    }
  }
}
To further demonstrate the power of GraphQL, let's also ask for a brief commit history for the default branch of each of these repositories.
Underneath the rest of the data fields we're requesting about each repository, add the following commit history payload we just discussed:
defaultBranchRef {
  target {
    ... on Commit {
      history(first:10) {
        totalCount
        edges {
          node {
            ... on Commit {
              committedDate
              message
            }
          }
        }
      }
    }
  }
}
- Each
repositoryhas a field calleddefaultBranchRef, which is is a Git reference to the repository's default branch. - Each
defaultBranchRefhas atargetfield, which is the actual Git object the reference points to. - We can then use the inline fragment (
... on Commit) to specify that we are interested in those Git objects which areCommits. - Next, we request the
totalCountof commits, and for thefirst10 items in the commit history, request theircommittedDateandmessageby following the same nesting ofedgesandnodeswe used before.
Now that the query works for your username, let's get it ready for our app.
Make the following changes to your query's signature:
- name it (here it's
listRepos) - give it an argument called
$queryStringof typeString!(note the!means it's required). - pass the
$queryStringintosearchas thequeryargument.
query listRepos($queryString: String!) {
  search(query: $queryString, type: ...) {
    # rest of query
  }
}
Make sure it works by testing it out! In bottom of the API explorer, you can supply values for your query arguments like so: {"queryString": "USERNAME"}.
You built a pretty intense query in GraphQL that is much more efficient than it's REST counterpart would be.
At this point, your completed query should look something like this:
query listRepos($queryString:String!){
  search(query: $queryString, type: USER, first:1) {
    edges {
      node {
        ... on User {
          name
          repositories(first: 20) {
            edges {
              node {
                name
                id
                viewerHasStarred
                createdAt
                description
                url
                defaultBranchRef {
                  target {
                    ... on Commit {
                      history(first:10) {
                        totalCount
                        edges {
                          node {
                            ... on Commit {
                              committedDate
                              message
                            }
                          }
                        }
                      }
                    }
                  }
                }
              }
            }
          }
        }
      }
    }
  }
}
Copy and paste your query somewhere safe -- we'll be using it again soon.
In this section, we'll try out a few mutations GitHub exposes in their API, and get them ready to integrate into our app.
Before you delete your query from the explorer, copy down an id field so we can use them as arguments to the mutations. It might also help to open the repo in a browser window to see the effects.
The first mutation we'll explore is addStar -- it simply 'stars' a repository.
Along with changing some data on the server, GraphQL mutations can possibly return some nested data fields if we request them. In this example, we'll be able to return a boolean stating whether or not the user has 'starred' the repository.
Copy the following mutation into the API explorer and let's see if it works! (Note: you'll have to declare the id variable at the bottom of the explorer like we did earlier -- set this as the id to one of your repositories).
mutation addStar($id: ID!) {
  addStar(input: { starrableId:$id }) {
    starrable {
      viewerHasStarred
    }
  }
}
- On the first line, we declare our root operation to be a mutation that we name
addStar, accepting one required argument called$idof typeID. - Next, we call the
addStarmutation that GitHub exposes in their API, passing ouridargument as part of aninputobject containing astarrableId. - Finally, we request some information about the
starrableitself (a boolean value representing whether the user who made the mutation has 'starred' the repository). This returned value will be useful for giving the user some feedback on whether the mutation was successful within our app.
Try the mutation out by pressing
Copy and paste your mutation somewhere safe -- we'll be using it again soon.
The idea behind removeStar is the same -- copy the following into your explorer, and confirm that the query removes the star you added in the above section. (Make sure you've specified the query variable!).
mutation removeStar($id: ID!) {
  removeStar(input: { starrableId:$id }) {
    starrable {
      viewerHasStarred
    }
  }
}
Copy and paste your mutation somewhere safe -- we'll be using it again soon.
At this point, you've learned how to explore a GraphQL API through introspection, form some really efficient nested queries, and use a few simple mutations. Now, let's see how we can integrate what we just learned into our React application.
Now that we have our query and mutations built, we can integrate them into a React app. Before we start, make sure your development server is running (if not, do yarn start) and you can see the starter app in the browser.
In your terminal, yarn add graphql graphql-tag apollo-boost.
graphqlwill help parse our GraphQL queriesgraphql-tagallows us to use JS tagged template literals to parse GraphQL queriesapollo-boostis a library that allows us to easily use GraphQL data in our UI
Then, at the top of src/actions/index.js, import ApolloClient from 'apollo-boost and { GetRepos, AddStar, RemoveStar } from './operations.
Next, enter your GitHub API key (that you generated in the setup step) on line 13.
Beneath that paste the following snippet:
const client = new ApolloClient({
  uri: GITHUB_API,
  headers: { authorization: `bearer ${API_KEY}` },
});
What this does is initialize a new instance of Apollo Client with our credentials.
Next, paste the following snippet inside of the function returned from the fetchRepos function:
client.query({
  query: GetRepos,
  variables: {
    queryString: query,
  },
  fetchPolicy: 'no-cache',
})
  .then((response) => {
    const repos = response.data.search.edges[0].node.repositories.edges.map(repo => repo.node)
    dispatch({ type: ActionTypes.FETCH_REPOS, payload: repos });
  })
  .catch((error) => {
    dispatch({ type: ActionTypes.ERROR_SET, error });
  });
What this does is sends a query named GetRepos to GitHub's GraphQL server, then dispatches an action to our Redux store.
Next, paste the following snippet inside of the function returned from the addStar function:
client.mutate({
  mutation: AddStar,
  variables: {
    id: repoID,
  },
  fetchPolicy: 'no-cache',
})
  .then((res) => {
    dispatch(fetchRepos(searchTerm))
  })
  .catch((error) => {
    dispatch({ type: ActionTypes.ERROR_SET, error });
  });
Similarly, this sends a mutation (called AddStar) to GitHub's GraphQL server, then dispatches an action to our Redux store.
Finally, copy the following snippet inside of the function returned from the removeStar function:
client.mutate({
  mutation: RemoveStar,
  variables: {
    id: repoID,
  },
  fetchPolicy: 'no-cache',
})
  .then((response) => {
    dispatch(fetchRepos(searchTerm));
  })
  .catch((error) => {
    dispatch({ type: ActionTypes.ERROR_SET, error });
  });
Similarly, this sends a mutation (called RemoveStar) to GitHub's GraphQL server, then dispatches an action to our Redux store.
Now is the fun part! Paste your queries and mutations inside of the tagged template literals and your app works!
- How to explore a GraphQL API through introspection
- How to form GraphQL queries and mutations
- How to integrate Apollo to make use of GraphQL in your React apps
Please answer the following questions
- What aspects of GraphQL make well-formed queries more efficient than their REST counterparts?
- Are there any downsides to using a GraphQL API?