Agent-E is an agent based system that aims to automate actions on the user's computer. At the moment it focuses on automation within the browser. The system is based on on AutoGen agent framework.
This provides a natural language way to interacting with a web browser:
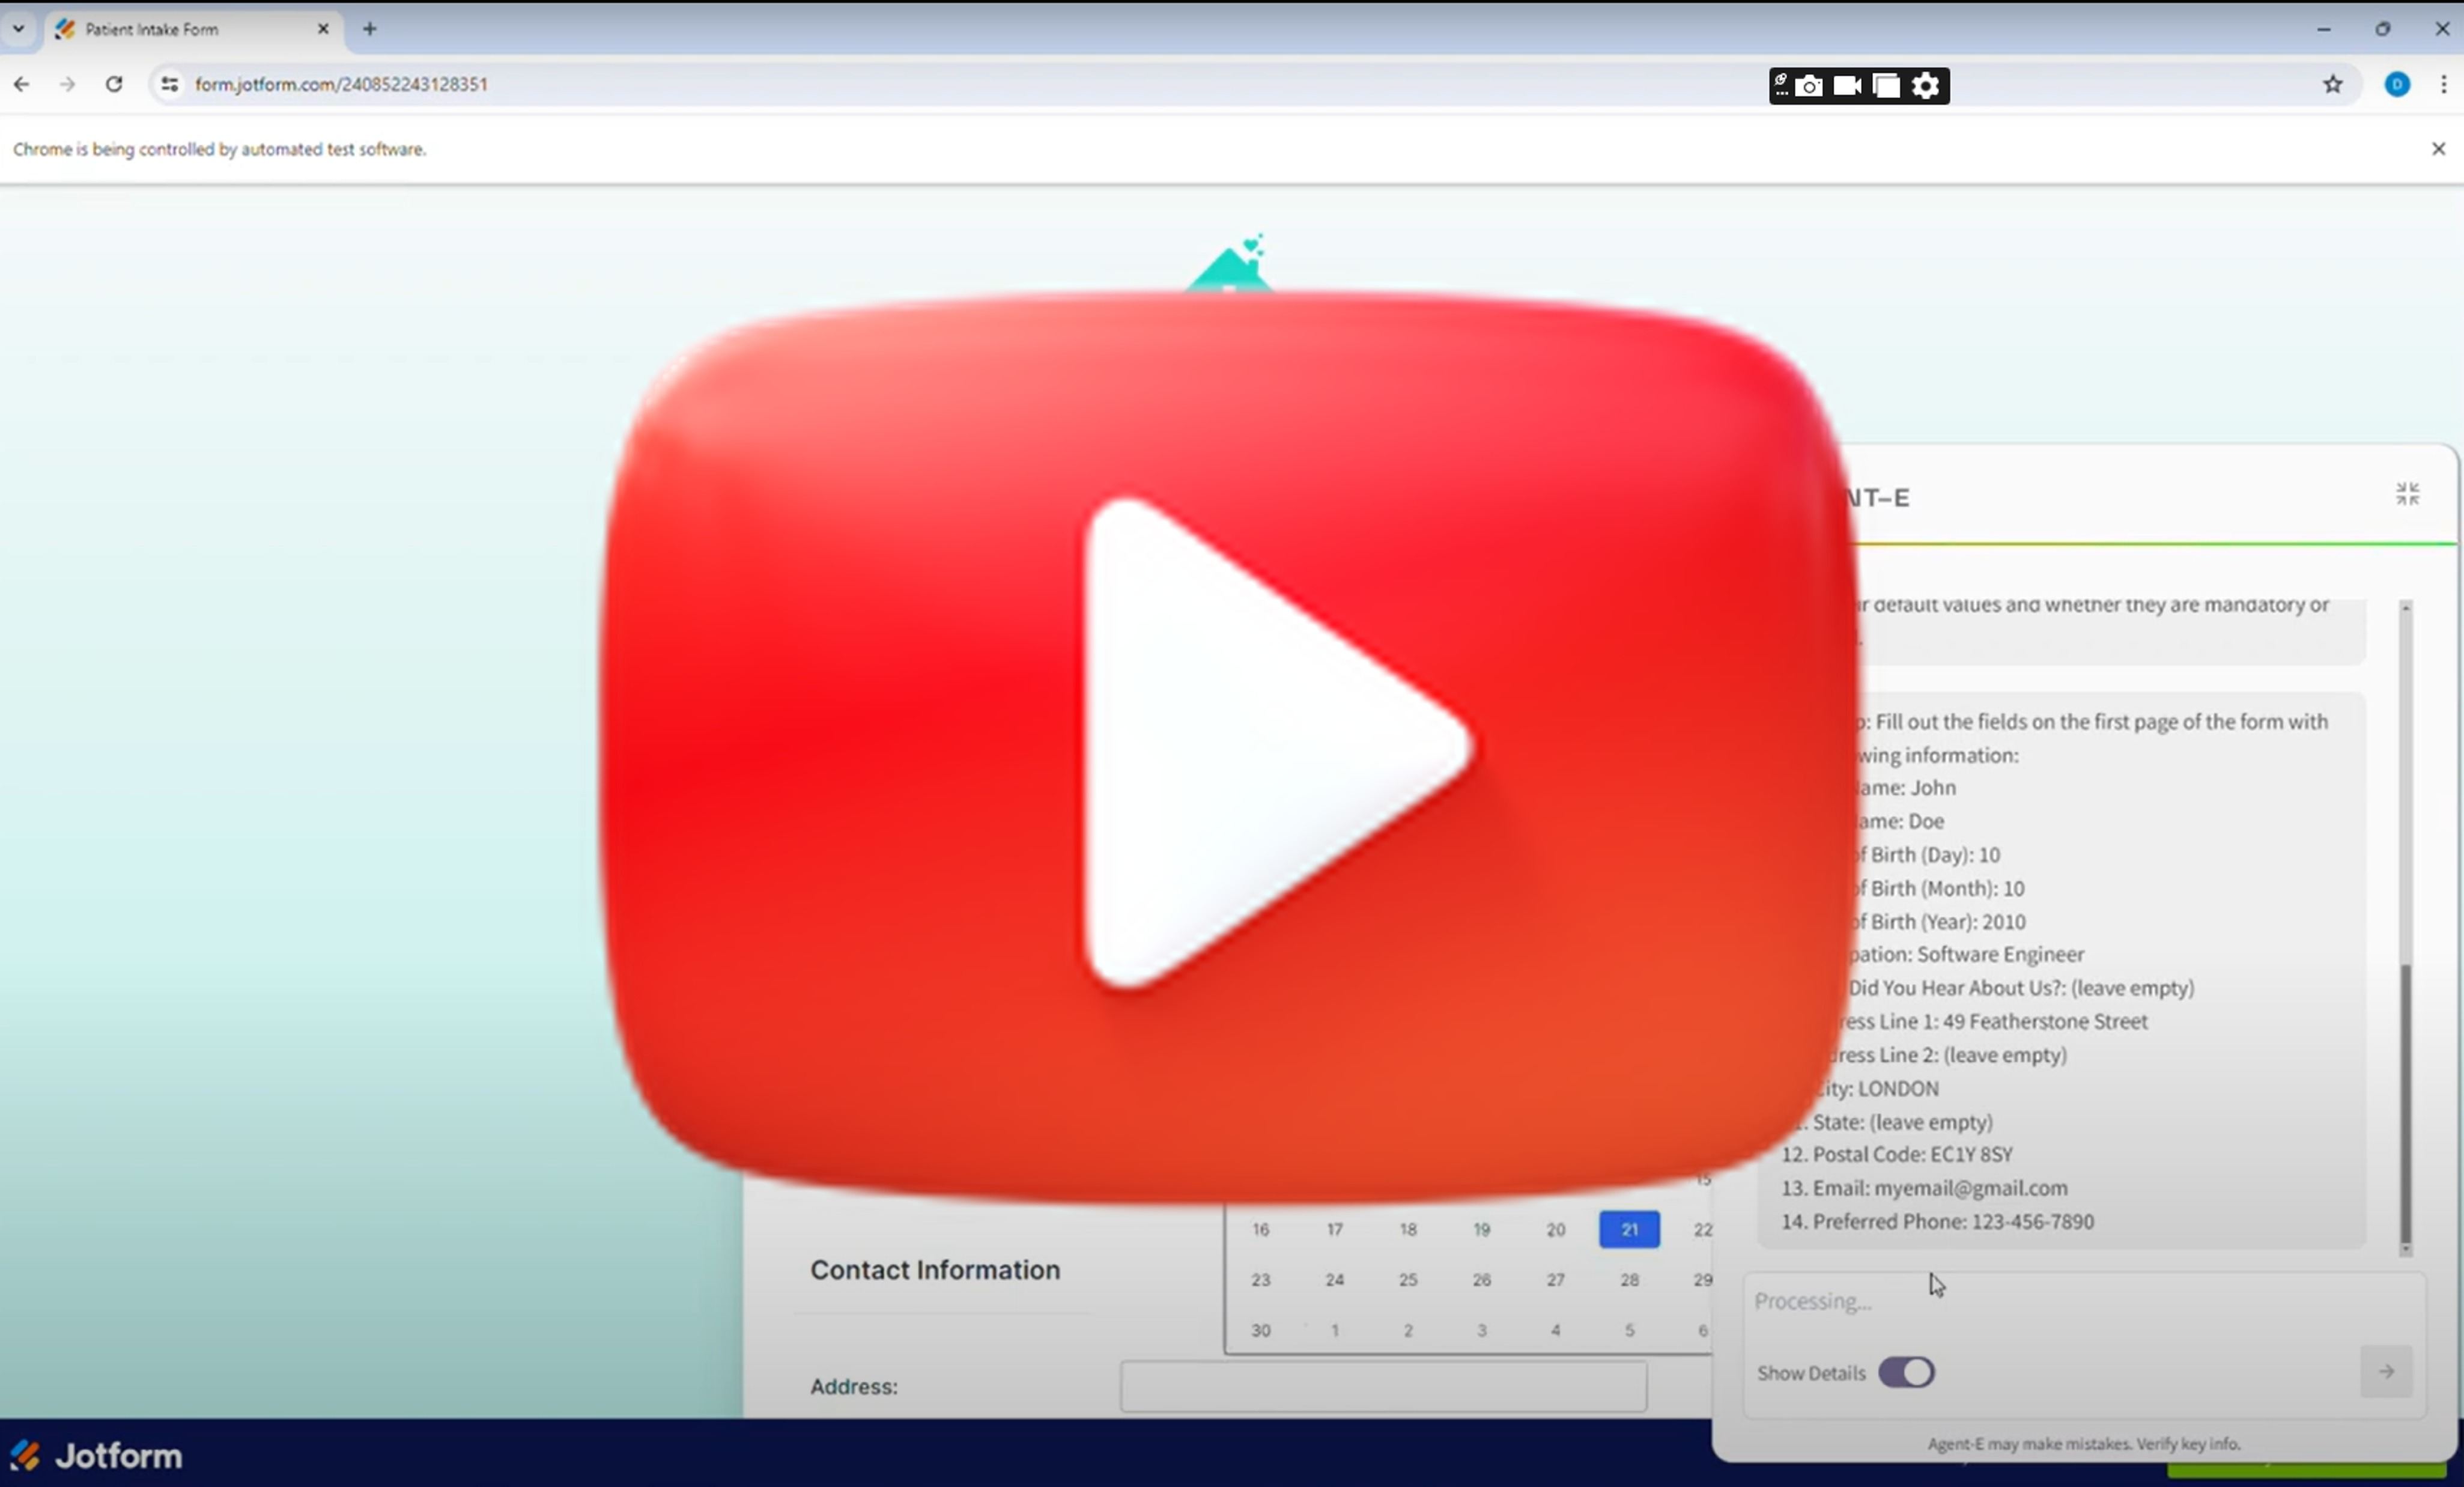
- Fill out forms (web forms not PDF yet) using information about you or from another site
- Search and sort products on e-commerce sites like Amazon based on various criteria, such as bestsellers or price.
- Locate specific content and details on websites, from sports scores on ESPN to contact information on university pages.
- Navigate to and interact with web-based media, including playing YouTube videos and managing playback settings like full-screen and mute.
- Perform comprehensive web searches to gather information on a wide array of topics, from historical sites to top local restaurants.
- Manage and automate tasks on project management platforms (like JIRA) by filtering issues, easing the workflow for users.
- Provide personal shopping assistance, suggesting products based on the user's needs, such as storage options for game cards.
While Agent-E is growing, it is already equipped to handle a versatile range of tasks, but the best task is the one that you come up with. So, take it for a spin and tell us what you were able to do with it. For more information see our blog article.
To get started with Agent-E, follow the steps below to install dependencies and configure your environment.
Agent-E uses uv to manage the Python virtual environment and package dependencies.
-
macOS/Linux:
curl -LsSf https://astral.sh/uv/install.sh | sh -
Windows:
powershell -c "irm https://astral.sh/uv/install.ps1 | iex" -
Alternatively, you can install
uvusingpip:pip install uv
Use uv to create and activate a virtual environment for the project.
uv venv --python 3.11  # 3.10+ should also work
source .venv/bin/activate # On Windows: .venv\Scripts\activateGenerate the requirements.txt file from the pyproject.toml and install dependencies.
uv pip compile pyproject.toml -o requirements.txt
uv pip install -r requirements.txt
To install extras for development, run:
uv pip install -r pyproject.toml --extra devIf you do not have Google Chrome installed locally and don’t want to install it, you can use Playwright for browser automation.
playwright installCreate a .env file by copying the provided example file.
cp .env-example .env- Edit the
.envfile and set the following variables:AUTOGEN_MODEL_NAME(e.g.,gpt-4-turbofor optimal performance).AUTOGEN_MODEL_API_KEYLLM API key.- If using a model other than OpenAI, configure
AUTOGEN_MODEL_BASE_URL(url where the completion endpoint is hosted, but don't put/completionin it),AUTOGEN_MODEL_API_TYPE, andAUTOGEN_MODEL_API_VERSION.
- Optionally configure
AUTOGEN_LLM_TEMPERATUREandAUTOGEN_LLM_TOP_P. - If you want to use local chrome browser over playwright browser, go to chrome://version/ in chrome, find the path to your profile and set
BROWSER_STORAGE_DIRto the path value
Agent-E relies on several environment variables for its configuration. You need to define these in a .env file in the project root. A sample .env-example file is provided for convenience.
-
AUTOGEN_MODEL_NAME
Name of the LLM model you want to use (e.g.,gpt-4-turbo). This is required for most setups. -
AUTOGEN_MODEL_API_KEY
Your API key for accessing the LLM model (e.g., OpenAI API key). -
AUTOGEN_MODEL_BASE_URL(optional)
Base URL for the model if it's hosted on a service other than OpenAI (e.g., Azure OpenAI services). Example:
https://api.groq.com/openai/v1
or
https://<YOUR_AZURE_ENDPOINT>.openai.azure.com -
AUTOGEN_MODEL_API_TYPE(optional)
Type of model API (e.g.,azurefor Azure-hosted models). -
AUTOGEN_MODEL_API_VERSION(optional)
Version of the model API to use, typically needed for Azure models (e.g.,2023-03-15-preview). -
AUTOGEN_LLM_TEMPERATURE(optional)
Sets the temperature for the LLM. Controls randomness in output. Defaults to0.0forgpt-*models. -
AUTOGEN_LLM_TOP_P(optional)
Sets the top-p value, which controls the diversity of token sampling. Defaults to0.001forgpt-*models. -
BROWSER_STORAGE_DIR(optional)
Path to your local Chrome browser profile, required if using a local Chrome instance instead of Playwright. -
SAVE_CHAT_LOGS_TO_FILE
Set totrueorfalse(Default:true). Indicates whether to save chat logs to a file or print them to stdout. -
LOG_MESSAGES_FORMAT
Set tojsonortext(Default:text). Specifies the format for logging messages. -
ADDITIONAL_SKILL_DIRS(optional) A comma-separated list of directories or.pyfiles where additional skills can be loaded from. This is used to dynamically load skills from specified directories or files. Example:ADDITIONAL_SKILL_DIRS="./private_skills,./extra_skills/my_custom_skill.py"would be added to the.envfile (or equivalent) -
PLANNER_USER_INPUT_SKILL_ENABLED(optional) Set totrueorfalse(Default:false). Specifies whether to allow the planner agent to get user input or not.
Once you have set up the environment and installed all the dependencies, you can run Agent-E using the following command:
python -m ae.mainIf you encounter BlockingIOError (Errno 35) when running the program on macOS, execute the following command to avoid the issue:
python -u -m ae.mainOnce Agent-E is running, you should see an icon in the browser interface. Clicking on this icon will open a chat-like interface where you can input natural language commands. Example commands you can try:
open youtube and search for funny cat videosfind iPhone 14 on Amazon and sort by best seller
Agent-E provides a FastAPI wrapper, allowing you to send commands via HTTP and receive streaming results. This feature is useful for programmatic task automation or integrating Agent-E into larger systems.
-
On Linux/macOS, run the following command:
uvicorn ae.server.api_routes:app --reload --loop asyncio
-
On Windows, run the same command but without
--reload(Python still has different async implementations across OSes, removing --reload helping finding a workaround, see this answer on StackOverflow):uvicorn ae.server.api_routes:app --loop asyncio
-
Send POST requests to execute tasks. For example, to execute a task using cURL:
curl --location 'http://127.0.0.1:8000/execute_task' \
--header 'Content-Type: application/json' \
--data '{
    "command": "go to espn, look for soccer news, report the names of the most recent soccer champs"
}'
Optionally, the API request can include an llm_config object if you want to apply a different configuration during API request execution. The llm_config object should have configuration seperately for planner_agent and browser_nav_agent. See agents_llm_config-example.json for an exmaple.
curl --location 'http://127.0.0.1:8000/execute_task' \
--header 'Content-Type: application/json' \
--data '{
    "command": "go to espn, look for soccer news, report the names of the most recent soccer champs",
    "llm_config":{"planner_agent":{...}, "browser_nav_agent":{...}}
}'Agent-E supports advanced LLM configurations using environment variables or JSON-based configuration files. This allows users to customize how the underlying model behaves, such as setting temperature, top-p, and model API base URLs.
To configure Agent-E using a JSON file, add the following to your .env file:
AGENTS_LLM_CONFIG_FILE=agents_llm_config.json
AGENTS_LLM_CONFIG_FILE_REF_KEY=openai_gpt
A sample JSON config file is provided in the project root: agents_llm_config-example.json.
If you do not set temperature, top_p, or seed in your .env file or JSON configuration, Agent-E will use the following default values:
- For
gpt-*models:"temperature": 0.0"top_p": 0.001"seed": 12345
- For other models:
"temperature": 0.1"top_p": 0.1
Agent-E supports the use of open-source models through LiteLLM and Ollama. This allows users to run language models locally on their machines, with LiteLLM translating OpenAI-format inputs to local models' endpoints.
-
Install LiteLLM:
pip install 'litellm[proxy]' -
Install Ollama:
- For Mac and Windows, download Ollama.
- For Linux:
curl -fsSL https://ollama.com/install.sh | sh
-
Pull Ollama Models: Before using a model, download it from the library. The list of available models is here. For example, to pull the Mistral v0.3 model:
ollama pull mistral:v0.3
-
Run LiteLLM: Start the LiteLLM proxy using the downloaded model:
litellm --model ollama_chat/mistral:v0.3
-
Configure Model in AutoGen: Modify your
.envfile as follows. No model name or API keys are required since the model is running locally.AUTOGEN_MODEL_NAME=NotRequired AUTOGEN_MODEL_API_KEY=NotRequired AUTOGEN_MODEL_BASE_URL=http://0.0.0.0:400
- Running local Large Language Models (LLMs) with Agent-E is possible, but has not been thoroughly tested. Use this feature with caution.
Below are some common issues you may encounter when setting up or running Agent-E, along with steps to resolve them.
If you encounter an issue where pip is not installed in the virtual environment after setup, follow these steps:
- Activate the virtual environment:
source .venv/bin/activate # On Windows: .venv\Scripts\activate
- Install
pip:
python -m ensurepip --upgrade- Deactivate the virtual environment:
deactivate- Reactivate the virtual environment:
source .venv/bin/activate # On Windows: .venv\Scripts\activate- Check for
pipin the.venv/bindirectory. You should now havepipinstalled.
If you are on macOS and encounter the following error:
BlockingIOError: [Errno 35] write could not complete without blocking
This happens when AutoGen tries to print large amounts of text to the terminal. To fix this, run the following command with the -u flag to make output unbuffered:
python -u -m ae.mainNote: Using unbuffered output may result in some output not appearing in the terminal.
If you do not have Google Chrome installed locally and run into issues with browser automation, install the Playwright drivers:
playwright installPlaywright will install the necessary browser binaries to run the automation tasks without needing Chrome locally installed.
If you want to use your local Chrome browser instead of Playwright and encounter issues finding the browser profile path, follow these steps:
- Open Chrome and go to
chrome://version/. - Locate the
Profile Path. - Set the
BROWSER_STORAGE_DIRenvironment variable in the.envfile to this path:
BROWSER_STORAGE_DIR=/path/to/your/chrome/profile
If you encounter other issues, please refer to the project’s GitHub issues or reach out on Discord for assistance.
| Video | Command | Description |
|---|---|---|
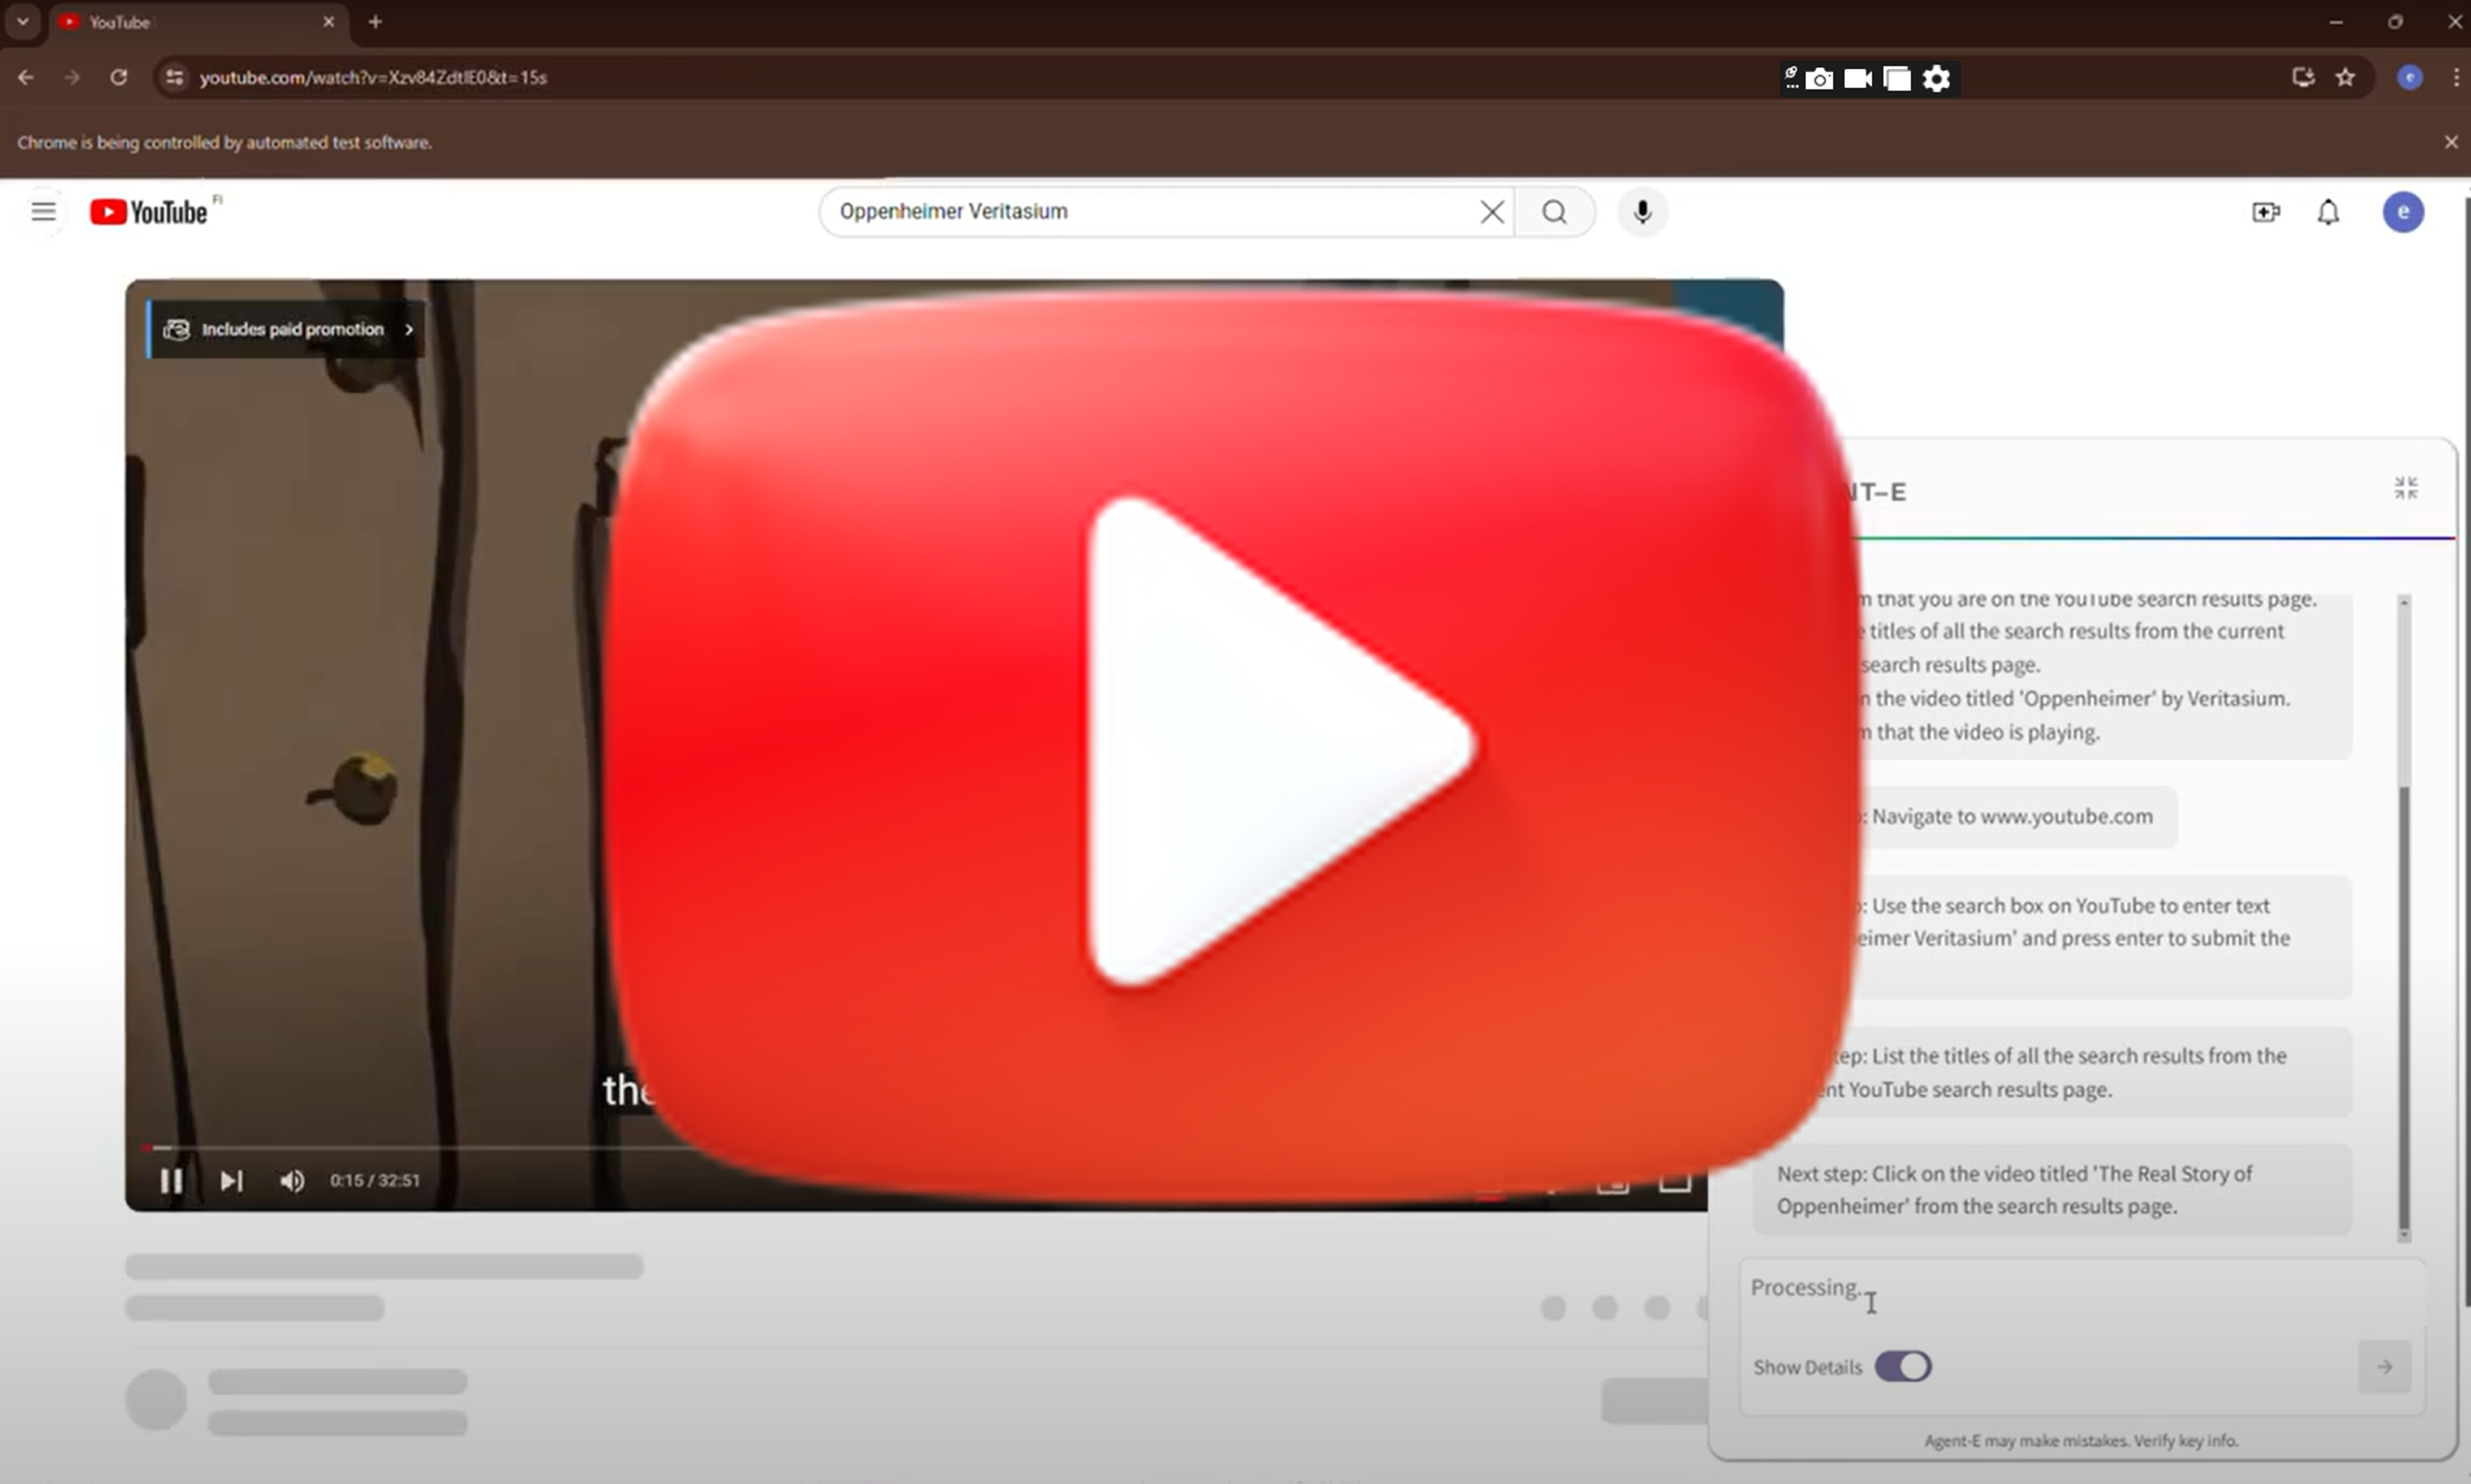 |
There is an Oppenheimer video on youtube by Veritasium, can you find it and play it? |
|
 |
Can you do this task? Wait for me to review before submitting. | Takes the highlighted text from the email as part of the instruction.
|
 |
Find Finish dishwasher detergent tablets on amazon, sort by best seller and add the first one to my cart |
|
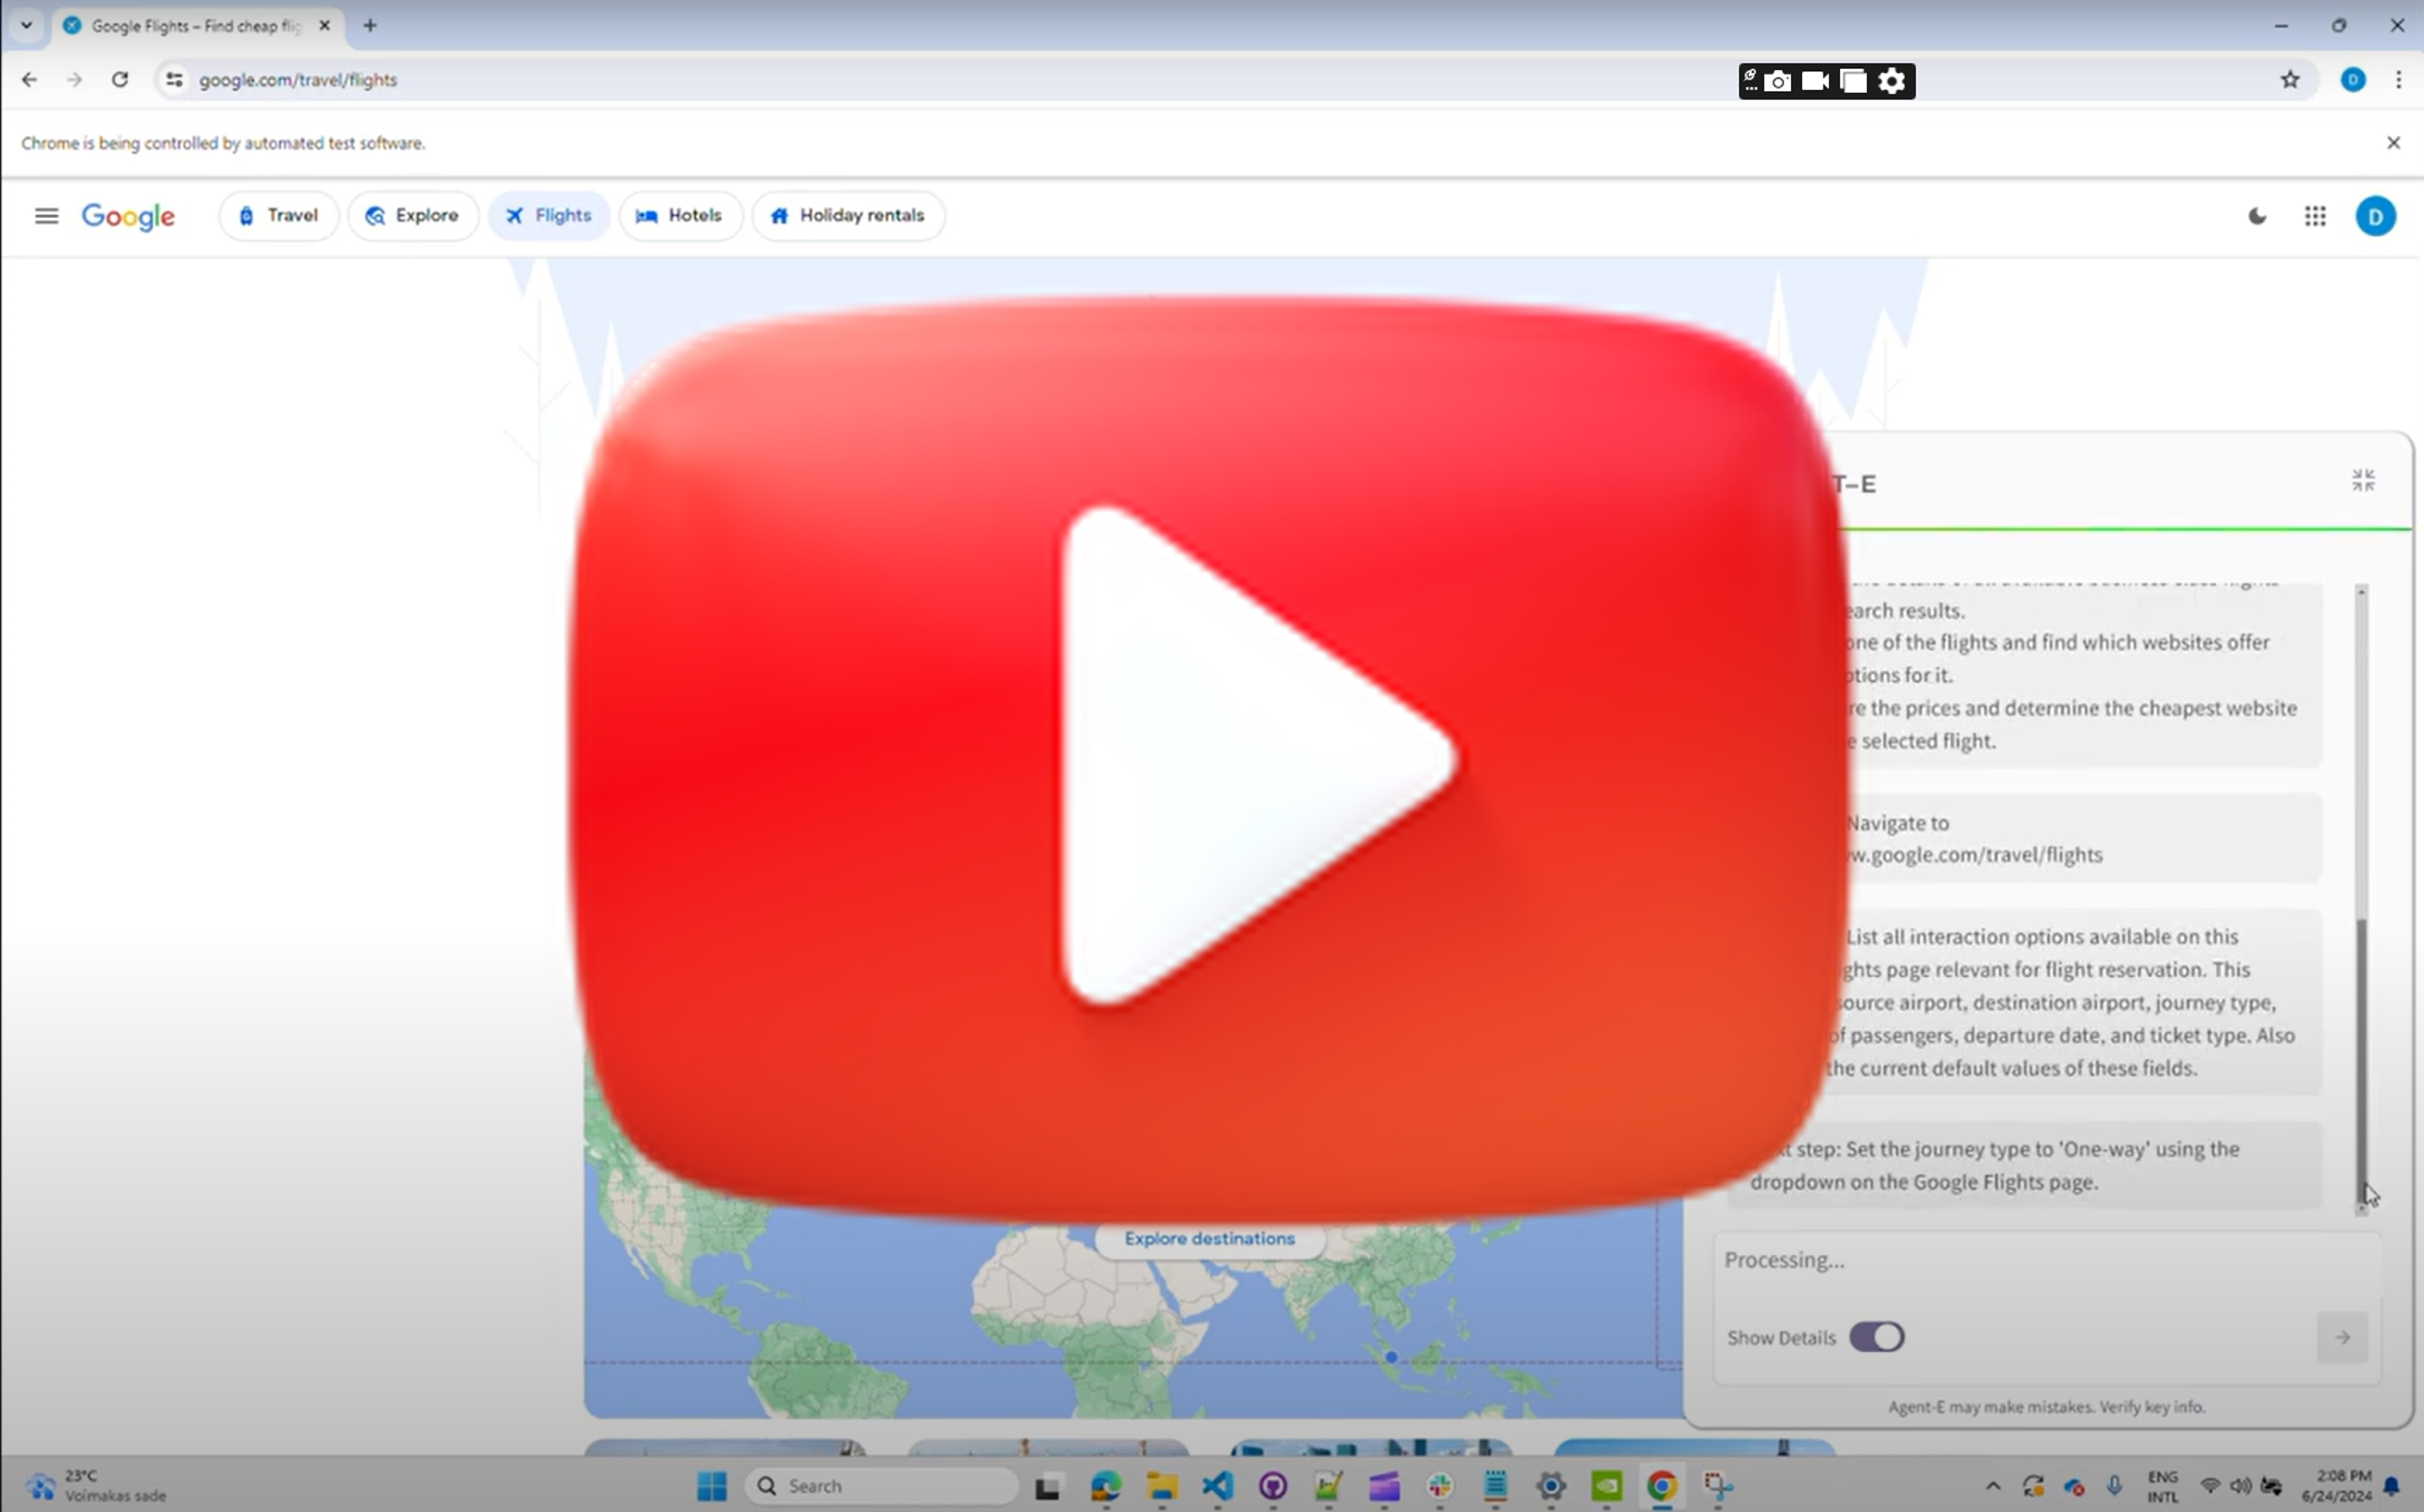 |
Compare business class flight options from Lisbon to Singapore for a one-way trip on September 15, 2024 on Google Flights? |
|

Building on the foundation provided by the AutoGen agent framework, Agent-E's architecture leverages the interplay between skills and agents. Each skill embodies an atomic action, a fundamental building block that, when executed, returns a natural language description of its outcome. This granularity allows Agent-E to flexibly assemble these skills to tackle complex web automation workflows.

The diagram above shows the configuration chosen on top of AutoGen. The skills can be partitioned differently, but this is the one that we chose for the time being. We chose to use skills that map to what humans learn about the web browser rather than allow the LLM to write code as it pleases. We see the use of configured skills to be safer and more predictable in its outcomes. Certainly it can click on the wrong things, but at least it is not going to execute malicious unknown code.
At the moment there are two agents, the User proxy (executes the skills), and Browser navigation. Browser navigation agent embodies all the skills for interacting with the web browser.
At the core of Agent-E's capabilities is the Skills Library, a repository of well-defined actions that the agent can perform; for now web actions. These skills are grouped into two main categories:
- Sensing Skills: Skills like
get_dom_with_content_typeandgeturlthat help the agent understand the current state of the webpage or the browser. - Action Skills: Skills that allow the agent to interact with and manipulate the web environment, such as
click,enter text, andopen url.
Each skill is created with the intention to be as conversational as possible, making the interactions with LLMs more intuitive and error-tolerant. For instance, rather than simply returning a boolean value, a skill might explain in natural language what happened during its execution, enabling the LLM to better understand the context and correct course if necessary.
Below are the skills we have implemented:
| Sensing Skills | Action Skills |
|---|---|
geturl - Fetches and returns the current url. |
click - given a DOM query selector, this will click on it. |
get_dom_with_content_type - Retrieves the HTML DOM of the active page based on the specified content type. Content type can be:- text_only: Extracts the inner text of the html DOM. Responds with text output.- input_fields: Extracts the interactive elements in the DOM (button, input, textarea, etc.) and responds with a compact JSON object.- all_fields: Extracts all the fields in the DOM and responds with a compact JSON object. |
enter_text_and_click - Optimized method that combines enter text and click skills. The optimization here helps use cases such as enter text in a field and press the search button. Since the DOM would not have changed or changes should be immaterial to this action, identifying both selectors for an input field and an actionable button can happen based on the same DOM examination. |
get_user_input - Provides the orchestrator with a mechanism to receive user feedback to disambiguate or seek clarity on fulfilling their request. |
bulk_enter_text - Optimized method that wraps enter_text method so that multiple text entries can be performed one shot. |
enter_text - Enters text in a field specified by the provided DOM query selector. |
|
openurl - Opens the given URL in current or new tab. |
Agent-E's approach to managing the vast landscape of HTML DOM is methodical and, frankly, essential for efficiency. We've introduced DOM Distillation to pare down the DOM to just the elements pertinent to the user's task.
In practice, this means taking the expansive DOM and delivering a more digestible JSON snapshot. This isn't about just reducing size, it's about honing in on relevance, serving the LLMs only what's necessary to fulfill a request. So far we have three content types:
- Text only: For when the mission is information retrieval, and the text is the target. No distractions.
- Input fields: Zeroing in on elements that call for user interaction. It’s about streamlining actions.
- All content: The full scope of distilled DOM, encompassing all elements when the task demands a comprehensive understanding.
It's a surgical procedure, carefully removing extraneous information while preserving the structure and content needed for the agent’s operation. Of course with any distillation there could be casualties, but the idea is to refine this over time to limit/eliminate them.
Since we can't rely on all web page authors to use best practices, such as adding unique ids to each HTML element, we had to inject our own attribute (mmid) in every DOM element. We can then guide the LLM to rely on using mmid in the generated DOM queries.
To cutdown on some of the DOM noise, we use the DOM Accessibility Tree rather than the regular HTML DOM. The accessibility tree by nature is geared towards helping screen readers, which is closer to the mission of web automation than plain old HTML DOM.
The distillation process is a work in progress. We look to refine this process and condense the DOM further aiming to make interactions faster, cost-effective, and more accurate.
Agent-E builds on the work done by Web Arena for testing and evaluation. The test directory contains a tasks subdirectory with JSON files that define test cases, which also serve as examples.
Agent-E operates in a real-world web environment, which introduces variability in testing. As a result, not all tests may pass consistently due to changes in live websites. The goal is to ensure Agent-E works as expected across a wide range of tasks, with a focus on practical web automation.
To run the full test suite, use the following command:
python -m test.run_testsIf you're running the tests on macOS and encounter BlockingIOError, run the tests with unbuffered output:
python -u -m test.run_testsIf you want to run specific tests, you can modify the minimum and maximum task indices. This will run a subset of the tasks defined in the test configuration file.
Example:
python -m test.run_tests --min_task_index 0 --max_task_index 28 --test_results_id first_28_testsThis command will run tests from index 0 to 27 and assign the results the identifier first_28_tests.
Here are additional parameters that you can pass to customize the test execution:
--min_task_index: Minimum task index to start tests from (default: 0).--max_task_index: Maximum task index to end tests with, non-inclusive.--test_results_id: A unique identifier for the test results. If not provided, a timestamp is used.--test_config_file: Path to the test configuration file. Default istest/tasks/test.json.--wait_time_non_headless: The amount of time to wait between headless tests.--take_screenshots: Takes screenshots after every operation performed. Example:--take_screenshotstrue. Default isfalse
Here’s an example of how to use the parameters (macOS Users add -u parameter to the command below):
python -m test.run_tests --min_task_index 0 --max_task_index 28 --test_results_id first_28_testsThank you for your interest in contributing to Agent-E! We welcome contributions from the community and appreciate your help in improving the project.
-
Fork the Repository
Start by forking the Agent-E repository to your GitHub account. -
Create a New Branch
Create a new branch for your feature or bug fix:git checkout -b my-feature-branch
-
Make Changes Implement your changes in your new branch. Be sure to follow the project's coding style and best practices.
-
Run Tests Before submitting your pull request, ensure that all tests pass by running:
python -m test.run_tests- Submit a Pull Request Once your changes are ready, push your branch to your GitHub fork and submit a pull request to the main repository. Please include a clear description of your changes and why they are necessary.
- Follow the contributing guidelines for more detailed information on contributing.
- Be sure to write clear and concise commit messages.
- When submitting a pull request, make sure to link any related issues and provide a detailed description of the changes.
Please note that we have a Code of Conduct that all contributors are expected to follow. We are committed to providing a welcoming and inclusive environment for everyone.
If you encounter a bug or have a feature request, please open an issue in the GitHub issue tracker. Be sure to provide detailed information so we can address the issue effectively.
We encourage you to join our community on Discord for discussions, questions, and updates on Agent-E.
Agent-E uses Sphinx to generate its documentation. To contribute or generate documentation locally, follow these steps:
Ensure that you have installed the development dependencies before generating the docs. You can install them using the following command:
uv pip install -r pyproject.toml --extra dev- Navigate to the project root directory:
cd Agent-E- Create a
docsdirectory if it doesn’t exist:
mkdir docs
cd docs- Initialize Sphinx using the quickstart command:
sphinx-quickstart- Configure Sphinx by editing the
docs/conf.pyfile. Add the following lines to include the project in the Sphinx path and enable extensions:
import os
import sys
sys.path.insert(0, os.path.abspath('..'))
extensions = ['sphinx.ext.autodoc', 'sphinx.ext.napoleon']
html_theme = 'sphinx_rtd_theme'- Generate API Documentation: From the project root, run the following command to generate API documentation files:
sphinx-apidoc -o docs/source .- Build the Documentation:
After generating the API documentation, go to the
docsdirectory and build the HTML docs:
sphinx-build -b html . _buildOnce the documentation is built, open the generated HTML files in your browser by navigating to the _build directory and opening index.html.
open _build/index.htmlThis will display the generated documentation in your default web browser.
We encourage you to become part of the Agent-E community! Whether you're here to ask questions, share feedback, or contribute to the project, we welcome all participation.
- Discord: Connect with other users and developers in our Discord community. Feel free to ask questions, share your experiences, or discuss potential features with fellow users and contributors.
Stay informed about new features, updates, and announcements by following the project and engaging with the community.
- GitHub: Keep an eye on the latest issues and pull requests, and contribute directly to the codebase on GitHub.
We look forward to seeing you in the community!
If you use this work in your research or projects, please cite the following article:
@misc{abuelsaad2024-agente,
      title={Agent-E: From Autonomous Web Navigation to Foundational Design Principles in Agentic Systems},
      author={Tamer Abuelsaad and Deepak Akkil and Prasenjit Dey and Ashish Jagmohan and Aditya Vempaty and Ravi Kokku},
      year={2024},
      eprint={2407.13032},
      archivePrefix={arXiv},
      primaryClass={cs.AI},
      url={https://arxiv.org/abs/2407.13032},
}
You can also view the paper on arXiv.
Here are some features and improvements planned for future releases of Agent-E:
- Action Verification: Implement response for every skill that reflects DOM changes (using Mutation Observers), so the LLM can judge if the skill executed properly.
- Execution Planner: Develop a planner agent that can make the LLM decide on multiple steps ahead for faster execution.
- Memory + User Preferences: Integrate long-term memory to learn user preferences over time.
- Local Vector DB: Move user preferences to a local vector database and add a skill to query it, possibly sending preference keys into the prompt.
- DOM Distillation for Links: Extend DOM distillation to handle content type links.
- Voice Input: Add support for voice input.
- DOM Distillation Optimizations: Replace deprecated
snapshot()method for DOM distillation, and make it smaller for all content types. - DOM Testing: Develop various test cases for DOM distillation to ensure it captures all intended elements.
- Expand Skills Library: Add skills for bookmarks, tab navigation, browser history, key combinations, and special keys.
- Group Chat: Enable group chat features and move some skills to different agents.
- Token Optimization: Investigate ways to reduce the number of tokens used by the AutoGen-required prompts and annotations.