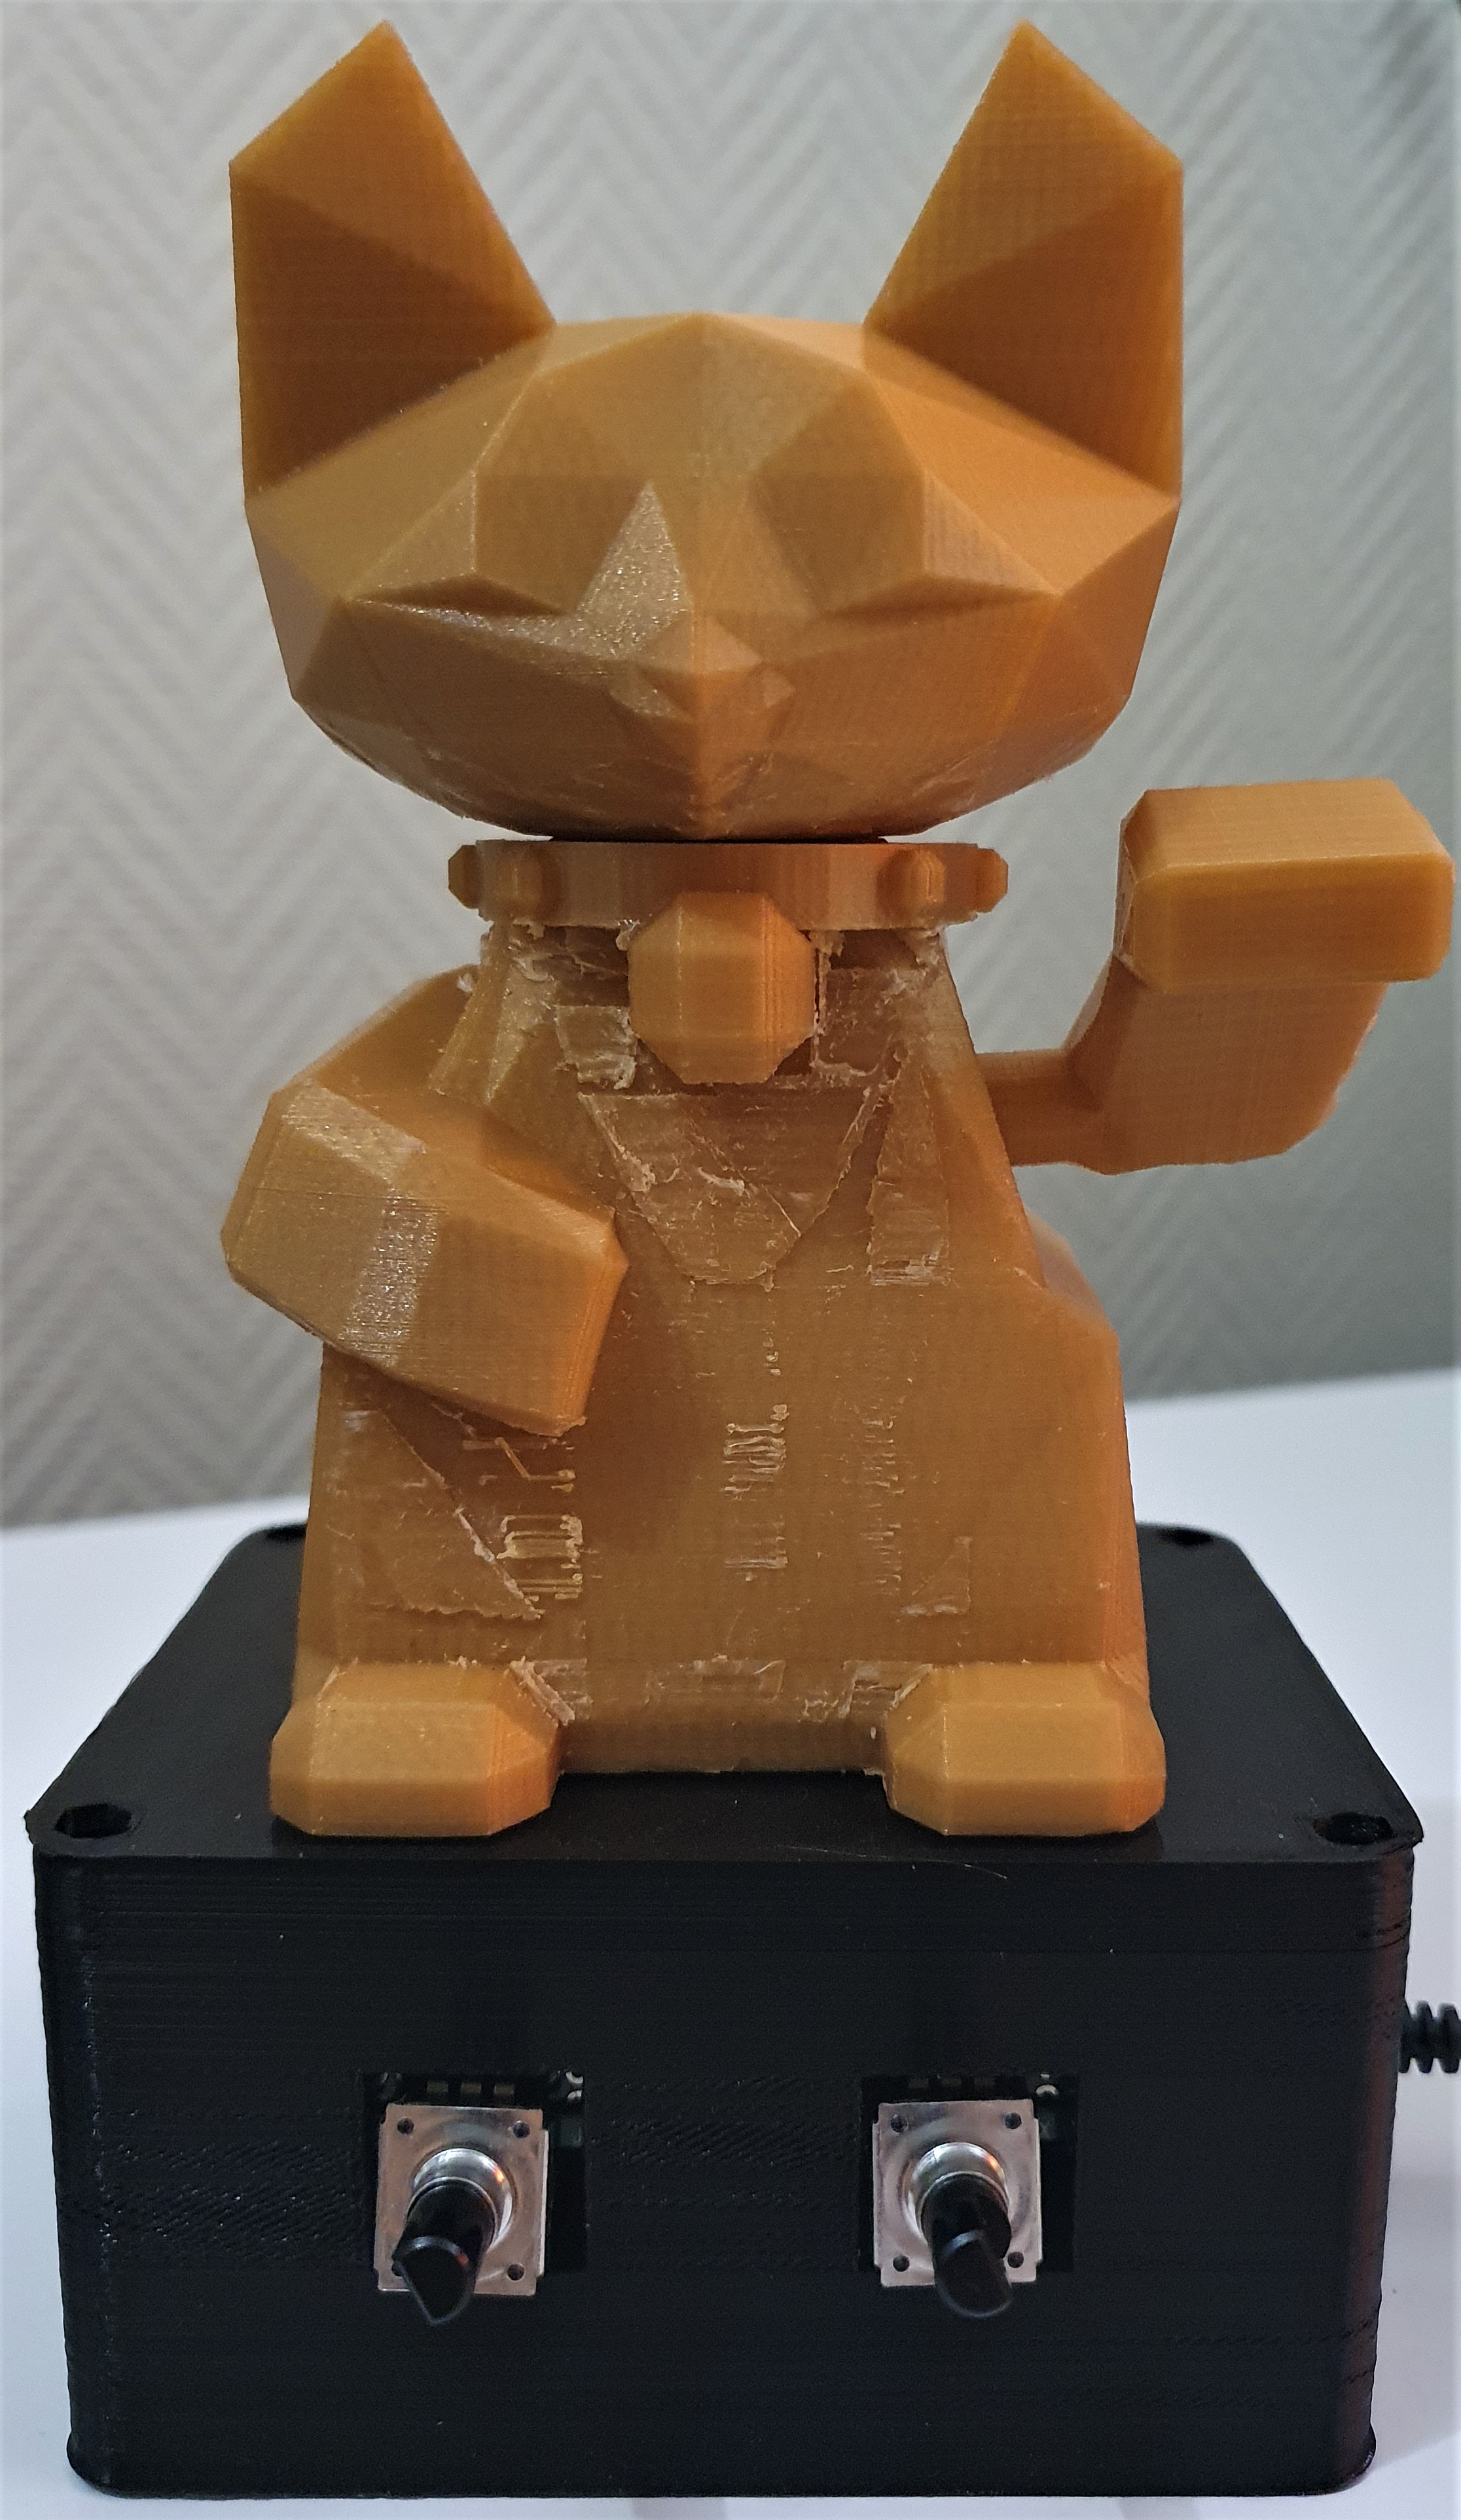
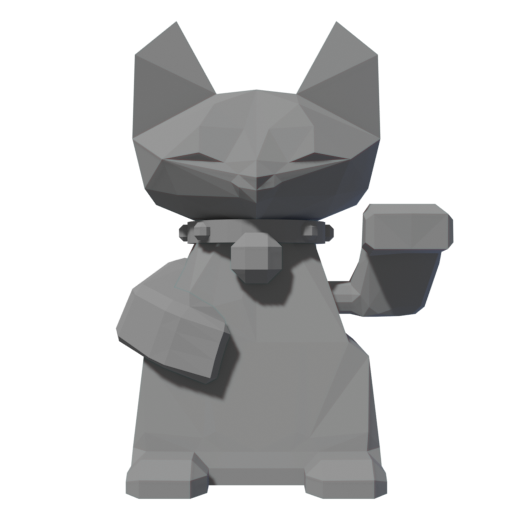
The 3D model is made by Mats N. Olsen
| Folder | Description |
|---|---|
code |
Software for the microcontroller unit |
production |
Models for 3D printing the parts |
schematics |
Images describing the way the electronics are wired |
The project supports using both nRF52840 DK and Adafruit ItsyBitsy nRF52840 Express. The enclosure is made for the ItsyBitsy, but enclosure.scad has been included so you can make it fit for a different board if you want.
| Pin | Name |
|---|---|
| P1.10 | Encoder 1 Line A |
| P1.11 | Encoder 1 Line B |
| P0.27 | Encoder 2 Line A |
| P0.26 | Encoder 2 Line B |
| P0.13 | Servo PWM output |
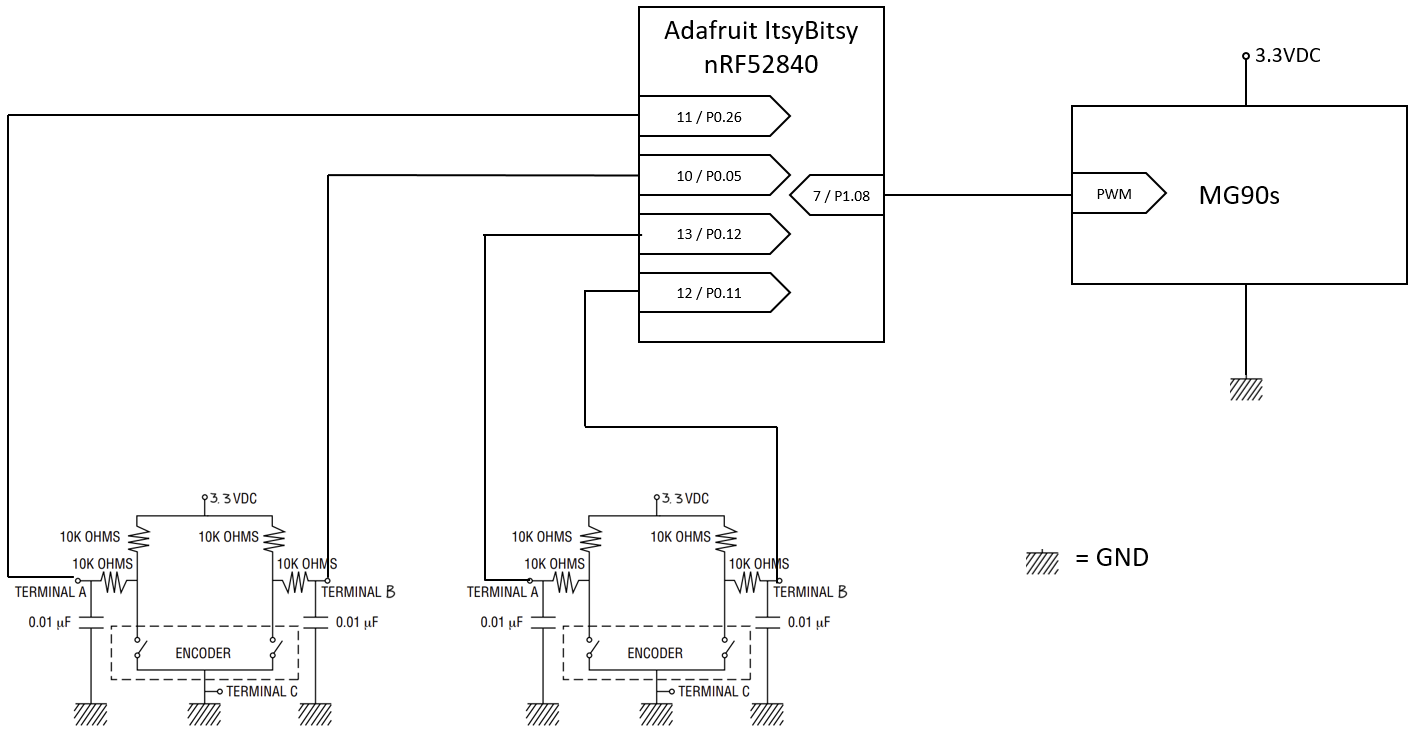
A full schematic has been made for the ItsyBitsy nRF52840 Express:
| Pin | Name |
|---|---|
| 13 | Encoder 1 Line A |
| 12 | Encoder 1 Line B |
| 11 | Encoder 2 Line A |
| 10 | Encoder 2 Line B |
| 7 | Servo PWM output |
This project uses the nRF Connect SDK v2.0.2.
Prerequisite: nRF Command Line Tools
-
Install ncs v2.0.2: Follow nRF Connect SDK (ncs) setup tutorial to install the nRF Connect SDK (ncs) toolchain.
-
Make sure you are able to build and program a basic project following the nRF Connect SDK building tutorial
-
Clone this project into the ncs installation folder: After installing nRF Connect SDK v2.0.2, open command prompt through the toolchain manager. Then, type
git clone https://github.com/Embla-Flatlandsmo/maneki-neko
Before building for the first time, you must copy the folder code/boards/adafruit_itsybitsy_nrf52840 into the boards/arm/ directory of your zephyr installation.
For example, if ncs is installed at
C:/ncs/v2.0.2then you would copy the folder so it resides atC:/ncs/v2.0.2/zephyr/boards/arm/adafruit_itsybitsy_nrf52840
Before flashing, you must update the Adafruit UF2 bootloader (see tutorial)
Before building the project, make sure you are able to build and program a basic project following the nRF Connect SDK building tutorial.
For both of the boards, follow the steps for building in the command line.
- Navigate to
maneki-neko/codeand build the program by callingwest build -b adafruit_itsybitsy_nrf52840 - Connect the ItsyBitsy to your host computer using USB
- Tap the reset button twice quickly to enter bootloader mode
- Flash the image by dragging and dropping the file
maneki-neko/code/build/zephyr/zephyr.uf2into theITSY840BOOTdrive - The program should now run on your device
- Navigate to
maneki-neko/codeand build the program by callingwest build -b nrf52840dk_nrf52840 - Connect the nRF52840 DK to your computer using USB
- Call
west flash - The program should now run on your device


