This example project is for people that want to start playing with Spring Boot in Openshift.
Its based in the hello world located in the Spring website, I just modify the pom.xml so the code can be deploy using the Wildfly/Openshift template.
It includes the following things:
- Git ignore configuration file.
- The Spring documentation in PDF, HTML version can be found here.
In the example every time you make a call to the root URL /, it will send back a greetings message.
@RestController
public class HelloController {

    @RequestMapping("/")
    public String index() {
        return "Hello World!!";
    }

}To work in local you can execute:
mvn spring-boot:runIt's a quick and convenient way to work in your local machine.

If you want to practice in local you can get the oc-client.
At the moment of writing this document oc-client work best with this old version of Docker.
To deploy our code, we can create a new application:
oc new-app wildfly:10.0~https://github.com/cesarvr/Spring-Boot
This will create an application by running following steps:
- Building This will basically clone the project, fetch all dependencies and push the image the registry.
- Deploy As soon as the image is registered, it will be deploy in the form of a Pod, after that will be ready to accept request.
After deployment finish we can check the status of our micro-service using oc get pods, we should see our Pod in Running state.
NAME                  READY     STATUS      RESTARTS   AGE
spring-boot-1-build   0/1       Completed   0          12m
spring-boot-1-qp4sh   1/1       Running     0          10m
Then we need to know the service name oc get svc, we should get something like this:
NAME          CLUSTER-IP     EXTERNAL-IP   PORT(S)    AGE
spring-boot   172.30.76.36   <none>        8080/TCP   17m
Now we know the name, we expose the service this way:
oc expose svc spring-boot
Now our service has a route, we can see the details with oc get routes:
NAME          HOST/PORT                             PATH      SERVICES      PORT       TERMINATION   WILDCARD
spring-boot   spring-boot-spring.127.0.0.1.nip.io             spring-boot   8080-tcp                 None
Now the best part let's make our first call.
curl spring-boot-spring.127.0.0.1.nip.io

Hello World!!

The main difference using this method is that service is automatically expose.

Now we have an Openshift application (Build, Deploy, Expose), this is very good so far, but I want to orchestrate some test automation for the code, let create a simple pipeline with Jenkins.
First go to the Openshift console, project catalago and click to create a new Jenkins application, the advantage by doing this is this application get the permission to operate this project.

When the deployment finish you should see something like this:

Now you just need to click the router link (https://jenkins-helloworld.127.0.0.1…, for the case below.), this will take you to the Jenkins home.

In this example project we are using Maven, but instructions should be similar if you are using other package manager. Now we need to go to:
Manage Jenkins -> Manage Plugins.
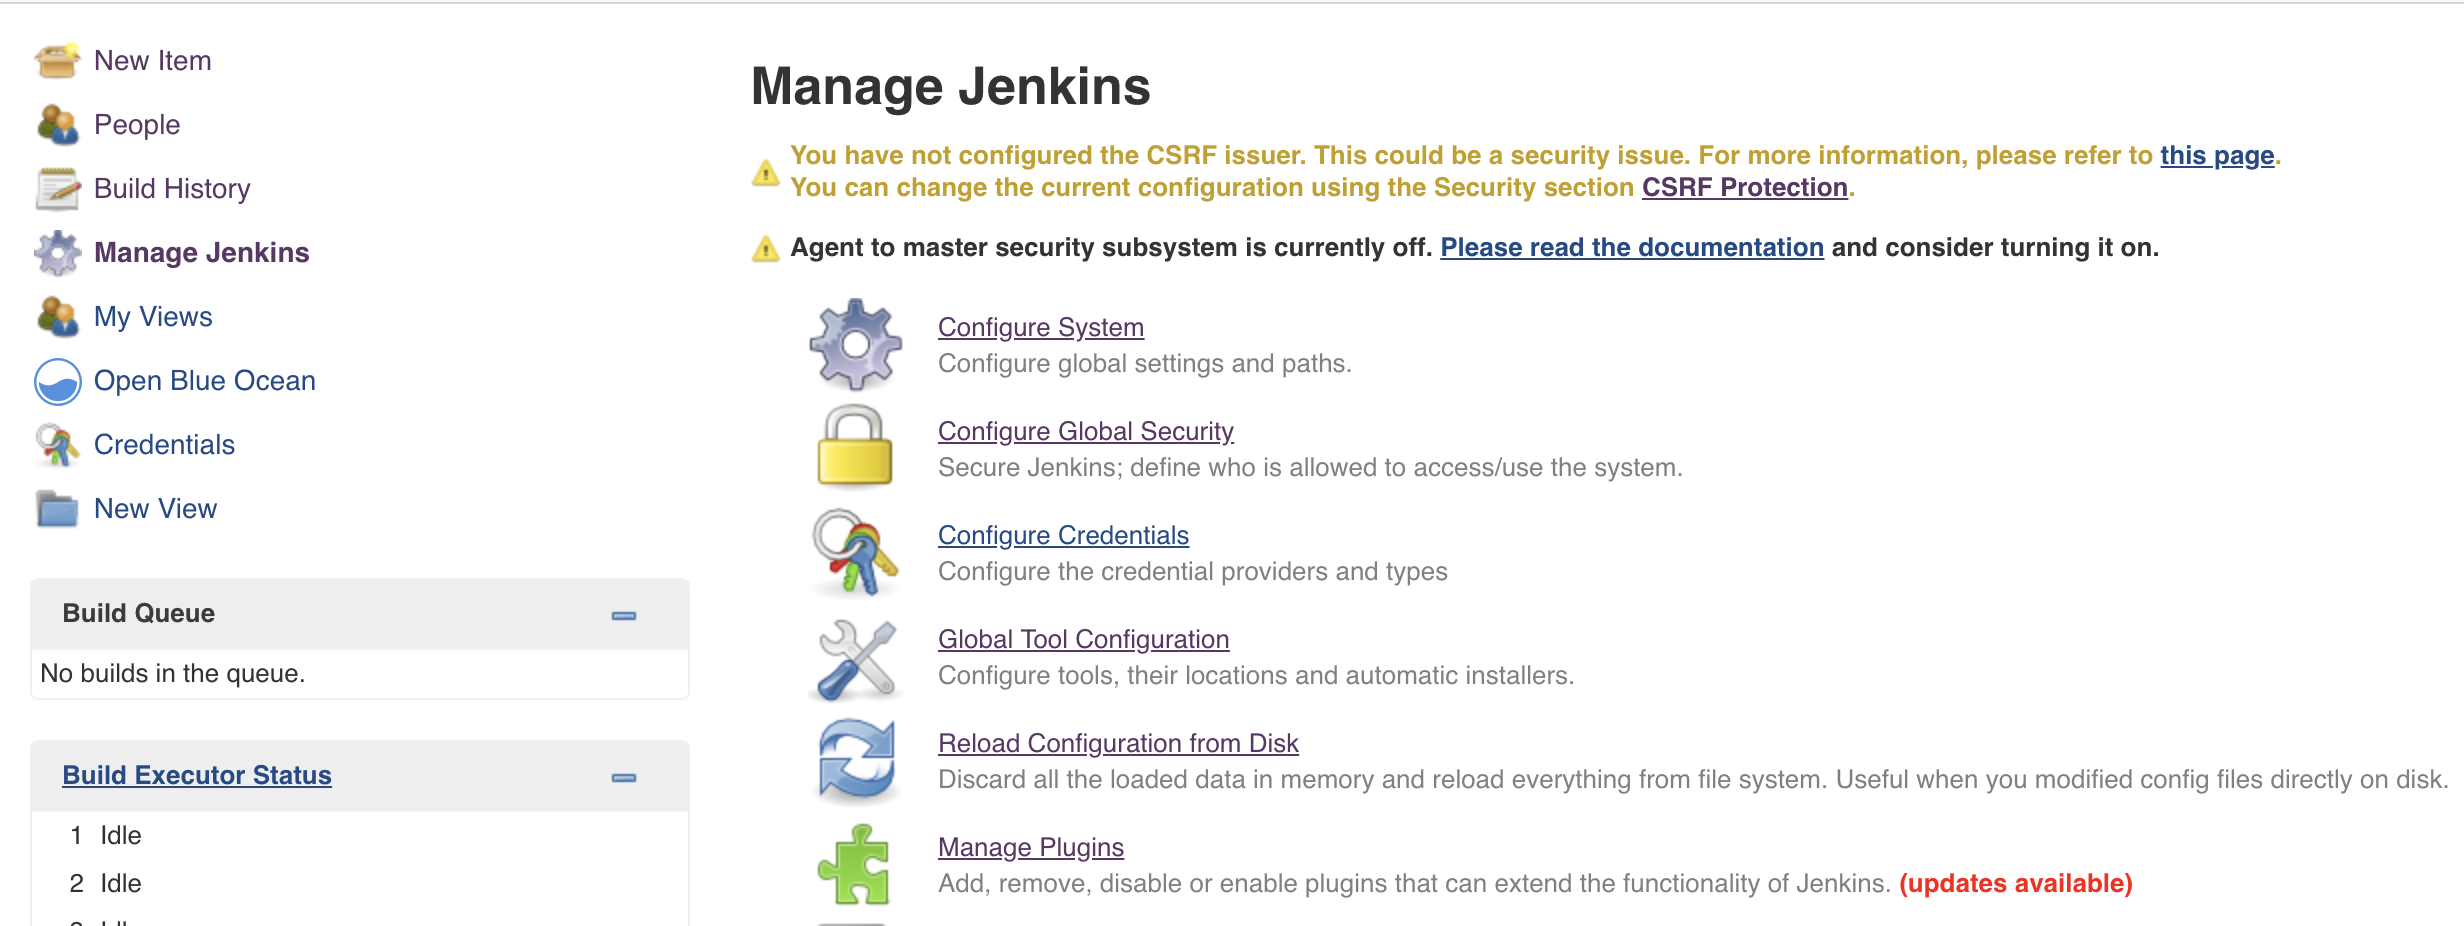
Install Pipeline Maven Integration Jenkins Plugin, Then just press the button install without restart.

We now need to install Maven globally for Jenkins, navigate to Manage Jenkins (Again) -> Global Tool Configuration
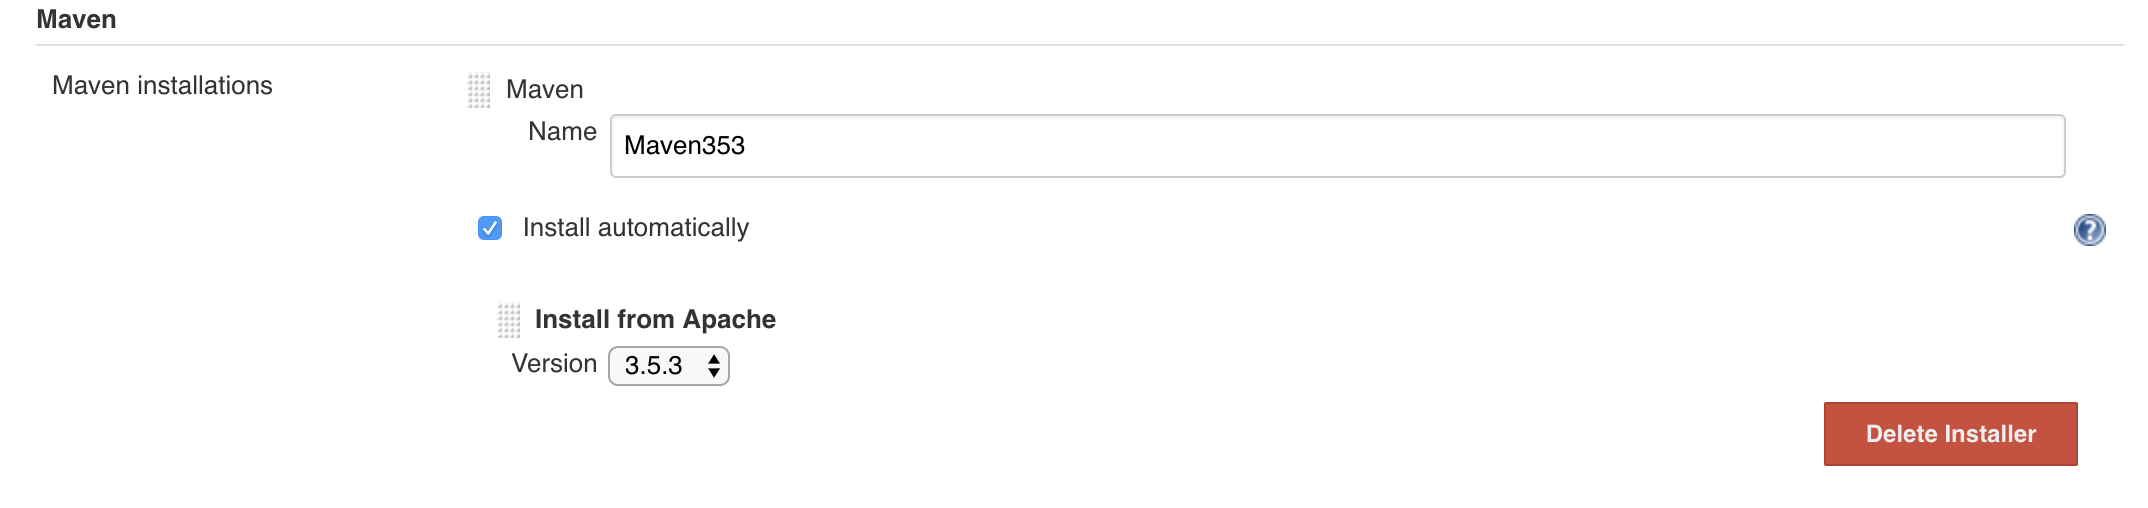
Then go to the Maven section and choose your Maven version, for this guide I will choose 3.5.3 and set the name to Maven353 as we going to need it later.
Then press save. We finish the boring part, let’s create our pipeline.
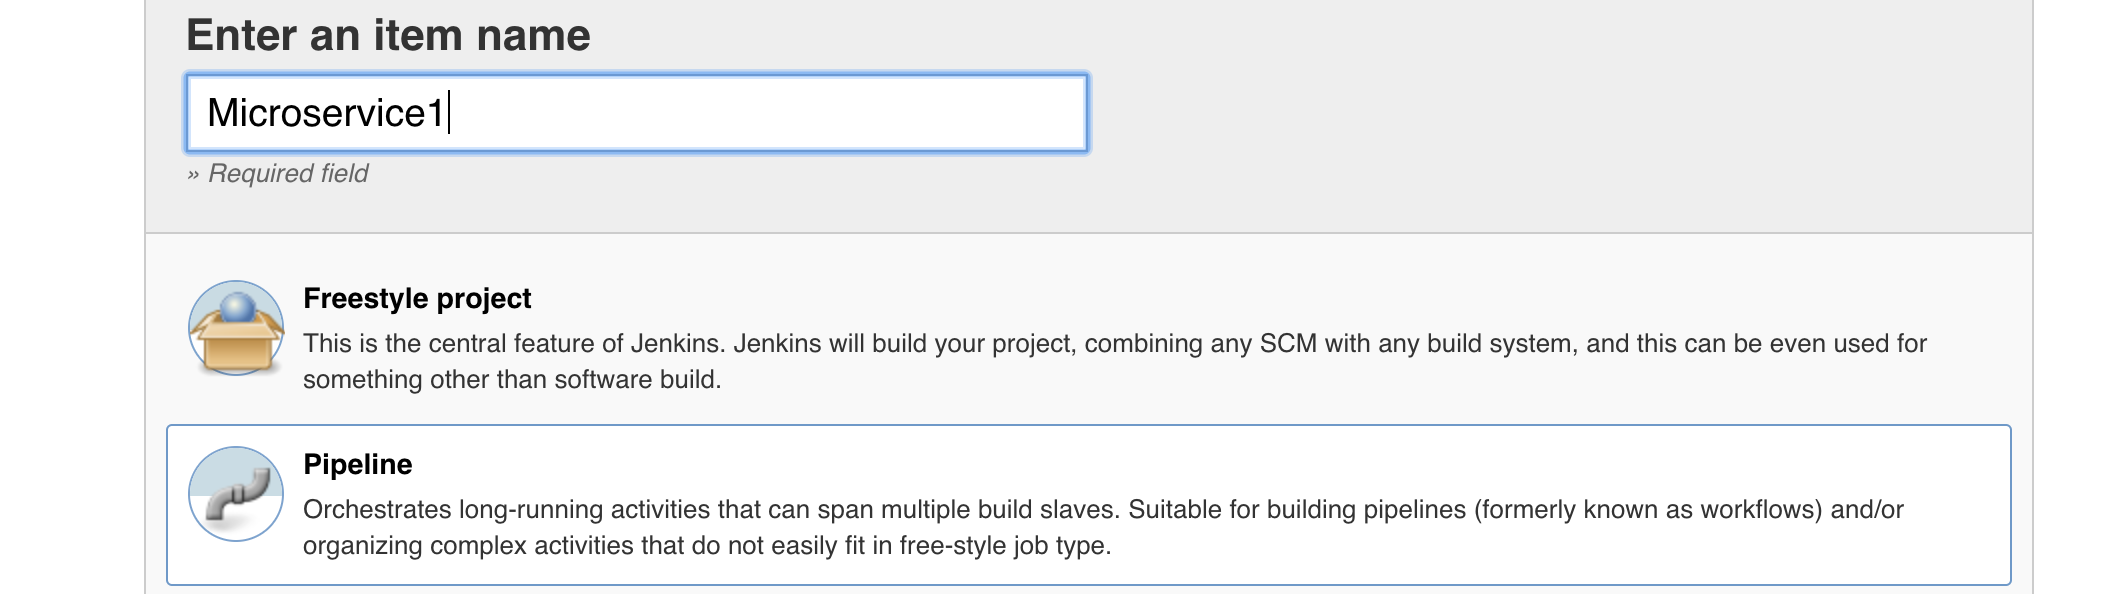
We need to create a Jenkins Pipeline, easy we just need to go to the home, press the menu new items and choose a name for your project and check Pipeline option.
One way to make our pipeline more reusable is to allow the build to accept custom parameters, is very useful if we want to clone and reuse, to activate it we need to check the box "this project is parameterized" and then we are going to create 3 parameters:
-
GIT_URL We set here the git repository, example: https://github.com/cesarvr/Spring-Boot
-
BUILD_CONFIG We need here the name of our builder configuration object you can check this in the Openshift Console or by doing:
oc get bc -
DEPLOY_CONFIG This maybe is not necessary for simple projects but if you are doing something more sophisticated it can become handy, to see list your deployment config do:
oc get dc
We should end up with something like this:

First we need to declare the node where this pipeline will get executed, as we are going to use a standalone Jenkins local to our config project we can keep it simple.
node {
  // Declare stages here

}
In the first stage we are going to clone the repository GIT_CLONE and declare a mvnHome pointing to our Maven configuration Maven353 defined above.
node {
 // Declare stages here
 def mvnHome

 stage('Preparation') {

     // Get some code from a GitHub repository
     git "${params.GIT_URL}"

     // Get the Maven tool.
     // ** NOTE: This 'M3' Maven tool must be configured
     // **       in the global configuration.
     mvnHome = tool 'Maven353'
 }
}
Once we got the code we run the test task, I put there a little hack at the end because the process ends with a non-zero value in the case that test fail and I want to read the report after that.
 stage('Build & Test in Jenkins') {
    // Run the maven build
    sh "'${mvnHome}/bin/mvn' test || exit 0"
 }
Everytime we run a report is generated. Here we just read that report and extract the state of the build, if a test fails the build is marked as unstable.
 stage('Generating Unit Test Report') {
    junit '**/target/surefire-reports/TEST-*.xml'
 }
Here I check the status of the deployment if the build is unstable then I just ignore this step and finish the build. If the build state is successful state then I tell our project to start the build.
 stage('Build & Deploy in Openshift') {
      /*
       * User and password should be provided by a Jenkins Credential Manager
       * Also we check the Build Status as we don't want to deploy code that is not 100% unit tested.
       */
      if(currentBuild.result != 'UNSTABLE')
      sh '''
            oc login <IP-Address> --token=k3NFaYRHiTwS2KpJNBldS9.... --insecure-skip-tls-verify

            # We push our generated binaries and start an Openshift build.
            oc start-build $BUILD_CONFIG --from-dir=\'.\' -F

            # After build is finish, deployment is automatically trigger by Openshift
            # so we need the next command <oc rollout status> to follow the progress.

            oc rollout status $DC_CONFIG -w

            # Bye Bye ...
            oc logout'''
   }
This line log us in Openshift project, you can get the token using oc whoami -t , the IP address is the one of your Openshift installation.
oc login 192.168.65.2:8443 --token=bMG7rvw71f_z8w... --insecure-skip-tls-verify
Here we tell Openshift to make a new build and we want to push the content of this folder. This will speed up the image generation speed.
oc start-build $BUILD_CONFIG --from-dir=\'.\' -F
After this step finishes we just wait for the deployment phase to finish.
oc rollout status $DEPLOY_CONFIG -w
Here you can find the definition for the command we are using here:
Full Jenkins script is this Gist.