In this workshop, we would be building and deploying a subgraph for the Azuki NFT Project.
- Description
- About Azuki & NFTs 🎭
- Software Requirements
- Prerequisites
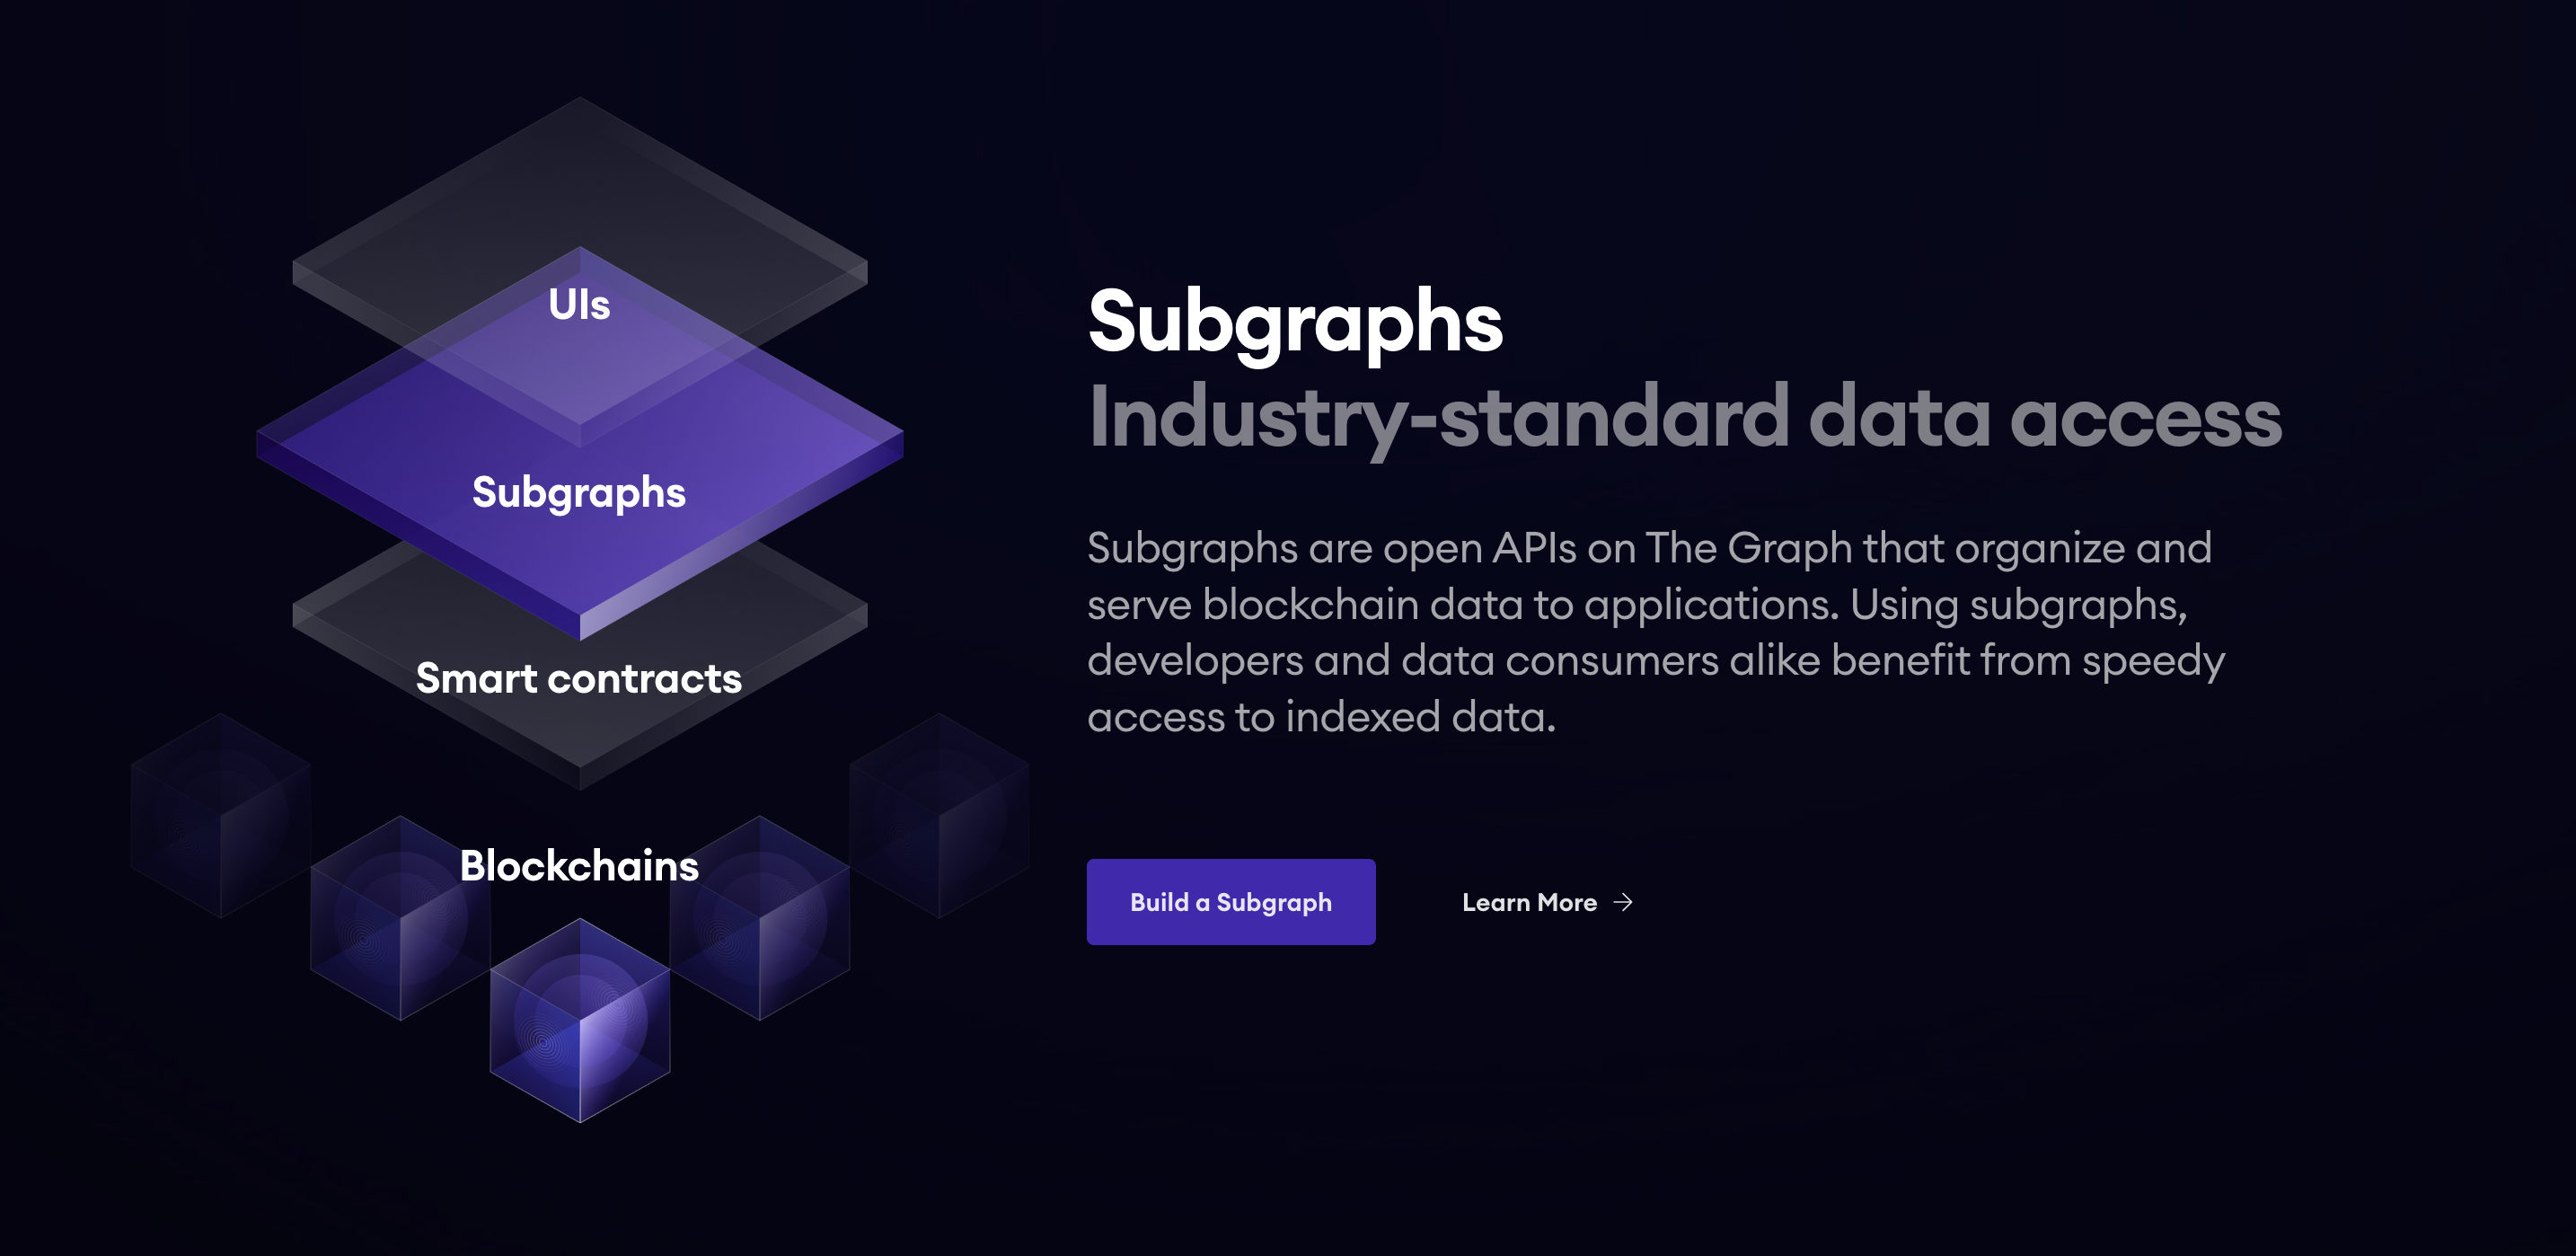
- Setting Up a Subgraph
- Initializing a Subgraph
- Building & Deploying Subgraph
- Important files generated during subgraph init and build

Formed by Chiru Labs, Azuki is an anime brand crafting stories and experiences that blur the lines between the physical and digital worlds. Here are some things they’ve created so far.
Boring stuff about NFTs that you already know 🤔
What's an NFT?
Imagine a digital certificate of ownership for anything unique online, like art, music, or even tweets. That's essentially what an NFT (Non-Fungible Token) is.
Characteristics of NFTs
-
Unique: Unlike regular cryptocurrencies (fungible tokens), each NFT is one-of-a-kind and cannot be replaced by another. Think of it like a rare trading card instead of interchangeable cash.
-
Stored on a blockchain.
-
Smart contracts powered.
-
Token standards define properties: Standards like ERC-721 ensure compatibility and interoperability between different platforms and marketplaces.
-
The Graph CLI installed
-
For
npm, install the CLI using this command:
npm install -g @graphprotocol/graph-cli- For
yarn, install the CLI using this command:
yarn global add @graphprotocol/graph-cli- A decent IDE. VS Code is a great option!
To follow along on this workshop you need the following:
-
Some knowledge of GraphQL
-
A good understanding of how events work in solidity. This YouTube Video By Patrick Collins nails it!
-
Some experience with TS/JS (optional)
-
0xED5AF388653567Af2F388E6224dC7C4b3241C544
-
Navigate to The Graph Studio.
-
Click on Connect Wallet and authenticate a wallet address
-
Once authenticated, click on Create a Subgraph.

- Give the subgraph a name and click Continue. In our case, we named ours
azuki-nft-v0

So we have successfully setup our Subgraph in The Graph studio. Now, would initialize the subgraph using this command in your terminal:
graph init --studio azuki-nft-v0
Replace azuki-nft-v0 with the name of your subgraph.
Now, we would go through an interactive prompt in our CLI as below:
-
Choose a Protocol: click on Ethereum
-
Fill subgraph-slug: enter the name of your subgraph --
azuki-nft-v0 -
Directory to create the subgraph in: you can enter the subgraph slug or a different non-existent directory --
azuki-nft-v0 -
Choose an Ethereum network: click on mainnet
-
Contract address: We would be using the deployed Azuki contract on Ethereum mainnet --
0xED5AF388653567Af2F388E6224dC7C4b3241C544 -
In case fetching of start block fails, leave the default
truefor the Do you want to retry? (Y/n): prompt -
Contract Name:
Azuki -
Accept the Index contract events as entities (Y/n) prompt as
true

Before we build and deploy the subgraph to the Studio, we need to authenticate within the CLI: graph auth --studio [DEPLOY_KEY].
Now, cd into the directory containing your initialized subgraph. In our case, it is azuki-nft-v0.
Paste graph codegen && graph build command in your terminal to build subgraph.

Your subgraph built successfully if you got this printed in your terminal.
Run the following command to deploy your subgraph:
graph deploy --studio azuki-nft-v0Fill the Which version label to use? (e.g. "v0.0.1") prompt as v0.0.1


Congratulations!! You successfully deployed your subgraph 🥳🎉
This is a YAML file containing the main configuration and definition for the subgraph
The graph init --studio azuki-nft-v0 command prepopulates our yaml file with some configurations below:
Code:
specVersion: 1.0.0
indexerHints:
  prune: auto
schema:
  file: ./schema.graphql
dataSources:
  - kind: ethereum
    name: Azuki
    network: mainnet
    source:
      address: "0xED5AF388653567Af2F388E6224dC7C4b3241C544"
      abi: Azuki
      startBlock: 13975838
    mapping:
      kind: ethereum/events
      apiVersion: 0.0.7
      language: wasm/assemblyscript
      entities:
        - Approval
        - ApprovalForAll
        - OwnershipTransferred
        - Transfer
      abis:
        - name: Azuki
          file: ./abis/Azuki.json
      eventHandlers:
        - event: Approval(indexed address,indexed address,indexed uint256)
          handler: handleApproval
        - event: ApprovalForAll(indexed address,indexed address,bool)
          handler: handleApprovalForAll
        - event: OwnershipTransferred(indexed address,indexed address)
          handler: handleOwnershipTransferred
        - event: Transfer(indexed address,indexed address,indexed uint256)
          handler: handleTransfer
      file: ./src/azuki.ts
REFACTORED CODE ✍️
We would be changing the yaml file to fit our needs for the specific subgraph we've developed as follows:
Code
specVersion: 1.0.0
schema:
  file: ./schema.graphql
dataSources:
  - kind: ethereum
    name: Azukis
    network: mainnet
    source:
      address: "0xED5AF388653567Af2F388E6224dC7C4b3241C544"
      abi: Azuki
      startBlock: 13975838
    mapping:
      kind: ethereum/events
      apiVersion: 0.0.7
      language: wasm/assemblyscript
      entities:
        - User
        - NFT
        - Transfer
      abis:
        - name: Azuki
          file: ./abis/Azuki.json
      eventHandlers:
        - event: Transfer(indexed address,indexed address,indexed uint256)
          handler: handleTransfer
file: ./src/azuki.tsContains a description of the data that clients can request from our subgraph and how to query it via GraphQL.
As for the subgraph.yaml file, the graph init --studio azuki-nft-v0 command prepopulates our graphql file with the entities below as per events stated within the smart contract:
Code:
type Approval @entity(immutable: true) {
  id: Bytes!
  owner: Bytes! # address
  approved: Bytes! # address
  tokenId: BigInt! # uint256
  blockNumber: BigInt!
  blockTimestamp: BigInt!
  transactionHash: Bytes!
}

type ApprovalForAll @entity(immutable: true) {
  id: Bytes!
  owner: Bytes! # address
  operator: Bytes! # address
  approved: Boolean! # bool
  blockNumber: BigInt!
  blockTimestamp: BigInt!
  transactionHash: Bytes!
}

type OwnershipTransferred @entity(immutable: true) {
  id: Bytes!
  previousOwner: Bytes! # address
  newOwner: Bytes! # address
  blockNumber: BigInt!
  blockTimestamp: BigInt!
  transactionHash: Bytes!
}

type Transfer @entity(immutable: true) {
  id: Bytes!
  from: Bytes! # address
  to: Bytes! # address
  tokenId: BigInt! # uint256
  blockNumber: BigInt!
  blockTimestamp: BigInt!
  transactionHash: Bytes!
  user: User! @derivedFrom(field: "transfers")
}
REFACTORED CODE ✍️
We would refactor our graphql file to serve our subgraph needs as follows:
Code
type User @entity {
  # Unique identifier for the user
  id: ID!
  # Ethereum address of the user, used as the primary key
  address: Bytes!
  # List of NFTs currently owned by this user
  nfts: [NFT!]! @derivedFrom(field: "owner")
  # List of transfers initiated by this user
  transfers: [Transfer!]! @derivedFrom(field: "from")
}

type Transfer @entity {
  # Unique identifier for the transfer
  id: ID!
  # User initiating the transfer
  from: User!
  # User receiving the transfer
  to: User!
  # Identifier of the transferred NFT
  tokenId: BigInt
  # Timestamp of the transfer
  timestamp: BigInt
}

type NFT @entity {
  # Unique identifier for the NFT
  id: ID!
  # Unique identifier for the NFT
  tokenId: BigInt!
  # Owner of the NFT
  owner: User!
  # URI associated with the NFT
  tokenURI: String
}On your terminal, run graph codegen command to generate entity types - files that define the types of data a particular subgraph exposes, ensuring type safety in your GraphQL operations.
This file holds the mapping.eventHandlers as specified in the subgraph.yaml file. We would be working with just a single eventHandler - handleTransfer.
We refactor handleTransfer function to take the emitted Transfer event data and transform as per needs to entites listed in subgraph.yaml file.
Code
// relevant contract and event types
import { Transfer as TransferEvent } from "../generated/Azuki/Azuki";
// generated entities
// import { User, NFT, Transfer } from "../generated/schema";
// helpers
import {
  createOrLoadNFT,
  createOrLoadTransfer,
  createOrLoadUser,
} from "./helpers";

// Event handler for Transfer events
export function handleTransfer(event: TransferEvent): void {
  // let's handle User entity
  const user = createOrLoadUser(event.params.from.toHexString());

  user.address = event.params.from;

  user.save();

  // let's handle Transfer entity
  const transfer = createOrLoadTransfer(event.transaction.hash.toHexString());

  transfer.from = user.id;
  transfer.to = event.params.to;
  transfer.tokenId = event.params.tokenId;
  transfer.timestamp = event.block.timestamp;

  transfer.save();

  // let's handle NFT entity
  const nft = createOrLoadNFT(event.params.tokenId.toString());

  nft.owner = user.id;
  nft.tokenId = event.params.tokenId;
  nft.tokenURI = `/${event.params.tokenId.toString()}`;

  nft.save();
}BUILDING
To prepare our subgraph for deployment, paste the command graph build in your terminal. You'd notice a build directory got created with some files.
What the graph build command does are:
- validation checks to ensure our subgraph meets the required standards and is ready for deployment.
- generation of AssemblyScript WASM files containing compiled bytecode that get executed when deployed to The Graph nodes
DEPLOYING
Paste the command graph deploy --studio azuki-nft-v0 to deploy your subgraph.
Once syncing is completed, test the query and watch the power of The Graph return the indexed, requested data 🎊💪
A live version of this subgraph can be found on the Subgraph studio. Switch to the latest version - v0.0.7 (as of this writing) and query away 🚀🚀