Develop code using GitHub Codespaces and Visual Studio Code!
Nicely done customizing your codespace! 🥳
When using any development environment, customizing the settings and tools to your preferences and workflows is an important step. GitHub Codespaces offers two main ways of personalizing your codespace: Settings Sync with VS Code and dotfiles.
Dotfiles will be the focus of this activity.
What are dotfiles? Dotfiles are files and folders on Unix-like systems starting with . that control the configuration of applications and shells on your system. You can store and manage your dotfiles in a repository on GitHub.
Let's see how this works!
- Start from the landing page of your repository.
- In the upper-right corner of any page, click your profile photo, and then click Settings.
- In the Code, planning, and automation section of the sidebar, click Codespaces.
- Under Dotfiles, select Automatically install dotfiles so that GitHub Codespaces automatically installs your dotfiles into every new codespace you create.
- Click Select repository and then choose your current skills working repository as the repository from which to install dotfiles.
-
Start from the landing page of your repository.
-
Click the Code button located in the middle of the page.
-
Click the Codespaces tab on the box that pops up.
-
Click the Create codespace on main button.
Wait about 2 minutes for the codespace to spin itself up.
-
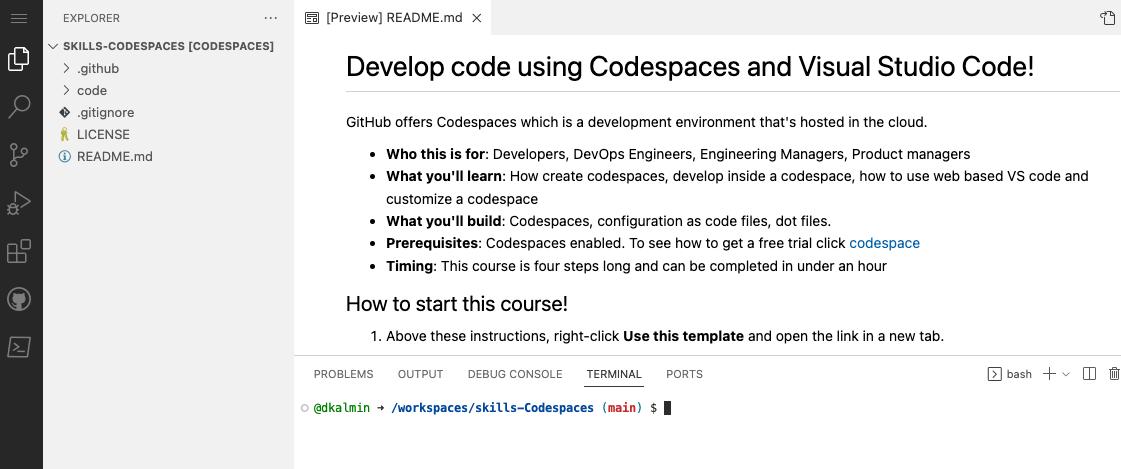
Verify your codespace is running. The browser should contain a VS Code web-based editor and a terminal should be present such as the below:
-
From inside the codespace in the VS Code explorer window, create a new file
setup.sh. -
Add the following code inside of the file:
#!/bin/bash sudo apt-get update sudo apt-get install sl -
Save the file.
Note: The file should autosave.
-
Commit the file changes. From the VS Code terminal enter:
git add setup.sh --chmod=+x git commit -m "Adding setup.sh from the codespace!" -
Push the changes back to your repository. From the VS Code terminal, enter:
git push
-
Switch back to the homepage of your repository and view the
setup.shto verify the new code was pushed to your repository. -
Close the codespace web browser tab.
-
Click the Create codespace on main button.
Wait about 2 minutes for the codespace to spin itself up.
-
Verify your codespace is running, as you did previously.
-
Verify the
setup.shfile is present in your VS Code editor. -
From the VS Code terminal, type or paste:
/usr/games/sl
-
Enjoy the show!
-
Wait about 20 seconds then refresh this page (the one you're following instructions from). GitHub Actions will automatically update to the next step.
Get help: Post in our discussion board • Review the GitHub status page
© 2023 GitHub • Code of Conduct • MIT License