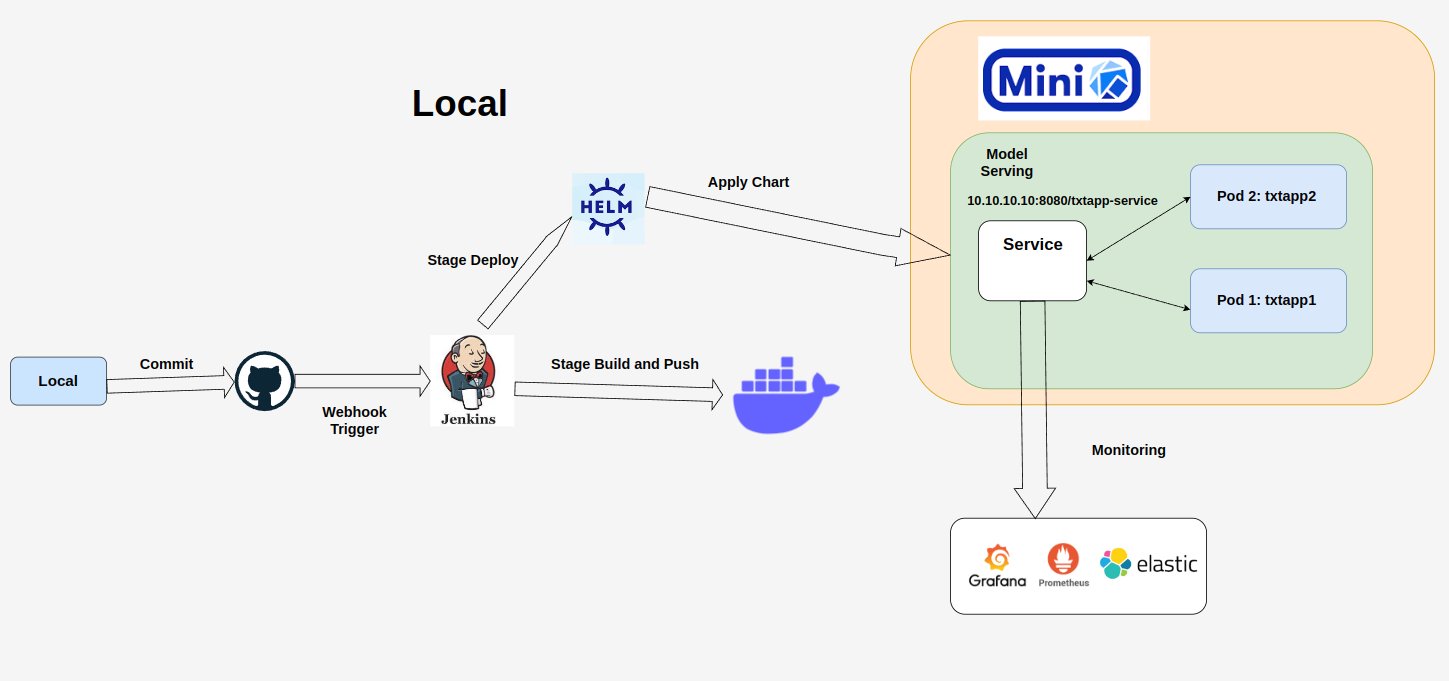
Our project focuses on implementing text summarization using BART (Bidirectional and Auto-Regressive Transformers), a powerful model developed by Facebook. BART excels in generating coherent and concise summaries by combining both auto-regressive and bidirectional pretraining techniques. Leveraging its state-of-the-art capabilities, our text summarization system aims to distill essential information from lengthy documents, articles, or paragraphs, providing users with succinct and meaningful summaries. This project not only showcases the effectiveness of BART in natural language understanding but also contributes to the advancement of text summarization technology, making information extraction more efficient and accessible.
├── demo.ipynb                - Jupyter notebook for running the demo
├── docker-compose.yaml       - Docker Compose configuration file
├── Dockerfile                - Dockerfile for building the image
├── env                       - Directory for environment variables
├── helm                      - Directory for Helm chart to deploy the application
├── images                    - Directory for image files
├── jenkins                   - Directory for Jenkins configuration files
├── Jenkinsfile               - Jenkins pipeline script to describe the CI/CD process
├── local                     - Directory for local contain Ansible to build GCE
├── main.py                   - Main Python script for the application
├── model                     - Directory for model files
├── monitor                   - Directory for monitoring such as Elasticsearch, Kibana, Prometheus, Grafana
├── README.md                 - This README file
├── requirements.txt          - Python requirements file
└── terraform - Directory for Terraform to build GKEFirst, install the required packages by running the following command:
Python Version: 3.11.6
pip install -r requirements.txtAfter installing the required packages, you can run the demo by executing the file demo.ipynb:
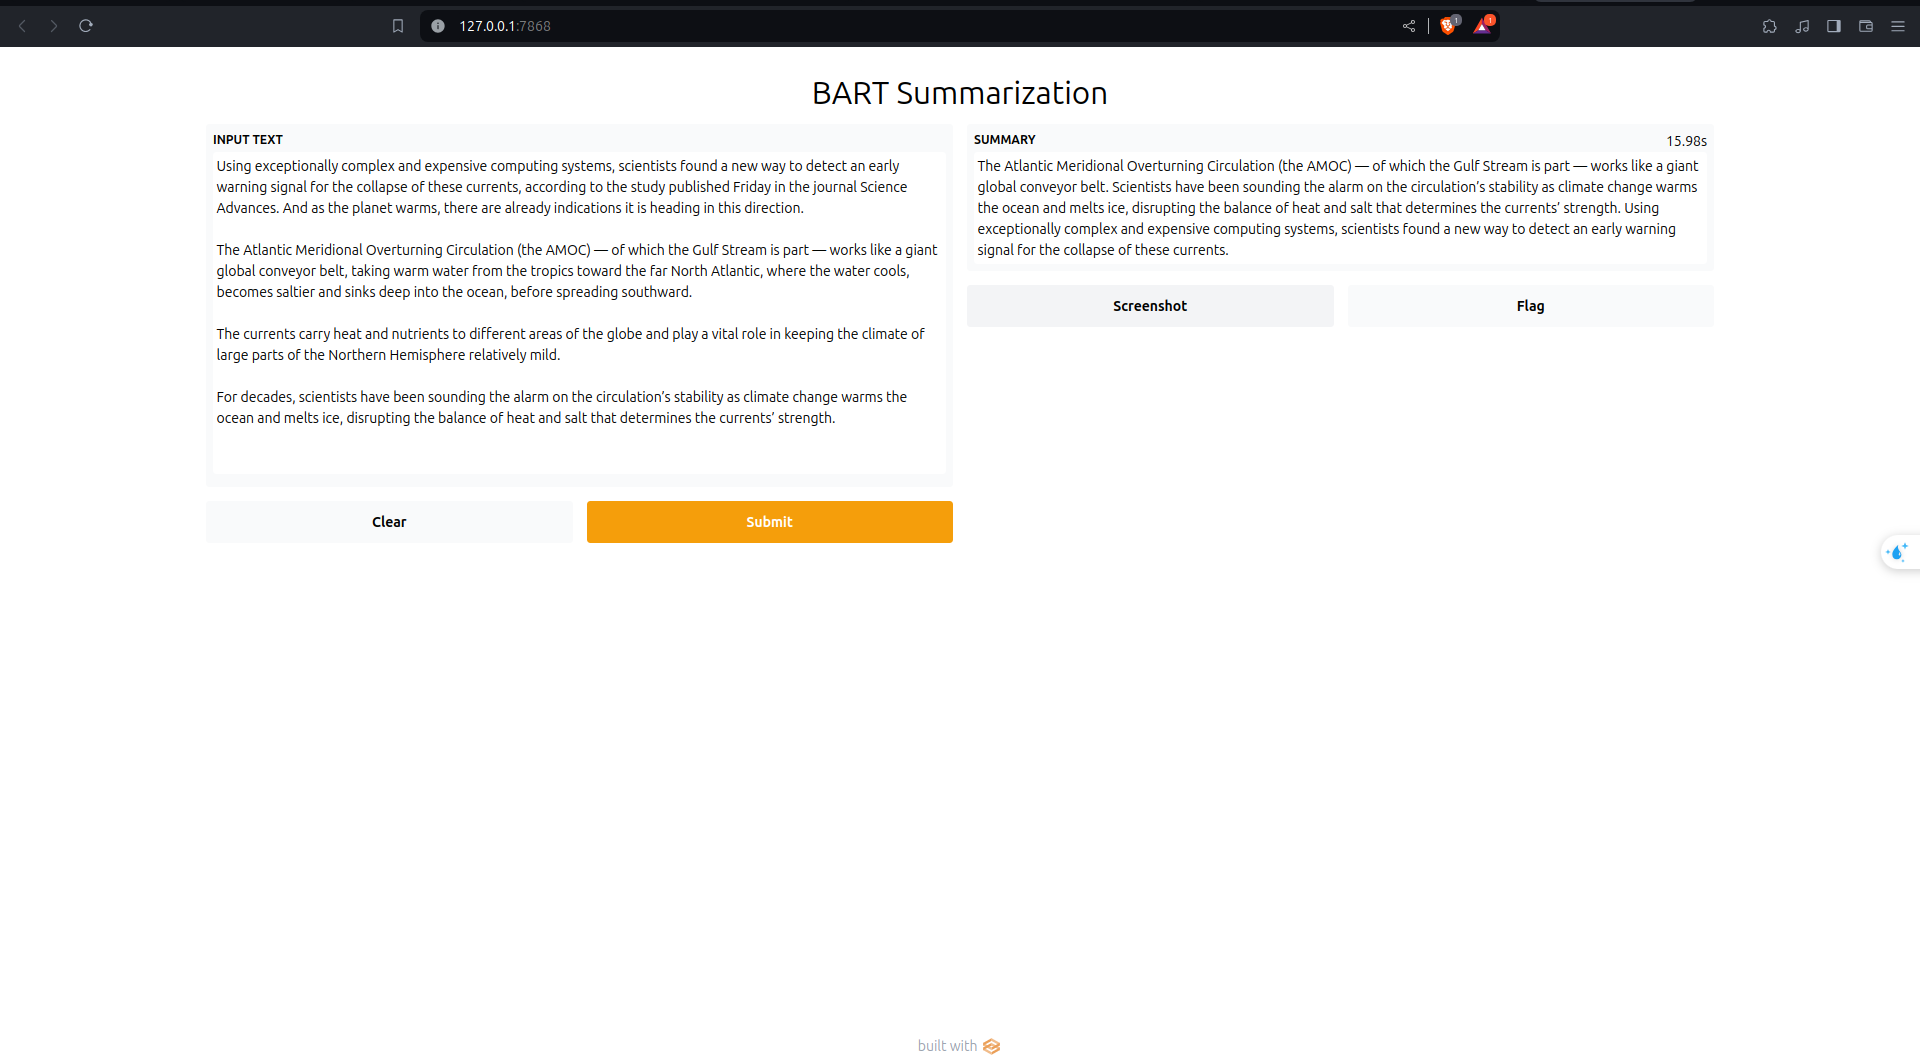
The result will be displayed in the gradio interface, where you can input the text you want to summarize and get the summarized text as the output.
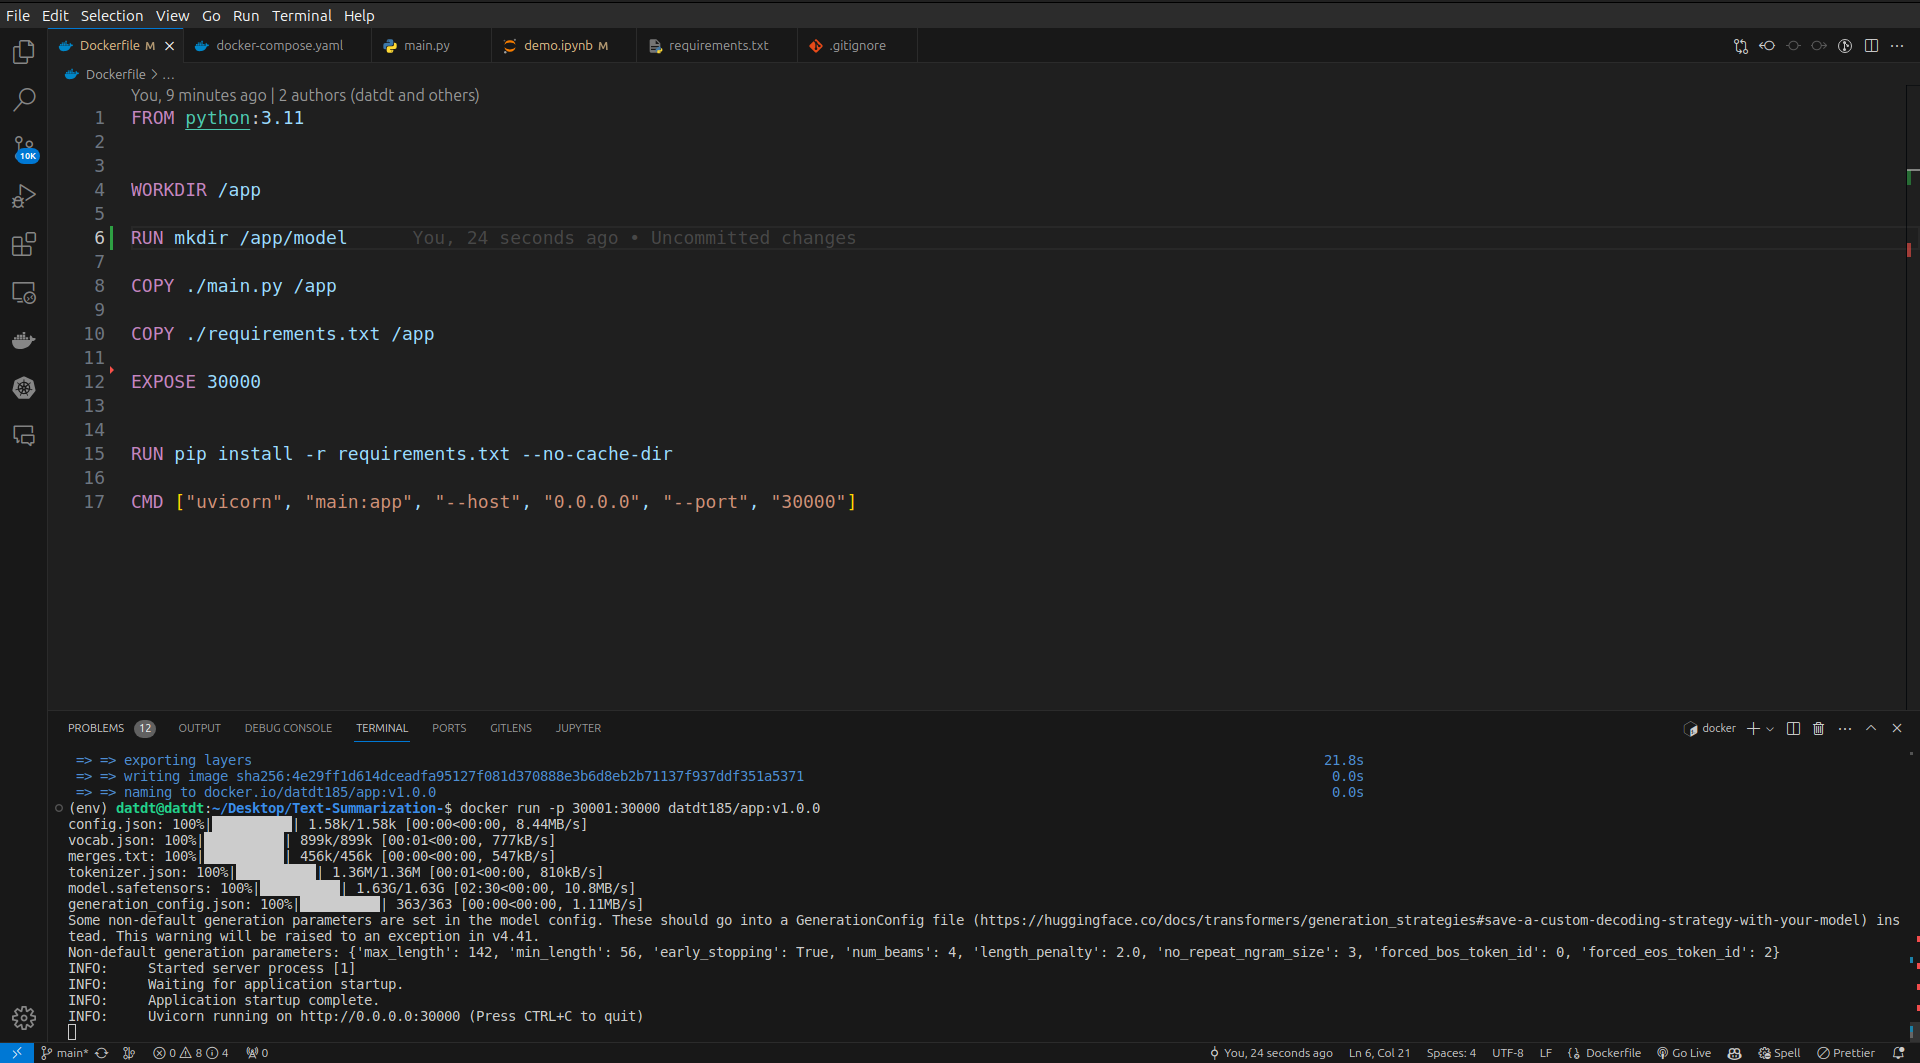
To run the demo in a Docker container, you can build the Docker image using the following command:
docker build -t name_image .After building the Docker image, you can run the Docker container using the following command:
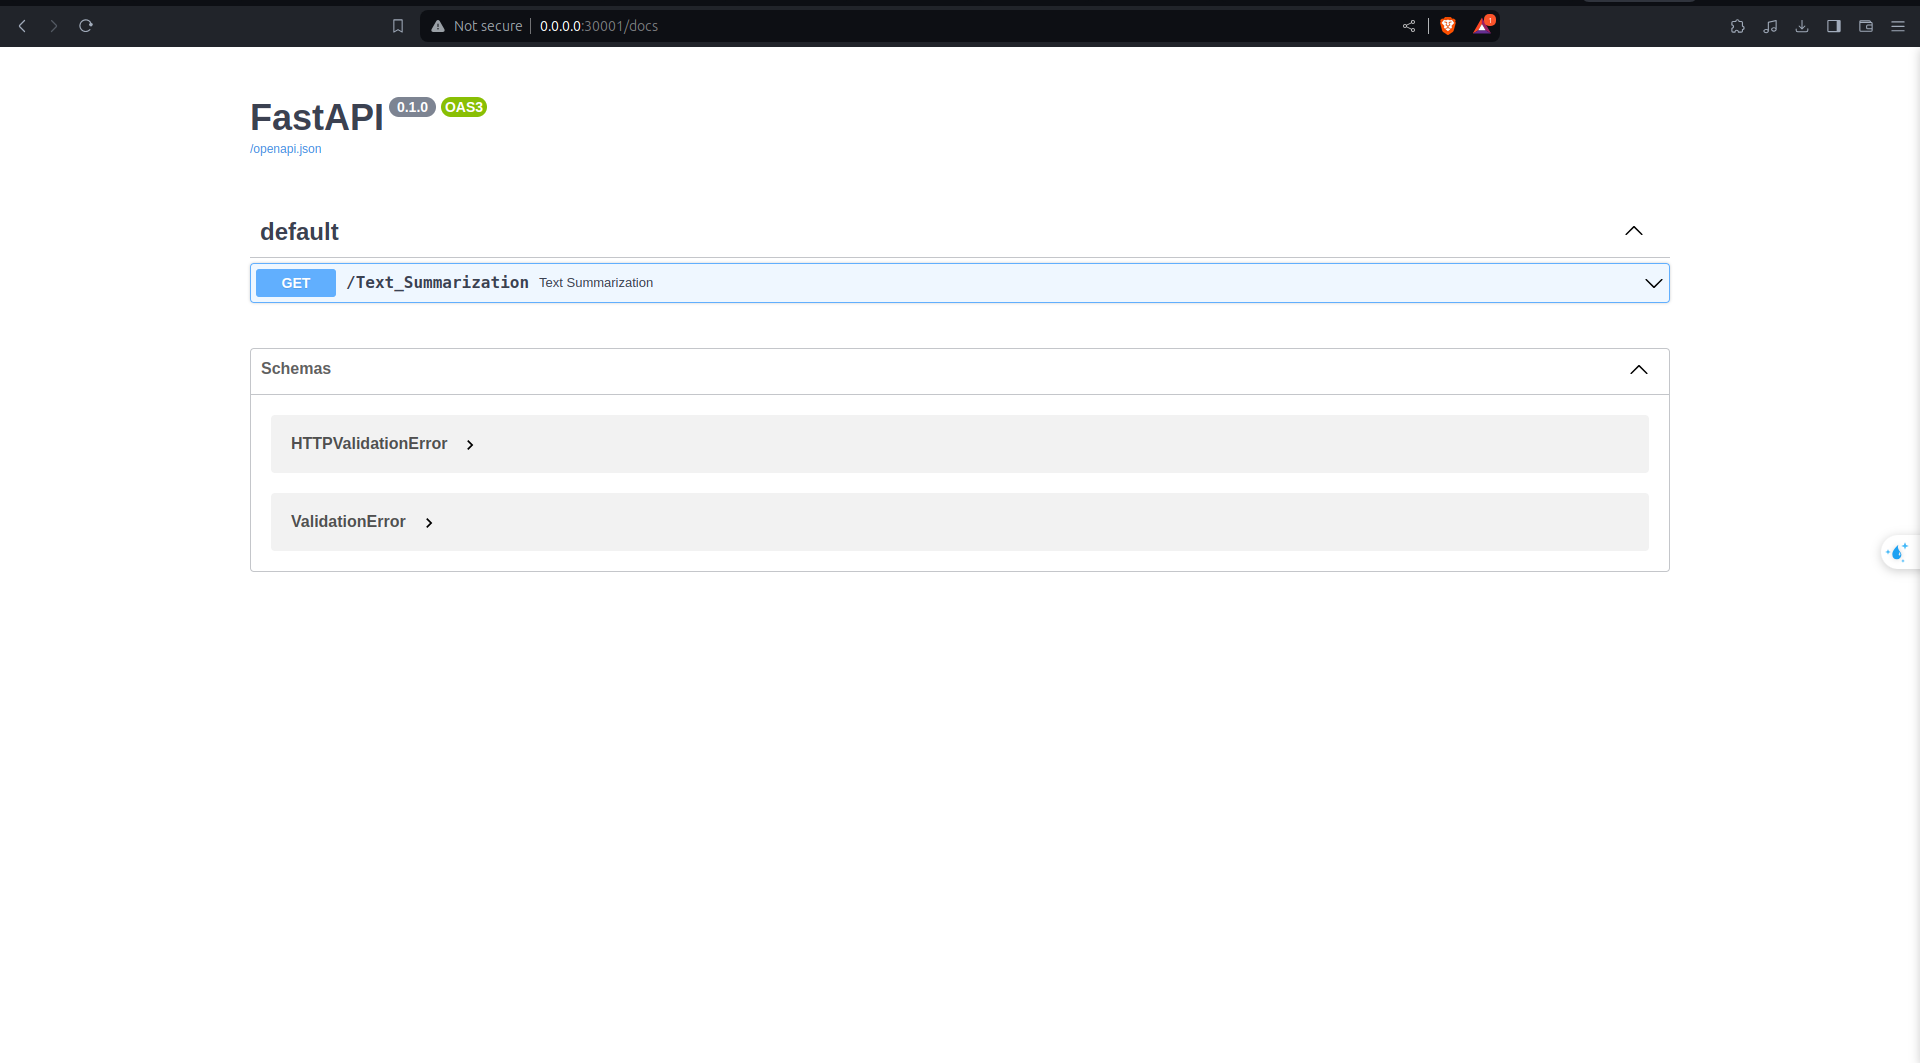
docker run -p 30001:30000 name_imageModel with deploy in FastAPI with localhost:30001/docs
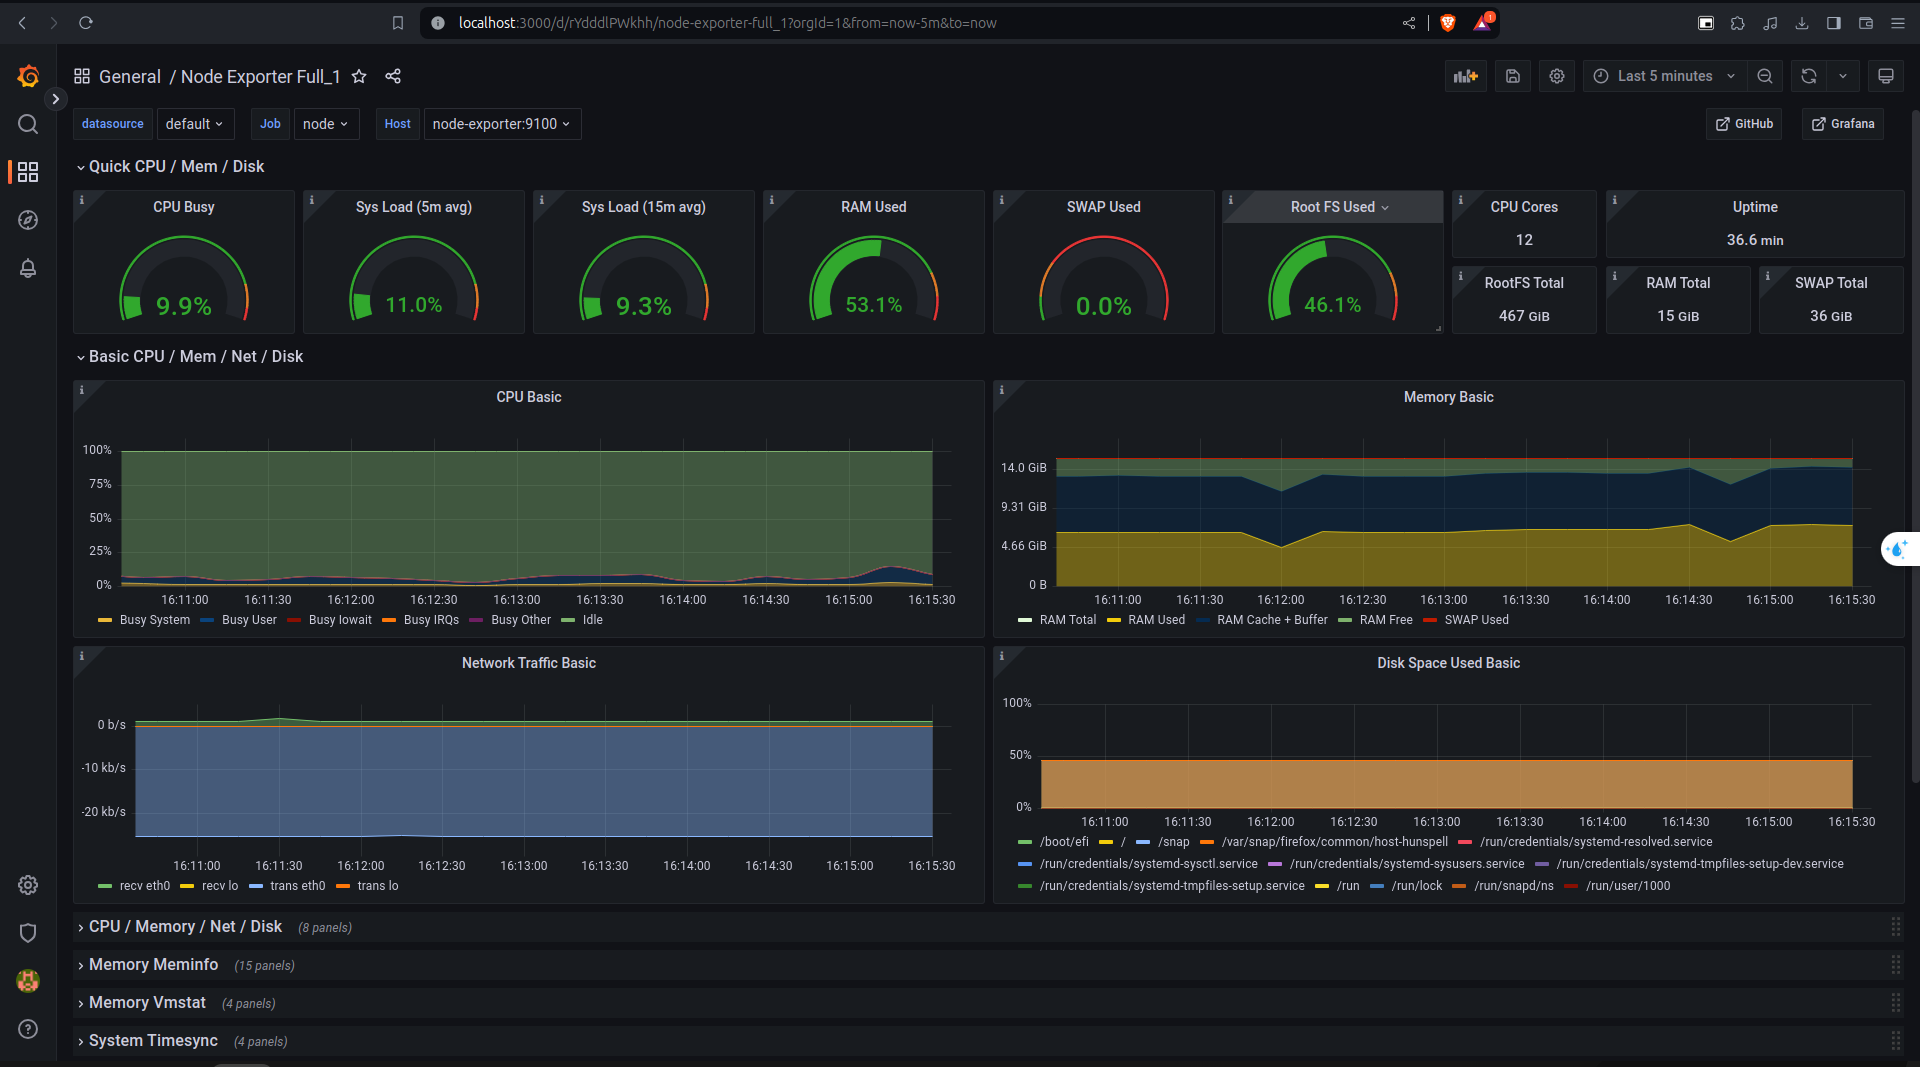
To monitor the system, you can use Prometheus and Grafana. First, start the Prometheus and Grafana services by running the following command:
cd monitor
docker compose -f prom-graf-docker-compose.yaml up -d
Access the Prometheus dashboard at localhost:9090 and Grafana dashboard at localhost:3000. The default username and password for Grafana are admin and admin, respectively.
We have two stages, build and deploy, in our CI/CD pipeline. The build stage is responsible for building the Docker image, while the deploy stage is responsible for deploying the Docker image to the cloud. We use GitHub Actions to automate the CI/CD pipeline. The pipeline is triggered whenever a new commit is pushed to the main branch.
cd jenkins
docker build -t yourname/jenkins . # create image
docker compose -f dokcer-compose.yaml up -d # remember to change the name of image in docker-compose.yaml
Access the Jenkins dashboard at localhost:8080. The default username is admin. You can get the password by running the following command:
docker logs jenkinsAfter logging in, you have to install some plugins
- Docker
- Docker Pipeline
- Docker API
More over use have to set the credentials for Docker Hub
- Docker Credentials
- Git Credentials (using ngrok to expose the local server to the internet)
Now, we will deploy the model to the cloud using GCP. First, you need to create a project and enable the Compute Engine and Kubernetes Engine APIs. Then, you can deploy the model to GKE using the following command:
-
Install gke-gcloud-auth-plugin
sudo apt-get install google-cloud-cli-gke-gcloud-auth-plugin- Set GCloud Project
Authorizes gcloud and other SDK tools to access Google Cloud and setup configuration
gcloud init- Login to GCP
gcloud auth application-default login- Deploy model to Google Kubernetes Engine (GKE)
- Using terraform to create a GKE cluster
cd terraform
terraform init
terraform plan # please check the plan before applying
terraform apply- Connect to GKE
Copy the command and run it in the terminal
gcloud container clusters get-credentials mlops-414313-gke --region us-central1 --project mlops-414313Using command kubectx to check right context, if it is not right, you can change it by using command kubectx <context_name>
- Create necessary namespaces
kubectl create ns model-serving
kubectl create ns monitoring
kubectl create ns nginx-ingress- Deploy nginx ingress controller
cd helm/nginx-ingress
helm upgrade --install nginx-ingress helm_charts/nginx-ingress -n nginx-ingress- Deploy application to GKE
helm upgrade --install txtapp helm_charts/txtapp -n model-serving- Update Domain Name
sudo nano /etc/hosts
external_ip txtapp.example.com # external_ip is the external ip of nginx-ingress-controller)To automate the CI/CD pipeline for deploying the model to GKE with Jenkins, we will have some setup steps as follows: First, we should enable the Google Compute Engine and Google Kubernetes Engine APIs in the GCP console.
We will use Ansible to create GCE.
First, we will set up the environment for Ansible and connect to GCE.
Access to here to generate the key to connect to GCE
 Access to project which you want to connect to GCE
Then click the manage key and select JSON
Remember keep the key in the safe place and do not share it with anyone. (In my project I keep it in the folder ansible/secretes/) Then we will use the key to connect to GCE.
ansible-playbook create_compute_instance.yamlCopy the external ip of the GCE and put it in file inventory
ssh-keygen
cat ~/.ssh/id_rsa.pub # copy the key and add it to the GCE
Alright, now we have the GCE, we will use Ansible to install Jenkins and Docker in the VM.
ansible-playbook -i ../inventory deploy_jenkins.yamlNow, we can access the Jenkins dashboard at the
external ip:8081
- Install the necessary plugins
Same plugins as we did in the local Jenkins. More over, we have to install:
- Kubernetes Client API plugin
- Kubernetes Credentials plugin
- Kubernets Plugin
- GCloud SDK plugin
And few settings in Jenkins Manage Jenkins -> Node and Cloud -> Configure Clouds -> Add a new cloud -> Kubernetes
Fill the information as below
- Kubernetes URL: https://external_ip
- Kubernetes server certificate key get from
cat ~/.kube/config- Jenkins URL: http://external_ip:8081
Then click test connection to check the connection It will show error, we will fix it with
kubectl create clusterrolebinding cluster-admin-binding --clusterrole cluster-admin --user $(gcloud config get-value account)