CAD files are provided in STEP/STP format. This is the whole assembly as a solid format so you can easily edit it. You will need to load it into some CAD software and edit/export individual STLs for printing.
Tyres are printed in TPU, I used Ninjaflex. The rest in PLA printed with a combination of 0.5mm and 1.2mm nozzles.
Motors are 6374 150Kv BLDC motors from the ODrive store: https://odriverobotics.com/shop Encoders and cables are the 8192 CPR encoders also from the ODrive store. I used a 56V ODrive 3.6, the robot runs from a 24V LiPo, but it can be 25V+ when it's charged. Wheel Drive belts are 590mm T5 12mm wide PU belts with steel tensioners made by Synchroflex. 'Utility Stick' drive belt is an HTD 5mm pitch 15mm wide 1790mm length belt.
Other electronics so far include:
-Teensy 4.1 -NVIDIA Xavier NX -RPLIDAR A2 -24v and 11.1v lipos, switches and wiring etc
Obviously this isn't a comprehensive guide to ROS, you will need to undestand some core concepts before building this. The Robot runs ROS Melodic on Ubuntu 18.04. This is because the NVIDIA Xavier NX runs 18.04 by default.
On the robot:
The arduino code runs on the Teensy 4.1. This talks to the wheel encoders. It subscribres to the cmd_vel topic and publishes Odom, and TF for the robot's motions. The RPLIDAR A2 node publishes the scan topic: https://github.com/robopeak/rplidar_ros
The Teensy also talks to the ODrive on Serial1. In order to get the ROS Serial library running on the Teensy 4.1, and get both the ROS Serial library and the ODrive library to run together I had to make various modifications. I removed mentions of the Stream Operator which were in the original ODrive Arduino example: https://github.com/madcowswe/ODrive/tree/master/Arduino/ODriveArduino/examples/ I also had to modify the ROS Serial library to add Teensy 4.1 support, and increase buffers so that the Odom message could be published over Serial. I've included both modified libraries as zip files.
The 'rur' and 'rur_description' ROS packages are installed on the robot, and everything is launched with the 'rur_bringup.launch' file. This launches the ROS Serial node to talk tot he Teensy 4.1, starts the laser, and also uses the Robot & Joint State Publishers to publish the transform in the URDF file so the laser is linked to the robot base in the right place.
On my remote workstation:
The 'rur_navigation' ROS package is installed on the remote workstation (although it could be run locally). You will also need to install the ROS navigation stack and slam_gmapping. You will also need to run rosdep to install any other dependencies: http://wiki.ros.org/rosdep
https://github.com/ros-planning/navigation/tree/melodic-devel https://github.com/ros-perception/slam_gmapping/tree/melodic-devel
There is no launch file for gmapping, so having launched the rur_bringup package on the robot and launched Gmapping ( rosrun gmapping slam_gmapping scan:=scan ) you'll have to open Rviz and manually add/connect the topics for TF/Laser/Map etc. You can use the map server/saver command to save the map ( rosrun map_server map_saver -f ~/map )
After the map is complete you can launch the rur_navigation package which will open Rviz automatically. Use: roslaunch rur_navigation rur_navigation.launch map_file:=$HOME/map.yaml to connect to the map you saved.
NOTE: The following content in the README includes implementation and documentation of Simulation package of ReallyUsefulRobot and is being made by Pranshu Tople and is been documented LIVE on his YouTube Playlist. James Bruton is not responsible if the following simulation package has any issues. So if face any problem in simulation, you can open up a GitHub Issue and tag Pranshu Tople's Github Account. Hope you enjoy Simulating ReallyUsefulRobot on your PC
☺️ ✌🏼


You don't have to worry anymore if you don't have enough capital to build the RUR robot! You can simply follow the guide given below, and you will have simulation of RUR running on your PC without any issue. The simulation works exactly like the real robot and communicates on the same topic lists. So if you make some software or package for simulated robot, the same would work on real RUR robot without any problem. This opens up gates for the Open-Source community to build various different applications around RUR.
If you have not downloaded the full-desktop-version of ROS which comes with Gazebo Simulator, then you might need to download a couple of pre-requisites to run the simulation. Even if you have downloaded the full version, yet its a good practice to run the following command which checks if all the pre-requisites are installed or not. And if they are not installed, then the same command downloads them all automatically.
sudo apt-get install gazebo9 libgazebo9-* ros-melodic-robot-state-publisher ros-melodic-robot-joint-state-publisher ros-melodic-robot-joint-state-publisher-gui ros-melodic-teleop-twist-keyboard ros-melodic-gmapping ros-melodic-slam-gmapping ros-melodic-map-server
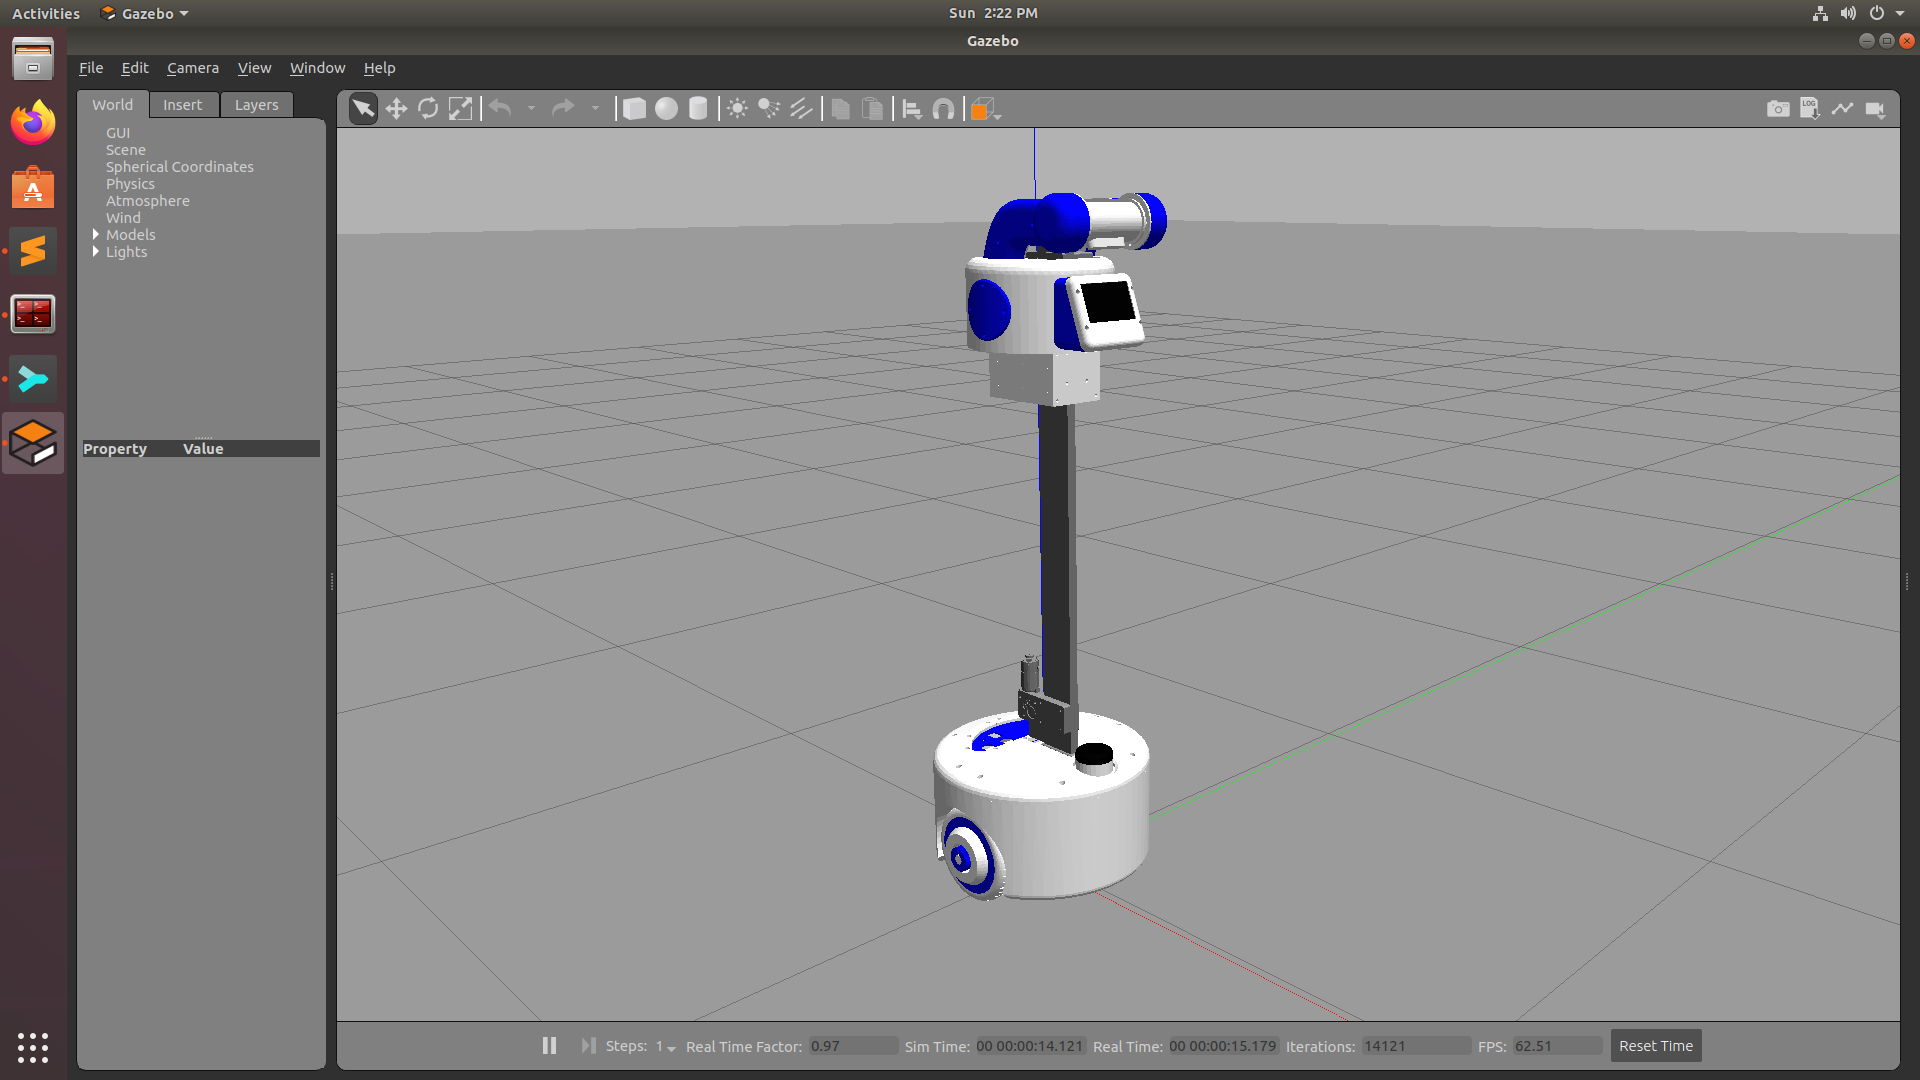
Firstly, please place this complete repository or just the ROS folder into your src folder of catkin_ws and run catkin_make command. Once the catkin_make is done successfully, then to launch the robot in an empty simulation world for testing in Gazebo Simulator, run the following command on your terminal
roslaunch rur_detailed_description gazebo.launch
Once you have successfully launched the simulation, you can also run the Teleop node to teleoprate you robot using keyboard. To run the node, paste the following command in a new terminal and you can move your robot around using ' i ' ,' j ' , ' k ' , ' l ' , ' , '
- i = move forward
- k = stop
- j = rotate left
- l = rotate right
- , = move backward
- along with few more operations like 'u','o','m','.' to go forward-left, forward-right, backward-left and backward-right respectively
rosrun teleop_twist_keyboard teleop_twist_keyboard.py

You can also add a couple of obstacles in the environment and check if the LiDAR is able to detect them. Just run the following command and it will open up RViz which is a robot visualization tool that helps you visualize sensor data from the robot.
roslaunch rur_detailed_description display.launch


RViz is also a place where you can closely inspect the URDF of the robot and look at the detailed TF structer of the robot

Once you have tested that both Gazebo and RViz are working properly, then comes the part where you can actually simulate the robot in a virtual world and do mapping and navigation. Just like we run 'rur_bringup.launch' file while working on real robot similarly to start the simulation, we need to launch the 'rur_house.launch' file that will launch gazebo with RUR in a house environment. You can also run 'display.launch' file to view the LiDAR data at the same time. This eleminates the step of manually opening RViz for mapping and setting up different parameters
roslaunch rur_gazebo rur_house.launch
roslaunch rur_detailed_description display.launch


The command of mapping is the same as the original robot. Just you don't need to open up RViz separetly as you already have 'display.launch' running.
rosrun gmapping slam_gmapping scan:=scan

Also you can run the teleop node in a separate terminal and move the robot around


Once you have completed generating the map, before saving the map, navigate to the directory where you want to save the map through your terminal and run the following command to save it.
rosrun map_server map_saver -f name_of_map


You can then navigate to the directory from your file manager to check if the map is properly saved

To run naviagtion, firstly you have to make sure that the simulation is running properly. Run the following command to start the simulation
roslaunch rur_gazebo rur_house.launch
Once you have the simulation running properly with the robot spawned in the middle, now you can run the same navigation file which is used to start navigation on the real robot that is -
roslaunch rur_navigation rur_navigation.launch

But here, you dont need to give any location of the map as the default location of the map is set to the house map. If you want to pass some other map, then you can pass the respective argument. There is no need to launch 'display.launch' as this will start RViz automatically and you can give 2D Nav Goal to the robot


Once you give the navigation goal, the robot will start navigating to the goal location autonomously in Gazebo and you can visualize that in RViz at the same time. Once you reach the Goal, you will also get a prompt on the terminal that the robot has Reached the Goal...


Everything related to Simulation you see on this repository was streamed & documented LIVE on Youtube. To Learn more about the Simulation Package in detail and if you wish to see how is it implemented, then check out the following Playlist on Youtube
If you have any doubts or questions regarding simulation, then either you can comment that on Youtube or else open a Github Issue.