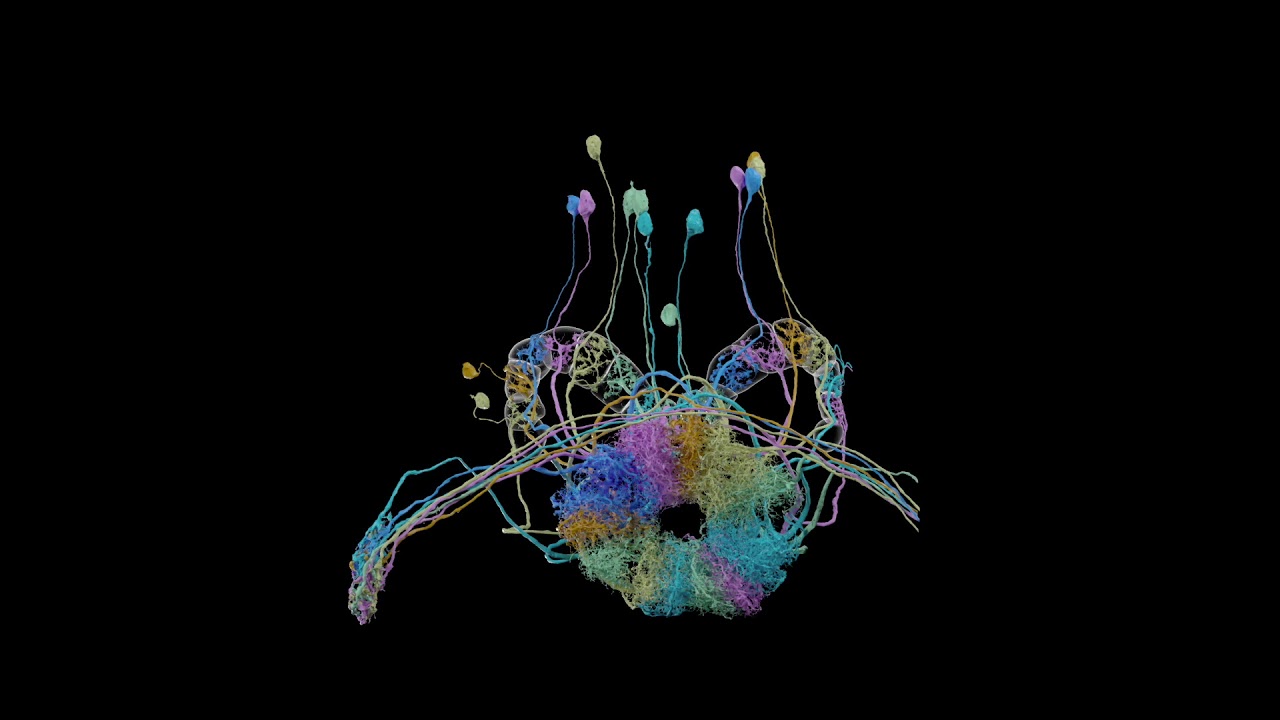
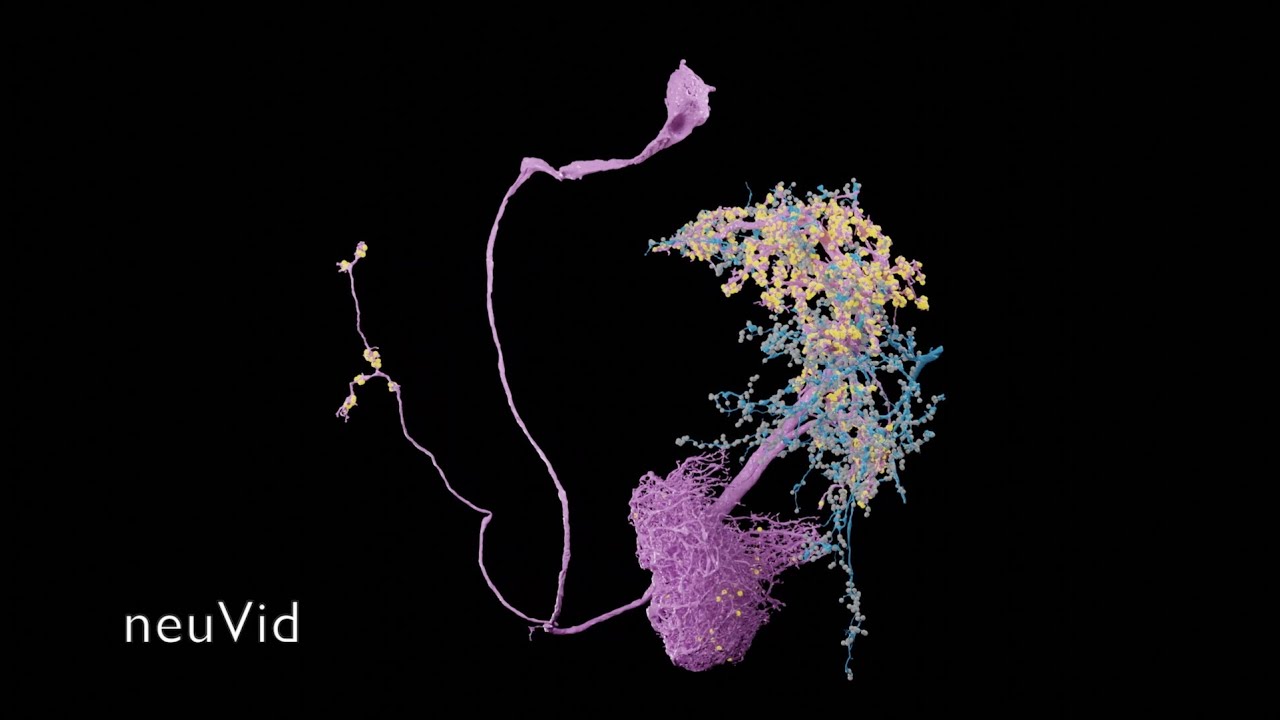
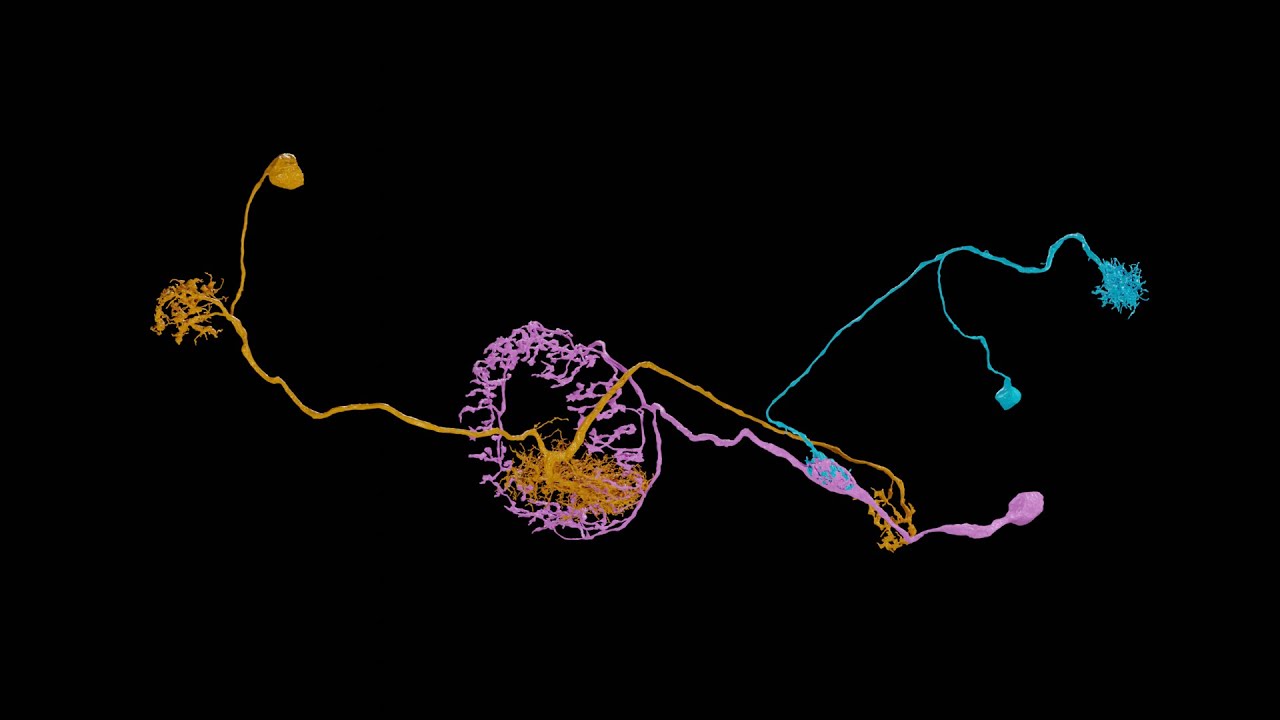
These Python scripts generate simple anatomical videos in Blender, following the conventions common in neuroscience research on the Drosophila fruit fly. The input is a JSON file giving a high-level description of anatomical elements (e.g., segmented neurons, regions of interest, synapses) and how they are animated (e.g., the camera frames on some neurons, then those neurons fade out while the camera orbits around them). An experimental application can create the JSON from natural language using generative AI. Renderings of high quality can be done with a path-tracing renderer: Blender's Cycles, or the OTOY Octane renderer (which requires a commercial license). Here is a video scripted with neuVid and rendered with Octane (with titles added separately in iMovie):
See more examples in the neuVid gallery.
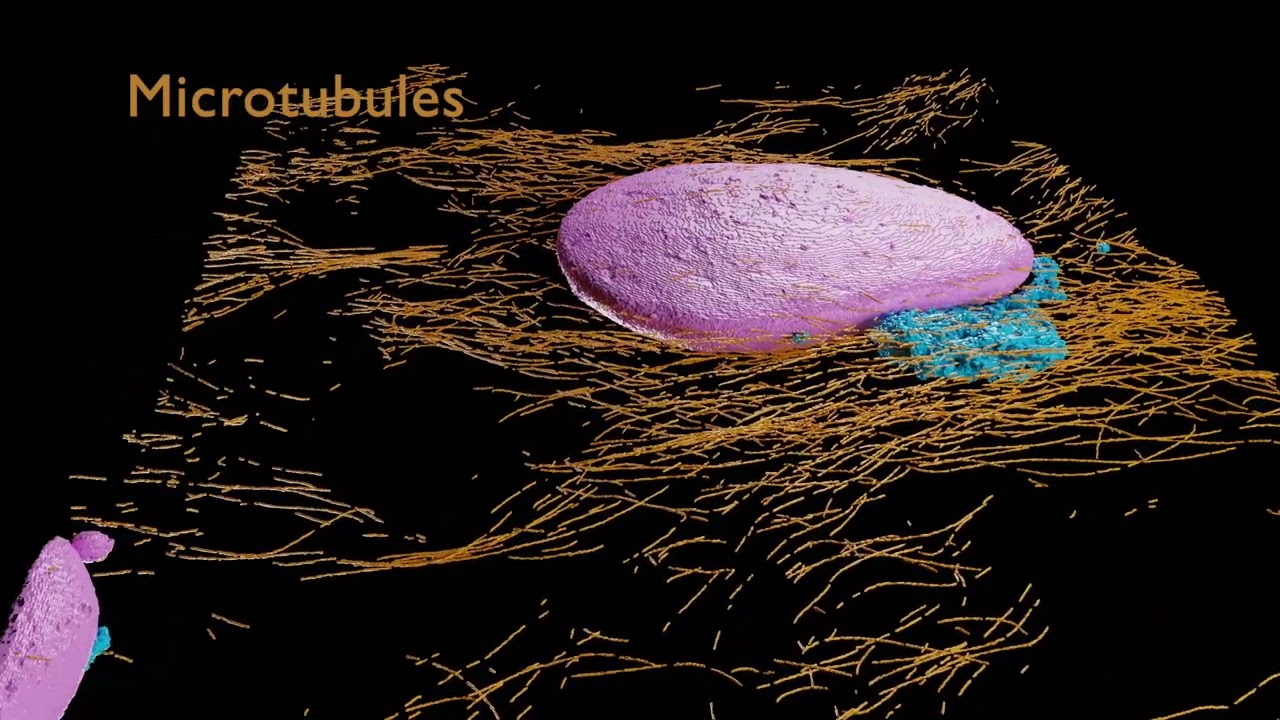
These scripts also support volumetric data sets with no explicit segmentation. An example is the H5J format volumes in the Janelia FlyLight Split-GAL4 driver collection. This kind of data is rendered with direct volume rendering by VVDViewer.
The simplest way to start using neuVid is to import data from neuPrint, a web-based system for browsing the neurons and synapses in connectomes. The set-up involves just two downloads, and the hands-on time can be as little as a few minutes, as demonstrated in the following tutorial video:
Here are the steps:
-
Install Blender. These scripts will work with the latest version, and older versions back to 2.79.
-
Open a terminal (shell) and clone this repository.
-
Find some neurons (and synapses if desired) in
neuPrint, and switch toneuPrint's Neuroglancer tab. -
Press the "Copy view URL to clipboard" button (icon: two overlapping squares) at right side of the Neuroglancer header bar.
-
Run the script to read the clipboard and output the JSON file that specifies the video. In the following,
blenderis shorthand for the actual platform-specific path to the Blender executable:/Applications/Blender.app/Contents/MacOS/Blenderon macOS; something like/usr/local/blender/blender-3.4.1-linux-x64/blenderon Linux; something like"C:\Program Files\Blender Foundation\Blender 3.4\blender.exe"on Windows, with the quotes being necessary due to the spaces in the path. Note also that with Windows PowerShell, the executable must be preceded by&, as in& "C:\Program Files\Blender Foundation\Blender 3.4\blender.exe".blender --background --python neuVid/neuVid/importNg.py -- -o ex1.jsonNote that on Windows, the path to the Blender executable may well contain spaces, as in
C:\Program Files\Blender Foundation\Blender 3.3\blender.exe. To run it in the command shell, put quotes around the path, as in"C:\Program Files\Blender Foundation\Blender 3.3\blender.exe" --background --python ....Experimental option
-t(or--typesplit): groups imported neurons by type, where available. -
Run the script to download meshes and create the basic Blender file (without animation) in the same directory as the JSON file. This stage also creates directories for downloaded mesh files (
neuVidNeuronMeshes,neuVidRoiMeshes,neuVidSynapseMeshes) in the same directory as the JSON file.blender --background --python neuVid/neuVid/importMeshes.py -- -i ex1.json -
Run the script to create a second Blender file with animation. Adding animation is a separate step since it can take significantly less time than creating the basic Blender file, and may need to be done repeatedly as the animation specification is refined.
blender --background --python neuVid/neuVid/addAnimation.py -- -i ex1.json -
If desired, preview the animation by opening the second blender file (
ex1Anim.blend) in a normal interactive (not background) Blender session. -
Run the script to render the animation with Blender's Cycles renderer. This step takes the longest (tens of minutes on a modern desktop or laptop computer). The rendered frames go to a subdirectory (
ex1-frames) in the same directory as the JSON file.blender --background --python neuVid/neuVid/render.py -- -i ex1.json -
Run the script to assemble the rendered frames into a video (named
ex1-frames/0001-N.avi, whereNis the number of rendered frames).blender --background --python neuVid/neuVid/assembleFrames.py -- -i ex1.json
A second tutorial shows how to make more sophisticated videos with more camera motion:
Note how the neuPrint workflow involves Neuroglancer, a WebGL-based viewer for large data sets like those from connectomics. Neuroglancer handles other data sets, and some of them can be imported into neuVid, too. An example from neuroscience is the FAFB data set in its FlyWire and FFN1 forms (FAFB synapses are not yet supported), and an example from cell biology is the interphase HeLa cell from the OpenOrganelle collection:
When importing from Neuroglancer outside neuPrint, some extra Python modules are needed. These modules process the Neuroglancer "precomputed" format that stores multiresolution and/or sharded meshes, converting the meshes to OBJ files for futher processing in neuVid. A good way to manage the installation of these modules (so they do not interfere with other uses of Python) is to use Miniconda. First, install Miniconda itself. (Note that there is an "arm64" version of Conda for Apple silicon, like the M1 chip, but the packages needed here do not yet work with it; use the legacy "x86_64" version of Conda instead.) Next, create an environment (named "neuVid-NG", for example) with the extra modules, like MeshParty:
conda create --name neuVid-NG python=3.9
conda activate neuVid-NG
pip install meshparty open3d
Then follow these steps to use neuVid:
-
Make sure Blender is installed, and this repository is cloned, as above.
-
In Neuroglancer, make the desired segments visible (e.g., right-click on the layer tab to get the side bar, switch to the "Seg" tab, click the top check box to make all IDs visible).
-
Click on the browser URL for Neuroglancer to select it, and copy it to the clipboard. (It is a very long URL.)
-
In a terminal (shell), activate the Conda environment to make the extra modules available:
conda activate neuVid-NG -
Run the script to convert the Neuroglancer URL in the clipboard into the JSON file that specifies the video. Remember that
blenderis shorthand for the actual platform-specific path to the Blender executable, as described above.blender --background --python neuVid/neuVid/importNg.py -- -o ex2.json -
Run the script that fetches the meshes from the Neuroglancer sources. Note that this script runs with
pythondirectly instead of using Blender (which does not know about the extra Python modules).python neuVid/neuVid/fetchMeshes.py -i ex2.json -
Edit the
ex2.jsonfile to create the desired animation; see the detailedneuViddocumentation. That documentation discusses another approach to defining the animation, involving multiple Neuroglancer URLs that define key moments in the animation. -
Run the remaining
neuVidscripts as above:blender --background --python neuVid/neuVid/importMeshes.py -- -i ex2.json blender --background --python neuVid/neuVid/addAnimation.py -- -i ex2.json blender --background --python neuVid/neuVid/render.py -- -i ex2.json blender --background --python neuVid/neuVid/assembleFrames.py -- -i ex2.json
If you feel comfortable specifying the mesh sources and segment IDs by hand, as described in the detailed neuVid documentation, then there is no need to start with neuPrint or Neuroglancer:
-
Make sure Blender is installed, and this repository is cloned, as above.
-
Create a JSON file (e.g.,
ex3.json) to specify the sources and animation. -
Run the last four
neuVidscript as above. Remember thatblenderis shorthand for the actual platform-specific path to the Blender executable, as described above.blender --background --python neuVid/neuVid/importMeshes.py -- -i ex3.json blender --background --python neuVid/neuVid/addAnimation.py -- -i ex3.json blender --background --python neuVid/neuVid/render.py -- -i ex3.json blender --background --python neuVid/neuVid/assembleFrames.py -- -i ex3.json
Neuroglancer synapse layers from neuPrint are imported as described above, but in some cases it is useful to have more control over the details of the synapses. This control is provided by the neuprint-python module. As mentioned on its project page, neuprint-python can be installed with either Conda or Pip. Here are the steps:
-
To use Conda, first install Miniconda.
-
Create a new Conda environment and install
neuprint-pythonfrom theflyem-forgechannel.conda create --name neuVid-synapses conda activate neuVid-synapses conda install -c flyem-forge neuprint-pythonOr add
neuprint-pythonto an existing Conda environment, likeneuVid-NGcreated above. -
The
neuprint-pythoncode requiresneuPrintcredentials. In a web browser, visithttps://neuprint.janelia.organd log on. Click on the second button on the top right, and choose the "Account" menu item to show the "Account" page. -
Copy the three-or-so-line-long string from the "Auth Token:" section and use it to set the
NEUPRINT_APPLICATION_CREDENTIALSenvironment variable in the shell whereneuVidis to be run. For abashshell, use a command like the following:export NEUPRINT_APPLICATION_CREDENTIALS="eyJhbGci...xwRYI3dg" -
Run the script to query the synapses. This stage creates a directory for the synapse meshes,
neuVidSynapseMeshes, in the same directory as the JSON file. Note that this script runs withpythondirectly instead of using Blender (which does not know about theneuprint-pythonmodule).python neuVid/neuVid/buildSynapses.py -i ex4.json -
Run the last four
neuVidscripts as above. Remember thatblenderis shorthand for the actual platform-specific path to the Blender executable, as described above.blender --background --python neuVid/neuVid/importMeshes.py -- -i ex4.json blender --background --python neuVid/neuVid/addAnimation.py -- -i ex4.json blender --background --python neuVid/neuVid/render.py -- -i ex4.json blender --background --python neuVid/neuVid/assembleFrames.py -- -i ex4.json
Some projects, such as the Janelia MouseLight project, represent neurons in SWC format. The extra step of converting SWC files to OBJ files is handled automatically by neuVid.
-
Create an input JSON file that mentions the SWC files, as in the examples from the detailed documentation.
-
Run
importMeshes.pyas in the other examples. It will create OBJ files (in theneuVidNeuronMeshesdirectory, a sibling to the input JSON file) from the SWC files. See the detailed documentation for some options related to the size and resolution of the generated OBJ files. -
Use
buildSynapses.py,addAnimation.py,render.py,compLabels.py(described below) andassembleFrames.pyas in the other examples.
Rendering can be performed on a compute cluster, a collection of computers shared between users to meet a facility's needs for high-performance computing (HPC). IBM Spectrum LSF is the HPC platform that neuVid assumes is available. Rendering on a cluster involves the following steps:
-
Run
importNg.py,buildSynapses.py,importMeshes.pyandaddAnimation.pyas in the other examples. -
Make sure machines on the cluster can access the
.jsonand.blendfiles, the Blender executable, and the directory for the final rendered frames. -
Open a shell (terminal) on the cluster's host machine for submitting jobs.
-
The
neuVidscript for rendering on a cluster isclusterRender.py, and its arguments are almost identical to those for the standardrender.pyscript. Say standard rendering would be invoked as follows:blender --background --python neuVid/neuVid/render.py -- ...Cluster rendering then would be invoked in this way:
blender --background --python neuVid/neuVid/clusterRender.py -- -P account ...The new argument,
-P account, specifies the account to be billed for the time on the cluster. Note that this use of theclusterRendering.pyscript is synchronous: the script does not finish until the cluster job comes off the "pending" queue and runs to completion. -
For additional options (e.g., to specify the cluster or the "slot" count), see the detailed documentation.
In some videos, it is helpful to include a small set of arrows in the corner indicating biological directions like anterior, posterior, dorsal, ventral. Such axes can be added by running the compAxes.py script before assembling the final video with assembleFrames.py. The compAxes.py script uses the camera from the Blender file produced by addAnimation.py so the axes match the camera motion. This approach involves the following steps:
-
Use
importNg.py,fetchMeshes.py,importMeshes.py,buildSynapses.py,addAnimation.py, andrender.pyas in the other examples. -
Add the
axescategory as a sibling toneurons,roisandsynapses, to specify the arrow's orientations and identifying labels (see the detailed documentation). -
If the axes need to disappear during parts of the video, add
fadecommands. -
Composite the axes onto the rendered frames:
blender --background --python neuVid/neuVid/compAxes.py -- -i ex5.jsonThe resulting frames will be in the directory (folder)
ex5-frames-axes. -
If the details or timing of the axes needs revision, edit the
axescategory andfadecommands and run onlycompAxes.pyagain. Doing so is much faster than runningrender.py. -
Assemble the final video from these frames:
blender --background --python neuVid/neuVid/assembleFrames.py -- -i ex5-frames-axes
One way to add textual labels and titles is to add them to the finished video with an interactive editing application like iMovie or Premiere. Another way is to describe the labels in neuVid's input JSON file and use the compLabels.py script to add the labels before assembling the final video with assembleFrames.py. The latter approach makes it simpler to keep track of multiple labels, and to coordinate the timing of the labels with the timing of the animation. This approach involves the following steps:
-
Use
importNg.py,fetchMeshes.py,importMeshes.py,buildSynapses.py,addAnimation.py,render.py, andcompAxes.pyas in the other examples. -
Define the labels and their timing with
labelcommands in the JSON file (see the detailed documentation). -
Composite the labels onto the rendered frames:
blender --background --python neuVid/neuVid/compLabels.py -- -i ex6.jsonThe resulting frames will be in the directory (folder)
ex6-frames-labeled. If axes have been added already, add the-if(--inputFrames) argument to indicate the directory with the input frames (produced bycompAxes.py):blender --background --python neuVid/neuVid/compLabels.py -- -i ex6.json -if ex6-frames-axesThe resulting frames will be in the directory
ex6-frames-axes-labeled. -
If the content or timing of the labels needs revision, edit the
labelcommands and run onlycompLabels.pyagain. Doing so is much faster than runningrender.py. -
Assemble the final video from these frames:
blender --background --python neuVid/neuVid/assembleFrames.py -- -i ex6-frames-labeledOr:
blender --background --python neuVid/neuVid/assembleFrames.py -- -i ex6-frames-axes-labeled
An experimental component of neuVid takes a description of a video in natural language and translates it to JSON using
generative AI. For now, at least, an Anthropic API key or OpenAI API key is required to use this component. Use the following steps:
-
The
generatedesktop application launches the user interface for entering descriptions and generating JSON. Installgenerateby downloading an executable from the releases page of this repository. Chrome on macOS or Windows raises a dialog that incorrectly calls the compressed (.zip) file with the executable "suspicious" or "uncommon". To unblock and complete the donwload, press the right arrow on the dialog, then press the download button that appears. On Windows a "protected your PC" dialog may then appear; press "More info" and then "Run anyway". Safari on macOS and Chrome on Linux do not have these problems. After downloading, extract the executable from the .zip file: double-click on macOS, or right-click on Windows and choose "Extract All" or an item from the "7-Zip" menu, or use theunzipcommand on Linux. Move the executable to a standard place, like/Applicationson macOS, orC:\Program Files\newVidon Windows, or~/binon Linux. -
The first time
generateis run, it prompts for the name of the large-language model (LLM) to use. Enter an Anthropic model (e.g.,claude-3-opus-20240229, the best peforming model so far) or an OpenAI model (e.g.,gpt-4-0613, which works better thangpt-4-turbo-previewfor neuVid input). The model name is saved for use in futures sessions, and it can be changed using the "Settings/Model..." menu item. -
Then
generateprompts for an API key, from either Anthropic or OpenAI based on the model just chosen. The entered key is saved for future sessions, and can be changed using the "Settings/API Key..." menu item. -
Type the description of the video in the lower text area, and press the "Generate" button.
-
After some processing time (which could be a minute or so for longer descriptions), the generated JSON will appear in the upper text area. Press the "Save..." button to save it to a file for use as input to the other
neuVidscripts.
For more information, see the detailed documentation.
For volumetric data sets lacking a segmentation, use the following approach.
-
Install VVDViewer. The simplest approach is to download an installer from the releases page.
-
Install
animateVvdby downloading an executable from the releases page of this repository. It will be a compressed (.zip) file, so extract it on macOS by double-clicking; or extract it on Windows by right-clicking and choosing "Extract All" or an item from the "7-Zip" menu; or extract it on Linux with theunzipcommand. Move the executable to a standard place, like/Applicationson macOS, orC:\Program Files\newVidon Windows, or~/binon Linux. -
To get a head start on the animation,
animateVvdcan build a basic JSON from a directory of volumes in H5J format, say,exampleVolumes. In a shell (terminal), run the following, whereanimateVvdis shorthand for the actual platform-specific path to the executable (something like/Applications/animateVvd.app/Contents/MacOS/animateVvdon macOS; or like"C:\Program Files\neuVid\animateVvd.exe"on Windows, where the quotes are significant since the path contains a space; or like~/bin/animateVvd.binon Linux).animateVvd -i exampleVolumes -
Edit
exampleVolumes.jsonto add more animation commands. See the detailed documentation. -
Use
animateVvdagain, to convertexampleVolumes.jsoninto a project file for VVDViewer,exampleVolumes.vrp:animateVvd -i exampleVolumes.json -
Run VVDViewer, and press the "Open Project" button at the top to load
exampleVolumes.vrp. -
Close all the VVDViewer panels except "Render: View 1" and "Record/Export" to make the rendered view as big as possible (as its size is the size of the final video).
-
In the "Record/Export" panel, switch to the "Advanced" tab.
-
Press the "Save..." button to render the video. Do not press the "Play" button and then rewind back to the start before pressing "Save...", as doing so sometimes causes glitches in the saved video.
These scripts come from a collaboration at HHMI's Janelia Research Campus between the FlyEM project and the Scientific Computing Software group.
The first use was for the hemibrain connectome release in January, 2020. Videos made with neuVid were the winner and second runner up for the 2021 Drosophila Image Award from the Genetics Society of America.
David Ackerman contributed the first version of the code to fetch OpenOrganelle meshes. Marisa Dreher and Frank Loesche helped improve the system's usability.