Achtung is a modular, extensible multi-notifier that makes it easy to manage multiple notifications from all the tools you need.
-
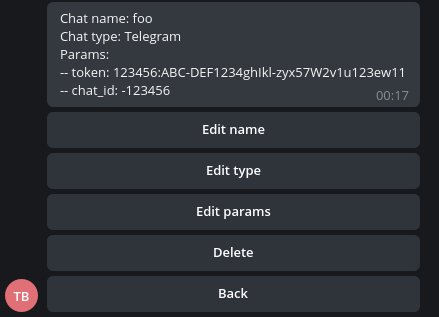
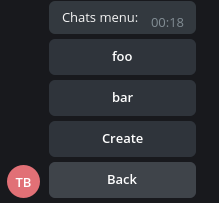
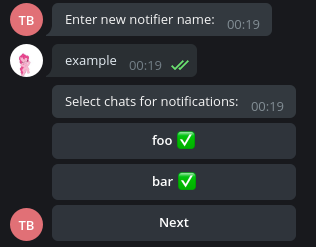
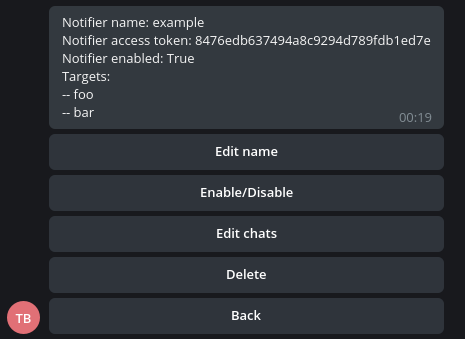
Easy to use: one command to deploy, user-friendly admin panel
-
Easy to extend: add messengers you want in 10 lines of code
-
Enable/disable notifications in one click
-
Send notifications to multiple chats and messengers
-
Already implemented messengers:
-
Telegram
-
Discord
-
 |
 |
|---|---|
 |
 |
- Generate random password for communicating with API and put it into .env file:
ADMIN_PASS=R3411yR4nd0m+P455w0rd- There is also Catcher OpenAPI documentation. If you wanna Swagger UI for the documentation to be enabled, put it into .env file:
API_DOC_ENABLED=true-
Register a bot for Telegram admin panel: @BotFather.
-
Enter your Telegram bot API token into .env file:
API_TOKEN=**YOUR_TELEGRAM_BOT_API_TOKEN**- Put comma-separated admin IDs into .env file:
ADMIN_ID=**FIRST_ADMIN_TG_ID**,**ANOTHER_ADMIN_TG_ID**- If you want to use webhooks, put your HOST machine address/domain into .env file:
WEBHOOK_HOST=https://achtung.example.comIf you don't want use webhooks, edit .env:
WEBHOOK=false- Replace services.nginx.ports in docker-compose.yml with IP and PORT you need:
ports:
    - "0.0.0.0:1337:8080"
Remember, the last 8080 is required.
- Install docker and docker-compose.yml:
- Run:
docker-compose up -d-
Register bots to send notifications.
-
Invite bots for notifications to the chats/dialogs.
-
Create CHATS using admin panel or raw API.
-
Create NOTIFIER and select CHATS you want using admin panel or raw API.
-
Send notifications using your NOTIFIER's token:
curl 'https://achtung.example.com/api/notify' -d '{"access_token":"TOKEN_HERE", "message":"NOTIFICATIONS_HERE"}'Sender is a class for sending notifications. Let's develop Sender for Telegram.
- Copy a sender-template:
from aiohttp import ClientSession

from senders.base import Sender


class NewSender(Sender):
    required_fields = {
        'first_field': 'description of the first field',
        'second_field': 'description of the second field'
    }

    def __init__(self, **kwargs):
        super().__init__(**kwargs)
        self.url = ('https://api.example.com/{token}/send'
                    .format(token=self.config['first_field']))

    async def send(self, message):
        async with ClientSession() as session:
            await session.post(
                self.url,
                params={
                    'chat_id': self.config['second_field'],
                    'text': message
                }
)- Let's fill in the required fields:
required_fields = {
    'token': 'Telegram Bot API token',
    'chat_id': 'chat id where notifications will be sent'
}
You can get keys (token, chat_id) from self.config['KEY'].
The description is required to inform the user which parameter should be entered: Enter {DESCRIPTION}.
- In
__init__(self, **kwargs)you can create additional variables (e.g.self.url):
def __init__(self, **kwargs):
    super().__init__(**kwargs)
    self.url = ('https://api.telegram.org/bot{token}/sendMessage'
                .format(token=self.config['token']))
send(self, message)method is for sending a notification (amessagevariable). Here you need to determine the logic of sending a request to the bot API:
async def send(self, message):
    async with ClientSession() as session:
        await session.post(
            self.url,
            params={
                'chat_id': self.config['chat_id'],
                'text': message,
                'parse_mode': 'html'
            }
)- In the end you need to import your Sender class in
catcher/app/senders/senders.pyand add it tomapper:
from senders.telegram import Telegram

...

mapper['Telegram'] = Telegram