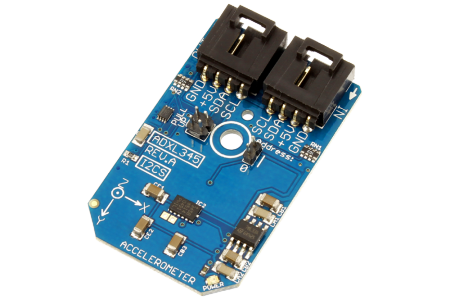
ADXL345 3-Axis Accelerometer
The ADXL345 device, provides digital acceleration for X, Y and Z axis.
This Device is available from ControlEverything.com [SKU: ADXL345_I2CS]
https://www.controleverything.com/content/Accelorometer?sku=ADXL345_I2CS
This Sample code can be used with Raspberry Pi, Arduino and Particle Photon, Beaglebone Black and Onion Omega.
Download and install pi4j library on Raspberry pi. Steps to install pi4j are provided at:
Download (or git pull) the code in pi.
Compile the java program.
$> pi4j ADXL345.javaRun the java program.
$> pi4j ADXL345Download and install smbus library on Raspberry pi. Steps to install smbus are provided at:
https://pypi.python.org/pypi/smbus-cffi/0.5.1
Download (or git pull) the code in pi. Run the program.
$> python ADXL345.pyDownload and install Arduino Software (IDE) on your machine. Steps to install Arduino are provided at:
https://www.arduino.cc/en/Main/Software
Download (or git pull) the code and double click the file to run the program.
Compile and upload the code on Arduino IDE and see the output on Serial Monitor.
Login to your Photon and setup your device according to steps provided at:
https://docs.particle.io/guide/getting-started/connect/photon/
Download (or git pull) the code. Go to online IDE and copy the code.
https://build.particle.io/build/
Verify and flash the code on your Photon. Code output is shown in logs at dashboard.
https://dashboard.particle.io/user/logs
##C
Download (or git pull) the code in Beaglebone Black.
Compile the c program.
$>gcc ADXL345.c -o ADXL345Run the c program.
$>./ADXL345Get Started and setting up the Onion Omega according to steps provided at :
https://wiki.onion.io/Get-Started
To install the Python module, run the following commands:
opkg updateopkg install python-light pyOnionI2CDownload (or git pull) the code in Onion Omega. Run the program.
$> python ADXL345.pyInstall the Boards Manager on your Arduino IDE. The Steps are provided at:
http://www.arduinesp.com/getting-started
Download (or git pull) the code and double click the file to run the program.
Compile and upload the code on Arduino IDE and see the output on Serial Monitor.
Copy the IP Address of your ESP8266 from Serial Monitor and paste it in your Web Browser to see the result on Web Server.
Note: Your system and ESP8266 should be connected to same Wi-Fi Network.
To download Windows 10 IoT Core, visit Get Started page
https://developer.microsoft.com/en-us/windows/iot/GetStarted
Download (or git pull) the sample, make a copy on your disk and open the project from Visual Studio.
Note: Your IoT Core device and development PC should be connected to same local Network.
#####The code output is raw value of acceleration in X, Y and Z Axis.