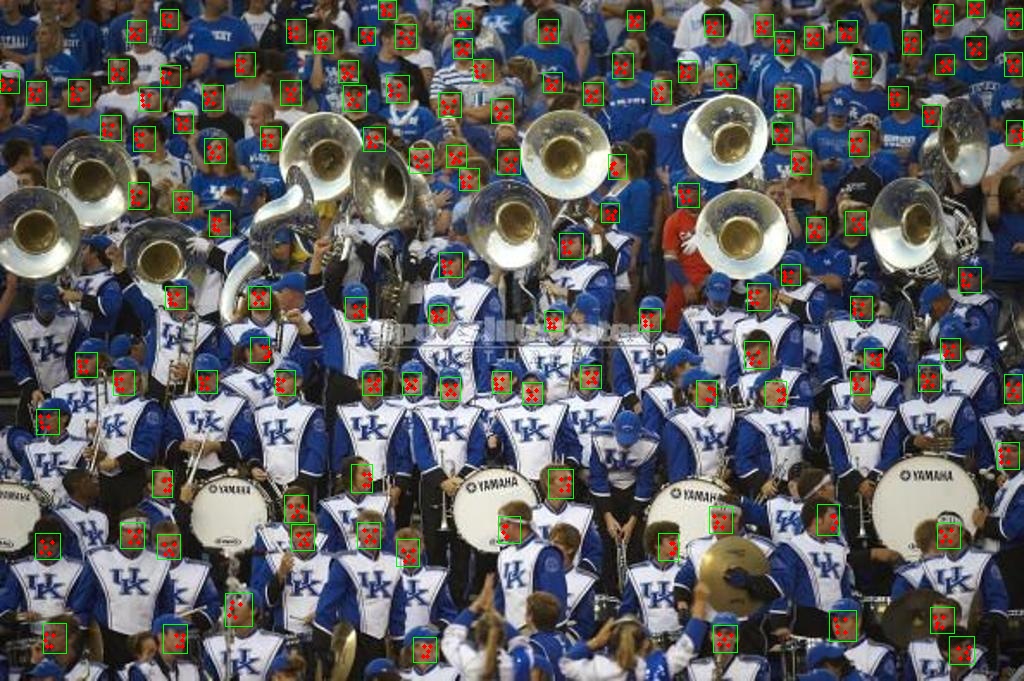
人脸识别算法系统包含人脸检测训练推理算法、人脸矫正算法、人脸特征比对算法、人脸识别整体pipeline以及在tensorrt和安卓端的部署代码。
cd Face_Detection
pip install -r requirements.txt-
下载数据 WIDERFACE.
-
下载标签(人脸标注框& 人脸五个关键点坐标标注) 从 baidu cloud 或者 dropbox
-
将数据的文件夹格式改成下面的架构:
  ./data/widerface/
    train/
      images/
      label.txt
    val/
      images/
      wider_val.txt
ps: wider_val.txt 仅包含 验证文件名不包含标签信息。
提供restnet50和 mobilenet0.25 做为预训练模型,下载路径为: google cloud and baidu cloud 密码: fstq .
将下载好的模型放到对应的路径下:
  ./weights/
      mobilenet0.25_Final.pth
      mobilenetV1X0.25_pretrain.tar
Resnet50_Final.pth-
在训练前,修改配置文件:
data/config.py and train.py。 -
训练模型:
CUDA_VISIBLE_DEVICES=0,1,2,3 python train.py --network resnet50 or
CUDA_VISIBLE_DEVICES=0 python train.py --network mobile0.25- 生成txt文件
python test_widerface.py --trained_model weight_file --network mobile0.25 or resnet50- 评估txt的结果. 参考 Here
cd ./widerface_evaluate
python setup.py build_ext --inplace
python evaluation.pypip install numpy
pip install opencv-python根据自己的图像设置landmarks(五点定位),第26行
face_landmarks
python face_alignment.py
结果如下:
人脸特征比对模型采用预训练模型models/arcface
cd Face_Recognization_Pipeline
pip install -r requirement.txt修改配置文件:
def parse_opt():
    parser = argparse.ArgumentParser()
    # Retinaface args
    parser.add_argument('--retinaface_model_path', default='/codes/Face_Rec/models/mobilenet0_25.tflite',
                        help='Retinaface model path')
    parser.add_argument('--retinaface_backbone', default='mobilenet', help='Retinaface model backbone')
    parser.add_argument('--retinaface_threshold', type=float, default=0.7, help='Retinaface detect threshold')
    parser.add_argument('--retinaface_nms_iou', type=float, default=0.45, help='Retinaface nms iou threshold')
    parser.add_argument('--retinaface_input_shape', type=int, default=[640, 640, 3], help='Retinaface input shape')
    parser.add_argument('--retinaface_output_shape', type=int, default=[10, 2, 4], help='Retinaface model output shape')
    # FaceOperator args
    parser.add_argument('--euler_angle_threshold', default=30, type=float, help='Filter euler angle threshold')
    # Arcface args
    parser.add_argument('--arcface_model_path', default='/codes/Face_Rec/models/arcface.tflite',
                        help='Arcface model path')
    parser.add_argument('--arcface_input_shape', type=int, default=[112, 112, 3], help='Arcface model input size')
    parser.add_argument('--arcface_output_shape', type=int, default=[128], help='Arcface extract feature shape')
    # Register
    parser.add_argument('--register_csv_path', default='Face_Gallery/gallery_kuangbiao_pc.csv',
                        help='Face features gallery csv file')
    parser.add_argument('--register_images_path', default='Face_Gallery/face_images_kuangbiao',
                        help='Face images to register')
运行:
python Register_gallery_pc.py运行:
python FaceRec_whole_process_pc.py- 基于硬件,安装tensorrt:https://docs.nvidia.com/deeplearning/tensorrt/install-guide/index.html#installing-tar
- opencv 安装:
opencv build Flag : -D WITH_CUDNN=OFF -D OPENCV_DNN_CUDA=ON
cd Face_Recognization_Deploy
cd prj_onnx2trt
python demo.py
python calibrator.py
cd .. && cd prj_tenorrt
python demo.py
结果如下:


