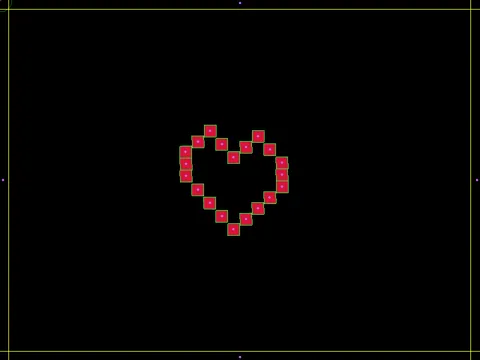
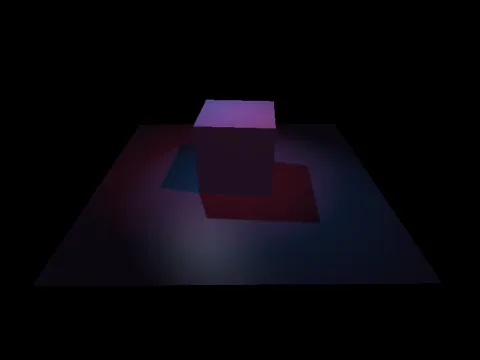
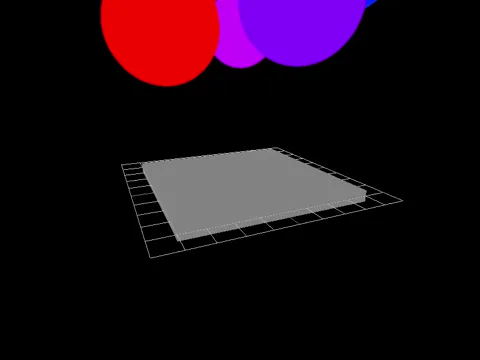
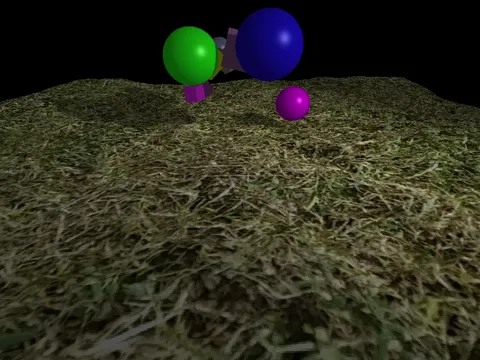
rayFlex is like a C++ extension for raylib, providing a collection of modular components to simplify game and application development. The project consists of various optional modules, each offering distinct features such as 2D/3D sprite animations, 2D particle systems, advanced 3D camera, 3D lighting with shadow mapping, 2D physics with Box2D, 3D physics with Bullet3, and a networking module with automatic asymmetric encryption.
This is simply a selection of things that I have written for my personal use with raylib, primarily for educational purposes, and that I considered could be useful to others, hence its sharing today.
- 🛠️ Installation
- 🚀 Getting Started
- 🧰 Core Module
- 🎨 2D Graphics Module
- 😎 3D Graphics Module
- ⚙️ 2D Physics Module
- ⚙️ 3D Physics Module
- 🌐 Networking Module
To integrate rayFlex into your CMake project, follow these steps:
- Clone the rayFlex repository with all submodules:
git clone --recursive https://github.com/Bigfoot71/rayFlex.gitThis command includes the --recursive flag, which ensures that all submodules, including optional ones, are cloned along with the main repository.
- Configure your CMakeLists.txt file by adding the following lines:
add_subdirectory(rayFlex)
target_link_libraries(your_project_name PRIVATE rayflex)- When configuring your project with CMake, use the following options to enable or disable specific modules:
cmake -DSUPPORT_GFX_2D=ON -DSUPPORT_PHYS_2D=ON -DSUPPORT_NET=ON ..Adjust the options according to your project requirements.
If you have already cloned the rayFlex repository without the --recursive flag or if you need to update the submodules later, follow these steps:
cd rayFlex
git submodule update --init --recursive
This ensures that all submodules are initialized and updated accordingly.
If you only need specific submodules, you can clone only those you require. After cloning the main repository, navigate to the rayFlex directory and clone the desired submodules:
cd rayFlex
git submodule update --init --recursive external/box2d
git submodule update --init --recursive external/bullet3
git submodule update --init --recursive external/asio
git submodule update --init --recursive external/libsodium
Adjust the commands based on the specific submodules you need for your project.
Please note that the submodules external/raylib and external/raylib-cpp are essential for the proper functioning of the project and are therefore not optional.
To compile your project for the web using Emscripten, follow these steps:
-
Run CMake with the following command:
cmake .. -DPLATFORM=Web -DCMAKE_TOOLCHAIN_FILE=/path/to/your/emscripten/cmake/Modules/Platform/Emscripten.cmake
-
Make sure to specify the correct path to your Emscripten installation and the
Emscripten.cmakefile.
Please note that you need to manually define the path to your Emscripten installation.
To integrate rayFlex into your project effortlessly, include the main header file:
#include <rayflex.hpp>Now, you can start leveraging the features provided by rayFlex in your application.
The core module serves as the foundation for managing scenes, transitions, resources, and window scaling through the core::App class. Additionally, it provides a convenient class for the generation of random data. To utilize the entire core module, include the following headers:
#include "core/rfApp.hpp"
#include "core/rfRandom.hpp"
#include "core/rfRenderer.hpp"
#include "core/rfSaveManager.hpp"
#include "core/rfAssetManager.hpp"
However, including these headers independently is optional. You can directly include rayflex.hpp to access all activated modules configured during the CMake project setup.
These headers allow you to harness the full power of the core module, providing access to various functionalities such as scene management, transition handling, resource management, window scaling, random data generation, and more.
For detailed information about components and modules, explore the headers which contain comprehensive documentation for each function and class member.
The 2D graphics module introduces basic features such as particle systems and sprites:
#include "gfx2d/rfParticles.hpp"
#include "gfx2d/rfSprite.hpp"For advanced 3D graphics capabilities, including camera management and dynamic lighting with shadows:
#include "gfx3d/rfCamera.hpp"
#include "gfx3d/rfLights.hpp"
#include "gfx3d/rfSprite.hpp"The 2D physics module, powered by Box2D, facilitates the integration of physics functionality into your project:
#include "phys2d/rfPhysics.hpp"For projects requiring 3D physics features utilizing Bullet3:
#include "phys3d/rfModel.hpp"
#include "phys3d/rfObject.hpp"
#include "phys3d/rfWorld.hpp"For everything related to the network (server/client) with automatic asymmetric encryption management:
#include "net/rfClientInterface.hpp"
#include "net/rfConnection.hpp"
#include "net/rfPacket.hpp"
#include "net/rfSecurity.hpp"
#include "net/rfServerInterface.hpp"
#include "net/rfTSQueue.hpp"Explore the capabilities of rayFlex with these illustrative GIFs:


