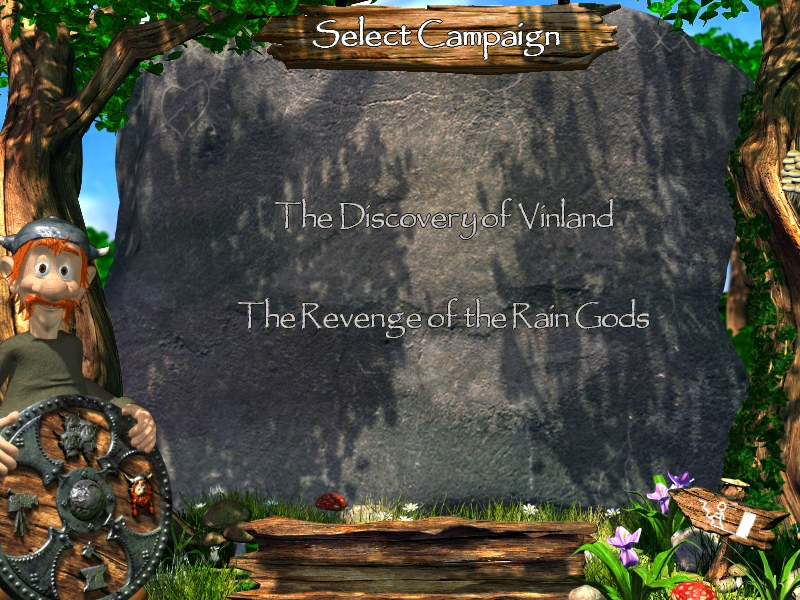
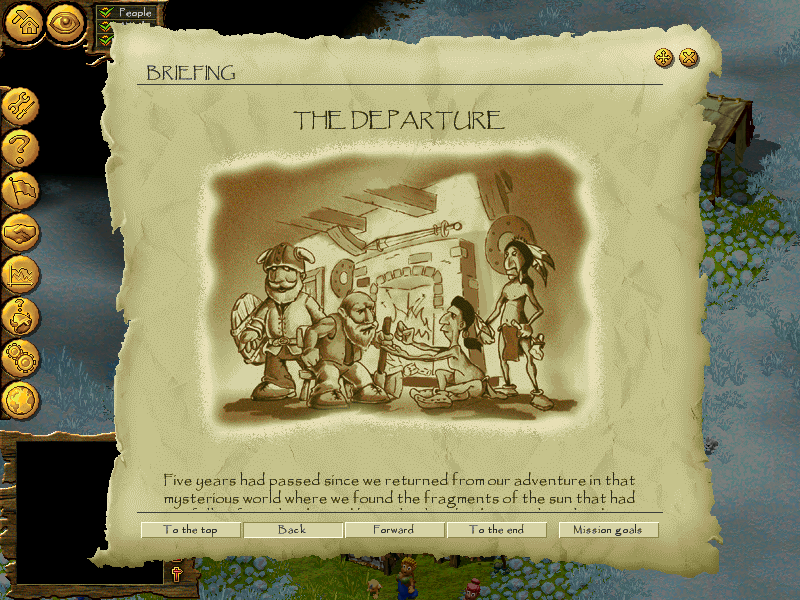
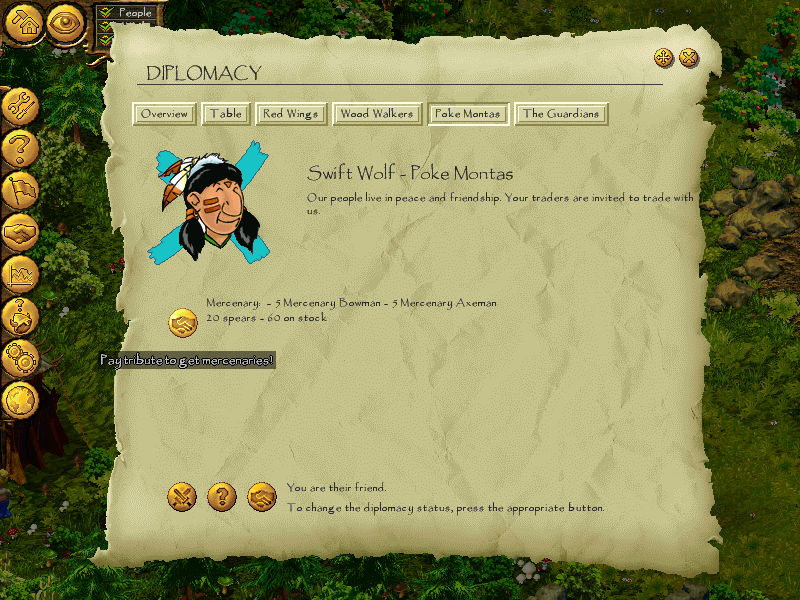
This is an English community translation pack for Revenge of the Rain Gods, a mission pack released for the first original Cultures game on a separate CD and as part of the Cultures: Gold Edition. Both these games have only been released officially in German. To share its wonderful campaign and new missions with the rest of the world, this English translation pack was created.
This pack is currently a work in progress.
 |
 |
 |
|---|
This pack contains the following translation changes so far:
- All campaign levels of 'Revenge of the Rain Gods'.
- The secret easter egg level.
- Enabled the available built-in English language files for various menu's and adds missing strings.
- The new scenario's added by the mission pack.
- Campaign intro/outro movies.
- Briefing voice-overs.
- Import English translations from the base game.
- Multiplayer maps?
- In-game manual?
To play the 'Revenge of the Rain Gods' campaign in English, you must own the original German mission CD or a German copy of Cultures: Gold Edition.
This translation pack does not contain the game itself.
- Make a backup of the folder of the game you wish to have translated.
- Download the latest version from the Releases tab.
- Extract the contents of the
*.zipfile and paste them over the installation folder of your game. - Allow to replace everything.
- Start the game and it should launch in English.
If you find any issues with the translations in this pack, please report them via the Issues page, or let me know personally.
Follow these steps to make the game run in windowed mode, instead of full-screen, on modern machines.
- Create a shortcut for the game by right clicking it and select 'Create shortcut'.
- Right-click the shortcut and select 'Properties'.
- Go to the 'Shortcut' tab and find the 'Target' field, which is the path to the
*.exefile. - At the end of the path, after the
"quote, add a space and the-windowproperty. - Go to the 'Compatibility' tab and enable the 'Reduced colour mode' option and set its dropdown to '16-bit (65535 colour)'.
- Save the changes and launch the game from the shortcut to start it in windowed mode.
- Additionally, you can change the resolution of the windowed mode in the 'Graphic Options' menu.
This project is open to contributions from others! If you want to pick up a translation, it may be a good idea to make an issue to give me a heads-up.
The project structured with the following folders:
translations: contains the files with the translations for the game.documentation: contains information about specific translated levels, see here.tests: contains some automated test scripts to validate the submitted translations.
To build the project, you need to have the following dependencies installed:
- Powershell or Powershell Core.
- Python 3, available as
pythonin thePATHenvironment variable.
To create a build:
- Start Powershell.
- Navigate to the project's folder using
cd. - Run the following command:
./build.ps1The output of the build will be placed in the ./dist folder. These files act like a release of the translation pack and can be copy/pasted over the Cultures installation folder. The dist folder will be cleared before every build.
The build script will download the Cultures file converters made by Mikulus to the ./bin folder and run it using Python to convert some of the files to the appropriate format.
There are two options for running the tests locally: either via Docker or via Powershell with Pester.
Running the tests via Pester requires only installing the Pester module on Windows. On other platforms you need to install Powershell as well (it's multi-platform).
First install Pester for Powershell via:
Install-Module -Name Pester -Force -SkipPublisherCheck -Scope CurrentUserThe -Force and -SkipPublisherCheck are required on Windows 10 to override the older version of Pester that ships with Windows (see here).
After Pester is installed, you can run the tests in the folder where this readme is located with the following command:
Invoke-Pester ./tests/* -Output DetailedRunning the tests via Docker requires more tooling to be installed, but is easier if you have these already. The following tooling is required:
Please refer to the documentation for installing Act to set up the environment.
After everything is ready, you can run the following command in the folder where this readme is located:
act -P ubuntu-latest=ghcr.io/catthehacker/ubuntu:pwsh-latest