This repo is an attempt to combine all three main components of NeMo into a web interface that can be used easily without the need to dig deeper into the toolkit itself.
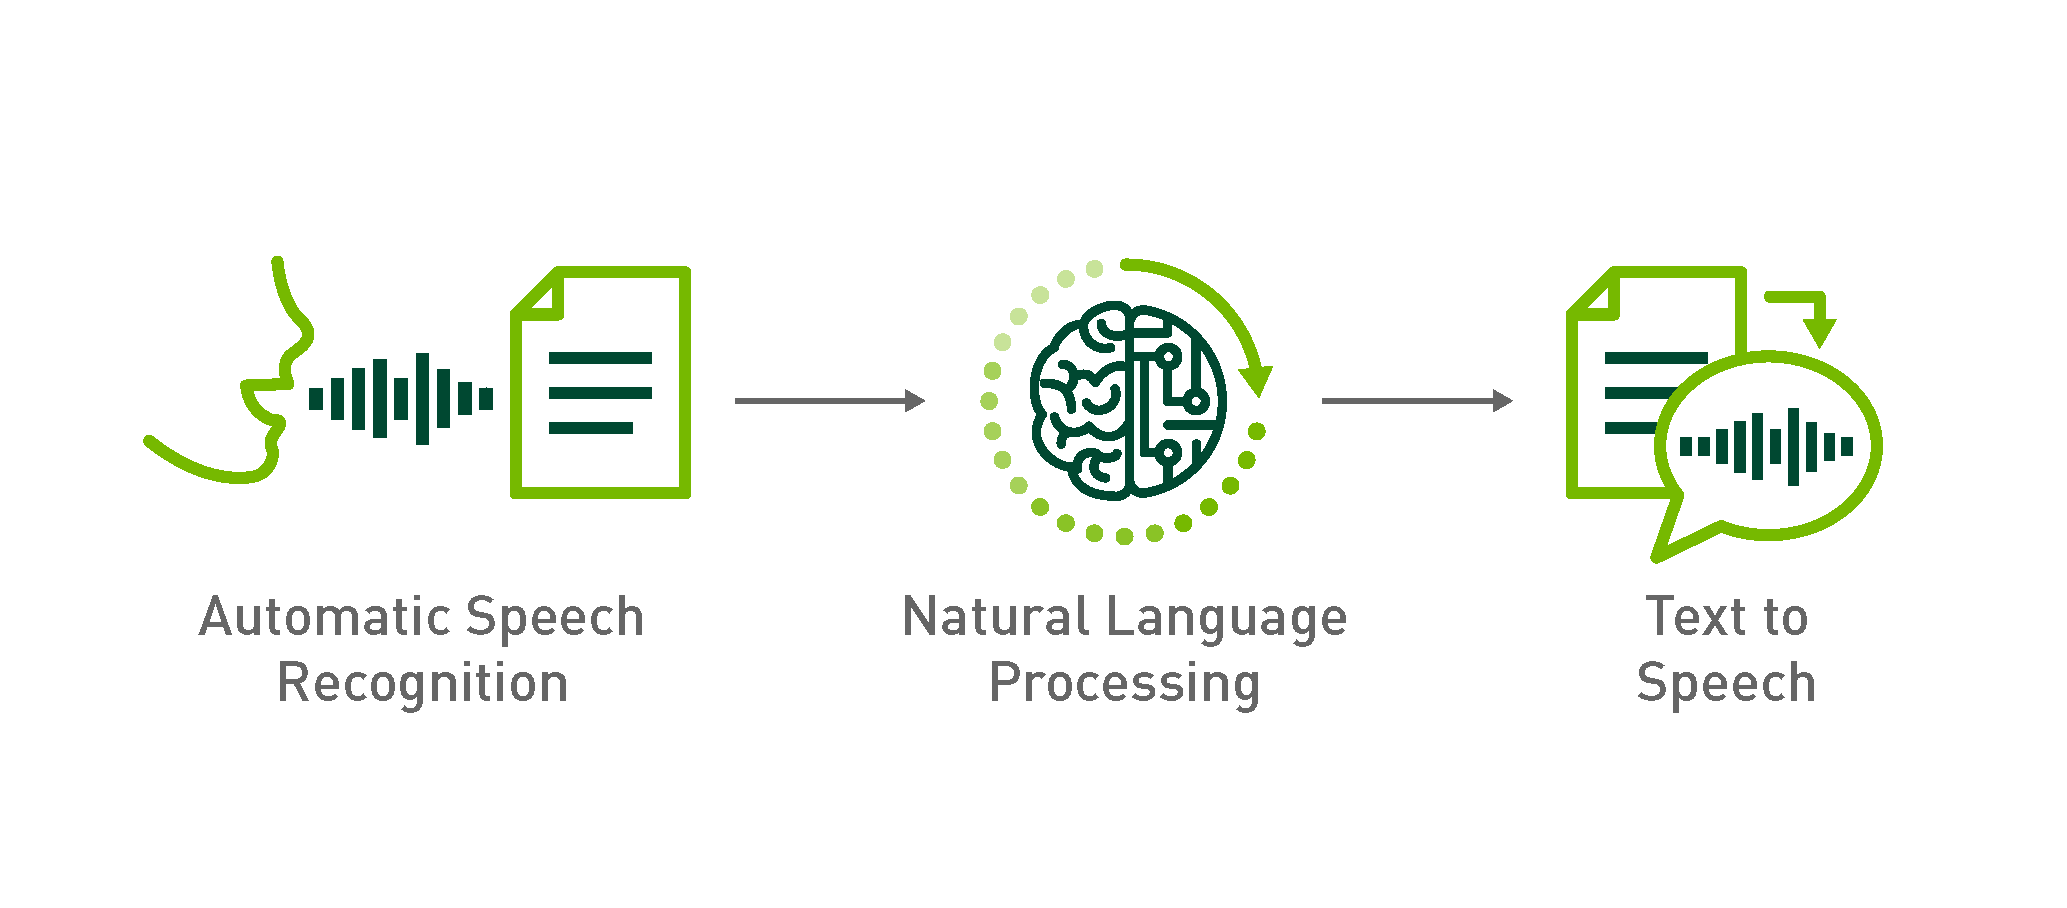
NeMo stands for "Neural Modules" and it's a toolkit created bey NVIDIA with a collections of pre-built modules for automatic speech recognition (ASR), natural language processing (NLP) and text synthesis (TTS). NeMo consists of:
- NeMo Core: contains building blocks for all neural models and type system.
- NeMo collections: contains pre-built neural modules for ASR, NLP and TTS.
NeMo's is designed to be framework-agnostic, but currently only PyTorch is supported. Furthermore, NeMo provides built-in support for distributed training and mixed precision on the latest NVIDIA GPUs.
To get started with this repository, you need to install:
- PyTorch 1.2 or 1.3 from here.
- Install dependencies:
pip install -r requirements.txt
If your machine supports Cuda, then you need to install NVIDIA APEX for best performance on training/evaluating models.
git clone https://github.com/NVIDIA/apex
cd apex
pip install -v --no-cache-dir --global-option="--cpp_ext" --global-option="--cuda_ext" ./
If you want to use a language model when using ASR model, then you need to install Baidu's CTC decoders:
./scripts/install_decoders.sh
Here, I'm going to explain how to use the Automatic Speech Recognition inside NeMo collections. You can do that easily by following this steps:
-
Download a pre-trained model from here. If you have trained your own model, then you can skip this step. I, myself, used the QuartzNet15x5 Jasper model. You can download it from here.
-
Locate your ASR model inside
asr_modeldirectory. Or locate it any where you want, just edit the YAML variableasr: model_dirinsideconf.yamlfile. -
Record an audio by your voice. Or you can download an audio sample, I have used this.
-
Run the following code to get the wave transcription:
>>> from asr import ASR
>>> asr_model = ASR()
2019-12-31 10:59:38,248 - INFO - PADDING: 16
2019-12-31 10:59:38,249 - INFO - STFT using conv
2019-12-31 10:59:39,491 - INFO - ================================
2019-12-31 10:59:39,495 - INFO - Number of parameters in encoder: 18894656
2019-12-31 10:59:39,495 - INFO - Number of parameters in decoder: 29725
2019-12-31 10:59:39,498 - INFO - Total number of parameters in model: 18924381
2019-12-31 10:59:39,499 - INFO - ================================
>>>
>>> wav_filepath = "./romance_gt.wav"
>>> asr_model.transcribe(wav_filepath)
2019-12-31 10:57:50,554 - INFO - Started Transcribing Speech
2019-12-31 10:57:50,582 - INFO - Dataset loaded with 0.00 hours. Filtered 0.00 hours.
2019-12-31 10:57:50,584 - INFO - Loading 1 examples
2019-12-31 10:57:52,799 - INFO - Evaluating batch 0 out of 1
You said: ["i'm too busy for romance"]
For more information, you can check the official documentation from here.
Here, I'm going to explain how to use the Text To Speech module inside NeMo collections. You can do that easily by following this steps:
-
Download a pre-trained model from here. If you have trained your own model, then you can skip this step. I, myself, used the Tacotron2 model traind on LJSpeech dataset. You can download it from here.
-
Locate your TTS model inside
tts_modeldirectory. Or locate it any where you want, just edit the YAML variabletts: model_dirinsideconf.yamlfile. -
Determine a vocoder model... You can use
griffin-limused in tacotron1 which is super fast and doesn't need any training. But, if you want to get better results, then you will have to either:- Train your own vocoder.
- Use an already trained vocoder... which is what I did by downloading the pre-trained waveglow model from here.
-
(OPTIONAL) If you decided to use a waveglow vocoder, then you need to locate it in this directory
./tts_model/waveglow. Or you can locate it any where you want, just edit the YAML variabletts: vocoder_dirinsideconf.yamlfile. -
Run the following code to perform a speech-synthesis operation on your preferred text:
>>> from tts import TTS
>>> tts_model = TTS()
2019-12-31 11:15:02,897 - INFO - ================================
2019-12-31 11:15:03,001 - INFO - Number of parameters in text-embedding: 35328
2019-12-31 11:15:03,089 - INFO - Number of parameters in encoder: 5513728
2019-12-31 11:15:03,285 - INFO - Number of parameters in decoder: 18255505
2019-12-31 11:15:03,373 - INFO - Number of parameters in postnet: 4348144
2019-12-31 11:15:03,373 - INFO - Total number of parameters in model: 28152705
2019-12-31 11:15:03,373 - INFO - Loading waveglow as a vocoder
2019-12-31 11:15:15,161 - INFO - ================================
>>>
>>> text = "Speech synthesis is pretty cool"
>>> tts_model.synthesis(text)
2019-12-31 11:23:33,953 - INFO - Starting speech synthesis
2019-12-31 11:23:33,963 - INFO - Running Tacotron 2
2019-12-31 11:23:34,055 - INFO - Evaluating batch 0 out of 1
2019-12-31 11:23:35,689 - INFO - Running Waveglow as a vocoder
2019-12-31 11:23:35,690 - INFO - Evaluating batch 0 out of 1
2019-12-31 11:24:39,655 - INFO - Wav file was generated and named: waveglow_sample.wav
For more information, you can check the official documentation from here.