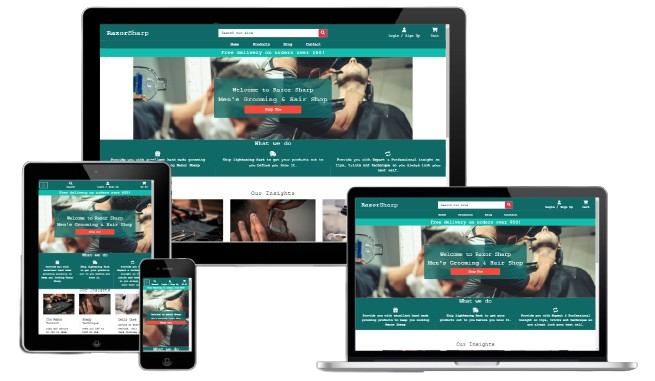
A Men's grooming e-commerce website that provides goods for sale as well as blog content to share tips and advice.
- UX
- Business Model
- SEO
- Agile Development
- Features
- Features Left to Implement
- Technology used
- Testing
- Bugs
- Deployment
- Credits
- Content
- Acknowledgements
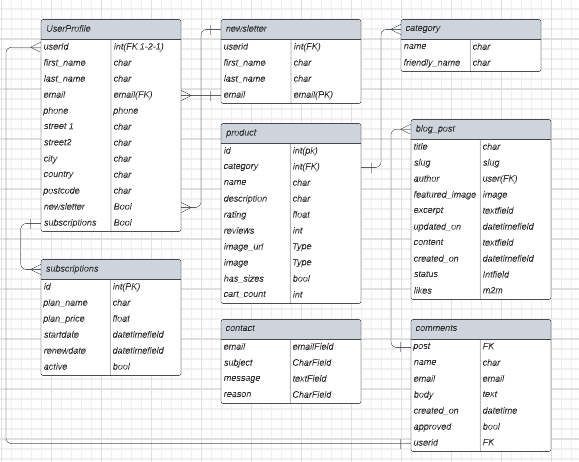
Database Structure
This was the suspected preproject planning database structure. As the project was being developed changes were made to the final project due to time contraints and project scope.
Accounts App
| id | Field |
|---|---|
| first_name | CharField |
| last_name | CharField |
| username | CharField |
| EmailField | |
| phone_number | CharField |
| date_joined | DateTimeField |
| last_login | DateTimeField |
| is_admin | BooleanField |
| is_staff | BooleanField |
| is_active | BooleanField |
| is_superadmin | BooleanField |
| id | Field |
|---|---|
| user | OneToOneField |
| street_address1 | CharField |
| street_address2 | CharField |
| town_or_city | CharField |
| county | CharField |
| postcode | CharField |
| country | CountryField |
| profile_picture | ImageField |
Blog App
| id | Field |
|---|---|
| title | CharField |
| slug | SlugField |
| author | ForeignKey |
| updated_on | DateTimeField |
| content | TextField |
| featured_image | ImageField |
| excerpt | TextField |
| created_on | DateTimeField |
| status | BooleanField |
| likes | ManyToManyField |
| id | Field |
|---|---|
| post | ForeignKey |
| body | TextField |
| created_on | DateTimeField |
| username | ForeignKey |
Cart App
| id | Field |
|---|---|
| cart_id | CharField |
| date_added | DateField |
| id | Field |
|---|---|
| product | ForeignKey |
| cart | ForeignKey |
| quantity | IntegerField |
| is_active | BooleanField |
Checkout App
| id | Field |
|---|---|
| user | ForeignKey |
| order_number | CharField |
| first_name | CharField |
| last_name | CharField |
| EmailField | |
| phone_number | CharField |
| country | CountryField |
| street_address1 | CharField |
| street_address2 | CharField |
| town_or_city | CharField |
| postcode | CharField |
| county | CharField |
| date | DateTimeField |
| deliver_cost | DecimalField |
| order_total | DecimalField |
| grand_total | DecimalField |
| original_cart | TextField |
| stripe_pid | CharField |
| is_ordered | BooleanField |
| id | Field |
|---|---|
| order | ForeignKey |
| product | ForeignKey |
| quantity | IntegerField |
| lineitem_total | DecimalField |
Contact App
| id | Field |
|---|---|
| EmailField | |
| subject | CharField |
| message | TextField |
| reason | CharField |
Products App
| id | Field |
|---|---|
| name | CharField |
| slug | SlugField |
| friendly_name | CharField |
| description | TextField |
| id | Field |
|---|---|
| product_name | CharField |
| slug | SlugField |
| description | TextField |
| price | DecimalField |
| stock | IntegerField |
| in_stock | BooleanField |
| has_sizes | BooleanField |
| category | ForeignKey |
| item_added | DateTimeField |
| last_modified | DateTimeField |
| image_url | URLField |
| image | ImageField |
| rating | FloatField |
| id | Field |
|---|---|
| product | ForeignKey |
| user | ForeignKey |
| subject | CharField |
| review | TextField |
| rating | FloatField |
| status | BooleanField |
| created_at | DateTimeField |
The business is a B2C e-commerce platform whose goal is to provide tangible products to it's customers through an online store.
The types of products would be relatively low cost men's grooming products with low ($9.99) to medium($49.99) pricing.
The benefits for the business owner are:
- Easy to scale the business as it grows
- No need to set up a physical location
- Can cater to customers globally
- Can target a specific niche and try to build a brand that resonates with its target audience.
- Relatively low cost in starting up which allows for a larger portion of the budget to be used for customer aquisition. ie Ads / marketing
- Low price point would encourage impulse buying from customers who may be considering purchasing from the business.
The cons of this business model are:
- Getting customers initally can be difficult due to saturation in certain industrys
- Establishing a brand from the ground up takes time and immediate results are unlikely without a sound marketing strategy.
- Getting customers organically takes time so the business would need to manually market the business or use paid advertising.
- Not having a physical business can make it harder to build trust and loyalty with customers without offering discounts and offers.
- As the price point fo the items is lower, the business would need to process a reasonable number of orders per day / week / month for the business to be viable.
Taking the pros and cons of this business, a subscription model seems to be an unlikely viable model as it requires a customer base and some form of brand loyalty.
The best approach would be to provide products on a pay as you go traditional e-commerce format. As the business grows then the implementation of a subscription model would make more sense.
User 1: The typical site user would be a male aged between 18 and 50 who has an interest in self care, grooming and presenting a good outward image.
User 2: Additional site users could be partners of user 1 and may be browsing the site to purchase gifts for them.
The goals for the website are:
- An easy to navigate website with clear purpose
- Provide users with products that meet their expectations
- Allow users to view, read and comment on articles that may help or interest them.
- To provide users with insights or tips on self care through helpful articles to build brand trust and loyalty.
- Allow users to checkout quickly and easily
- To allow users to create a profile to view past orders and update profile information
The businesses marketing strategy going forward is:
- Promote the store through it's facebook business page. This can be viewed in the SEO section.
- Share the page with friends and family and ask them to like it and share the pafe to their wider circle.
- Have a soft online launce sale to encourage early adoption and purchases from prospective clients
- Gain subscribers through the mailchimp option on the site and then send out offers and promotions to encourage repeat business
- Write meaningful and helpful articles / blog posts to help with SEO ranking in search engines like google.
- Potentially use paid advertisement like google ads, facebook ads to promote to our target demographic.
- Set up multiple ads with a different product as the cover image, track the click through rate and stick with the high peformers.
- Depending on budget the business may look at promoting it's custom made products to influencers in the brands niche, offering complimentary goods or a small fee for a shout out or review. Ideally targetting low to medium influencers with a following of at least 10k in target niche. This would be realistic with a low budget for the business starting off and can start pushing traffic towards the site.
Once the business model was decided on as an a men's grooming store I started working on how to market the site and what keywords to target. I utilised google trends to find more popular search terms and also used a tool called SEO quake to compare the competition and see what they are doing well. I checked for a number of keywords on wordtracker.com and signed up for a trial to get as much out of it as possible. From there I developed a list of short tail and long tail keywords I intended to use in this project.
Short-tail - Razor Sharp, Hand Razor, Mens Razor, Men's Grooming, Beard Care, Beard Shaping, Razor Sharp, Men's Grooming, Hair Care, Beard Care, Shaving, Hair Styling, Skin Care, Grooming products, Affordable prices, Mens grooming
long-tail - beard care gifts for men, Shaving gifts for men, Grooming gifts for men, hair care gifts for men, Men's Hair Care Men's Beard Care, Razor for men, mens first razor
By utilising the short tail keywords and analysing the results from google trends, and the related questions I was able to generate a list of longtail keywords. The keywords are used throughoutn the site at different places.
I make use of the Strong tag where necessary and ensure all links are described correctly.
I generated a sitemap for the site so that once ready engines like google can search it effectively.
I generated a robots.txt file so that google could crawl the site. I have blocked off the accounts app as there is no benefit for google to crawl those pages.
For the favicon and logo for facebook I needed to manually create a logo to fit the theme of the store.
I created a custom logo in Canva. This logo was created using the base color scheme and includes a razor blade with the name of the store across it horizontally.
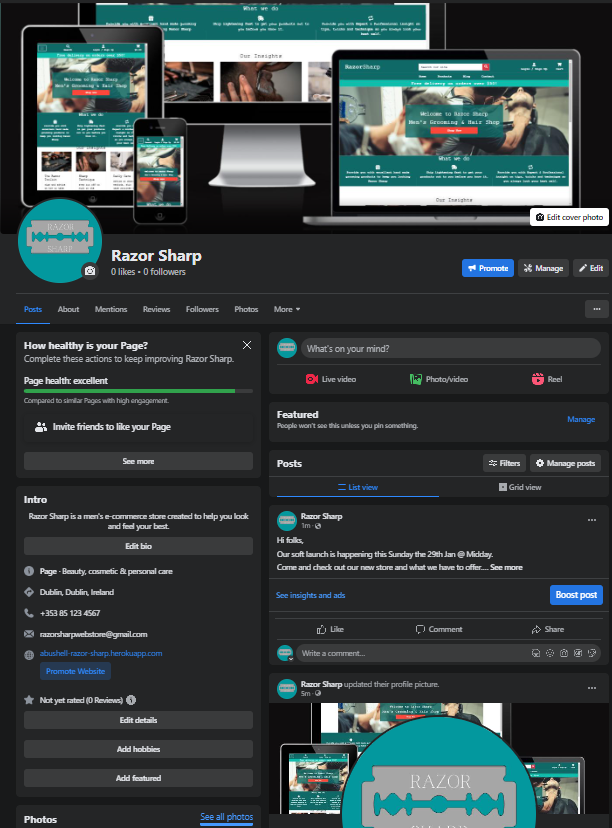
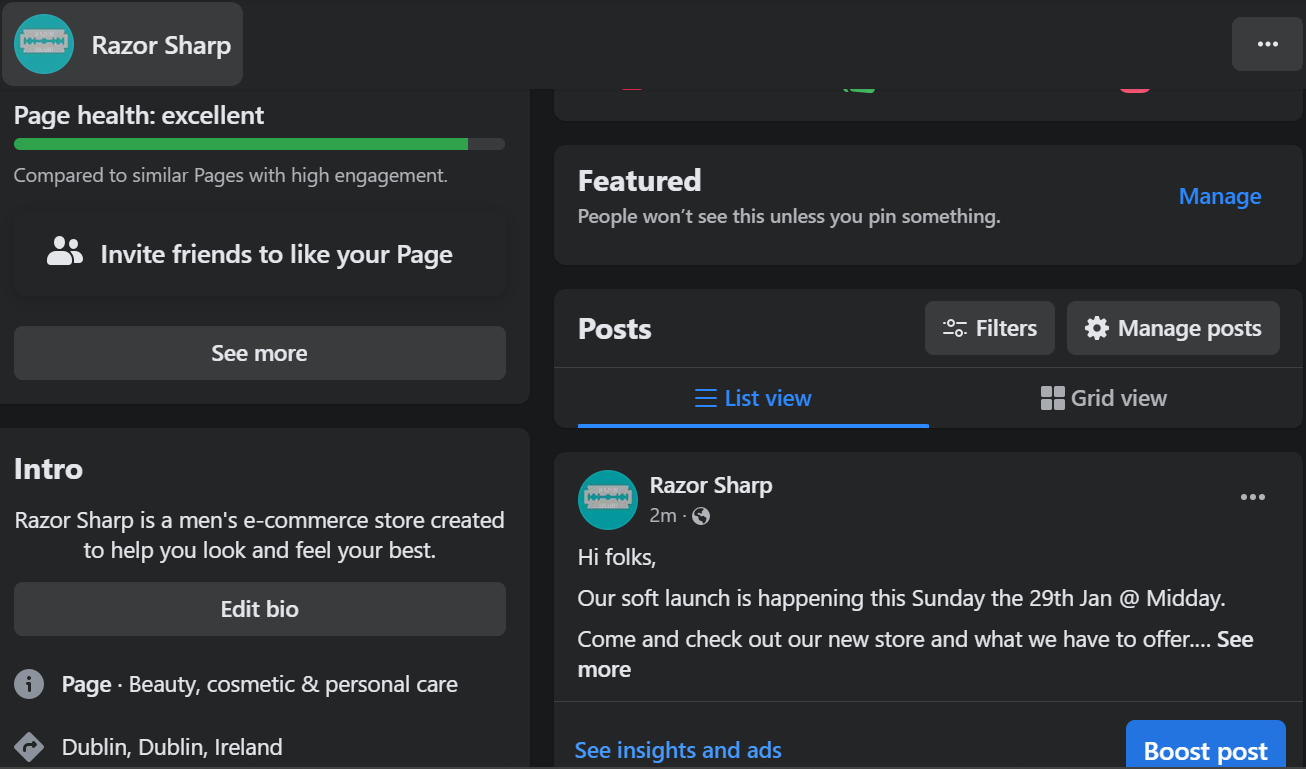
This logo can be seen in the favicon of the site and on the facebook screenshots below from the business page.
To view the facebook business page you can click on the link below:
In case the page becomes inactive or deactivated by Facebook I have taken screenshots to display here also:
Once I had an initial idea of the website I was going to build I started the preplanning by creating a github projects page to track the epics, user stories and tasks required to work through for this project.
It gave me an idea of how long this project was expected to take and how to manage my workload effectively.
As I worked through the workload I moved tasks from not started to in progress to completed once the task was done. Occasionally I would find other work that were either new tasks or subtasks that required attention before completing a larger task.
I also documented some of the bugs I have come across on this project in the projects board.
One of the sections in my project boards is called NINTH. This stands for "Not importants, nice to have". This is usually for expanding the project beyond MVP and adding additional features to enhance user experience.
To see the final project board for Razor Sharp you can click the link below: Razor Sharp Project Board
- Epic: Create Base Project
- Epic: User Authentication
- Epic: Navigation & Views
- Epic: Admin & Stock Management
- Epic: Blog
- Epic: Contact
- Epic: Deploy Project
- Epic: Newsletter
- Epic: Post Order Options
- Epic: Profiles
- Epic: SEO
- Epic: Shopping Cart
Each Epic may have one or more user stories associated and each user story may have tasks.
The full breakdown of user stories and tasks are included on the project board above.
Due to time contsraints some aspects of the project were deemed not mandatory and moved into the NINTH column.
These remain unfinished and can also be viewed from the project board. This would give an indication of the direction the site would move in going forward.
Navigation
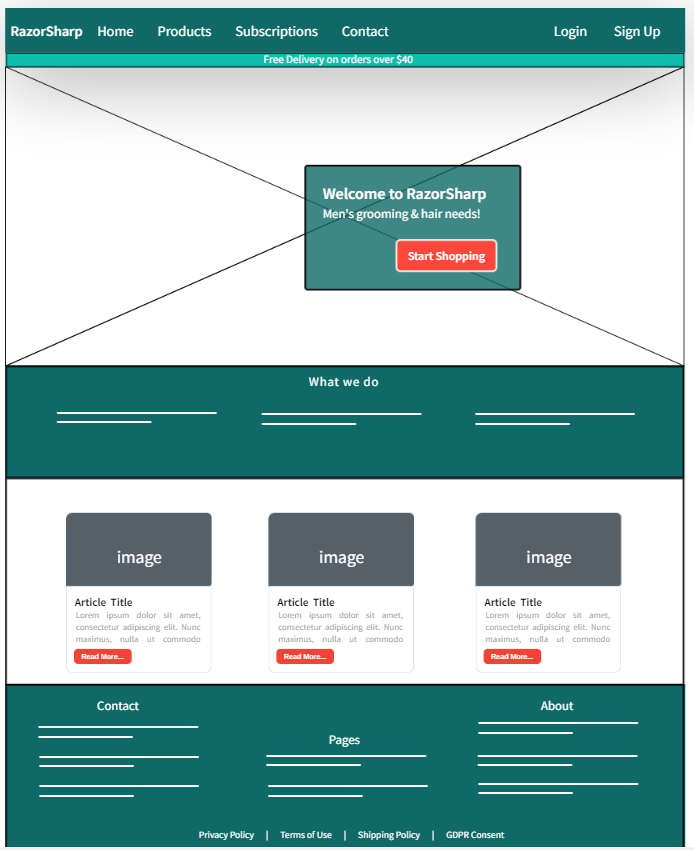
The Desktop navigation was based on Boutique Ado and seemed like a concise and clear option for an e-commerce store.
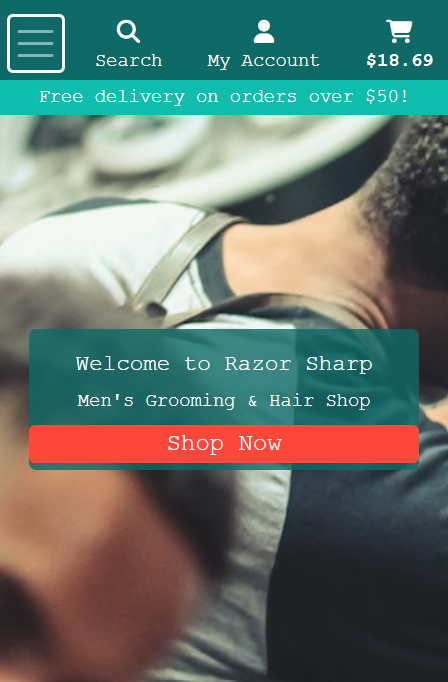
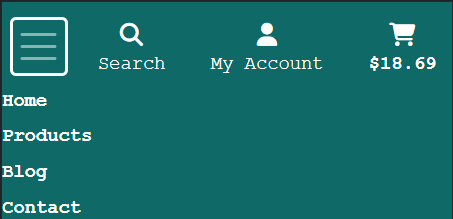
Mobile Navigation
When developing this application I decided I wanted to add a detailed footer as would be found on most e-commerce websites.

Authentication
The authentication flows come from Allauth and have been styled to fit the theme of my website. At present when a user signs up a confirmation email is sent to their email address to confirm it before being able to access their account. Unfortunately due to gmail authentication issues preventing emails from being sent from the deployed project at this moment in time, new users cannot authenticate on their own. Will revisit this issue to resolve.

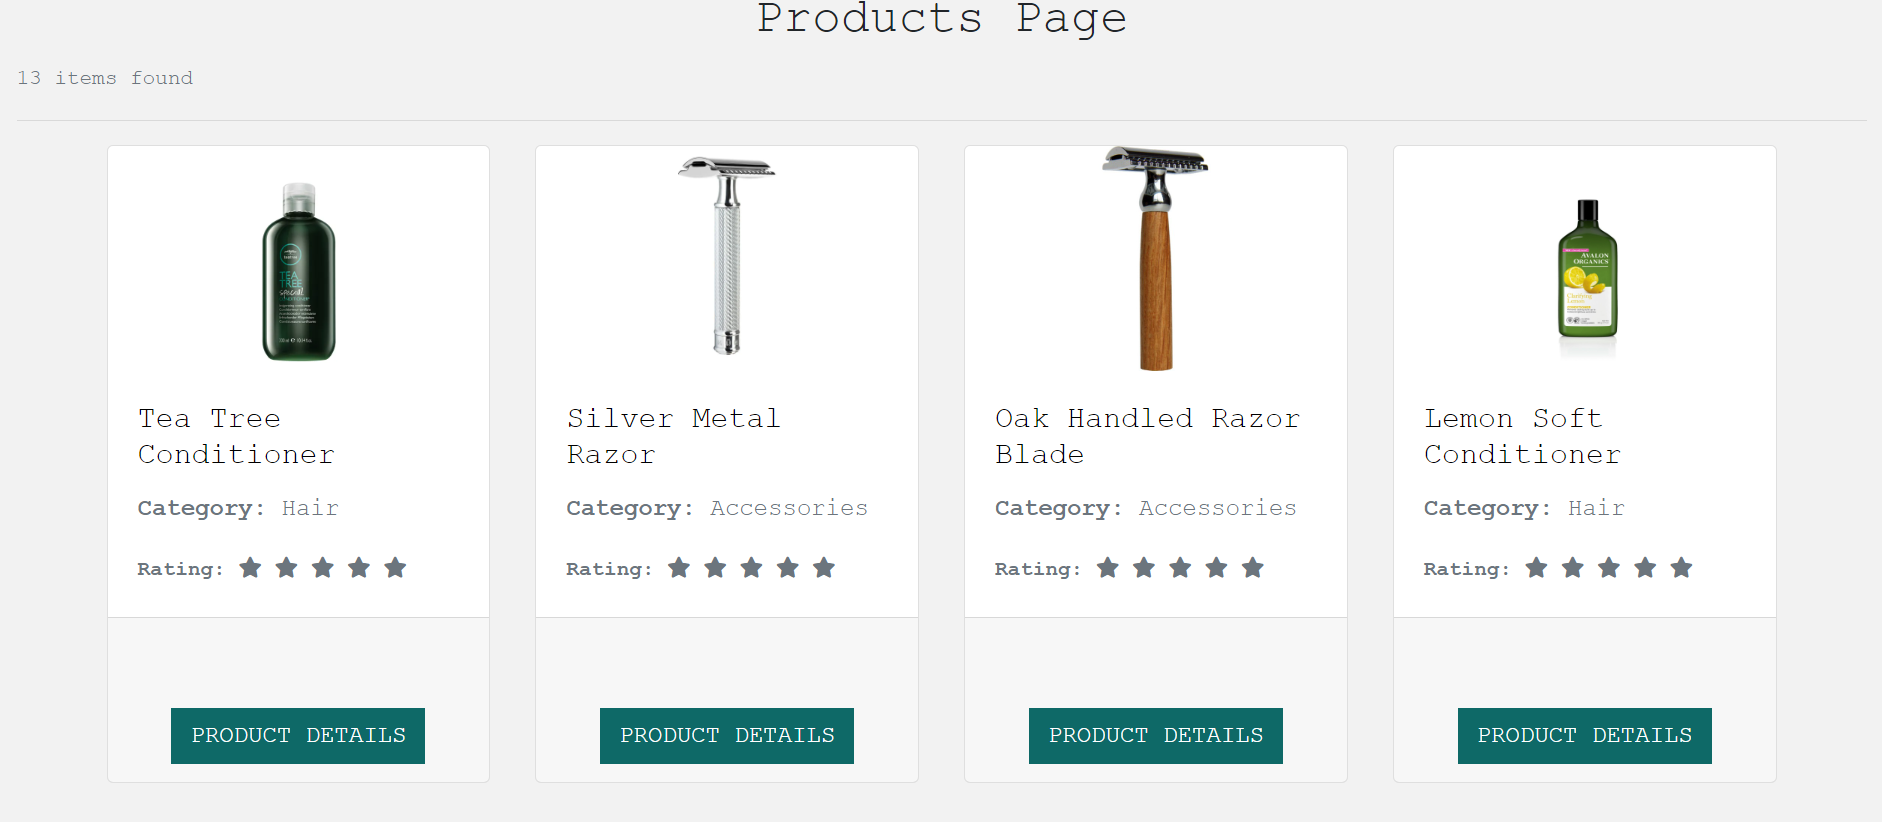
Products Page
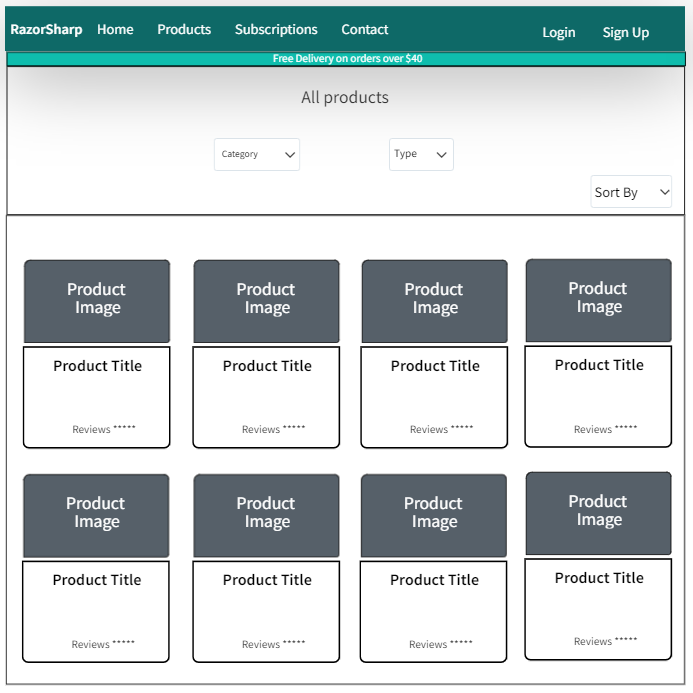
The products page is responsive to allow equal spacing between products regardless of screen width.
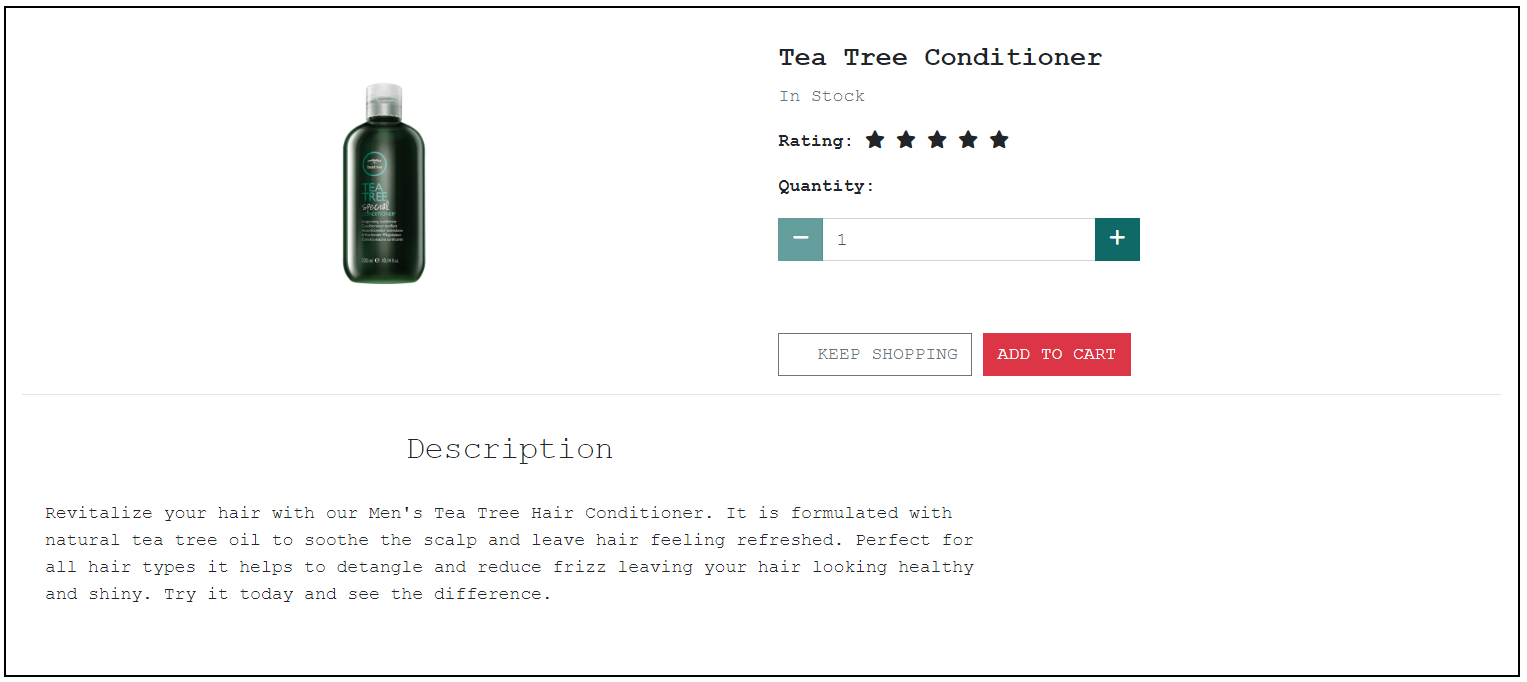
Out of stock products do not show up to customers but in the event that the customer somehow gets access to a product that is out of stock, the add to card button is disabled to prevent out of stock purchases.
The product detail page was intended to include a reviews option for logged in users who also purchased the specific product. As you can see an option on the order model of is_ordered set as a boolean value that would be triggered on order completion and added to users profile. This functionality is not in place in this iteration of the project but will be added in the next iteration. From there the reviews rating would be calculated based on the average score of reviews.
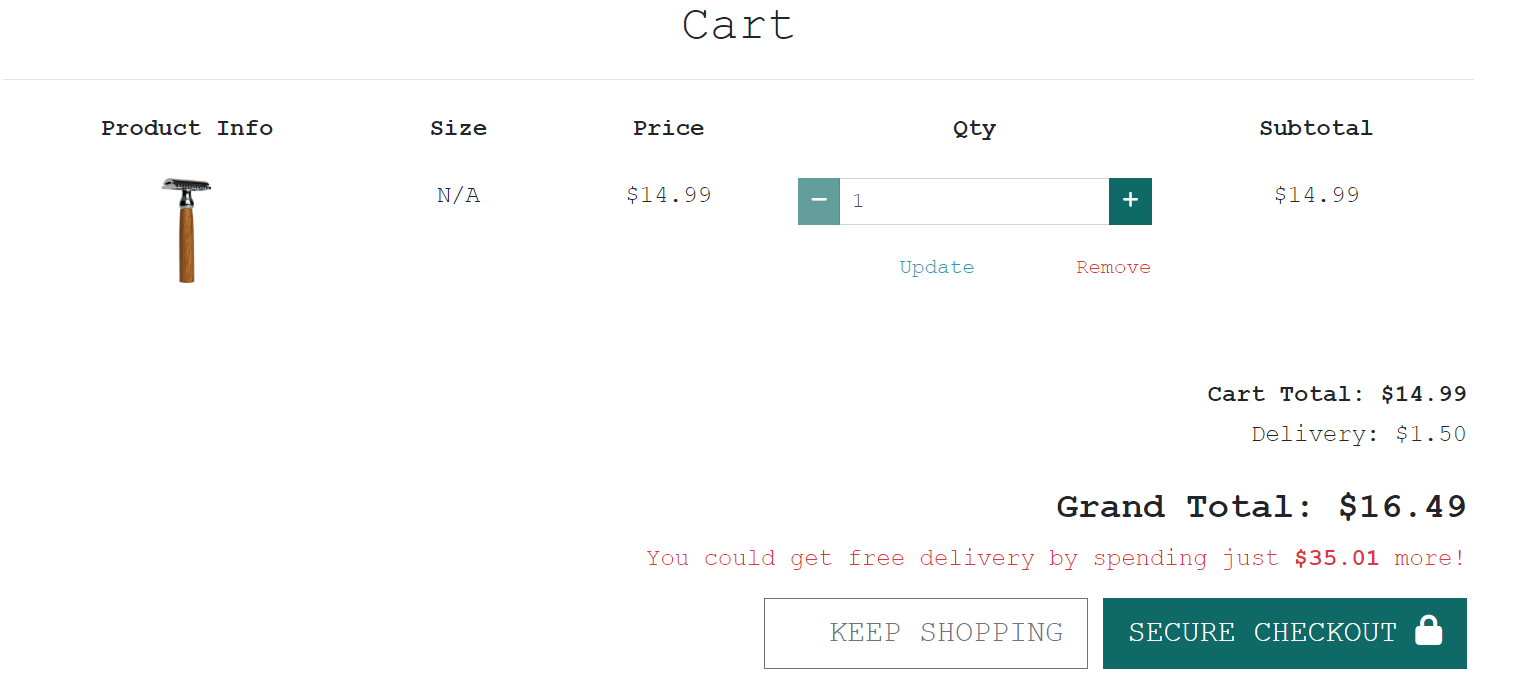
Cart & Checkout Flow
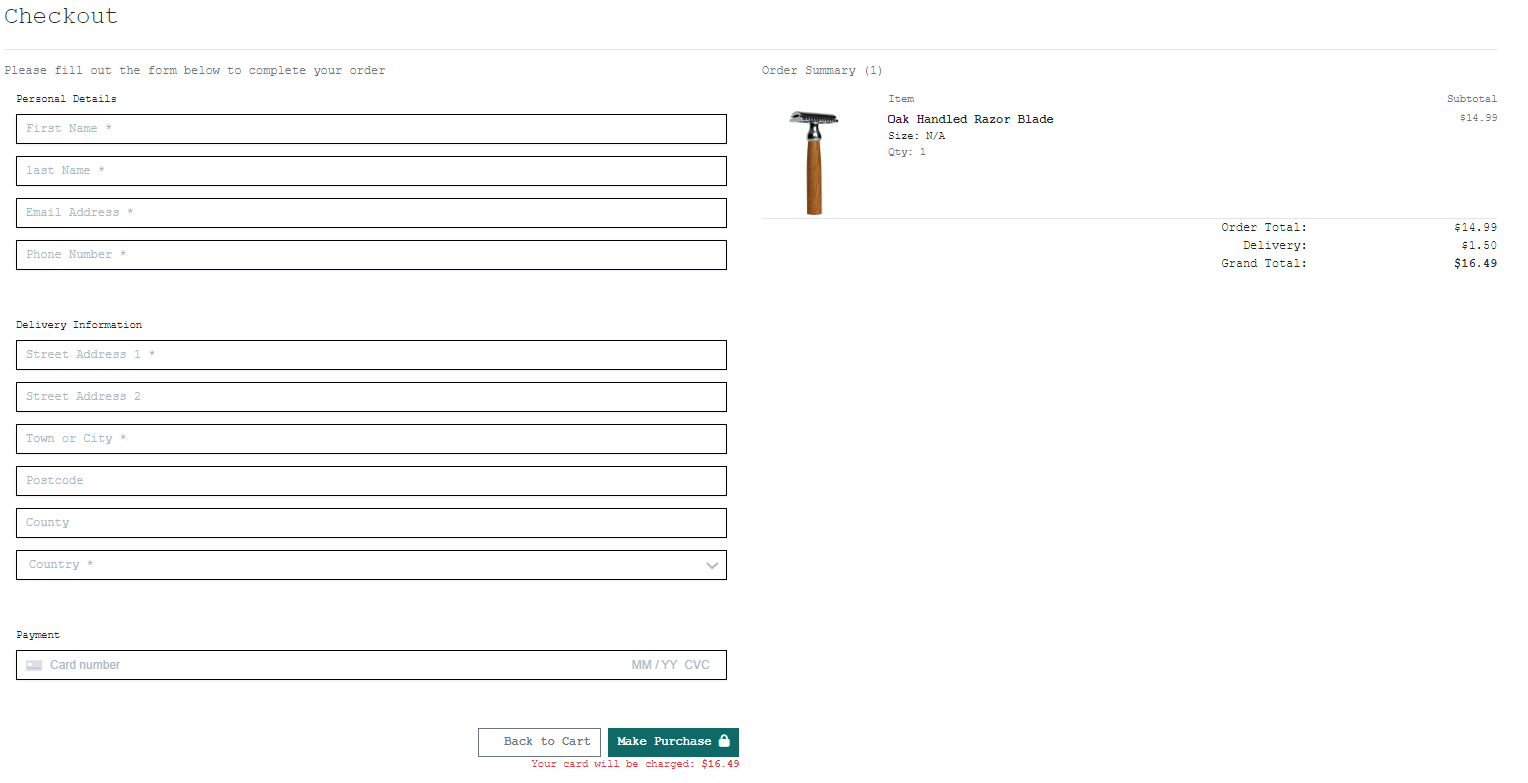
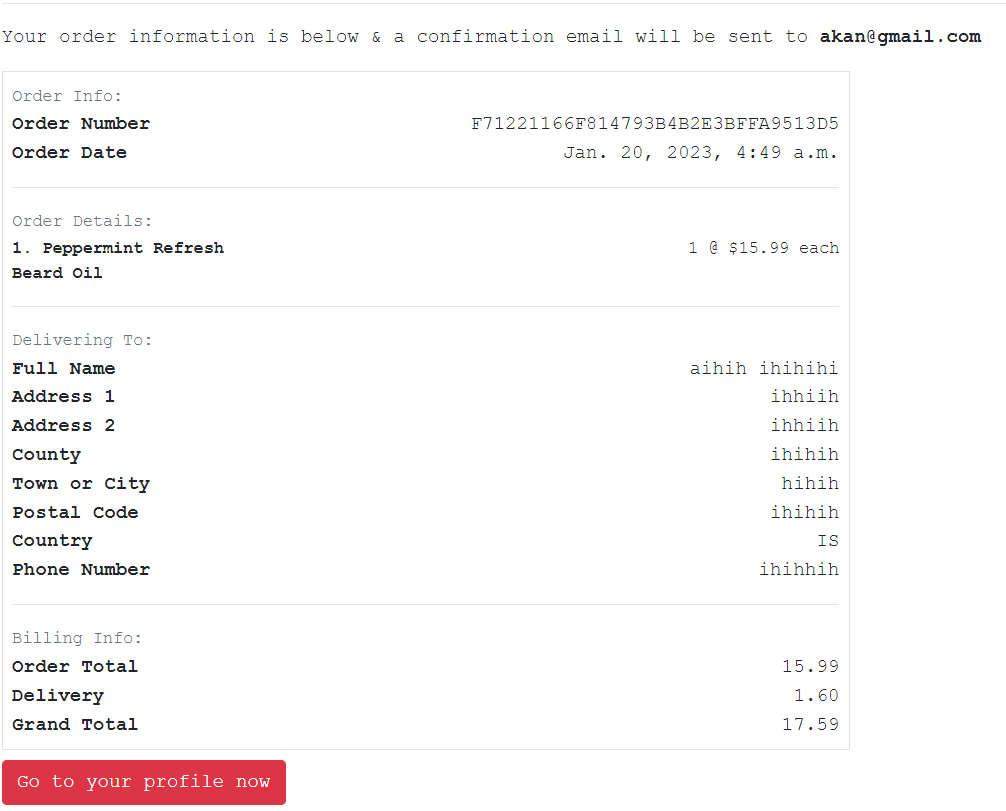
Once the customer makes a successful paymeent they are redirected to the payment success page where they see a summary of their order.
Account Profiles
The account profiles app was designed to make it easy for customers to carry out some basic post order options. The facility to update their account information, change their shipping address or profile photo. Even close their account if they no longer wish to have one.
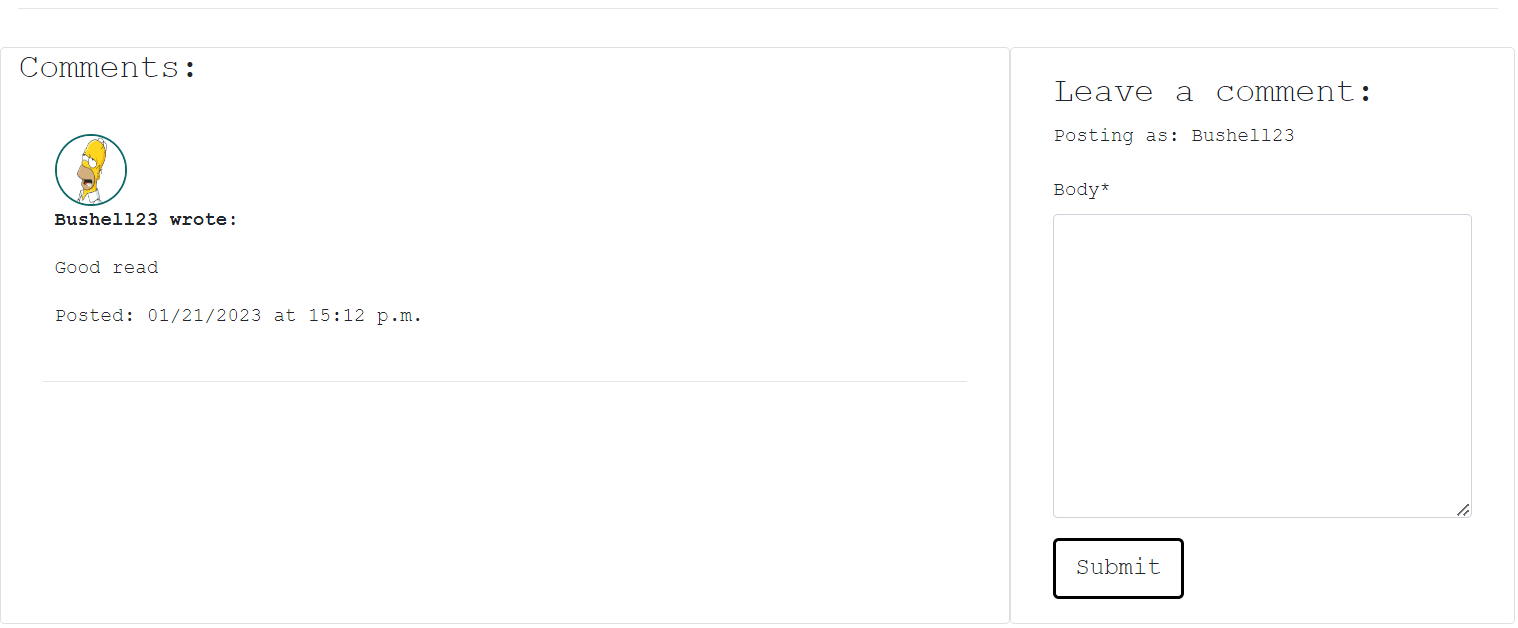
We allow users to add and update their profile image as we display their image beside their username when they make comments on blog posts. This was intended to create some form of personalisation and encourage people to discuss on the websites soon to be many topics.
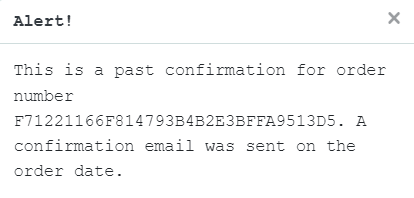
The customer can visit their order confirmation by clicking on the order number in the order history page. Once directed to this page they will be notified by a pop up message that this is displaying a previous order and not a new one.
The customer can return to the profile by clicking on the button below the order form.
Blog
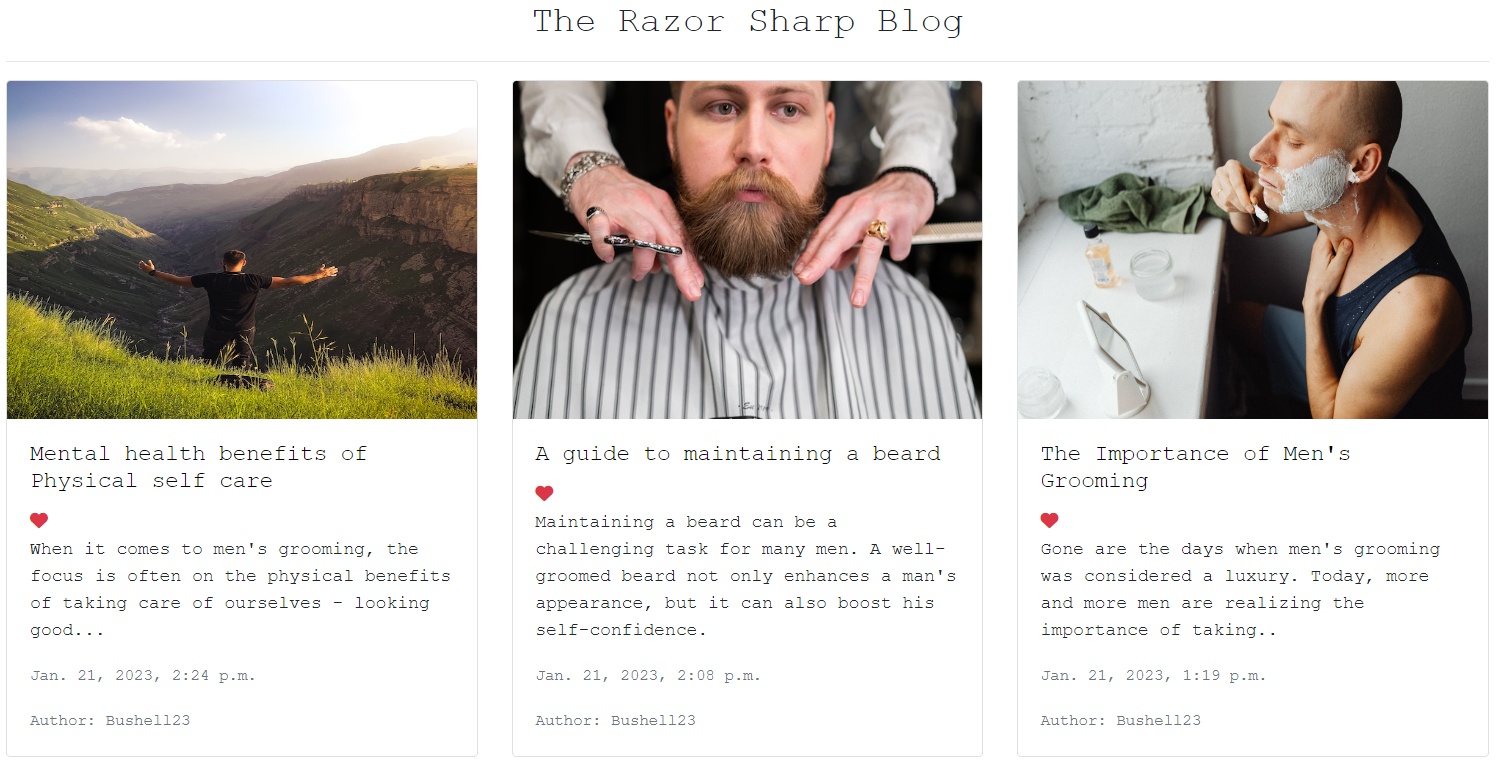
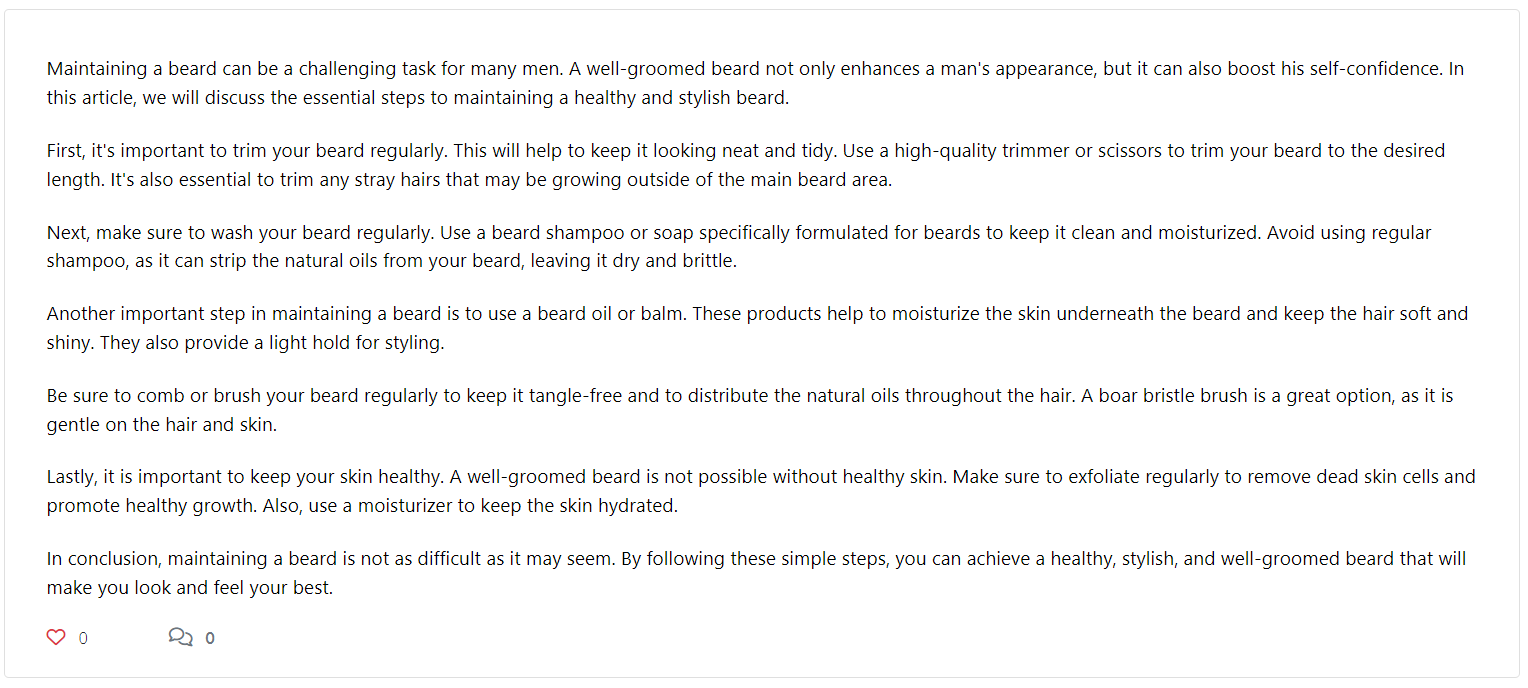
The idea behind blogs was to firstly create informative and helpful articles to boost SEO and also to create a place for users to ask questions, share insights and converse with like minded people.
The initial blog articles although basic are the start of what will be expanded on. At present users can comment on blogs and like blog articles. The future features will be added below.
Contact Page
The contact form was designed to be a model that sends the message to the backend of the website. In the future I will enable email notifications to the business email address and filter them depending on contact reason. For example if the query selected is complaint then the email will be forwarded to the complaints email address the ensure swift response from the correct employee of the business.
Account Notifications
When a user signs in or out they see a notification like the below to indicate this with the relevant action just taken.
If a user navigates from their account profile to the below they are notified as it is reusing the same payment confirmation page once the user makes an order and pays.
When a user adds an item to cart they see the below notification.
Admin related permissions
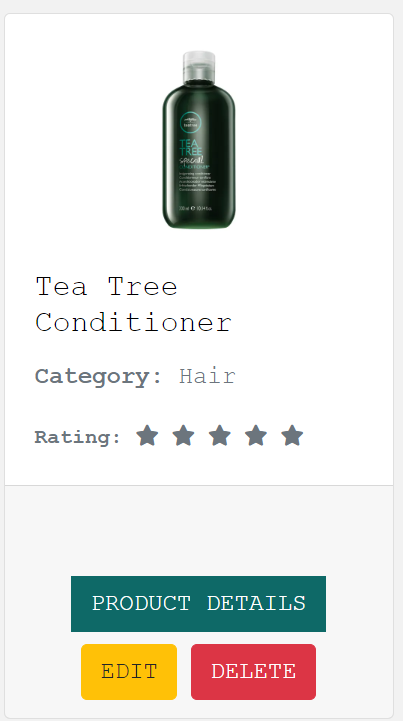
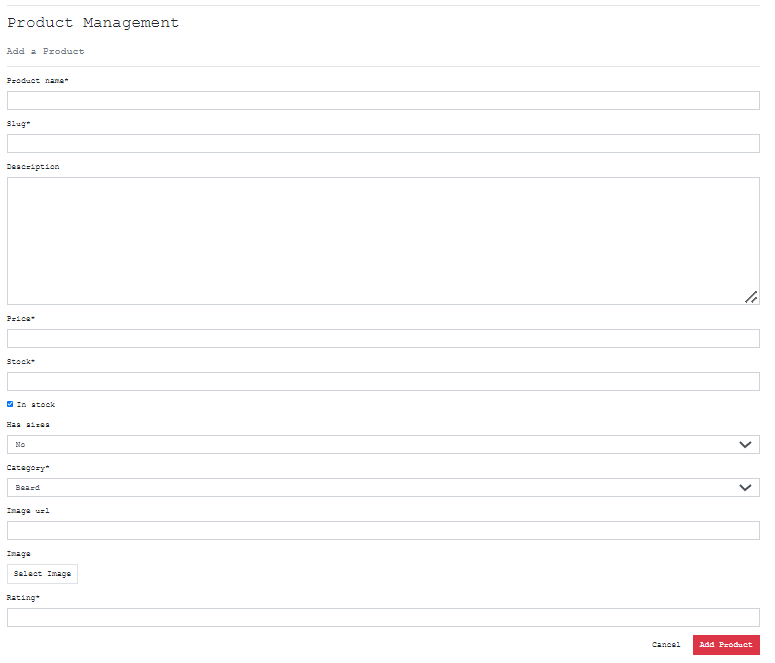
When the superuser logs into the account they have additional front end permissions to edit, delete and add products to the website. The edit option and delete options are available on the products page and the add product option is on the product management page on the my account dropdown.
Additional Pages
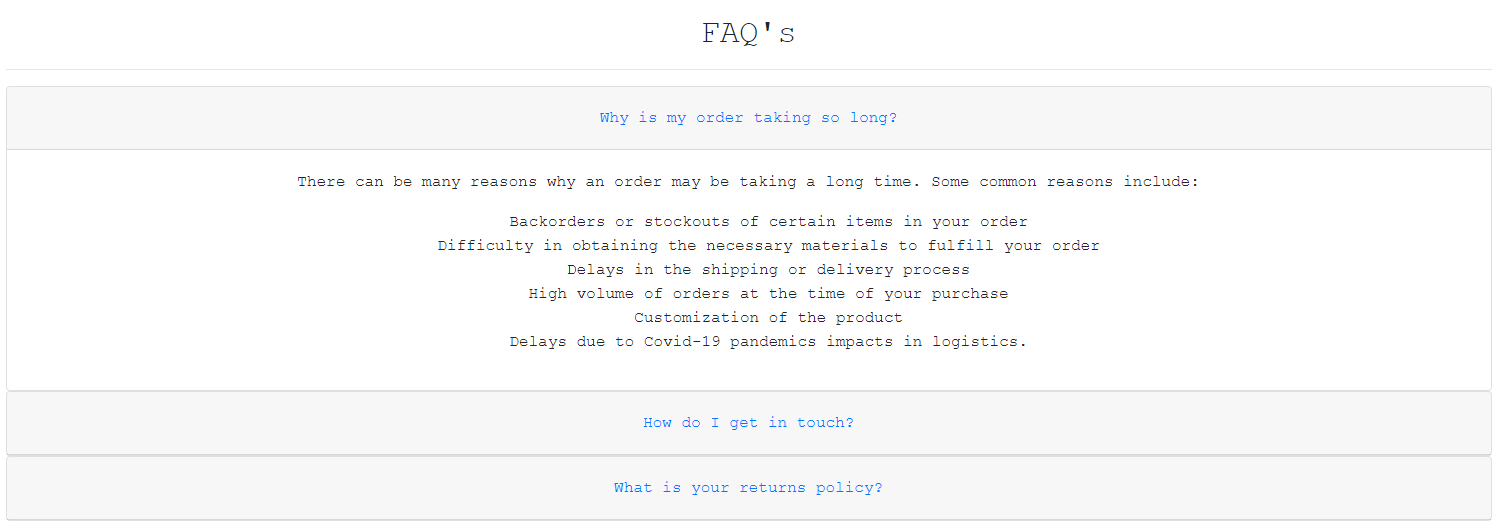
To ensure the page reflects that of a genuine e-commerce page I wanted to include shipping policy's and FAQ's to ensure customers common queries are available.
I have included a subscribe option for customer to provide their emails to be added to mailing lists for offers tips and tricks. This service is provided by mailchimp.
Initially I was considering creating a subscribe model and attaching it to the userprofile model so they can subscribe and unsub at their leisure but due to time constrainst i decided to go with mailchimp.
When an unverified or not logged in user trys to access the accounts section of the site they are notified they do not have permissions and then redirected back to home.
For the short term and to prevent spam, when a non logged in user trys to access the contact form page they are advised to login and redirected back to the home page. This was a personal choice and by design but in the next iteration I would add a "honey pot" type input that is hidden from the front end user. If this option is checked then it would be prevented from being submitted as it would show signs of spam / bot activity.
My intention for this project was to implement subscriptions but due to time constraints it became unrealistic to implement them effectively. This will be one of the first options I intend to include upon developing this project further.
Features including allowing users to reply directly to each other through blog articles, possible even add threads that users can generate themselves to increase and develop a community. I would also like to add a notification system for users to be able to see replys, likes in a bell icon from their account.
In future iterations I would implement a Frequently added products section that would present itself on the initial cart page before checkout to help drive upsells.
At present the products have a fixed rating set by the site admin which is not a true reflection of customer satisfaction. In the next iteration customers would be able to leave reviews on products they have successfully purchased once they are logged in. I will then calculate the average and return a star rating based on the float figure.
This is a basic feature to prevent bot spam messages and while it is not 100% effective, coupled with other features it would reduce spam to close to zero. This works as a hidden input value on the form that the front end user cannot click. However bots can and generally do. If the option is ticked the submitted form is either not forwarded to staff or the form is disabled completely.
As I have a dropdown model for the contact form, depending on the size of the business I would like to forward the emails to specific email addresses monitored by different staff departments. For example the complaints emails go to the complaints teams to ensure quick responses and reduce friction.
Going forward I would like to add an order tracking system for the user profile section. Once order placed the merchant can move the product to dispatched and add tracking that can then be viewed by the customer from within their account and also receive an email with the updates.
This would involve creating a front end accounts page to display orders and graphs for employees of the business beyond django cms. These would allow the business to track orders over days, months and year on year as well as track most popular products.
- Used to structure my website
- Custom CSS was written on large chunks of this site to make it as close to the wireframes as I felt it needed to be.
- Used to add timeout function for messages as well as to enable the menu on index.html
- Used for the logic in this project.
- Framework used to build this project. Provides a ready installed admin panel and includes many helper template tags that make writing code quick and efficient.
- Icon library used
- Used as the base front end framework to work alongside Django
- Used to render logic within html documents and make the website more dynamic.
- Used to store the code for this project & for the projects Kanban board used to complete it.
- Used to host and deploy this project
- Heroku PostgreSQL was used as the database for this project during development and in production.
- Used for version control throughout the project and to ensure a good clean record of work done was maintained.
- Used to host static and media files for this project and IAM for the permissions based roles for accessing the S3 buckets.
- Used to style the forms in this project.
If the intended outcome completes then this will be flagged as pass. If it does not then this is a fail.
Please see a table of acronyms used throughout testing:
| Key | Value |
|---|---|
| NLI | Non logged in user |
| LIU | Logged in customer who does not have staff permissions. |
| SUP | Superuser or staff permissions |
Account Registration Tests
| Test | Result |
|---|---|
| User can create an account | Pass |
| Verified User can log into account | Pass |
| User can log out of account | Pass |
| User is notified of logging in to account | Pass |
| User is notified of logging out of account | Pass |
| User receives email verification email | Fail |
User Navigation Tests
| Test | Result |
|---|---|
| User can navigate to product | Pass |
| User can access product details | Pass |
| User can add a product to cart | Pass |
| User can navigate back to products | Pass |
| User can add additional products to cart | Pass |
| User can add multiple quantities of a product | Pass |
| User can navigate to cart | Pass |
| Logged in User can navigate to the profile section of accounts | Pass |
| User can access their saved address information | Pass |
| User can access past orders | Pass |
| User can access the blog section of the page | Pass |
| User can access specific blogs | Pass |
| User can access the contact page and form | Pass |
| All links on footer open to correct pages | Pass |
| All links on Heading Navigation open to correct option | Pass |
Account Security Tests
| Test | Result |
|---|---|
| NLI cannot make reservation | Pass |
| NLI cannot access profile page | Pass |
| NLI cannot access admin panel | Pass |
| NLI cannot access products management | Pass |
| NLI cannot access the contact form page | Pass |
| NLI cannot leave comments on blog | Pass |
| LIU cannot access admin panel | Pass |
| LIU cannot access products management | Pass |
| LIU can access the contact form page | Pass |
| LIU cannot edit products | Pass |
| LIU can leave comments on blog articles | Pass |
Profile Tests
| Test | Result |
|---|---|
| NLI cannot access profile page | Pass |
| LIU can access profile page | Pass |
| LIU can see their details on the accounts home page | Pass |
| LIU can update their first name | Pass |
| LIU can update their last name | Pass |
| LIU can update their email | Pass |
| LIU can update their phone number | Pass |
| LIU can navigate to their shipping information | Pass |
| LIU can update street address 1 and 2 | Pass |
| LIU can update town or city | Pass |
| LIU can update county | Pass |
| LIU can update postcode | Pass |
| LIU can update country | Pass |
| LIU can navigate to change profile image page | Pass |
| LIU who does not have a personal image has the default image | Pass |
| LIU can add an image to their profile | Pass |
| LIU can change their profile image once they have one set | Pass |
| LIU can remove a personal image entirely | Pass |
| LIU can select delete account | Pass |
| Pop-up modal prompts the user to confirm account deletion before closing account | Pass |
| LIU can close account successfully | Pass |
| When user closes their account they are redirected to the home page | Pass |
| When user closes account they receive a pop up notification advising them the account is closed | Pass |
Admin Tests
| Test | Result |
|---|---|
| SUP can access admin panel from the my account dropdown | Pass |
| SUP can access add product page from my account dropdown | Pass |
| SUP can see the edit product option on the products page | Pass |
| SUP can see the delete option on the products page | Pass |
| SUP can write blogs from the admin panel and publish them | Pass |
| SUP can edit products and update all fields successfully | Pass |
| SUP can delete products from the products page | Pass |
Site wide tests
| Test | Result |
|---|---|
| NLI cannot access contact page | Pass |
| LIU can submit contact form to business | Pass |
| SUP can view submitted forms from the admin panel | Pass |
| LIU receives notification the form has been submitted | Pass |
| User can navigate to privacy policy | Pass |
| User can navigate to shipping policy | Pass |
| User can navigate to terms of use page | Pass |
| Social links open up to the correct pages | Pass |
| Social links open up in a new tab | Pass |
Payment Tests
| Test | Result |
|---|---|
| NLI can successfully make a payment & order | Pass |
| LIU can successfully make a payment & order | Pass |
| All users receive an email confirmation of order on deployed site | Fail |
| In development email confirmation is printed to terminal | Pass |
| If payment is successful user will be redirected to order success page | Pass |
| If order fails due to incorrect information being submitted order will not be submitted | Pass |
| If there is an error when processing the order the site returns a 500 error without processing order | Pass |
Blog Tests
| Test | Result |
|---|---|
| NLI can access blog pages | Pass |
| NLI cannot post a comment on blog posts | Pass |
| LIU can comment on blog posts | Pass |
| LIU can like blog posts | Pass |
| LIU's information shows in the comment section after they post comment | Pass |
| LIU's correct profile image shows on the comment they made | Pass |
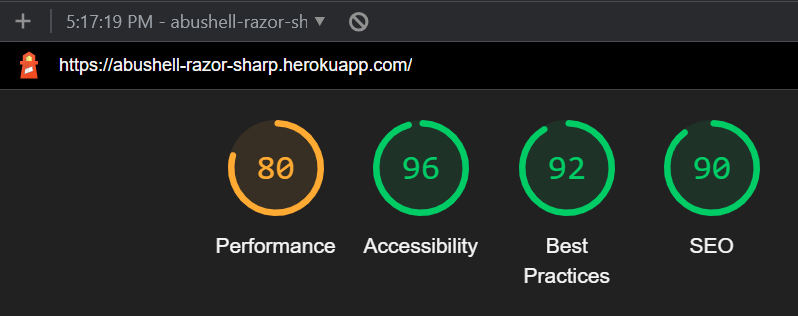
index.html
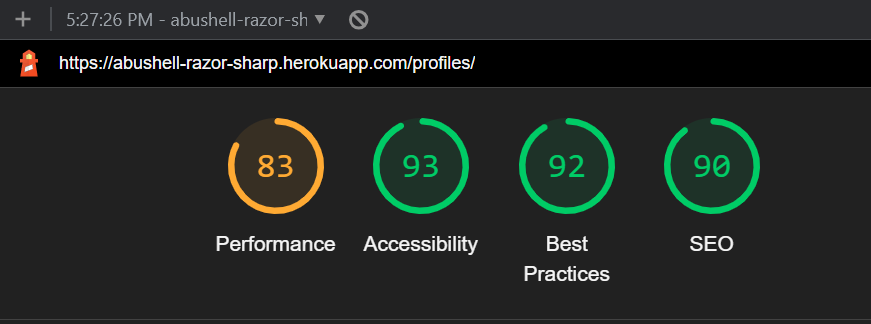
HTML W3 Validationprofile.html
Bugs
Please click on the bugs below to see causes, solutions or reason why issue is not resolved
| Bug | Outcome |
|---|---|
| User getting 404 when trying to change address | Resolved |
| Incorrect logo showing on mobile | Resolved |
| My account not showing on mobile | Resolved |
| Profile image in navbar causing errors for new users | Not Resolved |
| Emails not sending in deployment | Not Resolved |
This application is deployed with Heroku.
The steps for deploying through Heroku are as follows:
- Visit Heroku and login
- Click on New and then choose New App.
- Choose a name for your app and then choose your region.
- Ideally select the region closest to you
- Then press 'Create app'.
To attach The Database:
- Login or sign up to ElephantSQL.
- Press create a new instance.
- Choose a name and plan. Then click on select region.
- Select the closest Data Center to you
- Click on "Create Instance".
- Go back to the start page and click on your new database.
- Copy the URL for the database.
Go back to Heroku and click on the settings tab of your application.
Click on "Reveal config vars".
Add a new config var named DATABASE_URL and paste in the URL from ElephantSQL as the value.
Go back to Gitpod or the IDE you are using and install two more requirements for the database:
pip3 install dj_databse_url
pip3 install psycopg2-binary
Update your requirements.txt file by typing in pip3 freeze --local > requirements.txt
Add the DATABASE_URL to your env.py file or environment variables in gitpod.
Go to settings.py and import dj_database_url
Comment out the default DATABASES setting.
Add this under the commented out section:
'default': dj_database_url.parse(os.environ.get('DATABASE_URL')) }
Run migrations for the new database.
-
In the root directory of your project, create a file called "Procfile" and add
web: gunicorn project_name.wsgiso Heroku will know what kind of application it is. -
In settings.py add ['app_name.heroku.com', 'localhost'] to
ALLOWED_HOSTS. -
Commit and push these changes to GitHub.
-
In the Heroku settings tab of your project update the config vars to the following:
| Key | Value |
|---|---|
| AWS_ACCESS_KEY_ID | From AWS in CSV Download |
| AWS_SECRET_ACCESS_KEY | From AWS in CSV Download |
| DATABASE_URL | From ElephantSQL dashboard |
| EMAIL_HOST_PASSWORD | App Password from Email Client |
| EMAIL_HOST_USER | Email address |
| SECRET_KEY | Randomly Generated Django Key |
| STRIPE_PUBLIC_KEY | Publishable key from Stripe Dashboard |
| STRIPE_SECRET_KEY | Secret key from Stripe Dashboard |
| STRIPE_WH_SECRET | Signing secret from Stripe Webhooks Endpoint |
| USE_AWS | True |
If you deploy at the beginning of the project then add the key value of: DISABLE_COLLCETSTATIC and set it to 1. When you have staticfiles to push then remove this variable.
Once the project is completed and you are no longer working on it set DEBUG = False in settings.py.
Log in to Heroku and select the deploy tab on your Heroku App and connect your GitHub account.
Search for your repository and connect it.
Once you have selected the correct repository, scroll down and click "Deploy Branch".
Watch the log as it deploys your project and ensure there are no errors.
If everything is correct it should deploy successfully.
Click on open app at the top of the page to view your deployed app.
How to clone of the repository:
- Click on the code tab under the repository name.
- Then click on "Code" button to the right above the files listed.
- Click on the clipboard icon to copy the URL.
- Open Git Bash in gitpod or your preferred IDE.
- Change the working directory to where you want your cloned directory.
- Type
git cloneand then paste the URL that you copied. - Press enter and clone is complete.
- In the terminal install the requirements by using the following: pip3 install -r requirements.txt
- Next create the env.py file which tells our project which variables to use.
- Add the file to a .gitignore to prevent it from being pushed to github
- Make migrations by running :
python manage.py makemigrations - Then migrate those changes with
python manage.py migrate - To run the project type
python manage.py runserverinto the terminal and open port 8000. - This will open the project locally for you to work on.
The steps to fork this repository are:
- Login to github and find the respitory here
- Under your profile photo on the right hand side you will see the fork button.
- Click the fork button and github will create a copy to your account.
- Prior to starting this project I went through Rathan's course on building a django e-commerce store and combined the knowledge learned through the code institute and rathan to implement my own creation as best as I could.
- Rathan does really well to cover off correctly extending the user model through the django documentation and filled in some knowledge gaps I had.
- For this project I had personally written 3-4 blog articles focusing on SEO and related to the niche of this project.
- However once I deployed the project my articles were lost for some reason.
- To save time and also to try out some AI resources I have used ChatGPT to write my blog articles.
- These articles were not written by myself.
- I provided the title of the article and instructed the AI application to write a blog related post for a mens e-commerce store.
- The final articles were off and requires some tweeking to make sense and then were formatted for this site.
- Used remove.bg to remove the background on the amiresponsive.png as i felt the original black background didn't work with the readme layout.
- The new image fits in nicely and is more aestetically pleasing for readers.
- Read through the django documentation multiple times when trying to implement models and other content.
- Used for reference throughout for simple css examples.
- Used to create the logo used for the facebook business page and favicon
- Used to create the favicon from the logo
- Course content for portfolio project 5 helped greatly in being able to complete this project.
- I found the walkthroughs informative and well paced.
- Initial structure based heavily on the CI walkthrough until I got more comfortable with the framework and started to make it my own.
- Some legacy code regarding nav remains.
- Dennis has a great video series on Youtube that covers off how to build an e-commerce platform with django from scratch.
- He provides good bitesize lessons that give a different perspective on building a django e-commerce store.
- Really good resource for tutorials and guides relating to all forms of programming. Really helpful for templating or sythax reference.
My mentor who provided me with constructive feedback and guidance throughout.
The Tutor support team in the Code Institute were always on hand to answer any queries or questions if things got too clouded. I found myself needing to speak with them less and less over the course and have contacted them over 50% less than project 4 alone. Regardless I do appreciate their guidance and support.
