Kitchanware Classification and Deployment on AWS Lambda
Kitchenware Items classification competition organized by Datatalks.Club.
In this competition you need to classify images of different kitchenware items into 6 classes:
- cups
- glasses
- plates
- spoons
- forks
- knives
Developed a ResNet50-based CNN model to classify Kitchenware Items and deployed it with AWS Lambda.
- My ResNet CNN model that is developed notebook on Kaggle: Kitchenware Classification Resnet50 | Kaggle (Private Score: 0.9418)
Files
converting_to_tflite.ipynbis the notebook that keras model converted to tflite.kitchenware-classification-resnet50.ipynbmodel development notebook.lambda_function.pylambda function for AWS deployment.- Download the my kitchenware tflite model. (It's 117mb).
How to Deploy on AWS Lambda
Build Docker Image
Build the Docker Image and Run to test the lambda_fucntion
docker build -t kitchenware-model .

docker run -it --rm -p 8080:8080 kitchenware-model:latest
test.py
# test.py
import requests

# local url
url = "http://localhost:8080/2015-03-31/functions/function/invocations"

data = {'url' : 'https://images.unsplash.com/photo-1542838309-fbfad201ce6d?ixlib=rb-4.0.3&ixid=MnwxMjA3fDB8MHxzZWFyY2h8Mjh8fGZvcmt8ZW58MHx8MHx8&auto=format&fit=crop&w=500&q=60'}

result = requests.post(url, json=data).json()
print(result)- The test Image:

- From another terminal:
python test.py
Push Docker Image to the AWS ECR
If you don’t have AWS account, you should read Machine Learning Bookcamp article:
The first thing you need to do is creating repository for ECR(Elastic Container Registry), in order to do that you need to use awscli.
pip install awscli

# if you are using for the first time use, configure with IAM user
aws configure

# creating ecr
aws ecr create-repository --repository-name kitchenware-tflite-images- Save the output:
{
    "repository": {
        "repositoryArn": "{}:repository/kitchenware-tflite-images",
        "registryId": "123456",
        "repositoryName": "kitchenware-tflite-images",
        "repositoryUri": "123456.dkr.ecr.us-east-1.amazonaws.com/kitchenware-tflite-images",
        "createdAt": 123456.0,
        "imageTagMutability": "MUTABLE",
        "imageScanningConfiguration": {
            "scanOnPush": false
        },
        "encryptionConfiguration": {
            "encryptionType": "AES256"
        }
    }
}- Then go to ECR to check the registery:

-
We created repository but it’s empty:
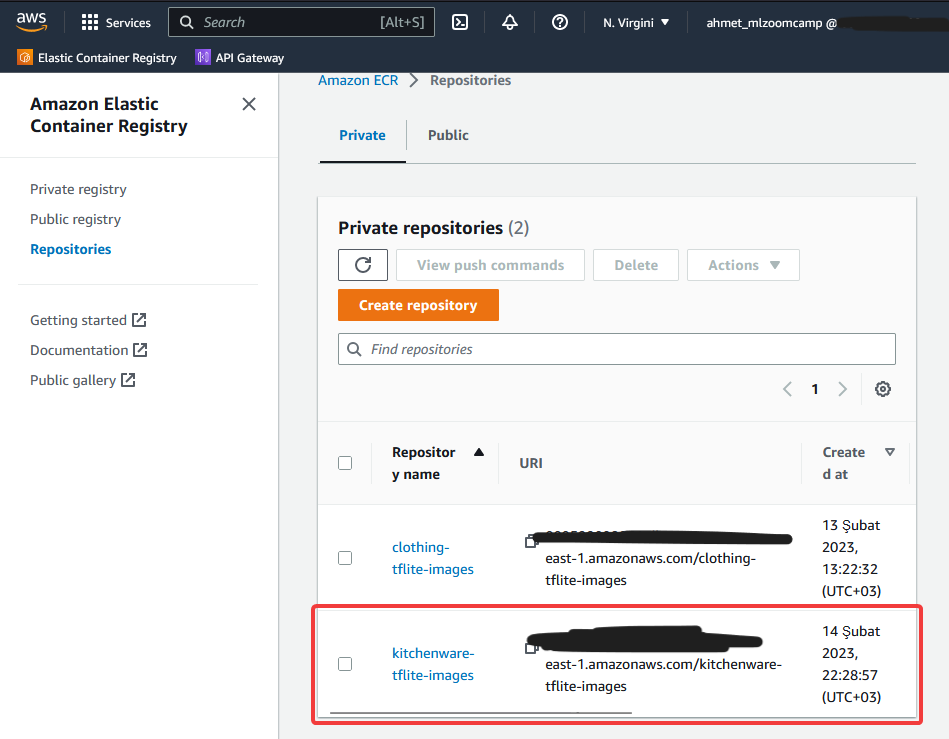
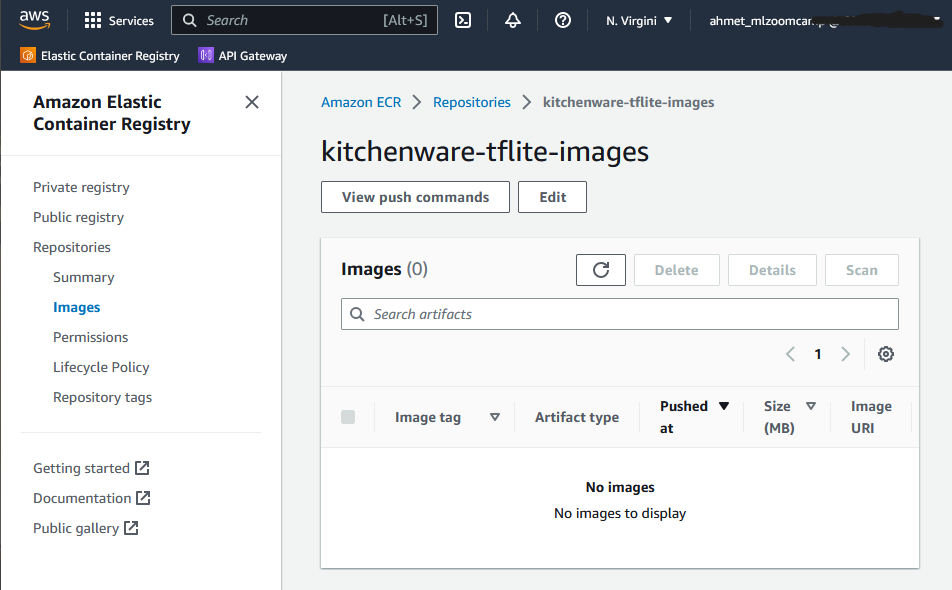
-
We added the repository. Now, we need to log in to publish our Docker image. In order to do this, the command in below will generate password for us and Docker command.
-
https://docs.aws.amazon.com/cli/latest/reference/ecr/get-login.html
-
https://awscli.amazonaws.com/v2/documentation/api/latest/reference/ecr/get-login-password.html (this is the new version.)


aws ecr get-login --no-include-email | sed 's/Expression/ Result(which we want to replace it)/g'

aws ecr get-login --no-include-email | sed 's/[0-9a-zA-Z=]\{20,\}/PASSWORD/g'sedis a command line utility in Linux that allows you to do different text manipulations including regular expressions so this is exactly what we want to do here so I want to run a regular expression. (video)sedwill parse the text and look for a string of length 20 containing numbers, upper and lowercase letters and the=sign, and replace it with the wordPASSWORD(source)- {20,} means at least 20 characters.
Run the command that created by AWS ECR in above to login:
$(aws ecr get-login --no-include-email)
Now we need to take this url and edit
ACCOUNT=123456
REGION=us-east-1
REGISTRY=kitchenware-tflite-images
PREFIX=${ACCOUNT}.dkr.ecr.${REGION}.amazonaws.com/${REGISTRY}

TAG=kitchenware-model-resnet50-001
REMOTE_URI=${PREFIX}:${TAG}-
Create the
REMOTE_URIof your image by attaching a tag to the end of the repo URI preceded by a colon. (source)-
Consider the example URI
123456.dkr.ecr.us-east-1.amazonaws.com/my-registry.123456is the account.dkr.ecrmeans that the URI belongs to an Amazon ECR private registry.us-east-1is the region.amazonaws.comis the top domain./my-registryis the directory of the registry we created in step 1.- A tag is a name you assign to the specific version of the image in use. For our example we'll use
model-001.
-
The resulting
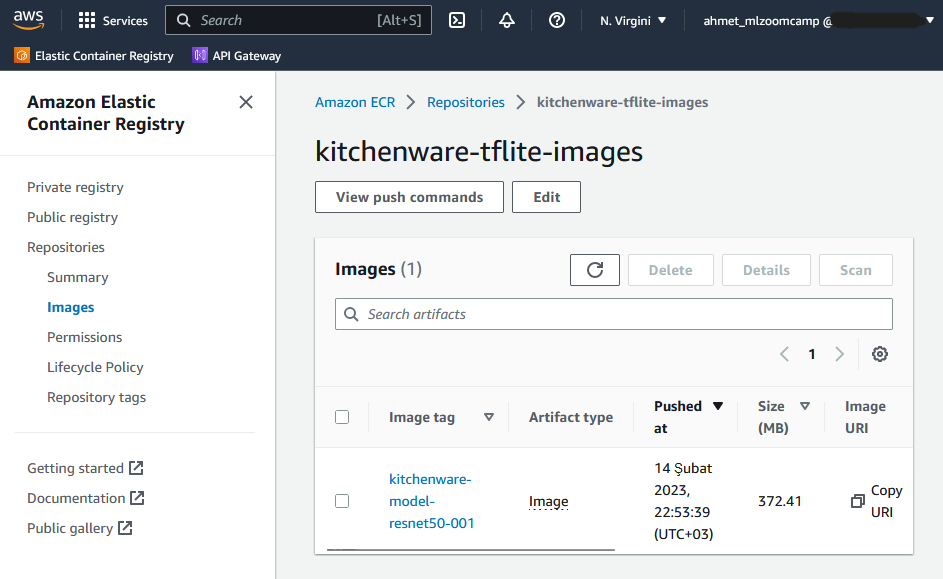
REMOTE_URIis123456.dkr.ecr.us-east-1.amazonaws.com/my-registry:model-001Push our Docker Image to the ECR
# change the tag of container to ${REMOTE_URI}
docker tag kitchenware-model:latest ${REMOTE_URI}
docker push ${REMOTE_URI}
This can take a while.
-
-
Then go to CREATE LAMBDA FUNCTION page.

Create Lambda Function
- Go to Lambda Service:


 After successfull creation, test the our Lambda function:

- Our code works with url, so we will send it url in json format. But before that you need to configure the Lambda service.
⚠️ If you test the code first, it is failed! “Timed out after 3 seconds.”. Because three seconds is the default timeout which is not sufficient for our case. Which is initializing can take more time than three seconds.- Also more memory may be needed. So, we will increase the memory to 512MB. And if you get fail, the system will show you what is the reason.


- Then test it:
{
  "url": "https://images.unsplash.com/photo-1542838309-fbfad201ce6d?ixlib=rb-4.0.3&ixid=MnwxMjA3fDB8MHxzZWFyY2h8Mjh8fGZvcmt8ZW58MHx8MHx8&auto=format&fit=crop&w=500&q=60"
}
- First time can take more time. Consecutive requests take less time.

Princing
https://aws.amazon.com/lambda/pricing/
You can calculate the price with the pricing page.

$0.0000000083 for per 1ms with 512MB which is our memory size. And our lambda function takes 1447ms.
- If we have 10,000 requests:
- (10,000requests)* 1500(billed duration) * $0.0000000083 = $0.1245 for our service.
- If we have 1,000,000 requests:
- (1,000,000requests)* 1500(billed duration) * $ 0.0000000083 = $12.45 for our service.
API Gateway: exposing the lambda function
- Configure the API Gateway to use others our service.

- We will select REST API


Create a Method


Test the API

Send the request with test button on the same page:
{
  "url": "https://images.unsplash.com/photo-1542838309-fbfad201ce6d?ixlib=rb-4.0.3&ixid=MnwxMjA3fDB8MHxzZWFyY2h8Mjh8fGZvcmt8ZW58MHx8MHx8&auto=format&fit=crop&w=500&q=60"
}
Second request in sequence:

Deploy the API


This will give you an API URL.
Test from your computer
import requests

# url = "http://localhost:8080/2015-03-31/functions/function/invocations"

# AWS API Gateway
url = "{your AWS API URL}"

data = {'url' : 'https://images.unsplash.com/photo-1542838309-fbfad201ce6d?ixlib=rb-4.0.3&ixid=MnwxMjA3fDB8MHxzZWFyY2h8Mjh8fGZvcmt8ZW58MHx8MHx8&auto=format&fit=crop&w=500&q=60'}

result = requests.post(url, json=data).json()
print(result)