This cdk project is an example of how a customer can generate a report on what tags exist and the resources they are applied to across their entire AWS organization.

The solution consists of one central account and one to many spoke accounts.
- Spoke accounts have an Amazon EventBridge Scheduler which periodically triggers an AWS Step Functions state machine, SpokeAccountStateMachine.
- This state machine queries all resources across all regions within the account using AWS Resource Explorer.
- The state machine processes and transforms the results and writes them to an S3 bucket in the central account.
- Within the central account there is a Glue Crawler that will periodically crawl the S3 bucket where the results land and generate a table in the Glue data catalog.
- There is another Amazon EventBridge Scheduler in the central account which periodically triggers the GenerateCsvReportFunction AWS Lambda function.
- Using Athena, this function executes the following statement.
CREATE TABLE "<DATABASE>"."tag_inventory_csv" WITH (
    format = 'TEXTFILE',
    field_delimiter = ',',
    external_location = 's3://<REPORT_BUCKET>/<LATEST_DATE>',
    bucketed_by = ARRAY [ 'd' ],
    bucket_count = 1
) AS
(
    SELECT
        d,
        tagname,
        tagvalue,
        r.owningAccountId,
        r.region,
        r.service,
        r.resourceType,
        r.arn
    FROM
        "<DATABASE>"."<TAG_INVENTORY_TABLE>",
        unnest("resources") as t ("r")
    where
        d = (select max(d) from "<DATABASE>"."<TAG_INVENTORY_TABLE>")
);- Athena creates the table in the Glue data catalog which generates a file in the reporting bucket in S3
- Once complete the GenerateCsvReportFunction will rename the report file and delete the table from the Glue data catalog.
Below is the state machine diagram that is run in each spoke account to gather and process tag inventory

- All accounts (central and spoke) need to be part of the same AWS Organization
- Install nodejs
- Install the AWS CLI
npm install -g aws-cdk- Install the AWS CDK Tooklkit- Be sure to have AWS credentials available on your terminal
The easiest way to deploy the solution is using the supplied command line interface (cli)
- Open a terminal on your local machine,
- Ensure there are AWS credentials available on your terminal for the account that you want to deploy the central stack to.
- Checkout the project from GitHub by running
git clone https://github.com/aws-samples/aws-organizations-tag-inventory.git cdinto the project directorycd aws-organizations-tag-inventory- Install dependencies
npm install - Run the cli tool
npm run cliselect "Central" and follow the prompts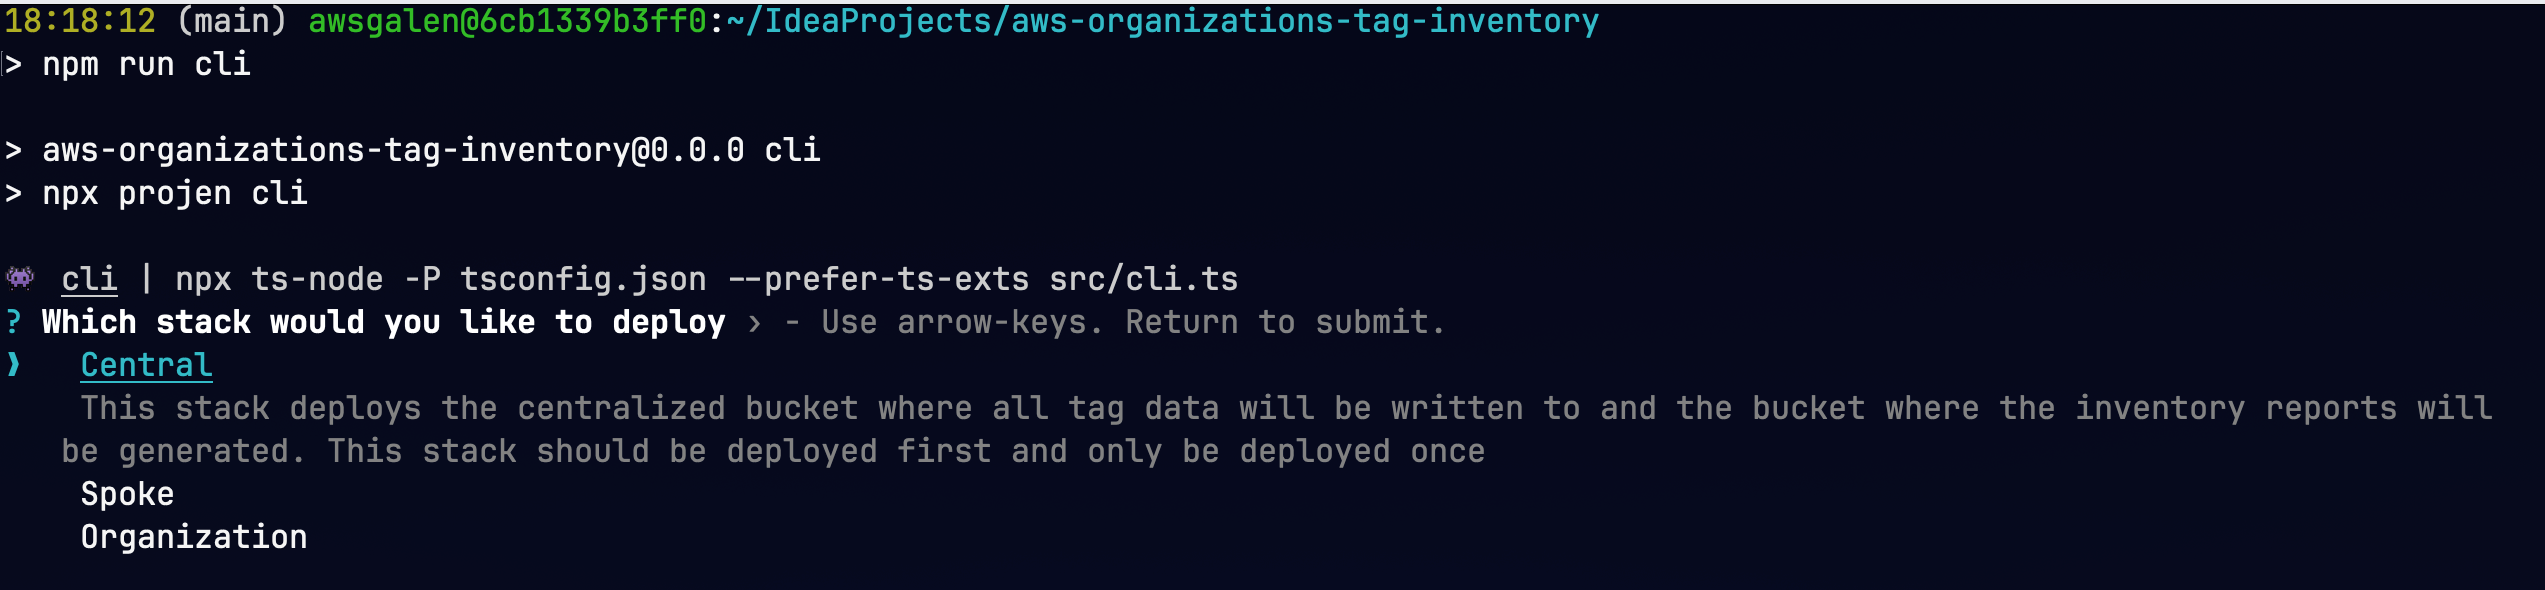
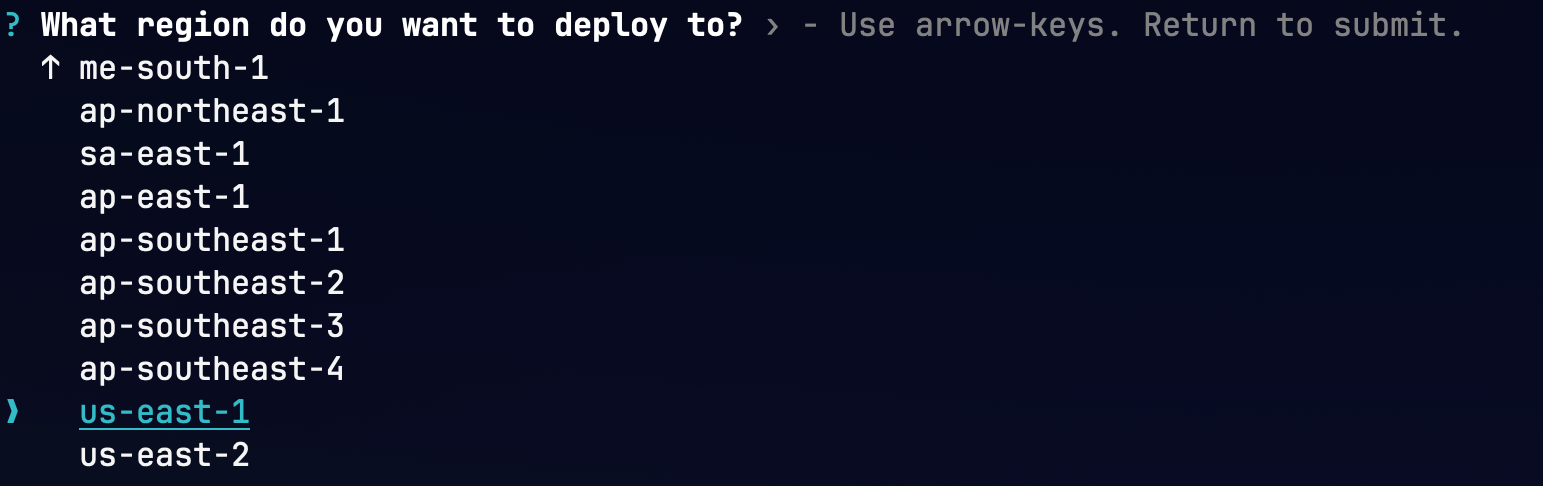
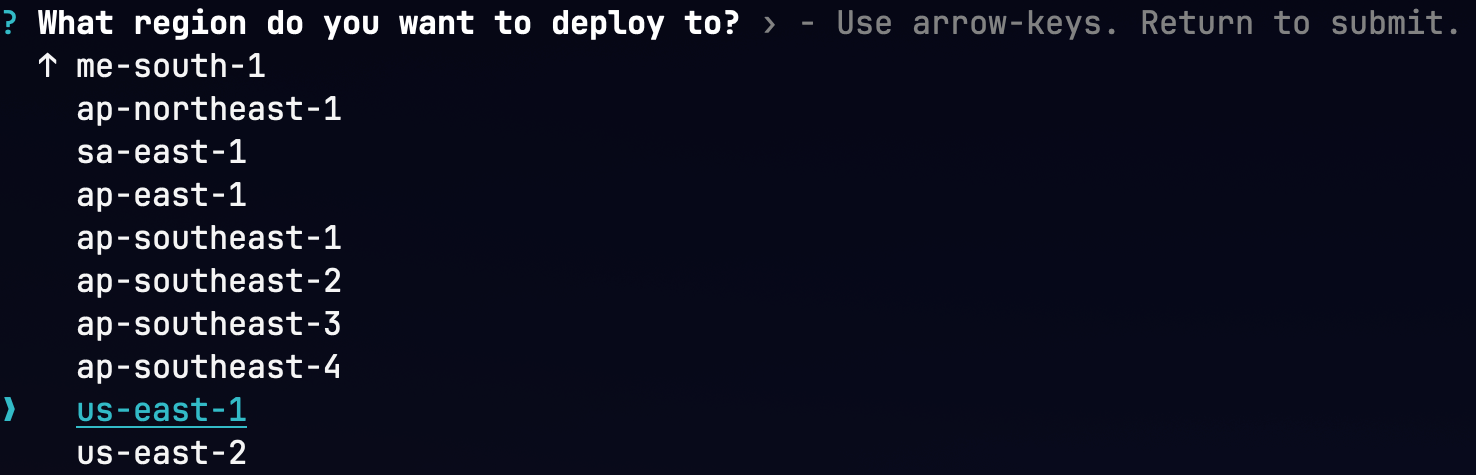
- Select the region you want to deploy the resources to
- Choose whether you want to deploy the QuickSight dashboard to visualize your tag data

- If you choose to deploy the QuickSight dashboard you'll be asked to select the users and groups that can access the dashboard
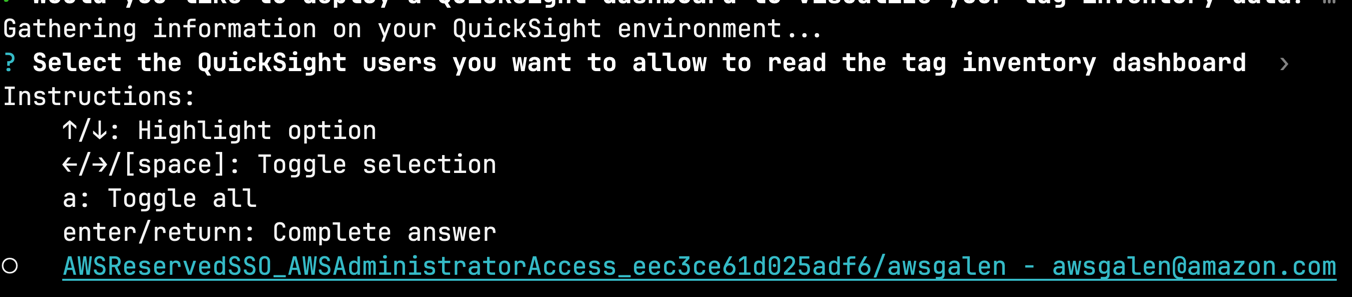
- If you choose to deploy the QuickSight dashboard you'll be asked to select the users and groups that can access the dashboard
- Confirm your choices

- Copy the output values for "CentralStackPutTagInventoryRoleOutput" and "OrganizationsTagInventoryBucketNameOutput", you'll need these values later


If you would like to deploy just a single spoke stack follow the directions below. However, if you would like to deploy the spoke stack to multiple account across your AWS organization jump to Deploy multiple spoke stacks using Cloudformation StackSets
- Open a terminal on your local machine,
- Ensure there are AWS credentials available on your terminal for the account that you want to deploy the spoke stack to.
- Checkout the project from GitHub by running
git clone https://github.com/aws-samples/aws-organizations-tag-inventory.git cdinto the project directorycd aws-organizations-tag-inventory- Install dependencies
npm install - Run the cli tool
npm run cliselect "Spoke" and follow the prompts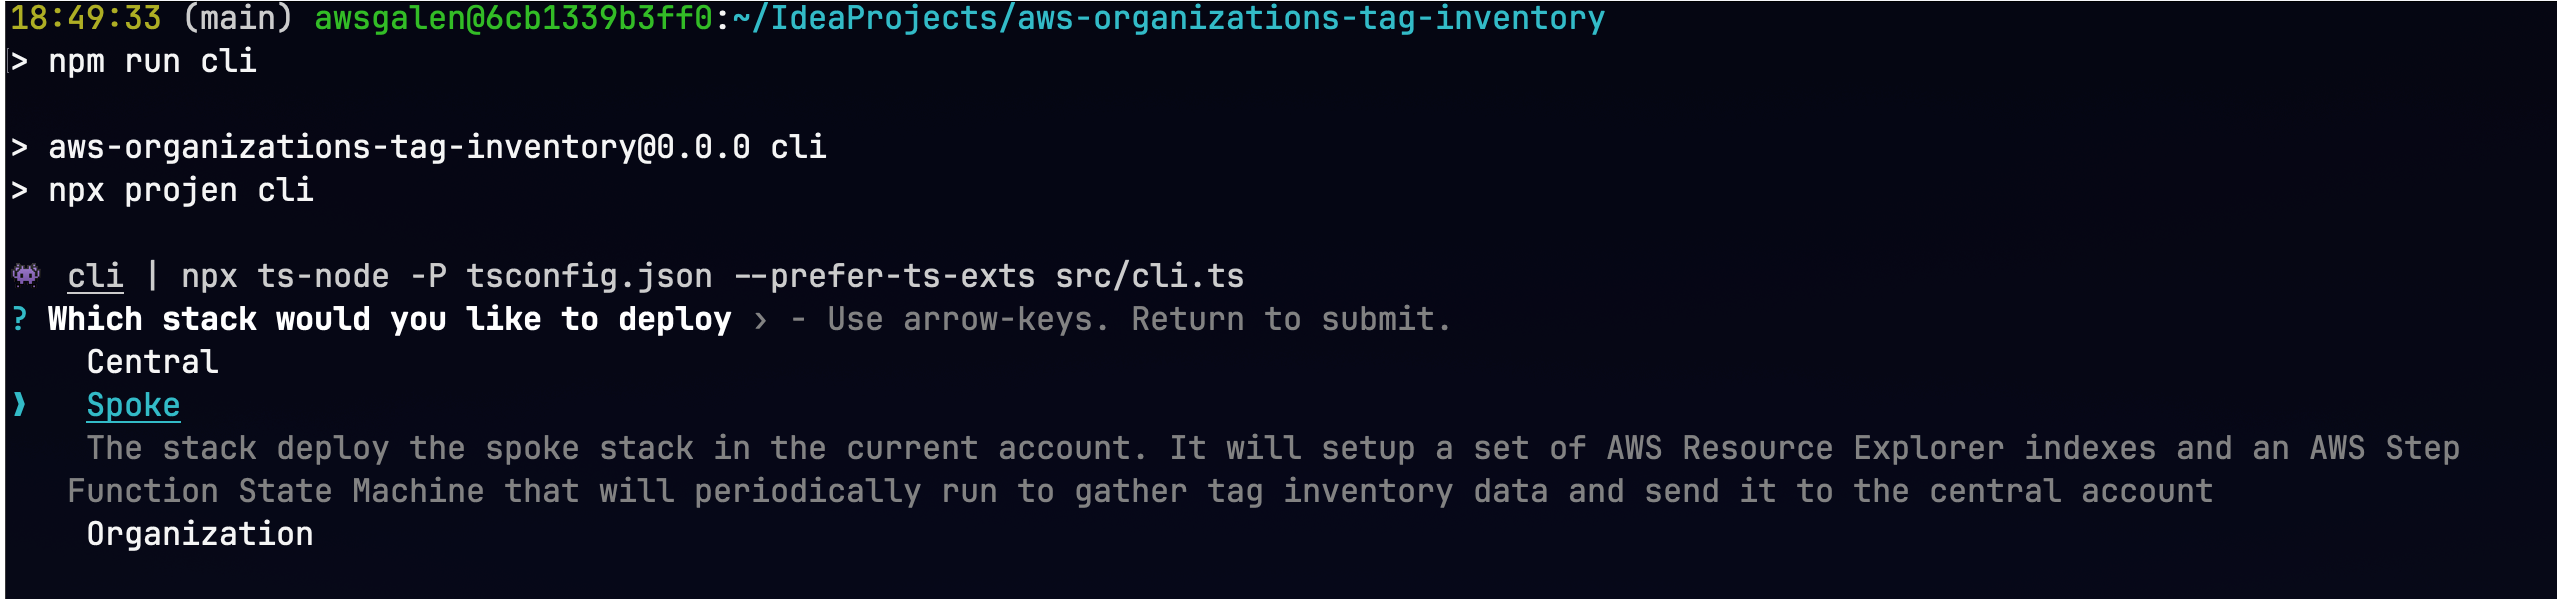
- Select the region you want to deploy the resources to
- Enter the central bucket name from Deploy central stack - Step 8

- Enter the arn of the central cross account role from Deploy central stack - Step 8

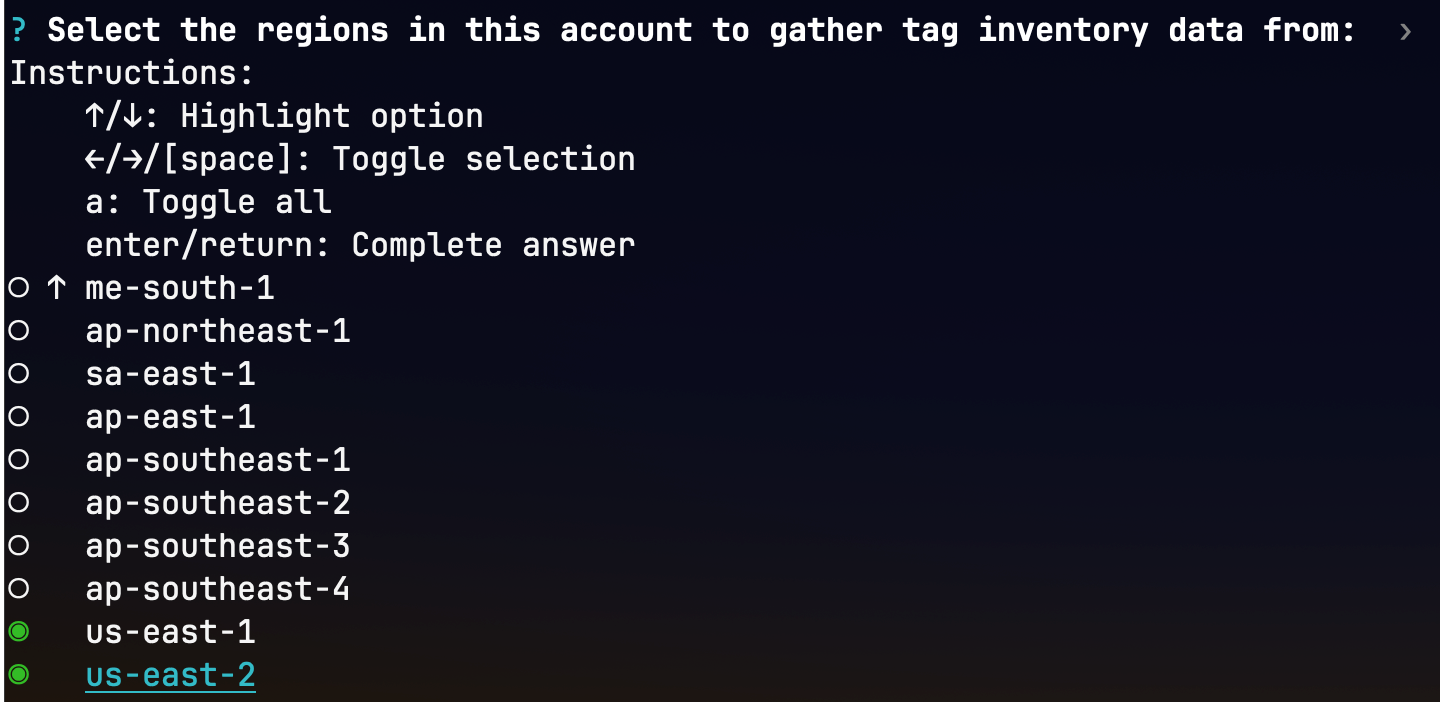
- Select the region that you want to setup AWS Resource Explorer indexes in
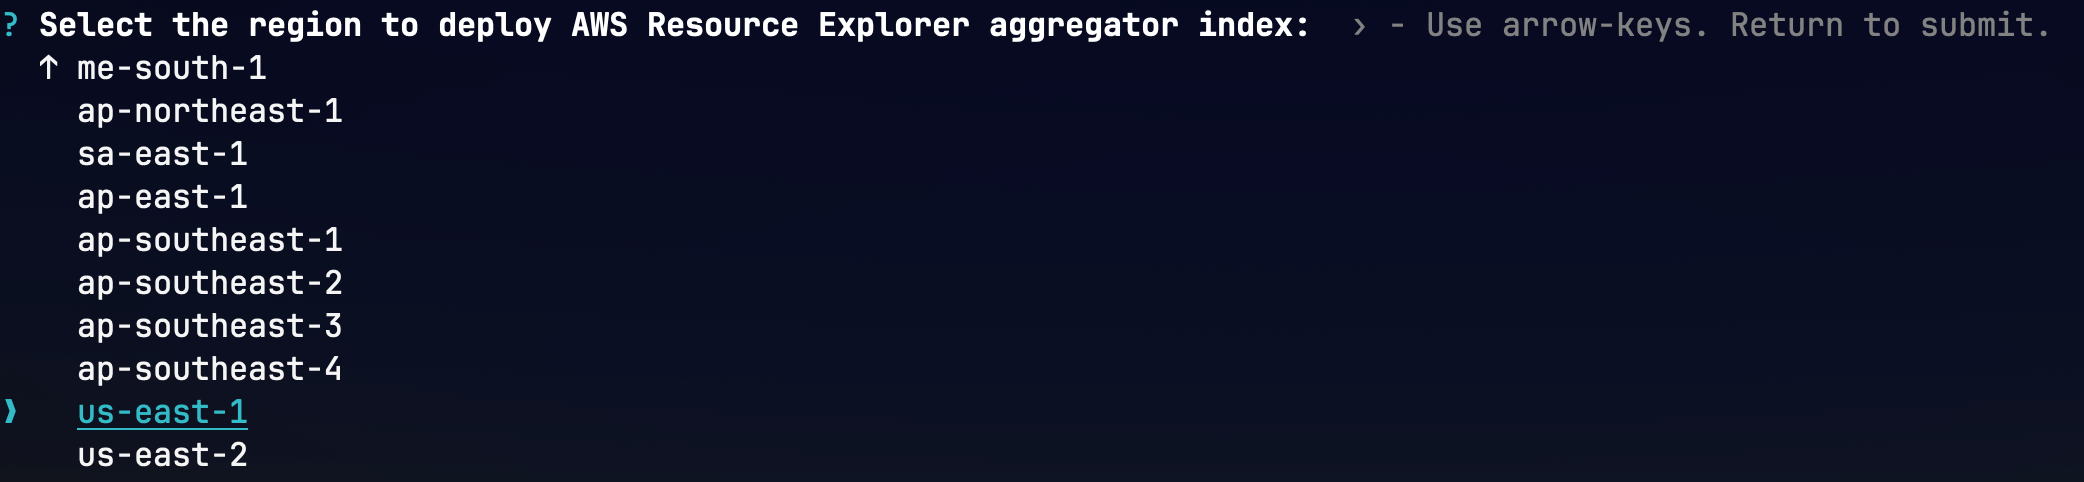
- Select the region that you want to setup the AWS Resource Explorer aggregator index in
- Confirm your choices


Before you can deploy multiple spoke stacks using stacksets be sure to activate trusted access with AWS Organizations
- Open a terminal on your local machine,
- Ensure there are AWS credentials available on your terminal for the payer account for your AWS organization.
- Checkout the project from GitHub by running
git clone https://github.com/aws-samples/aws-organizations-tag-inventory.git cdinto the project directorycd aws-organizations-tag-inventory- Install dependencies
npm install - Run the cli tool
npm run cliselect "Organization" and follow the prompts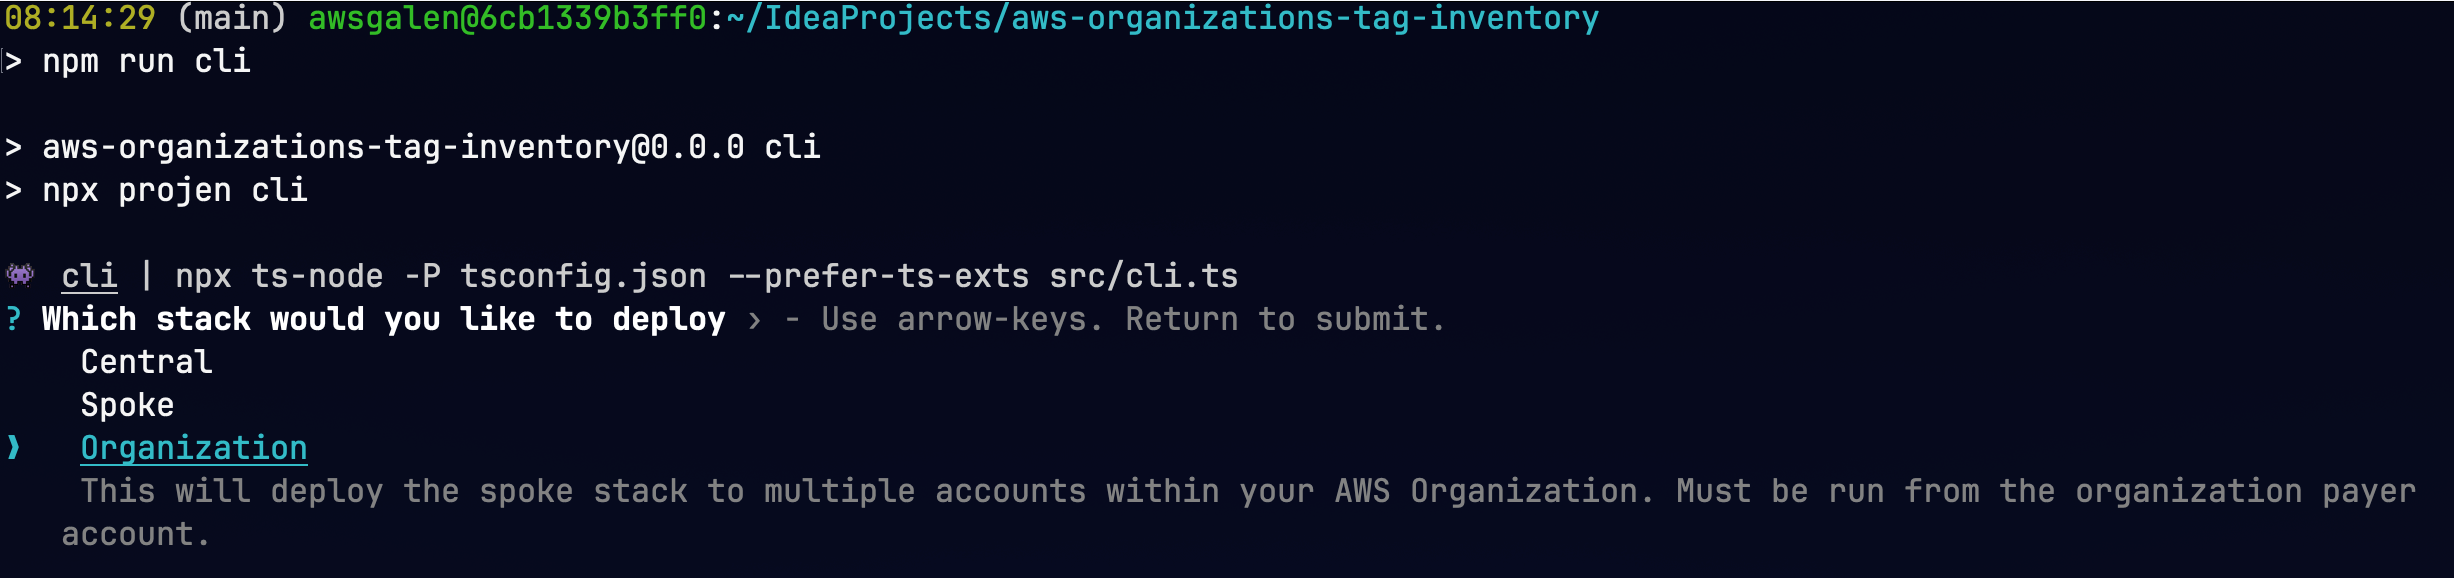
- Select the region you want to deploy the resources to

- Enter the central bucket name from Deploy central stack - Step 8

- Enter the arn of the central cross account role from Deploy central stack - Step 8
- Select the region that you want to setup AWS Resource Explorer indexes in
- Select the region that you want to setup the AWS Resource Explorer aggregator index in
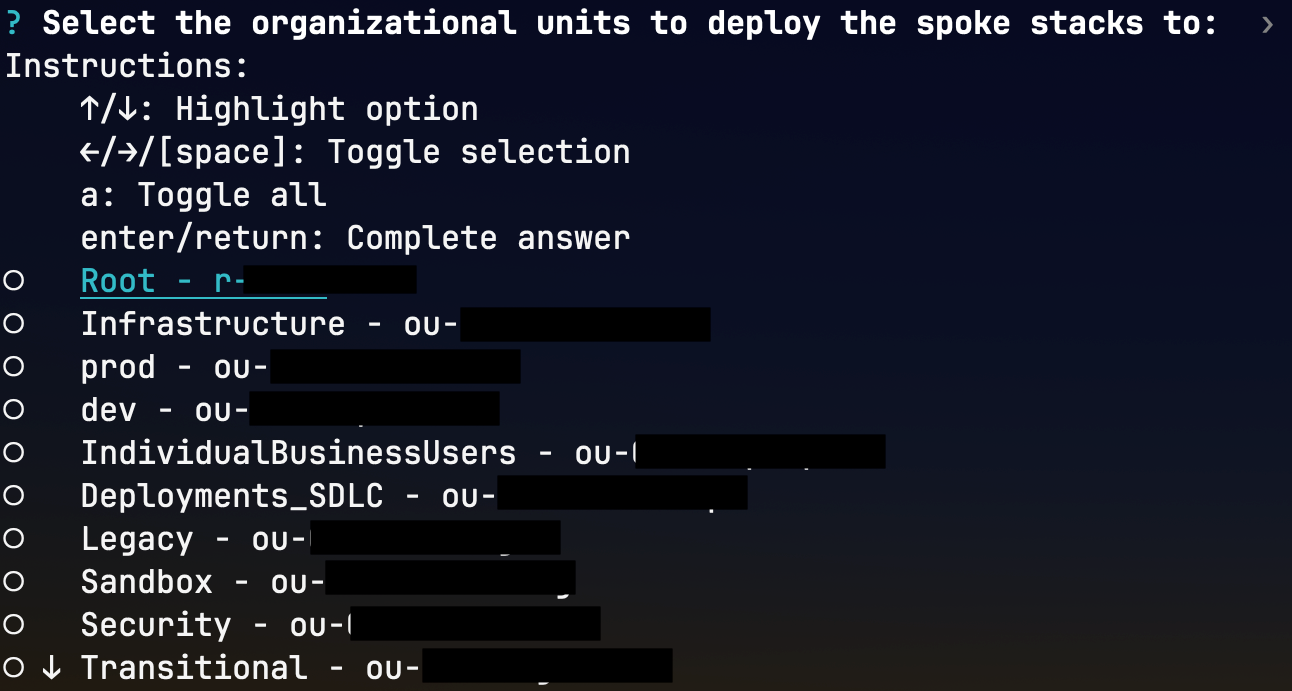
- Select the organizational unit(s). The spoke stack will be deployed to accounts within these OUs. Choose the 'Root' OU if you want to gather tag inventory from all accounts int the organization.
- Confirm your choices


The optionally deployed QuickSight dashboard currently shows two visualizations

For the purpose of this example the removal policy for all S3 buckets has been configured as DESTROY. This means that when the resource is removed from the app, it will be physically destroyed.