
- GitHub Actions 管理自动同步跑步进程及自动生成新的页面
- Gatsby 生成的静态网页,速度快
- 支持 Vercel(推荐) 和 GitHub Pages 自动部署
- React Hooks
- Mapbox 进行地图展示
- Nike 及 Runtastic(Adidas Run) 以及佳明(佳明**)及 Keep 等, 自动备份 gpx 数据,方便备份及上传到其它软件
因为数据存在 gpx 和 data.db 中,理论上支持几个软件一起,你可以把之前各类 app 的数据都同步到这里(建议本地同步,之后 actions 选择正在用的 app)
注: 如果你不想公开数据,可以选择 strava 的模糊处理,或 private 仓库。
- Strava
- Nike Run Club
- 悦跑圈 (因悦跑圈限制单个设备原因,无法自动化)
- GPX
- Nike+Strava(Using NRC Run, Strava backup data)
- Strava_to_Garmin(Using Strava Run, Garmin backup data)
git clone https://github.com/yihong0618/running_page.git
pip3 install -r requirements.txt
yarn install
yarn develop
访问 http://localhost:8000/ 查看
建议有能力的同学把代码中的 Mapbox token 自己的 Mapbox token
const MAPBOX_TOKEN =
'pk.eyJ1IjoieWlob25nMDYxOCIsImEiOiJja2J3M28xbG4wYzl0MzJxZm0ya2Fua2p2In0.PNKfkeQwYuyGOTT_x9BJ4Q';- 在仓库目录下找到
gatsby-config.js,找到以下内容并修改成你自己想要的。
siteMetadata: {
  siteTitle: 'Running Page', #网站标题
  siteUrl: 'https://yihong.run', #网站域名
  logo: 'https://encrypted-tbn0.gstatic.com/images?q=tbn:ANd9GcQTtc69JxHNcmN1ETpMUX4dozAgAN6iPjWalQ&usqp=CAU', #左上角LOGO
  description: 'Personal site and blog',
  navLinks: [
    {
      name: 'Blog', #右上角导航名称
      url: 'https://yihong.run/running', #右上角导航链接
    },
    {
      name: 'About',
      url: 'https://github.com/yihong0618/running_page/blob/master/README-CN.md',
    },
  ],
},- 修改
src/utils/const.js文件中的样式:
// styling: 关闭虚线: 设置为 `false`
const USE_DASH_LINE = true;
// styling: 透明度: [0, 1]
const LINE_OPACITY = 0.4;
下载您的 Nike Run Club/Strava/Garmin/Garmin-cn/Keep 数据, 别忘了在 total 页面生成可视化 SVG.
Make your GPX data
把其它软件生成的 gpx files 拷贝到 GPX_OUT 之后运行
python3(python) scripts/gpx_sync.py获取您的悦跑圈数据
获取登陆验证码:
确保自己的账号能用手机号 + 验证码登陆
点击获取验证码, 注: 不要在手机输入验证码,拿到验证码就好,用这个验证码放到下方命令中

python3(python) scripts/joyrun_sync.py ${your mobile} ${your 验证码}示例:
python3(python) scripts/joyrun_sync.py 13333xxxx xxxx注:我增加了 joyrun 可以导出 gpx 功能, 执行如下命令,导出的 gpx 会加入到 GPX_OUT 中,方便上传到其它软件
python3(python) scripts/joyrun_sync.py ${your mobile} ${your 验证码} --with-gpx示例:
python3(python) scripts/joyrun_sync.py 13333xxxx example --with-gpx注:因为验证码有过期时间,我增加了 cookie uid sid 登陆的方式, uid 及 sid 在您登陆过程中会在控制台打印出来

示例:
python3(python) scripts/joyrun_sync.py 1393xx30xxxx 97e5fe4997d20f9b1007xxxxx --from-uid-sid --with-gpx获取 Nike Run Club 数据
请注意:当您选择将 running_page 部署在自己的服务器上时,由于 Nike 已经封禁了一部分 IDC 的服务器 IP 段,您的服务器可能不能正常同步 Nike Run Club 的数据并显示 403 error ,这时您将不得不选择其他的托管方式。
获取 Nike 的 refresh_token
- 登录 Nike 官网
- In Developer -> Application-> Storage -> https:unite.nike.com 中找到 refresh_token
 3. 在项目根目录下执行:
python3(python) scripts/nike_sync.py ${nike refresh_token}示例:
python3(python) scripts/nike_sync.py eyJhbGciThiMTItNGIw******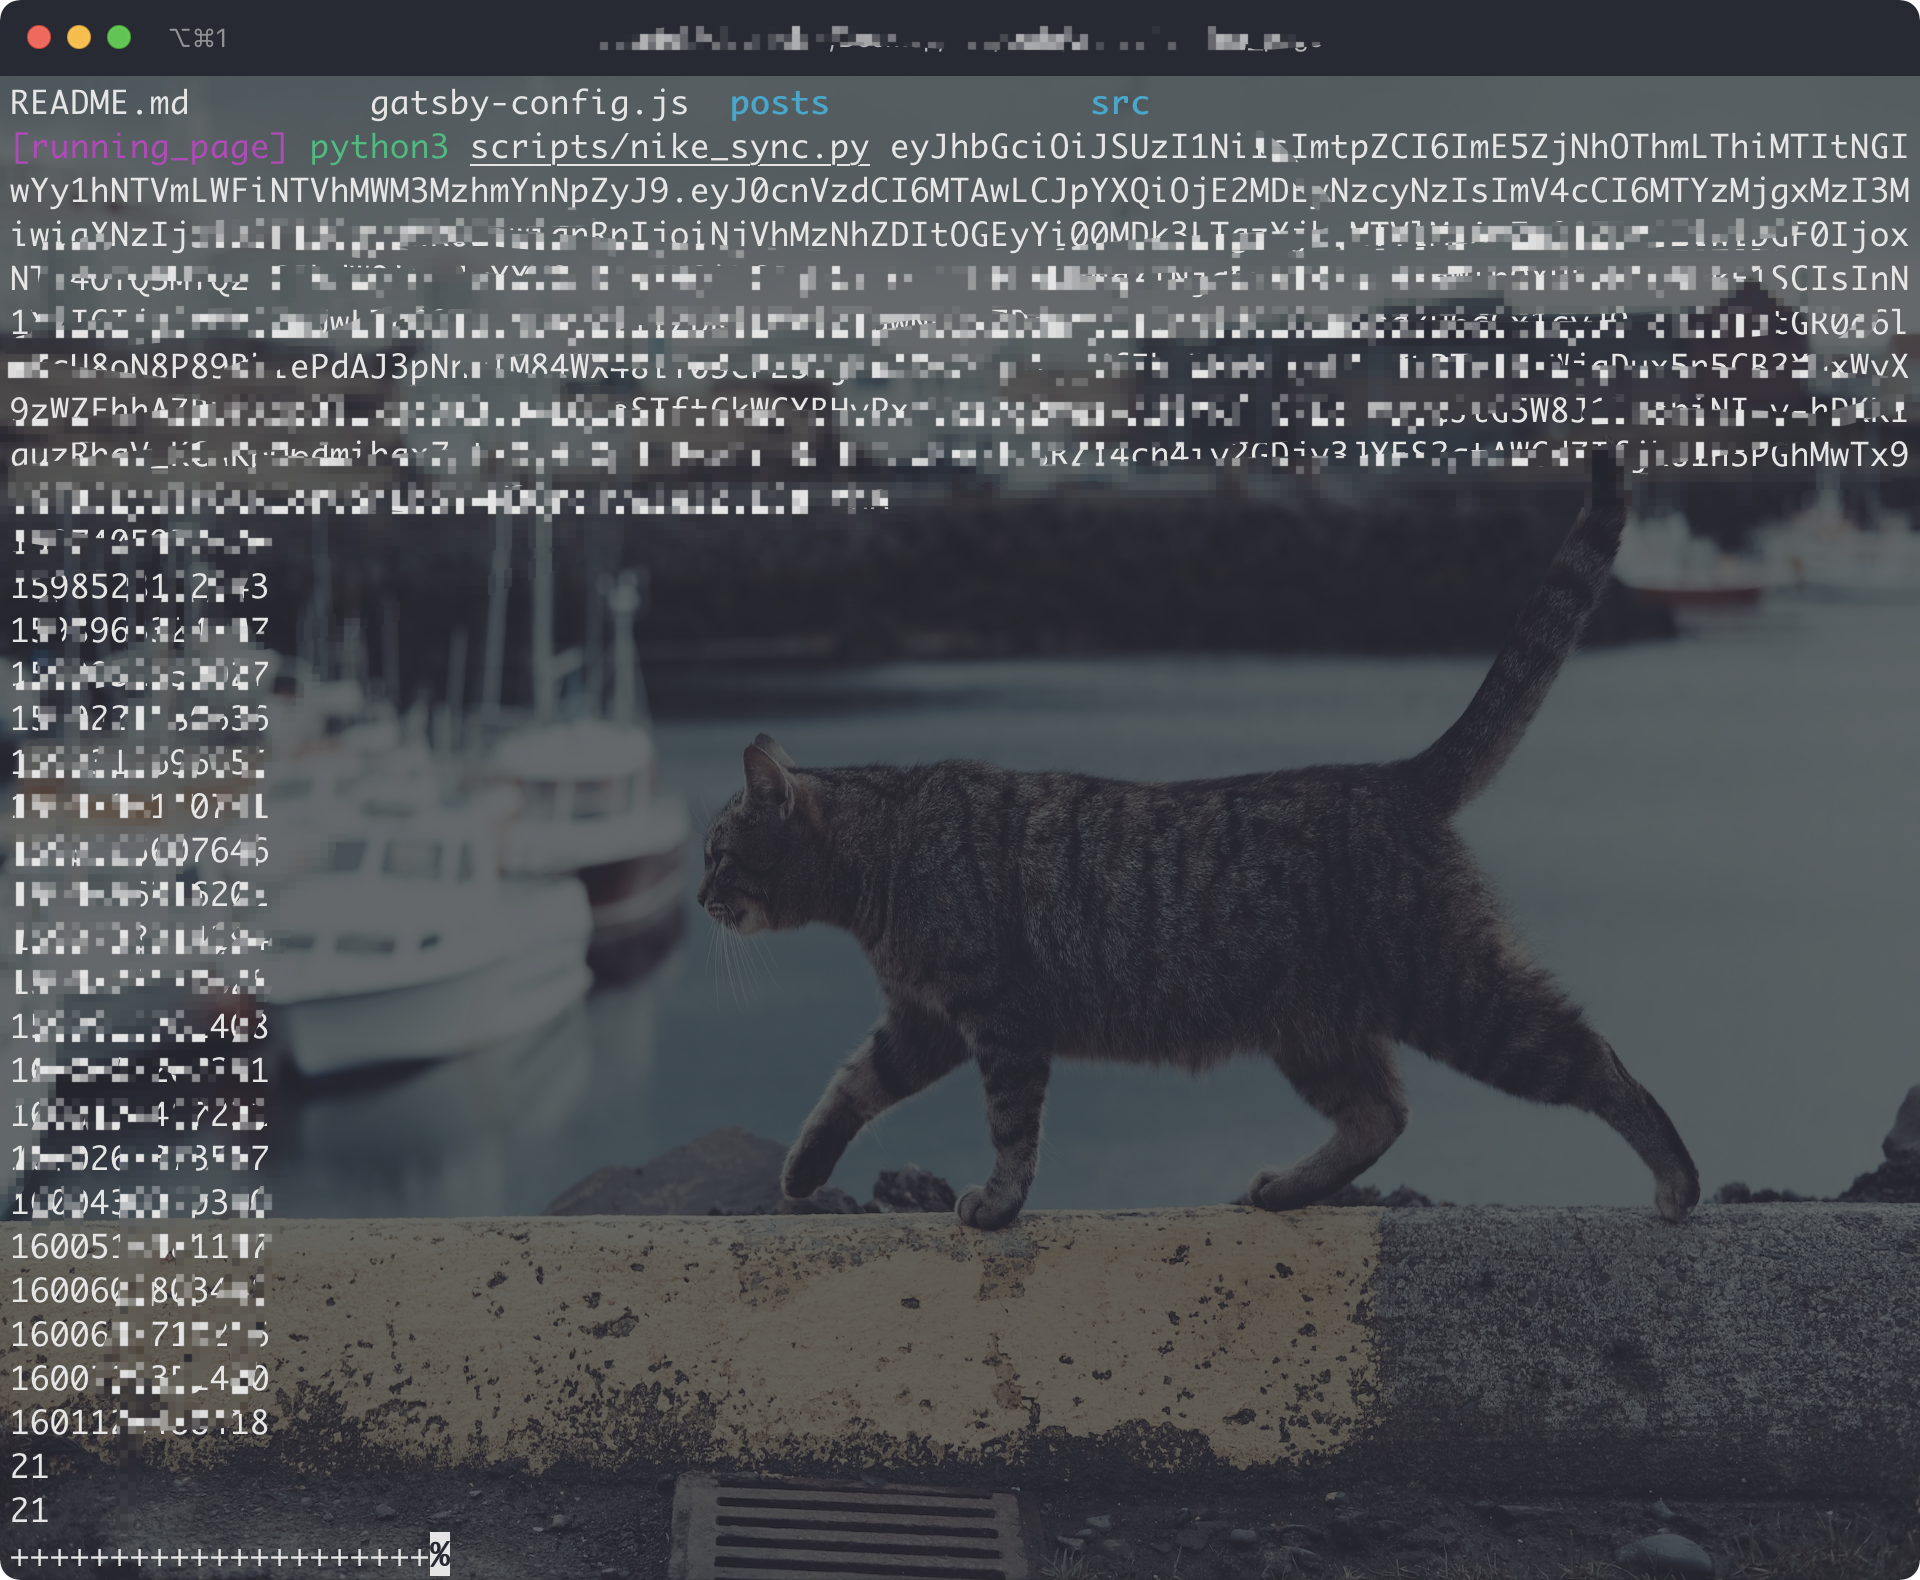
获取 Strava 数据
-
注册/登陆 Strava 账号
-
登陆成功后打开 Strava Developers -> Create & Manage Your App
-
创建
My API Application
输入下列信息: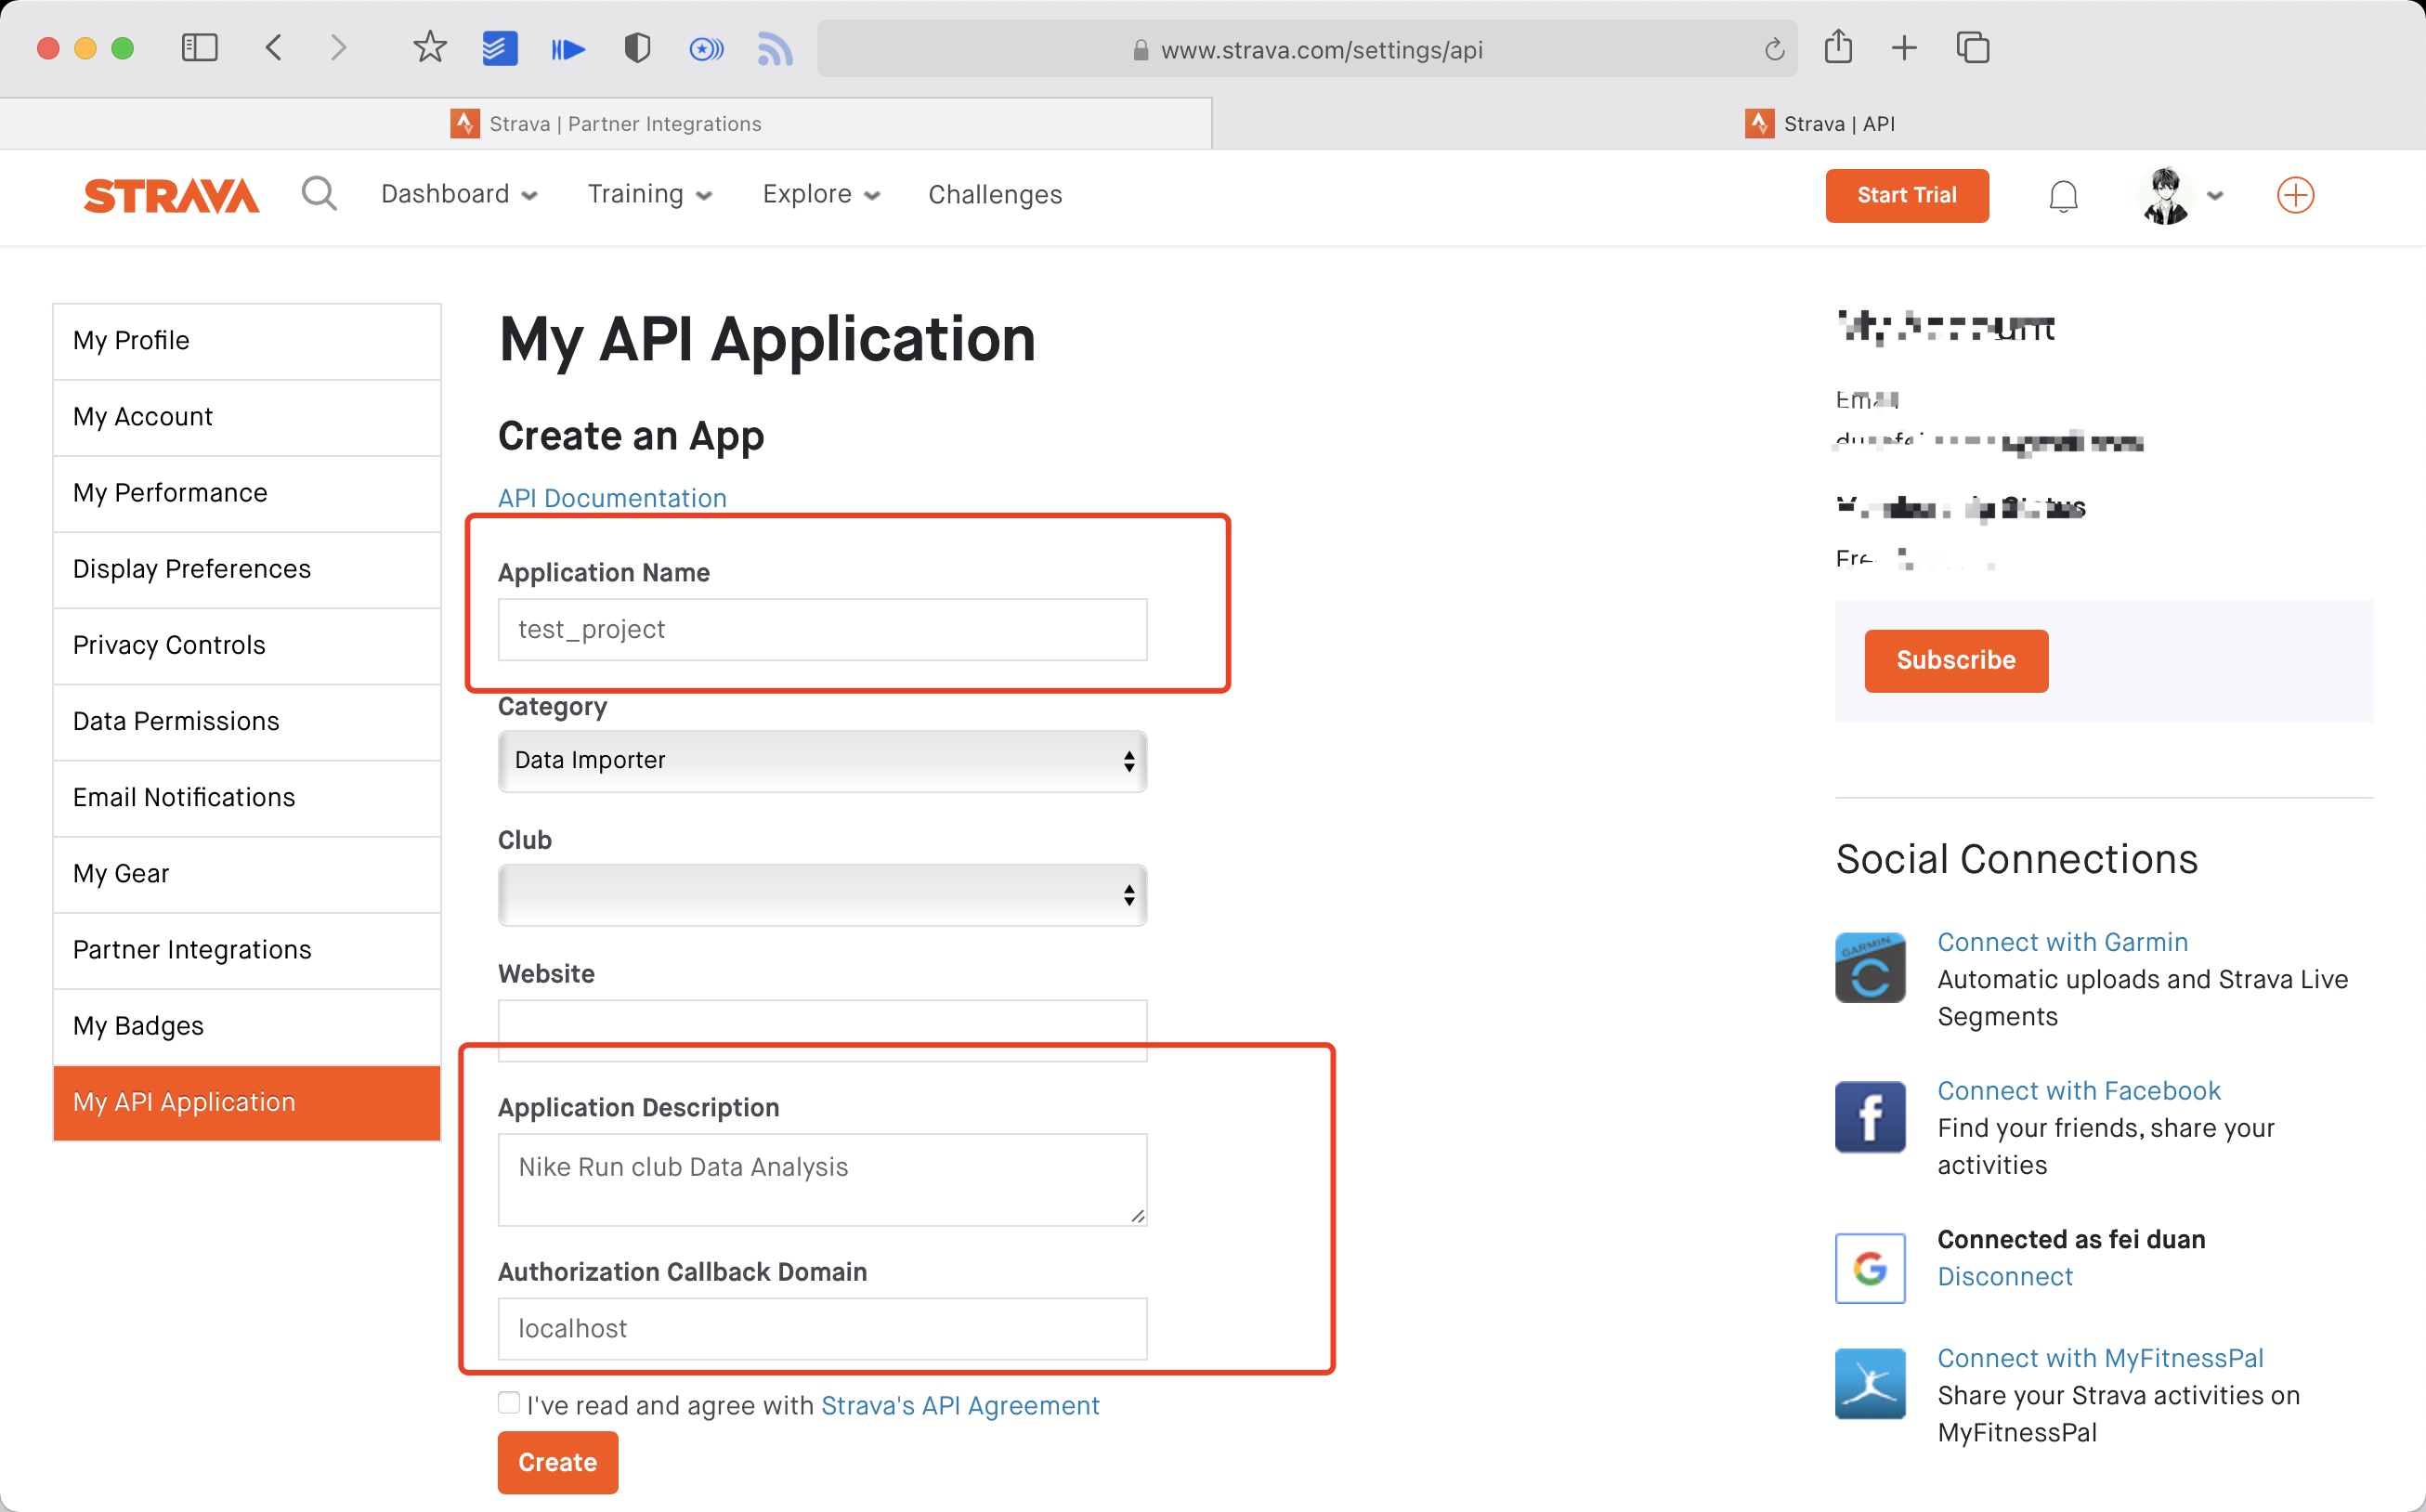 创建成功:
创建成功:

-
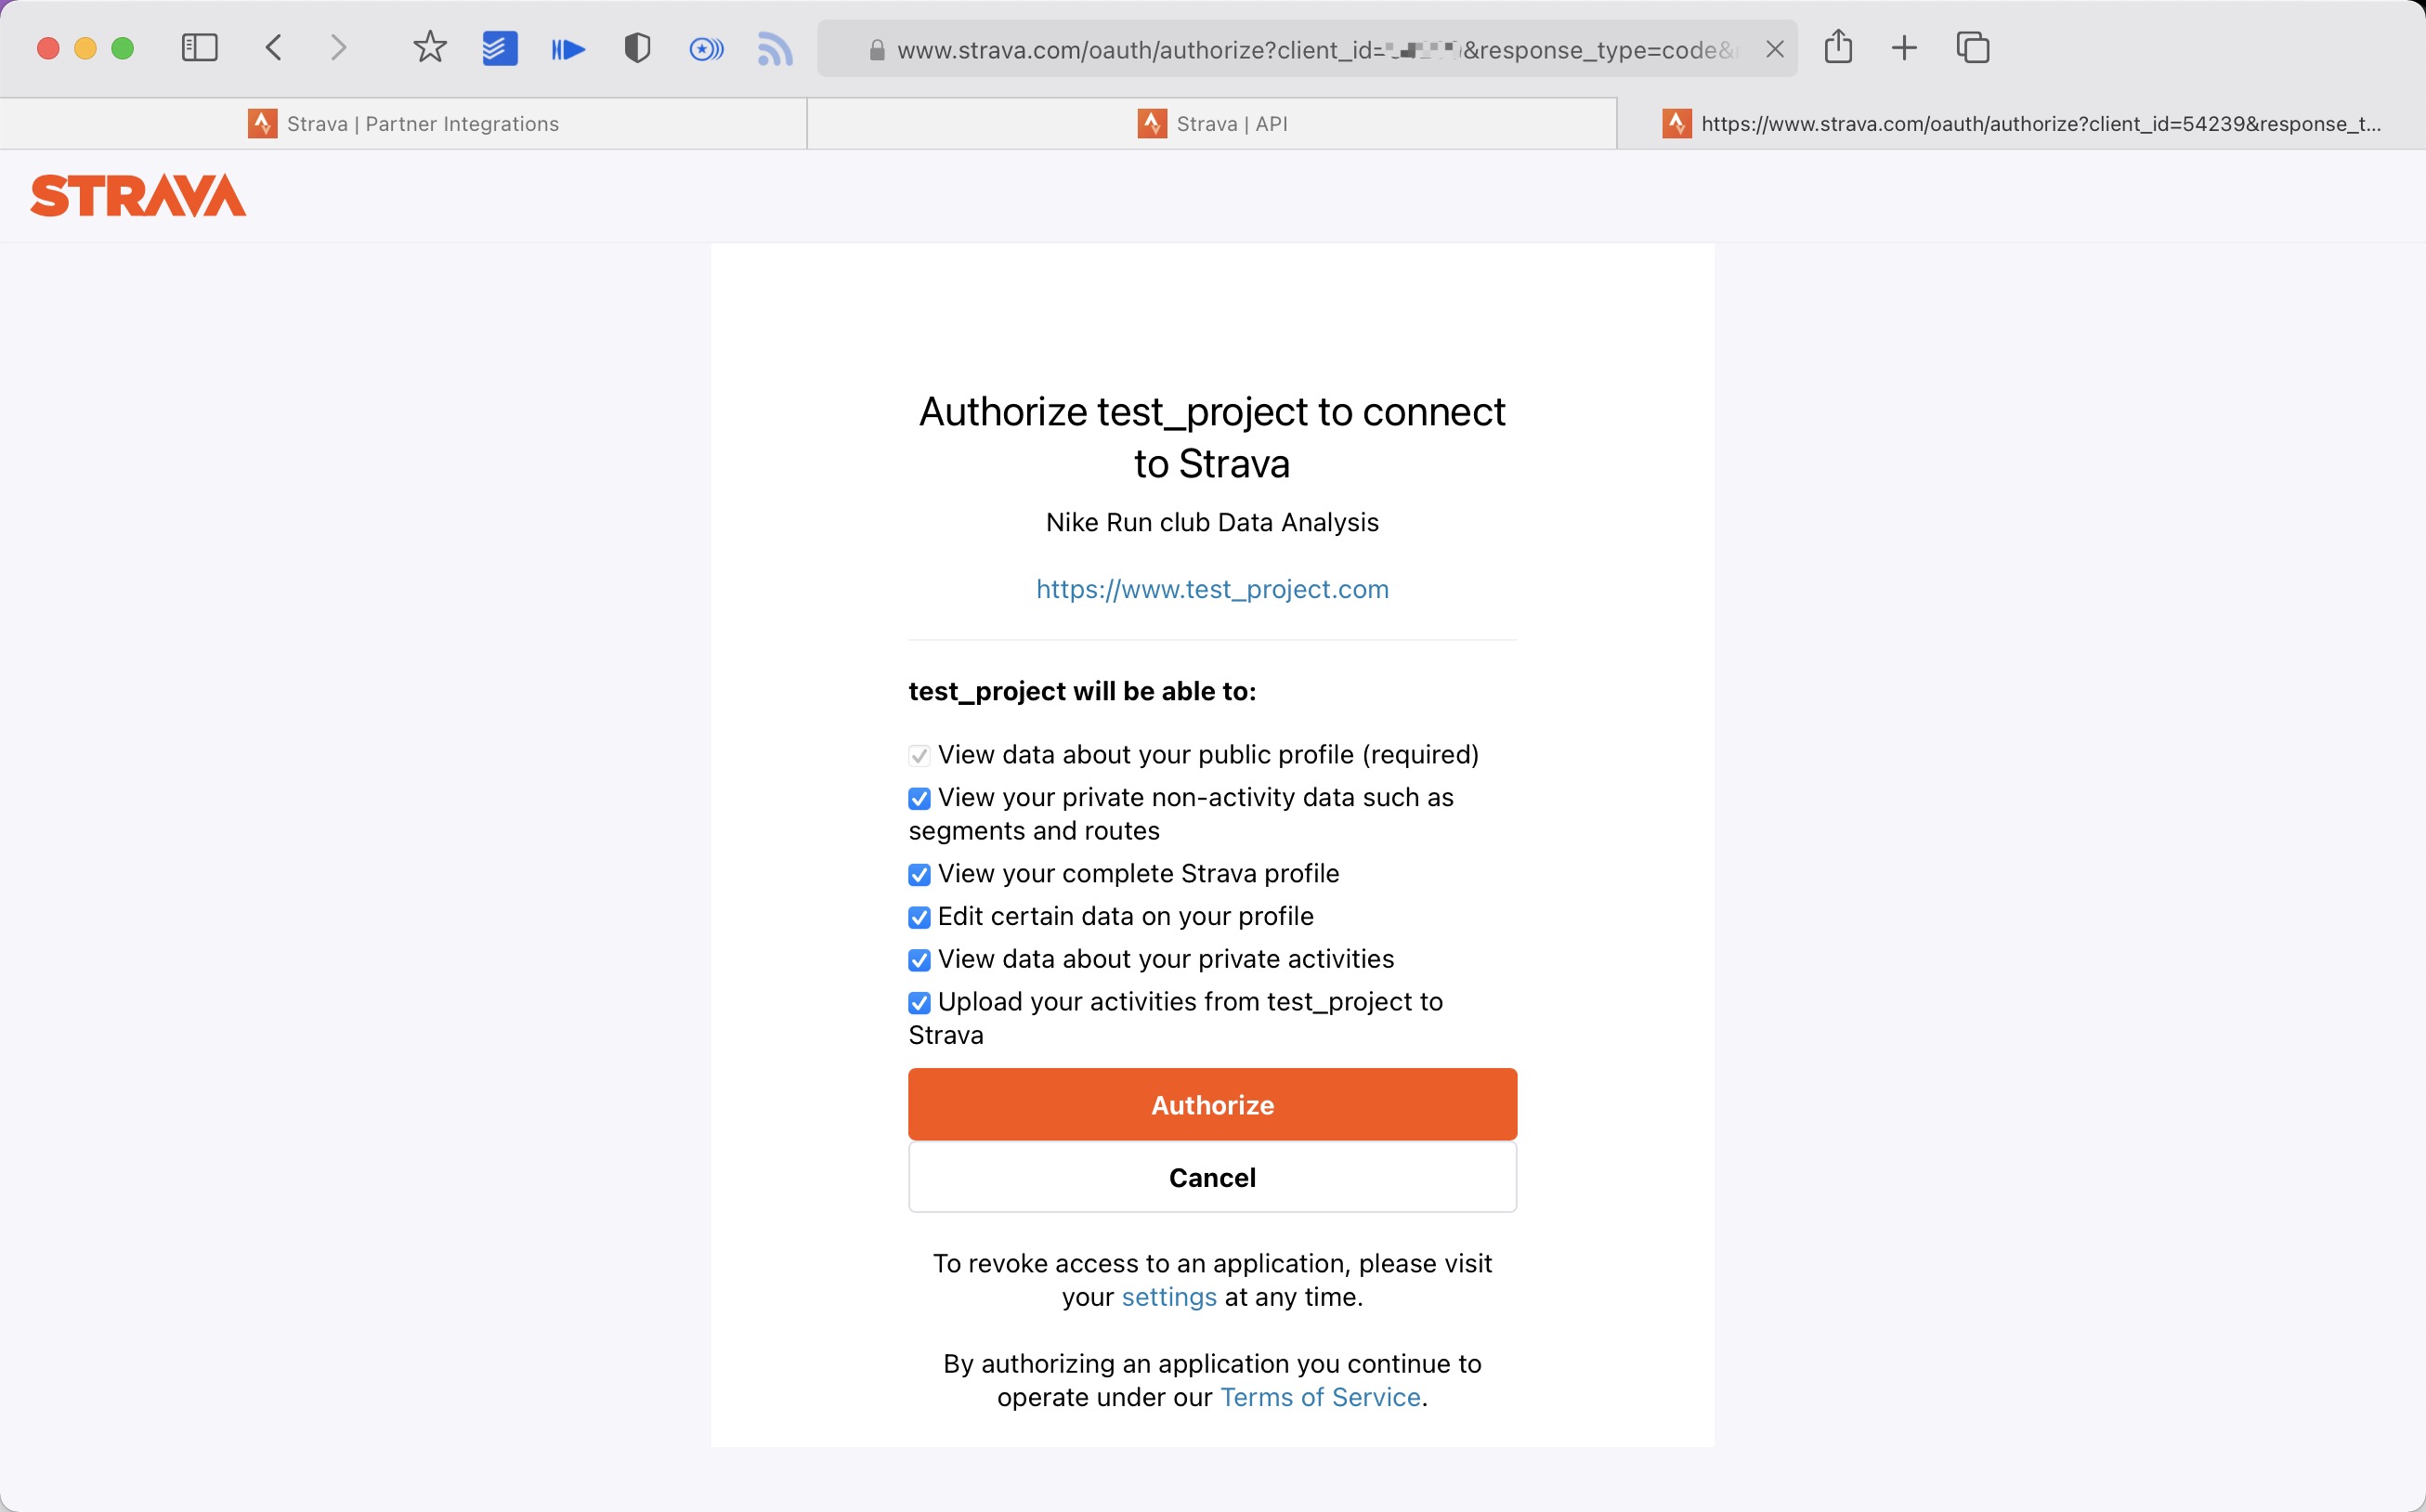
使用以下链接请求所有权限
将 ${your_id} 替换为 My API Application 中的 Client ID 后访问完整链接
https://www.strava.com/oauth/authorize?client_id=${your_id}&response_type=code&redirect_uri=http://localhost/exchange_token&approval_prompt=force&scope=read_all,profile:read_all,activity:read_all,profile:write,activity:write
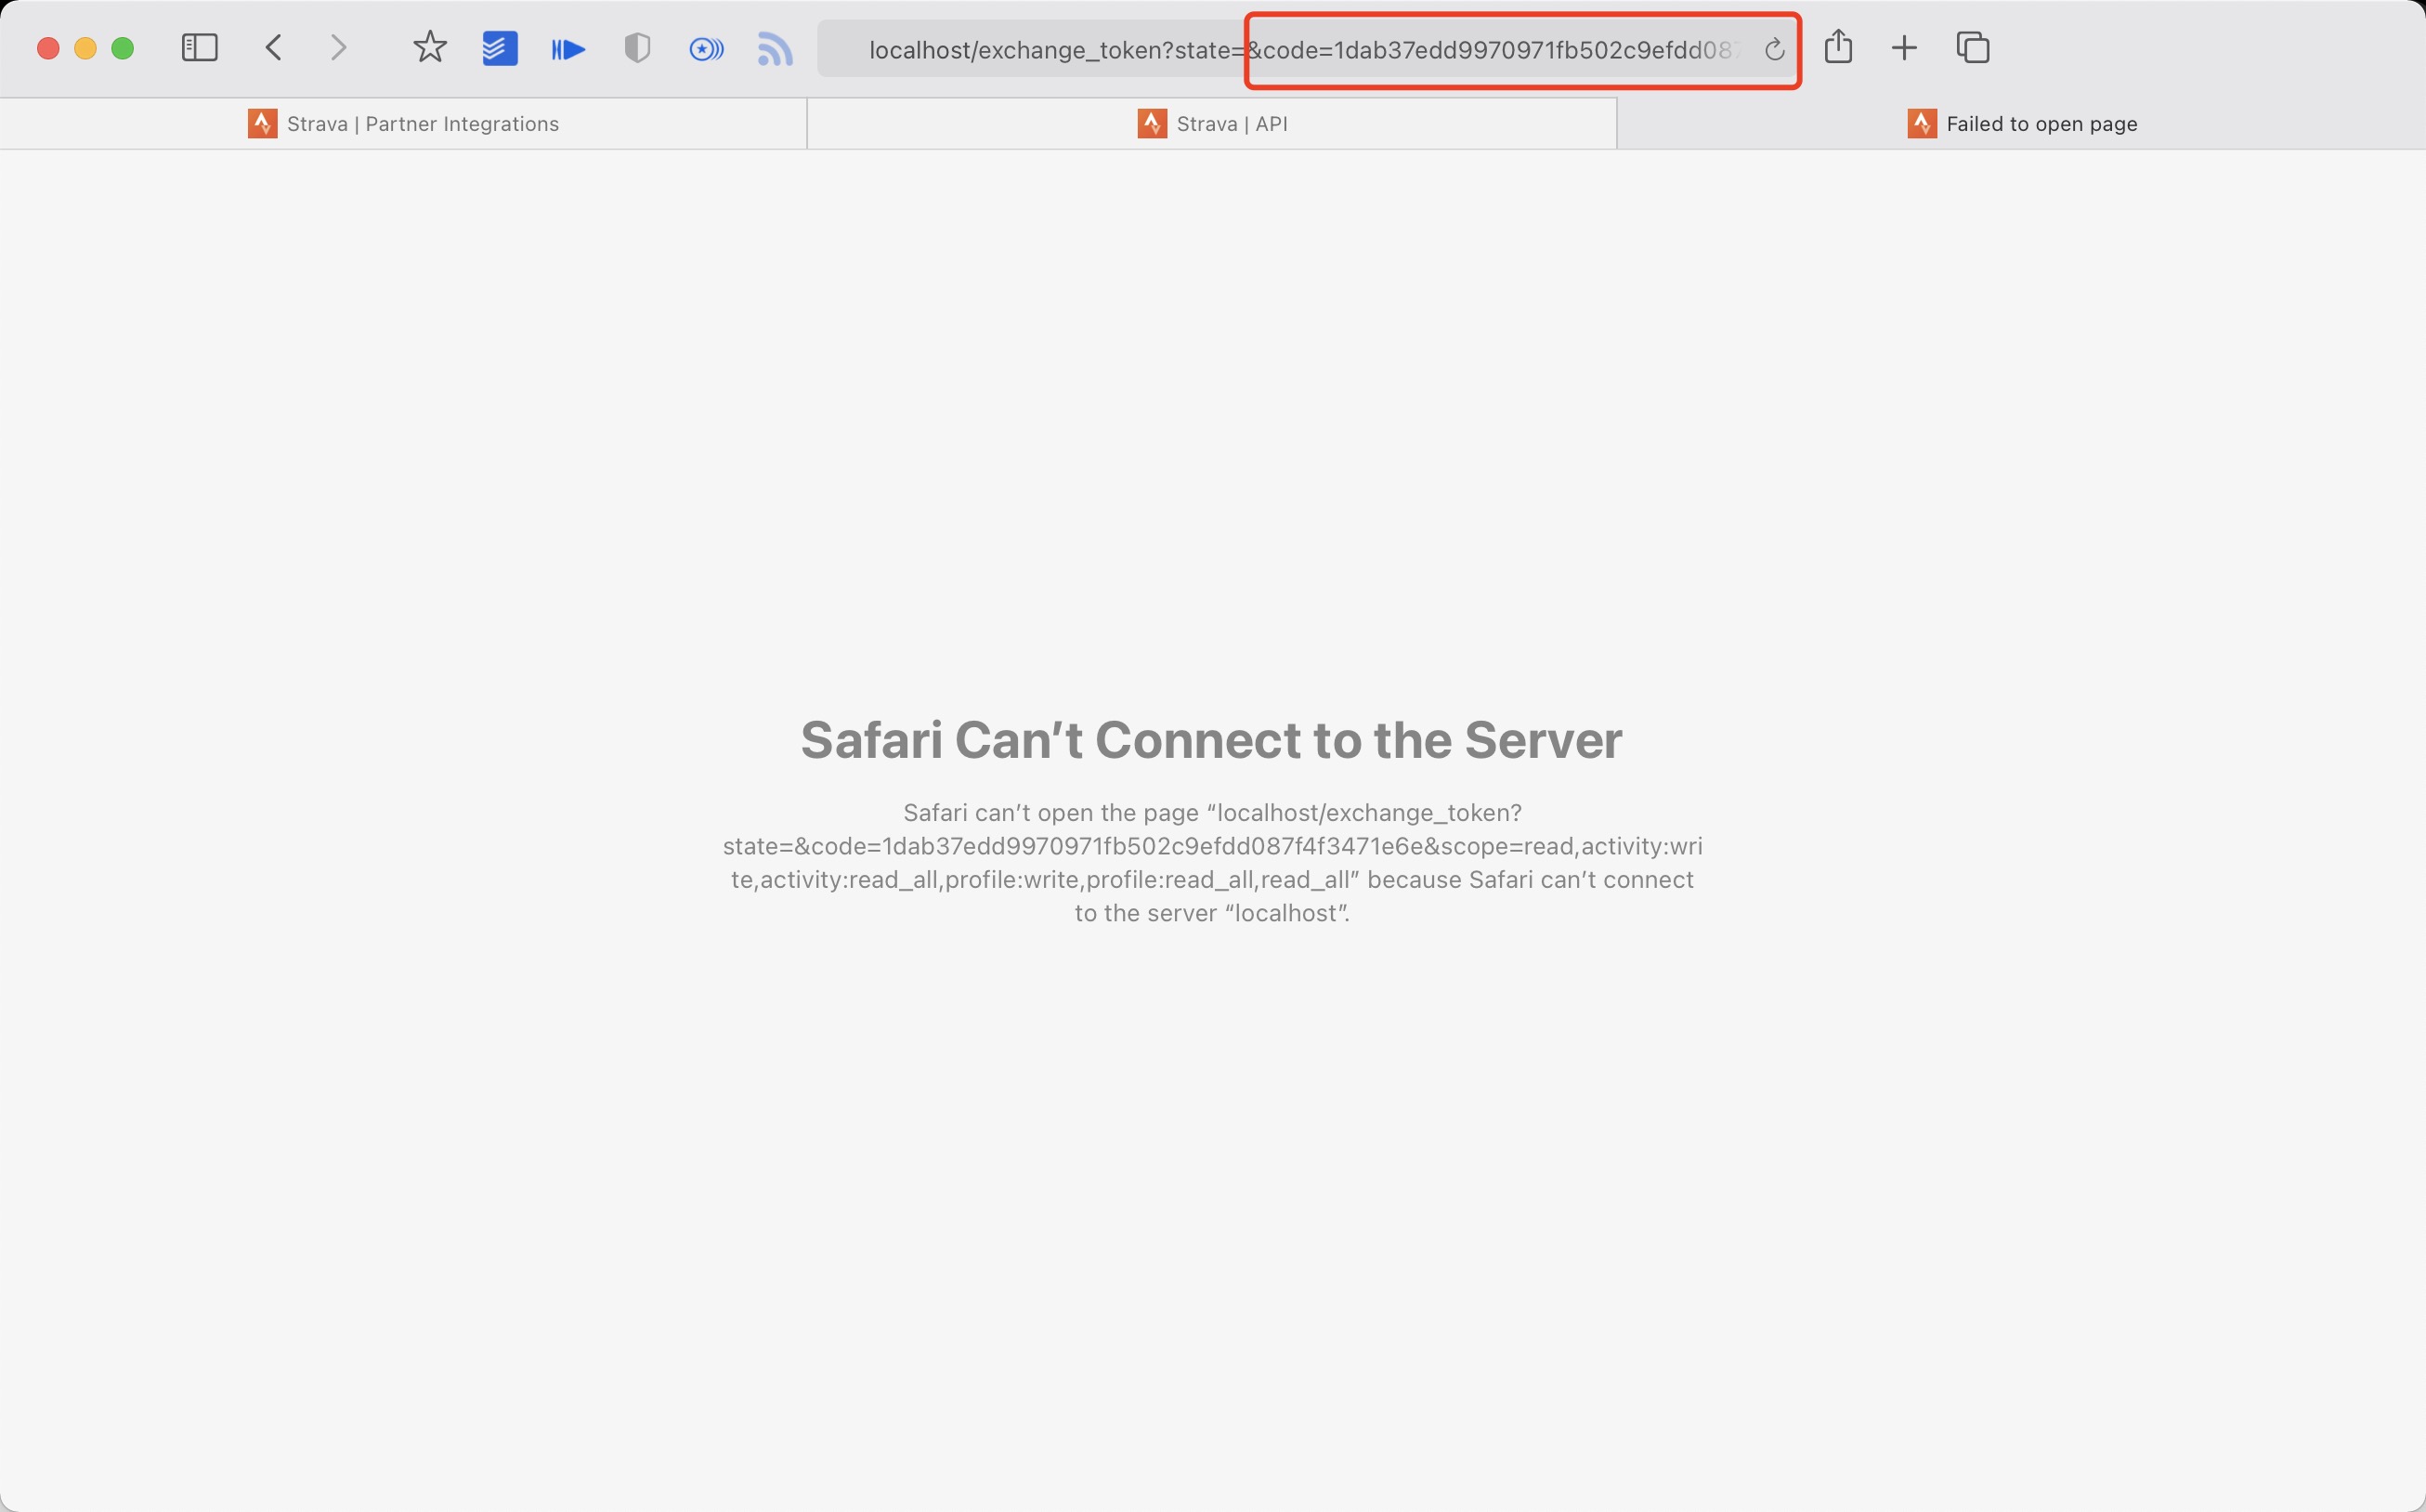
 5. 提取授权后返回链接中的 code 值
例如:
http://localhost/exchange_token?state=&code=1dab37edd9970971fb502c9efdd087f4f3471e6e&scope=read,activity:write,activity:read_all,profile:write,profile:read_all,read_all
code 数值为:
1dab37edd9970971fb502c9efdd087f4f3471e6
 6. 使用 Client_id、Client_secret、Code 请求 refresch_token
在 终端/iTerm 中执行:
curl -X POST https://www.strava.com/oauth/token \
-F client_id=${Your Client ID} \
-F client_secret=${Your Client Secret} \
-F code=${Your Code} \
-F grant_type=authorization_code
示例:
curl -X POST https://www.strava.com/oauth/token \
-F client_id=12345 \
-F client_secret=b21******d0bfb377998ed1ac3b0 \
-F code=d09******b58abface48003 \
-F grant_type=authorization_code

- 同步数据至 Strava
在项目根目录执行:
python3(python) scripts/strava_sync.py ${client_id} ${client_secret} ${refresch_token}其他资料参见
https://developers.strava.com/docs/getting-started
https://github.com/barrald/strava-uploader
https://github.com/strava/go.strava
Get your Nike Run Club data and upload to strava
- 完成 nike 和 strava 的步骤
- 在项目根目录下执行::
python3(python) scripts/nike_to_strava_sync.py ${nike_refresh_token} ${client_id} ${client_secret} ${strava_refresch_token}示例:
python3(python) scripts/nike_to_strava_sync.py eyJhbGciThiMTItNGIw****** xxx xxx xxx生成数据展示
注: 感兴趣的同学可以改下方参数 (--special-distance 10 --special-distance2 20, 10km~20km 展示为 special-color1 20km 以上展示为 special-color2, --min-distance 10.0 用来筛选 10km 以上的)
python3(python) scripts/gen_svg.py --from-db --title "${{ env.TITLE }}" --type github --athlete "${{ env.ATHLETE }}" --special-distance 10 --special-distance2 20 --special-color yellow --special-color2 red --output assets/github.svg --use-localtime --min-distance 0.5
python3(python) scripts/gen_svg.py --from-db --title "${{ env.TITLE_GRID }}" --type grid --athlete "${{ env.ATHLETE }}" --output assets/grid.svg --min-distance 10.0 --special-color yellow --special-color2 red --special-distance 20 --special-distance2 40 --use-localtime
生成年度环形数据
python3(python) scripts/gen_svg.py --from-db --type circular --use-localtime
更多展示效果参见:
https://github.com/flopp/GpxTrackPoster
使用 Vercel 部署
- vercel 连接你的 GitHub repo
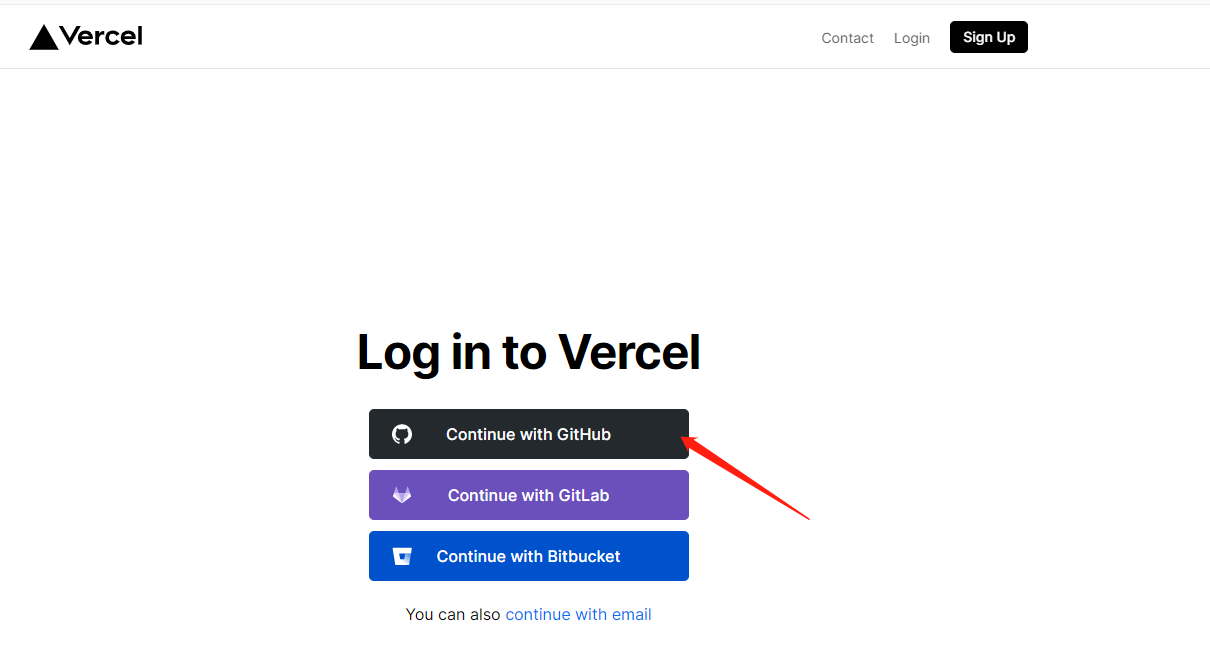
- import repo

- 等待部署完毕
- 访问
使用 Cloudflare 部署
-
在
Pages中点击Create a project以连接到你的仓库 -
点击
Begin setup后,修改项目的Build settings。 -
在
Framework preset中选择Gatsby框架。 -
向下滚动,点击
Environment variables修改变量如下:Variable name =
PYTHON_VERSION, Value =3.7 -
点击
Save and Deploy,完成部署。
部署到 GitHub Pages
-
配置 GitHub Action。如需使用自定义域名,可以修改 .github/workflows/gh-pages.yml 中的
fqdn(默认已注释掉) -
修改
gatsby-config.js,更新pathPrefix。【如果使用自定义域名,可跳过这一步】 -
在项目的
Actions -> Workflows -> All Workflows中选择 Publish GitHub Pages,点击Run workflow -
在项目的
Settings -> GitHub Pages -> Source部分,选择Branch: gh-pages并点击Save。
修改 GitHub Actions Token
Actions 源码 需要做如下步骤
- 更改成你的 app type 及 info

- 在 repo Settings > Secrets 中增加你的 secret (只添加你需要的即可)
 我的 secret 如下
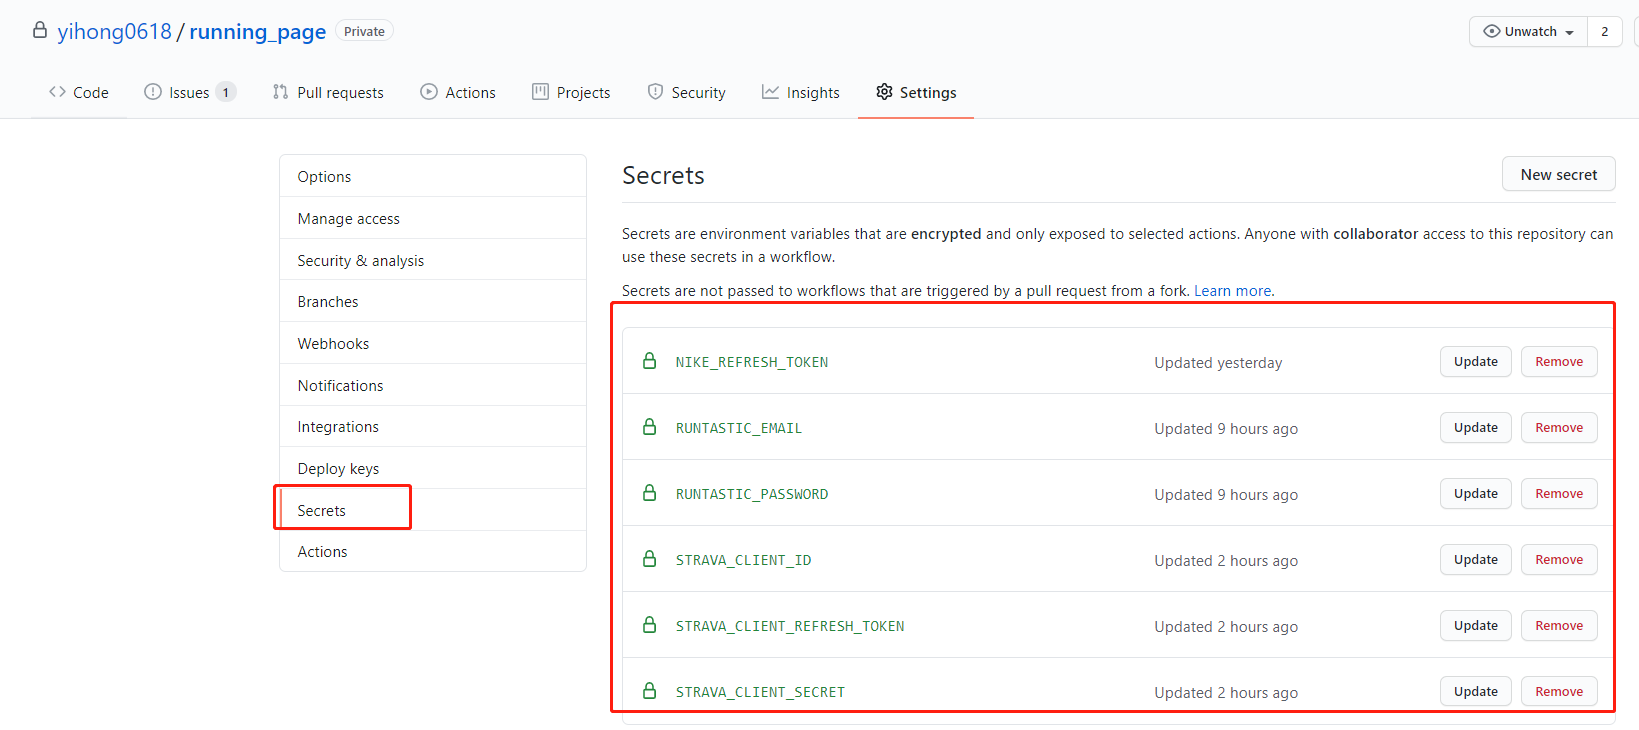
- 添加你的 GitHub secret并和项目中的 GitHub secret 同名

- 完善这个文档
- 支持佳明,佳明**
- 支持 keep
- 支持苹果自带运动
- 支持 nike + strava
- 支持咕咚
- 尝试支持小米运动
- 支持英语
- 完善代码
- 清理整个项目
- 完善前端代码
- better actions
- tests
- 支持不同的运动类型
- 任何 Issues PR 均欢迎。
- 可以提交 PR share 自己的 Running page 在 README 中。
提交 PR 前:
- 使用 black 对 Python 代码进行格式化。(black .)
- 使用 isort 对 Python import 进行格式化。(isort --profile black //*.py)
- @flopp 特别棒的项目 GpxTrackPoster
- @danpalmer 原始的 UI 设计
- @shaonianche icon 设计及文档
- @geekplux 帮助及鼓励, 重构了前端代码,学到了不少
- @ben-29 搞定了咕咚,和我一起搞定了悦跑圈,太厉害了
- @MFYDev Wiki
谢谢就够了