Proxlight Designer was created to speed up the GUI-development process in Python. It uses the well-known design software Figma to make creating beautiful Tkinter GUIs in Python a piece of cake.
Proxlight Designer uses the Figma API to analyse a design file and create the respective code and files needed for the GUI. Even Proxlight Designer's GUI is created using Proxlight Designer.
- Drag and Drop Interfaces
- Significantly faster than creating code manually.
- Ability to create more beautiful interfaces.
Life without coffee is like something without something … sorry, I haven’t had any coffee yet.

git clone https://github.com/Proxlight/Proxlight-Designer

cd Tkinter-Designer

pip3 install -r requirements.txt

python3 tkinter_designer.py
The instructions contain all the information about installing and using Proxlight Designer, along with information for troubleshooting and reporting issues. There is also a video format.
The only thing the user needs to do is design an interface with Figma, and then paste the Figma file URL and API token into Proxlight Designer.
Proxlight Designer will automatically generate all the code and images required to create the GUI in Tkinter.
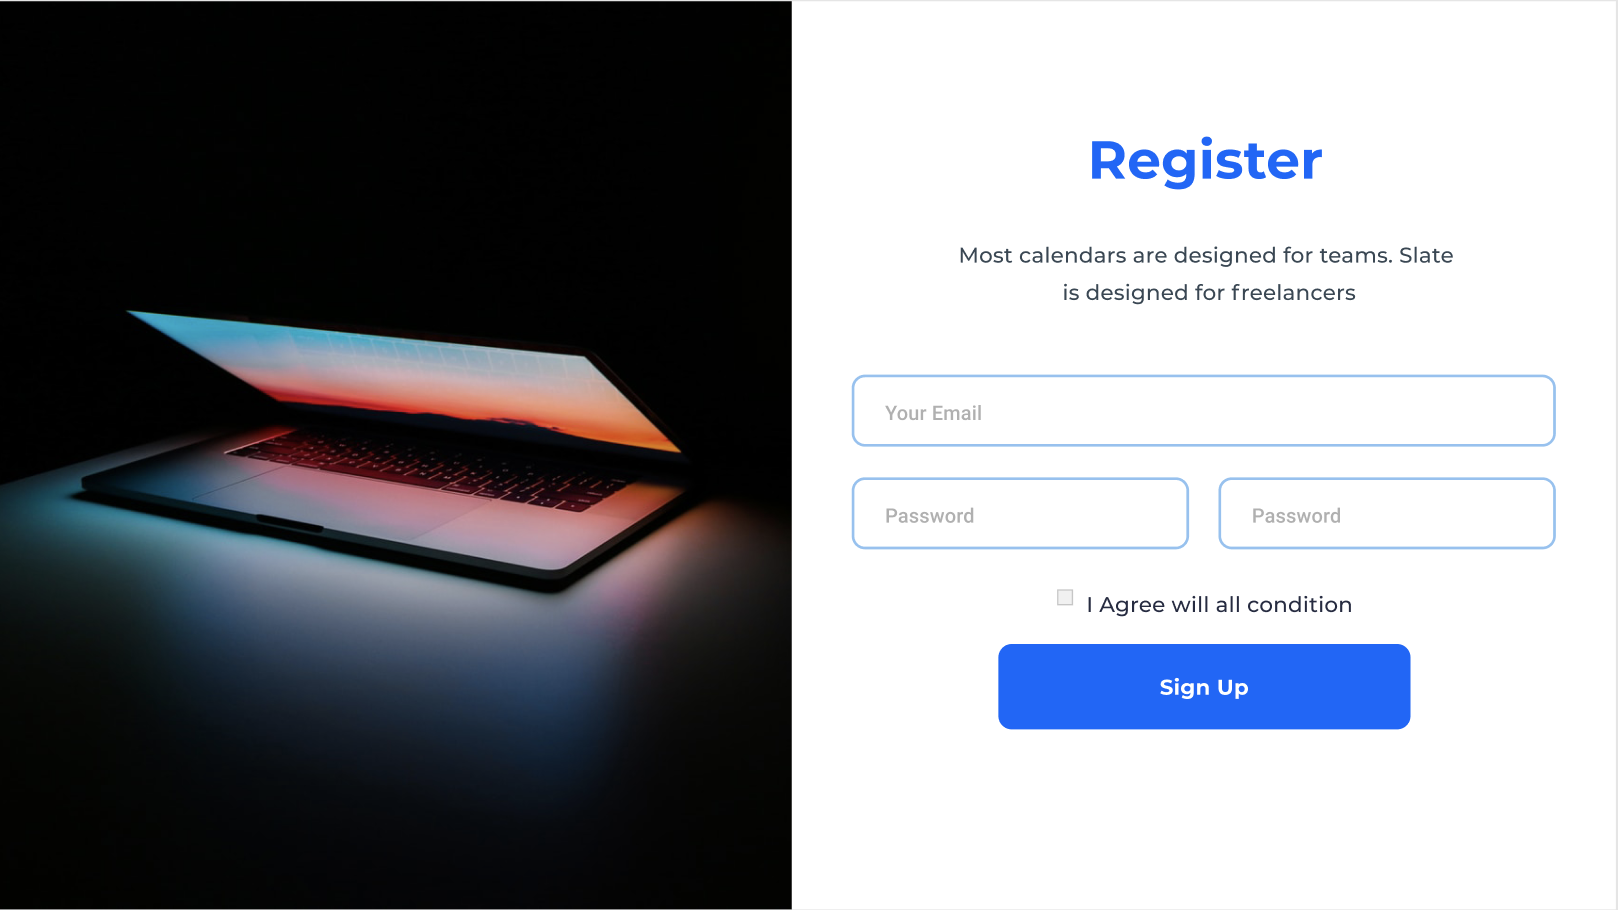
The possibilities are endless with Proxlight Designer, but here are a couple of GUIs that can be perfectly replicated in Tkinter.
The following are not my creations.

If your app was made with Proxlight Designer, let me know. It will be helpful for others to see more examples!
(See: Contact Me)
- Background — should be named
Background(in Figma) - Buttons — should be named
Button(in Figma)- When creating a button, add a Rectangle behind the actual button with the same color as the background color.
- Entry — should be named
TextBox(in Figma) - Rectangles — should be named
Rectangle(in Figma) - Text — All text in the design should be created as text.
Before converting a Figma file to Python code using Proxlight Designer, make sure that both the X & Y coordinates of the frame are 0.
If you want to contact me, you can reach me at Proxlight02@gmail.com
Proxlight Designer is licensed under the BSD 3-Clause "New" or "Revised" License.
View Here.
| Permissions | Restrictions | Conditions |
|---|---|---|
| ✓ Commercial Use | × Liability | 🛈 License and Copyright Notice |
| ✓ Modification | × Warranty | |
| ✓ Distribution | ||
| ✓ Private Use |