这个项目是使用 numpy 实现的一些有趣且实用的例子。
最近在看 numpy,但是看 API 很枯燥。我从事 Android 开发,Android 中经常有对图片缩放、旋转、灰化、模糊等需求。用 numpy 来对图片进行类似处理,边玩边学,会不会多一点乐趣?不妨试试。
阅读本文前,你最好了解某种编程语言,或者至少能理解什么是二维数组。
python 中有多种方式处理图片,包括:
- opencv
- matplotlib
- PIL
我在使用的是 matplotlib (因为机器上已经装好了。:) )
import matplotlib.pyplot as plt # plt 用于显示图片
import matplotlib.image as mpimg # mpimg 用于读取图片
import numpy as np

lena = mpimg.imread('lena.png') # 读取和代码处于同一目录下的 lena.png
# 此时 lena 就已经是一个 np.array 了,可以对它进行任意处理
lena.shape #(512, 512, 3)

plt.imshow(lena) # 显示图片
plt.axis('off') # 不显示坐标轴
plt.show()以上这个代码来自这里
这里介绍一下 np.ndarray 和 np.ndarray.shape。
numpy 文档只会很官方地告诉你以下信息:
- np.ndarray - An array object represents a multidimensional, homogeneous array of fixed-size items
- np.ndarray.shape - Tuple of array dimensions
在上面的代码中 np.ndarray 和 np.ndarray.shape 就变得很直观了
- np.ndarray - 你将 lena.png 想像与一个二维数组/矩阵就行了
- np.ndarray.shape - 对于 lean.png 而言,它的 shape 是一个三元组。第一个元素是宽,第二个元素是高,最后一个暂时忽略
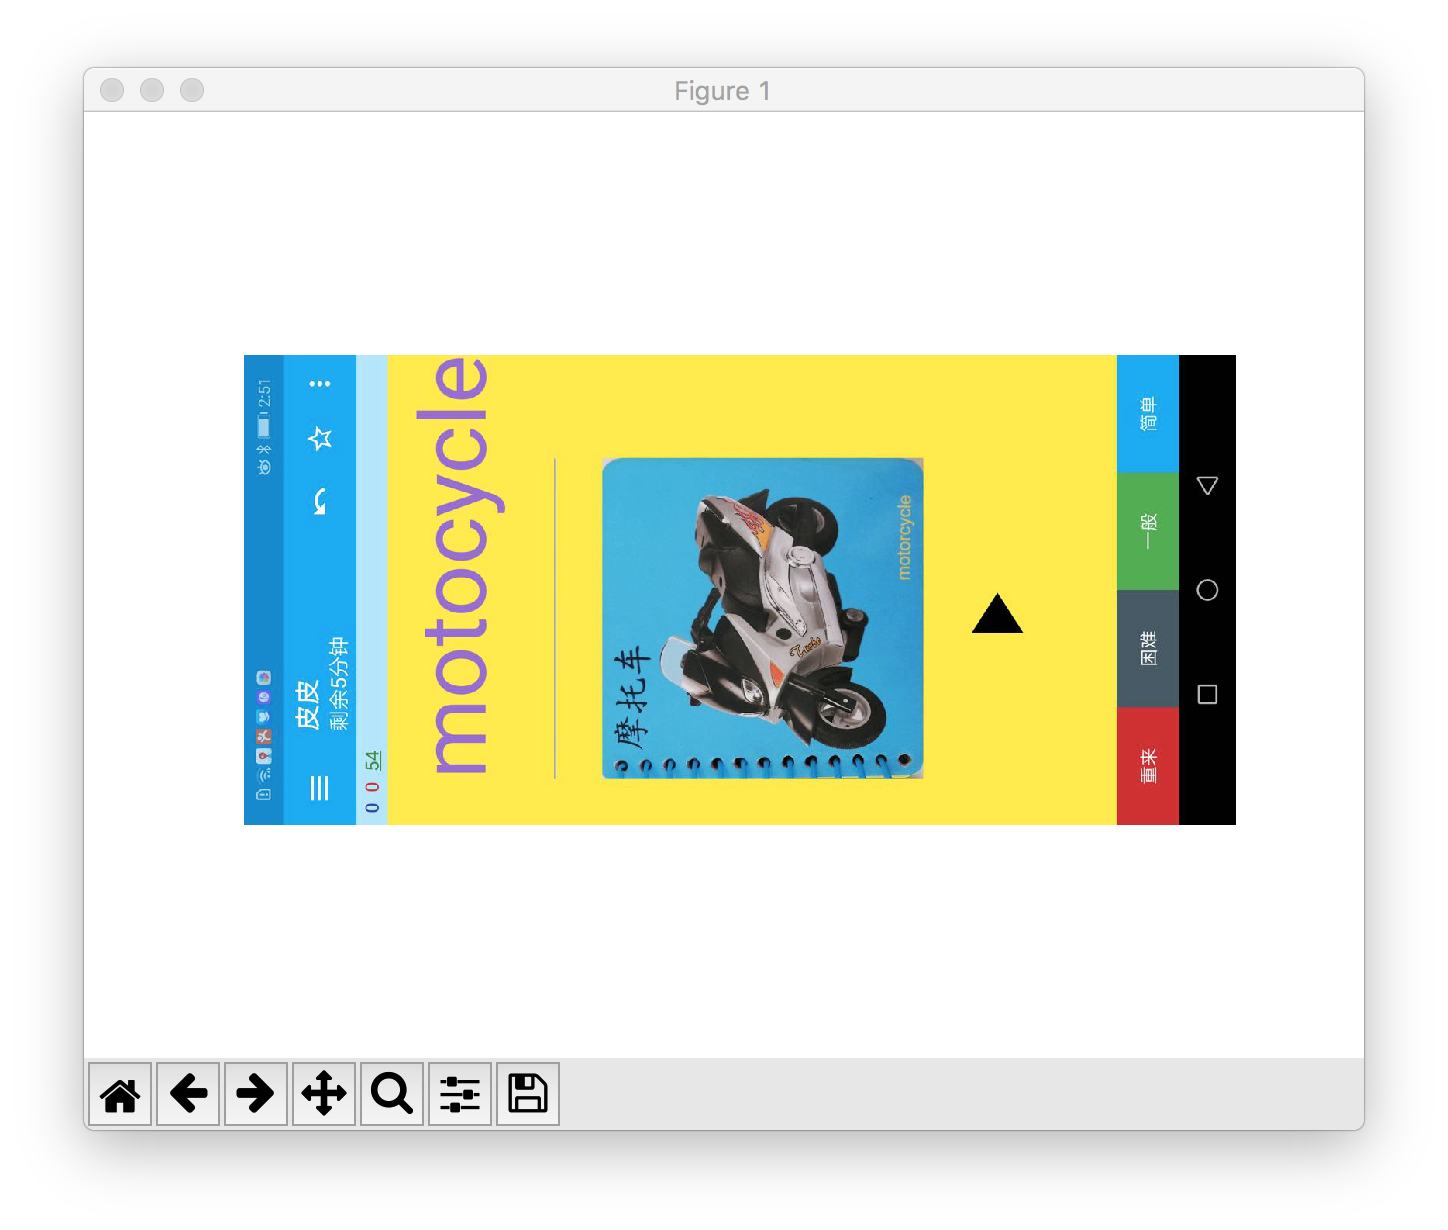
对 sample.jpeg 进行同样处理,也会有类似输出:
>>> s = mpimg.imread('sample.jpeg')
>>> s.shape
(1280, 606, 3)
>>>
对另一个图片 sample.png 进行处理,看看输出结果:
>>> mpimg.imread('sample.png').shape
(458, 558, 4)
再来解释一下 shape 三元组的最一个值的含义。
>>> a_jpg = mpimg.imread('sample.jpeg')
>>> a_png = mpimg.imread('sample.png')
>>> a_jpg[0][0]
array([  2, 136, 209], dtype=uint8)
>>> a_png[0][0]
array([0., 0., 0., 0.], dtype=float32)
输出 a_jpg 和 a_png 的第一个像素,会发现前者一个像素是 1x3 矩阵,而后者一个像素是 1x4 矩阵。原因在于 JPG 图片每个像素由 RGB 三个分量构成,而 PNG 图片每个像素由 ARGB 四个分量构建。
所以 shape 三元组最一个值可以理解为像素通道数量。
Android 中这样旋转图片:
Matrix matrix = new Matrix();
matrix.postRotate(angle);
Bitmap rotated = Bitmap.createBitmap(bitmap, 0, 0,
                bitmap.getWidth(), bitmap.getHeight(), matrix, true);
而 numpy 中旋转图片的本质是旋转代表图片的矩阵。
>>> s.shape
(1280, 606, 3)
>>> s2 = np.rot90(s, 1) # 逆时针旋转 90 度
>>> s2.shape
(606, 1280, 3)
>>>
显示旋转后的结果:
参考:rot90函数
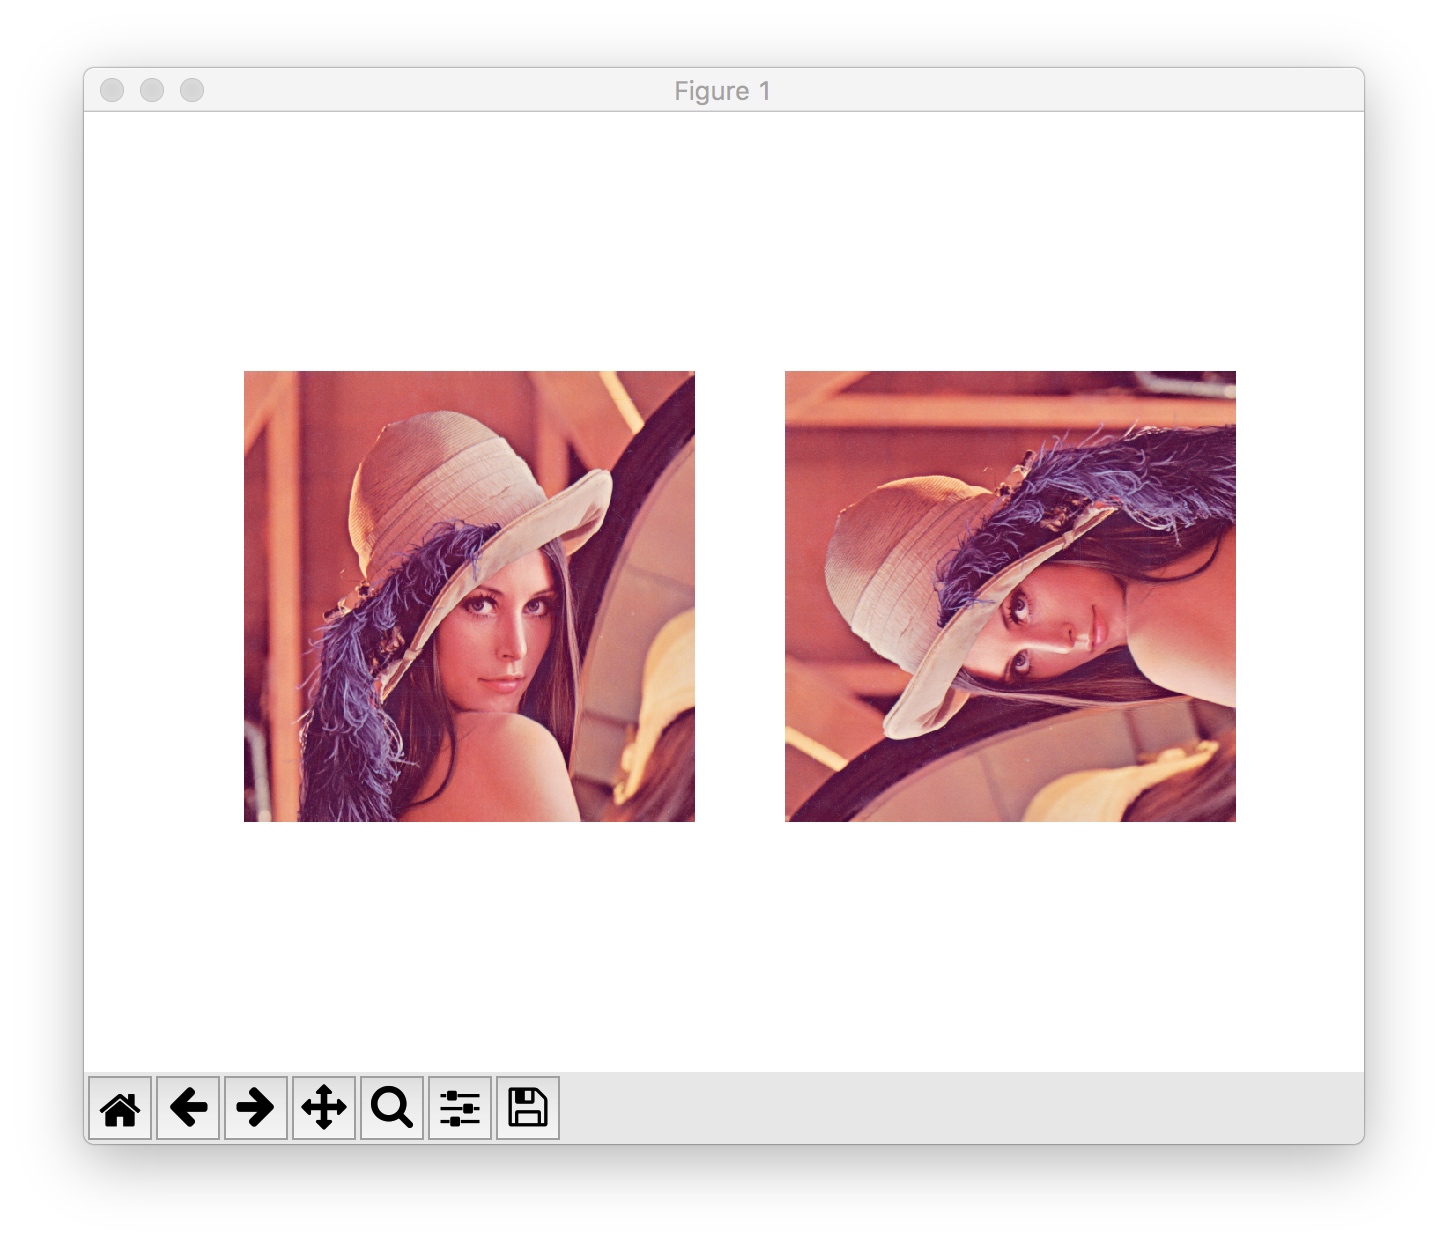
通过转置矩阵来旋转图片。
lena = mpimg.imread('lena.png')
lena.shape #(512, 512, 3)
lena2 = lena.transpose((1,0,2))
lean2.shape #(512, 512, 3)
plt.figure()
plt.subplot(1,2,1)
plt.imshow(lena)
plt.axis('off')
plt.subplot(1,2,2)
plt.imshow(lena2)
plt.axis('off')
plt.show()Android 缩小图片的一种常用方法是利用 BitmapFactory.Options.inSampleSize。根据需求计算出一个缩放因子作为 inSampleSize。
BitmapFactory.Options options = new BitmapFactory.Options();
options.inSampleSize = ...;
Bitmap scaled = BitmapFactory.decodeFile(fileFath, options);
而 numpy 中缩小图片可以理解为缩小代表图片的矩阵。如下图,这里将一个 4x4 矩阵缩小成 2x2 矩阵:
这段代码将 a1 矩阵(4x4)缩放成 a2 矩阵(2x2)。
>>> a = np.array(range(16))
>>> a1 = a.reshape([4, 4])
>>> a2 = a1[1::2,1::2]
>>> a1
array([[ 0,  1,  2,  3],
       [ 4,  5,  6,  7],
       [ 8,  9, 10, 11],
       [12, 13, 14, 15]])
>>> a2
array([[ 5,  7],
       [13, 15]])
使用同样方式将代表原始图片的 s 缩放成 1/4 大小的 s1。
>>> s.shape
(1280, 606, 3)
>>> s1 = s[1::2, 1::2]
>>> s1.shape
(640, 303, 3)
>>>
TODO: 这里的例子可能过于简单。看 Android 源码分析 inSampleSize 的具体实现。
TODO: 补充 Android 中的 Bitmap 剪裁。
>>> a1
array([[ 0,  1,  2,  3],
       [ 4,  5,  6,  7],
       [ 8,  9, 10, 11],
       [12, 13, 14, 15]])
>>> a1[:2:, :2:]
array([[0, 1],
       [4, 5]])
>>>
对图片剪裁:
>>> s.shape
(1280, 606, 3)
>>> s1 = s[:640:, :303:]
>>> s1.shape
(640, 303, 3)
显示剪裁后的结果:
先来看看 Android 中 tileMode 的用法。
资源文件为 tmp.xml,内容如下:
<?xml version="1.0" encoding="utf-8"?>
<bitmap xmlns:android="http://schemas.android.com/apk/res/android"
    android:src="@android:drawable/ic_input_add"
    android:tileMode="repeat" />
其中的 ic_input_add 是一张图片:
布局文件中引用 tmp.xml 资源:
<?xml version="1.0" encoding="utf-8"?>
<android.support.constraint.ConstraintLayout xmlns:android="http://schemas.android.com/apk/res/android"
    android:layout_width="match_parent"
    android:layout_height="match_parent"
    android:background="@drawable/tmp" />
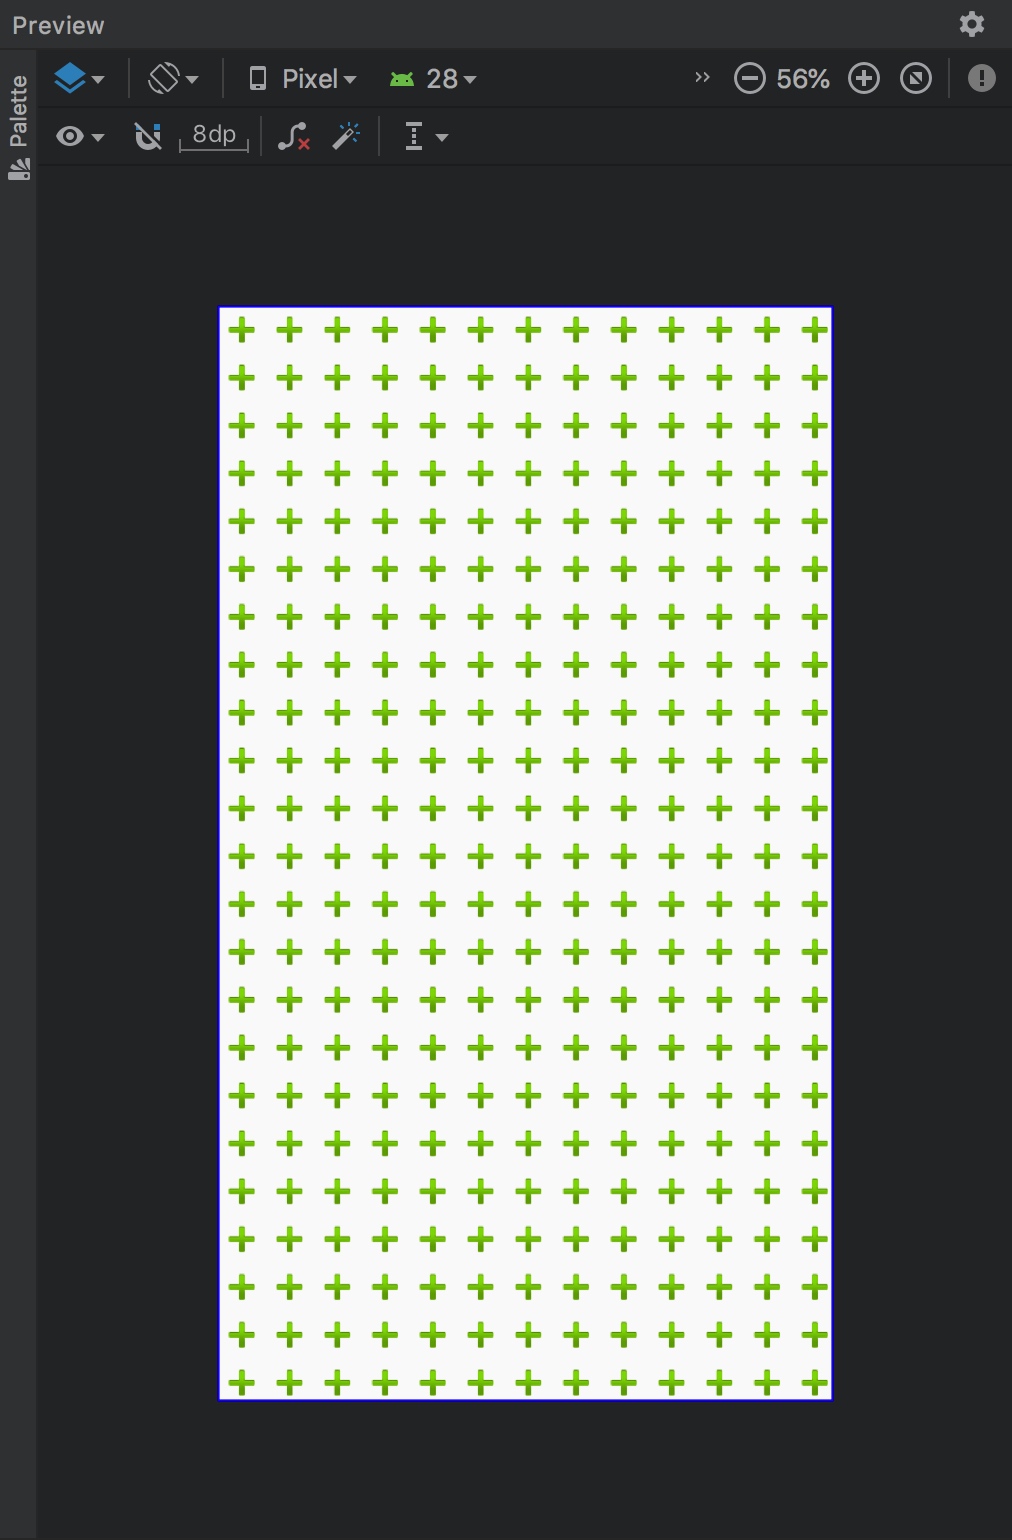
布局文件预览效果如下:
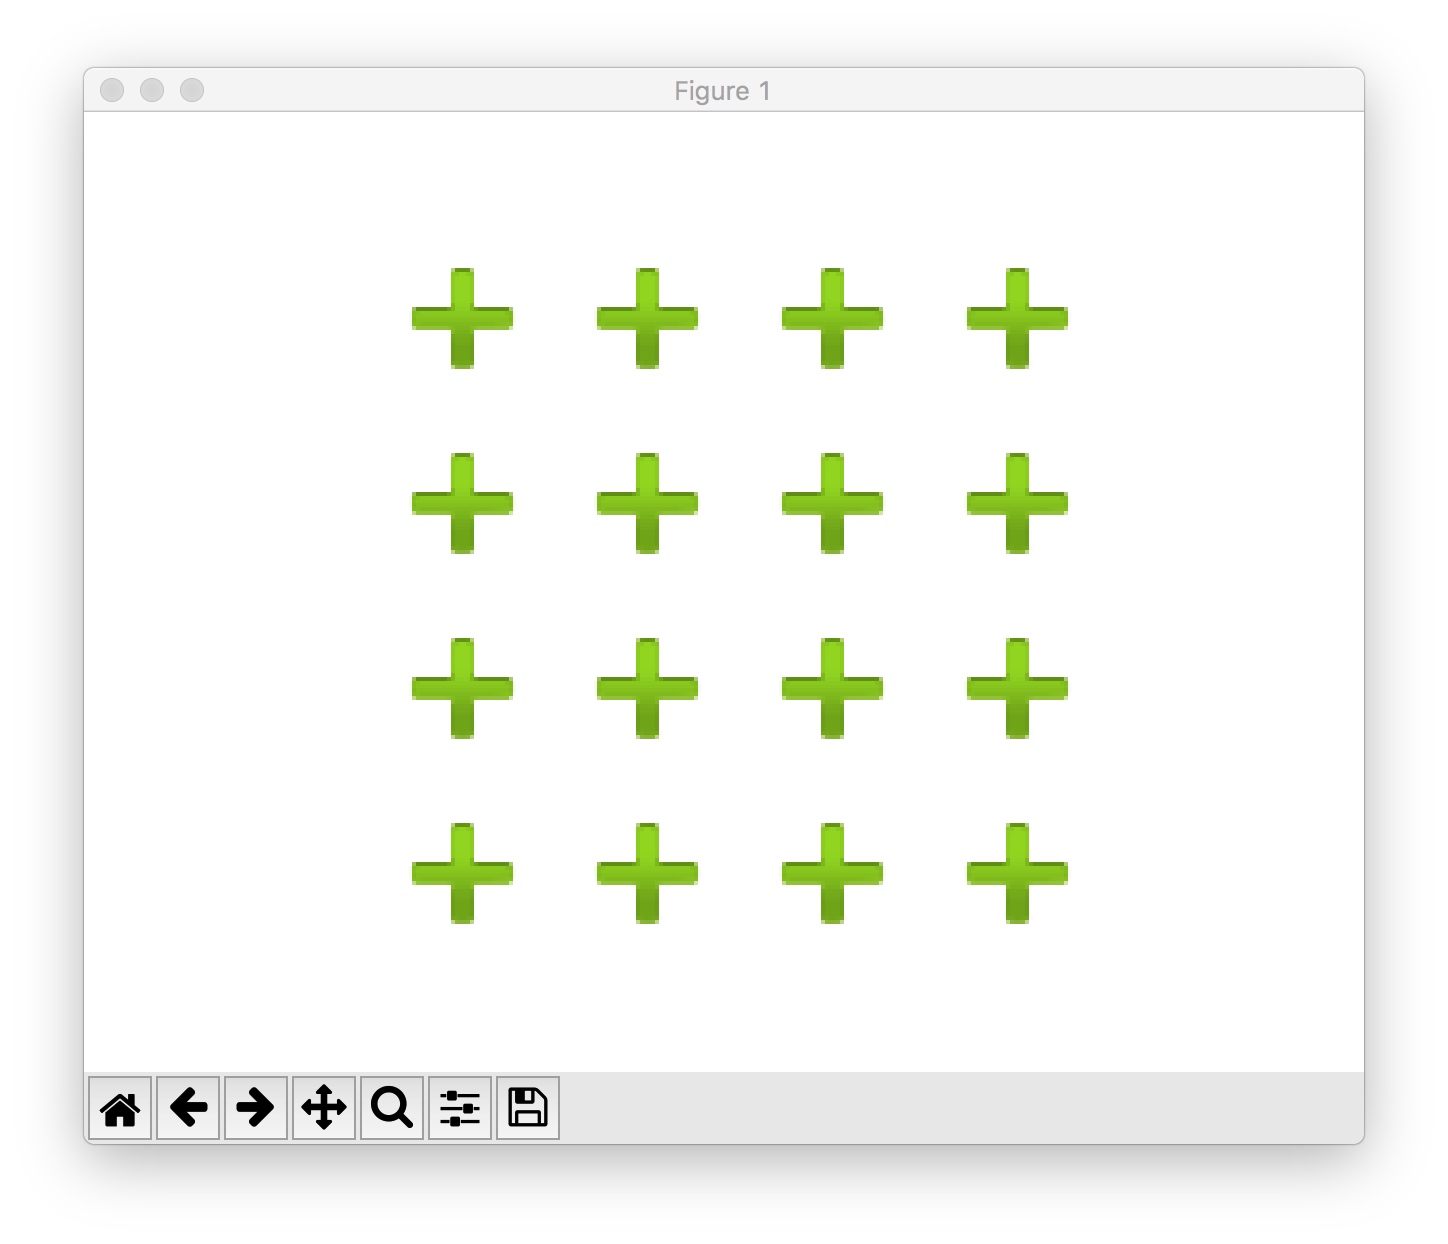
使用 np.tile() 方法可以实现 tileMode=repeat 类似的效果。
ic_add = mpimg.imread('ic_input_add.png')
ic_add4 = np.tile(ic_add, [4,4,1])
plt.imshow(ic_add4)
plt.axis('off')
plt.show()使用 ColorMatrixColorFilter 将 ImageView 灰化:
public static void grey(ImageView iv) {
    ColorMatrix cm = new ColorMatrix();
    cm.setSaturation(0);
    ColorMatrixColorFilter filter = new ColorMatrixColorFilter(cm);
    iv.setColorFilter(filter);
}
使用 ColorMatrixColorFilter 将 Bitmap 灰化:
private void grey(Bitmap sourceBitmap, Bitmap blurredBitmap) {
    Canvas c = new Canvas(blurredBitmap);
    Paint paint = new Paint();
    ColorMatrix cm = new ColorMatrix();
    cm.setSaturation(0);
    ColorMatrixColorFilter f = new ColorMatrixColorFilter(cm);
    paint.setColorFilter(f);
    c.drawBitmap(sourceBitmap, 0, 0, paint);
}
android.graphics.ColorMatrix 是图片灰化的核心。
ColorMatrix 是一个 4x5 矩阵用于对 Bitmap 的颜色和alpha分量进行转换。可以使用一维数组构造这个矩阵。一维数组被视为如下矩阵
  [ a, b, c, d, e,
    f, g, h, i, j,
    k, l, m, n, o,
    p, q, r, s, t ]
这个矩阵应用于一个像素 [R, G, B, A] 时,得到的结果为:
   R’ = a*R + b*G + c*B + d*A + e;
   G’ = f*R + g*G + h*B + i*A + j;
   B’ = k*R + l*G + m*B + n*A + o;
   A’ = p*R + q*G + r*B + s*A + t;
ColorMatrix 的部分源码如下。
public class ColorMatrix {
    private final float[] mArray = new float[20];

    public ColorMatrix() {
        reset();
    }

    public void reset() {
        final float[] a = mArray;
        Arrays.fill(a, 0);
        a[0] = a[6] = a[12] = a[18] = 1;
    }

    /**
     * Set the matrix to affect the saturation of colors.
     *
     * @param sat A value of 0 maps the color to gray-scale. 1 is identity.
     */
    public void setSaturation(float sat) {
        reset();
        float[] m = mArray;

        final float invSat = 1 - sat;
        final float R = 0.213f * invSat;
        final float G = 0.715f * invSat;
        final float B = 0.072f * invSat;

        m[0] = R + sat; m[1] = G;       m[2] = B;
        m[5] = R;       m[6] = G + sat; m[7] = B;
        m[10] = R;      m[11] = G;      m[12] = B + sat;
    }
创建 ColorMatrix 并调用 setSaturation(0) 后就能对图片进行灰化处理,是不是很神奇。我们完全可以使用 numpy 来计算一下这个处理过程。
>>> cm = np.array(range(20), float) # 注意这里的 float 参数
>>> cm[0] = cm[6] = cm[12] = cm[18] = 1
>>> cm[0] = cm[5] = cm[10] = 0.213
>>> cm[1] = cm[6] = cm[11] = 0.715
>>> cm[2] = cm[7] = cm[12] = 0.072
>>> cm1 = cm.reshape([4,5])
>>> cm2 = cm1[0:3,0:3]
>>> cm3 = cm1[0:3, 4]
>>> cm1
array([[ 0.213,  0.715,  0.072,  3.   ,  4.   ],
       [ 0.213,  0.715,  0.072,  8.   ,  9.   ],
       [ 0.213,  0.715,  0.072, 13.   , 14.   ],
       [15.   , 16.   , 17.   ,  1.   , 19.   ]])
解释一下上面的步骤:
- 创建
cm,它是 1x20 的 array - 将
cm中指定的元素设为1 (即ColorMatrix.reset()) - 将
cm中指定的元素设为某个参数 (即ColorMatrix.setSaturation(0)) - 将
cm分解为cm2和cm3(因为待处理的图片没有 alpha 分量,分解一下方便后续操作)
这里解释一下 cm1, cm2, cm3 的含义。假设 cm1 是如下矩阵:
  [ a, b, c, d, e,
    f, g, h, i, j,
    k, l, m, n, o,
    p, q, r, s, t ]
那么相应地, cm2 和 cm3 定义如下:
cm2 =
  [ a, b, c,
    f, g, h,
    k, l, m ]

cm3 =
  [ e,
    j,
    o ]
套用来自 ColorMatrix 的算法,对图片 s 进行灰化处理的本质其实就是对 s 的每个像素点进行如下处理:
s[i][j] = cm2.dot(s[i][j].dot() ) + cm3
以下代码对原图 s 进行灰化处理得到 grayed:
s = m

grayed = s.copy()
grayed.fill(0)
for i in range(1280):
    for j in range(606):
        grayed[i][j] = round(cm2.dot(s[i][j]) + cm3)
灰化后的图片如下:
处理结果还不是特别完美,但整体上成功了!
TODO 数据类型转换问题?
s[0][0].dtype  # 输出 dtype('uint8')
(cm2.dot(s[0][0]) + cm3).dtype # 输出 dtype('float64')
最后一个图片处理的例子是图片模糊处理。这里只讲最简单的模糊处理方式。
图片的每一个像素都取周边像素的平均值,来减少像素间差距,达到模糊效果 来源
get_color 实现取周边像素平均值的操作。完整代码见 blur.py
def get_color(point, radius, arr, w, h):
    x, y = point
    left = max(y - radius, 0)
    right = min(y + radius, w)
    top = max(x - radius, 0)
    bottom = min(x + radius, h)

    r = 0
    g = 0
    b = 0
    count = 0
    for i in range(top, bottom):
        for j in range(left, right):
            if x == i and y == j:
                continue
            r += arr[i][j][0]
            g += arr[i][j][1]
            b += arr[i][j][2]
            count += 1
    return (round(r / count), round(g / count), round(b / count))
对图片进行模糊处理并显示出来。
>>> s = mpimg.imread('1_swqqcs.jpg')
>>> width = s.shape[1]
>>> height = s.shape[0]
>>> for i in range(height):
...     for j in range(width):
...             blurred[i][j] = blur.get_color((i, j), 5, s, width, height)
...
>>> plt.imshow(blurred)
>>> plt.axis('off')
>>> plt.show()
模糊效果如下:
做 Android 开发时对图片模糊处理时经常会听到一个术语 模糊半径。但是现成的第三方库实在太好用,你只需要传一个参数作为模糊半径第三方库就帮你生成模糊图片了,所以可能你可能并没有深入思考到底什么是模糊半径。没关系,自己动手实现一下上面的 get_color(),就不难理解到底什么是模糊半径。
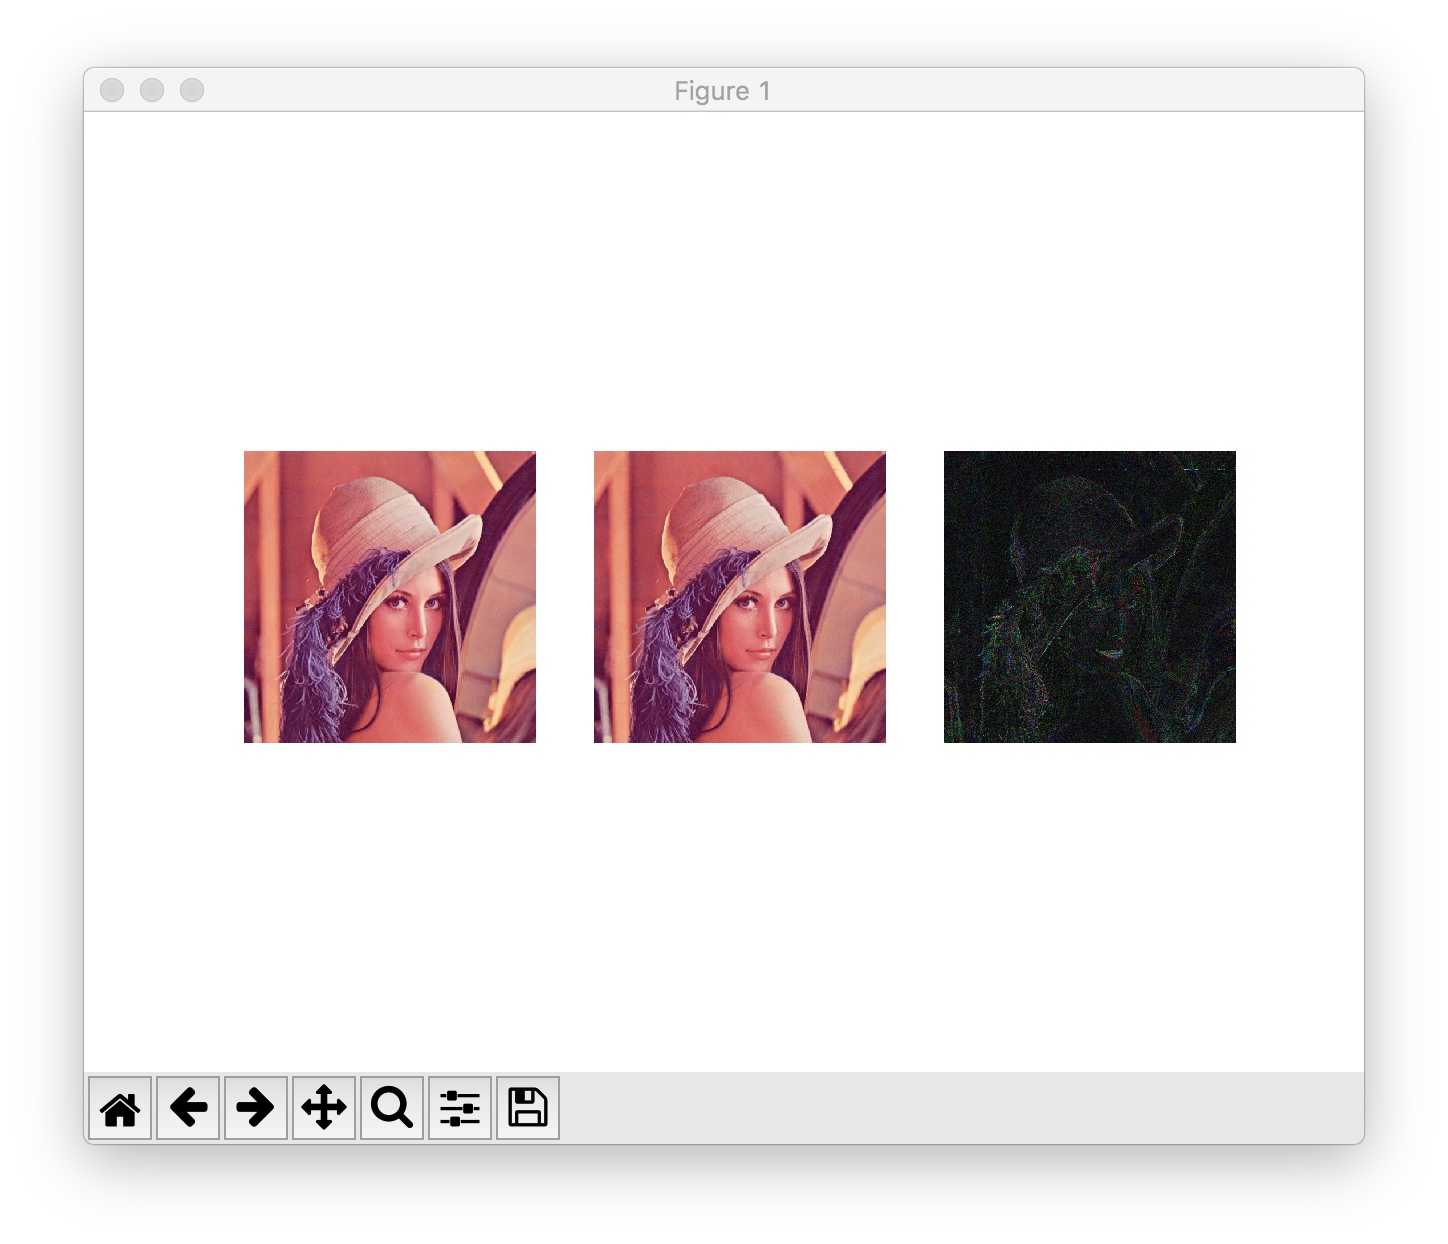
lena = mpimg.imread('lenna.png')
lena2 = mpimg.imread('lenna_compress.png')
tmp = abs(lena - lena2) * 10
plt.figure()
plt.subplot(1,3,1)
plt.imshow(lena)
plt.axis('off')
plt.subplot(1,3,2)
plt.imshow(lena2)
plt.axis('off')
plt.subplot(1,3,3)
plt.imshow(tmp)
plt.axis('off')
plt.show()- 矩阵减法
- 矩阵的绝对值
- 矩阵的乘法
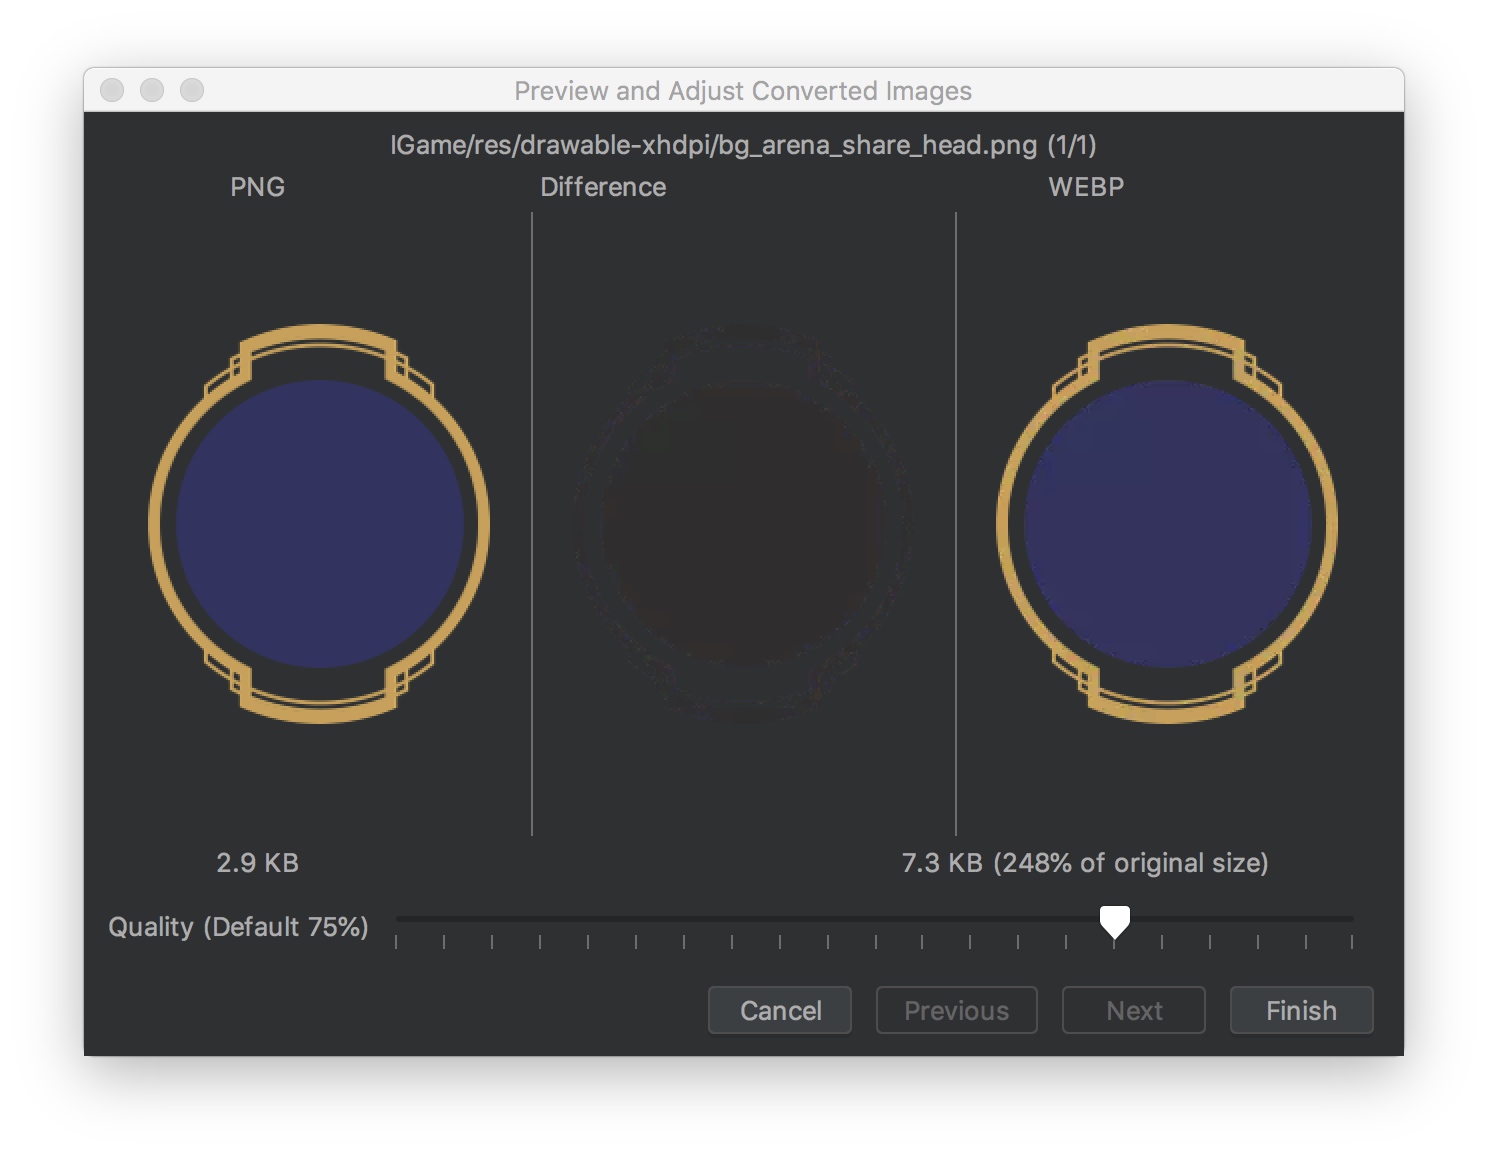
对比 Android Studio png 转 webp 时的显示功能
750x460 px
jiaaro/pydub: Manipulate audio with a simple and easy high level interface
英语听力自动断句程序 - 机器学习-学习记录 - CSDN博客
至此,你应该掌握了关于 numpy 和 matplotlib 的以下用法:
- 读取图片和展示图片
- 创建 array
- 自定义 dtype
- 创建 array 并指定 dtype
- array tile 操作
- array 切片操作
- array 旋转操作
- array 转置操作
- array 的减法
- array 填充操作
- array reshape 操作
- array 拷贝操作
- 矩阵点乘
- ColorMatrix 背后的原理
你可以将以下内容作为自测练习,检查自己到底是否有掌握这些概念或用法。以下是答案对照表:
- mpimg.imread(), plt.imshow(), plt.show()
- np.array()
- np.dtype((np.int32, (2, 2)))
- array[:,:]
- np.tile()
- np.rot90(array, 1)
- array.fill()
- array.reshape([4, 4])
- array.copy()
- array.dot()
动手练习使用 numpy 是不是比只看 numpy 文档来得更有意思且印象更深刻一些?
TODO 什么是 inSampleSize

