Toyay is a simple app guiding you step by step in how to build your first iPhone app. In this ocasion you'll build a simple ToDo app.
Before getting started make sure to download Xcode from the App Store.
After getting Xcode running, clone the project and open Toyay.xcodeproj
If you're feeling stuck feel free to switch to the branch for each step and catch up from there.
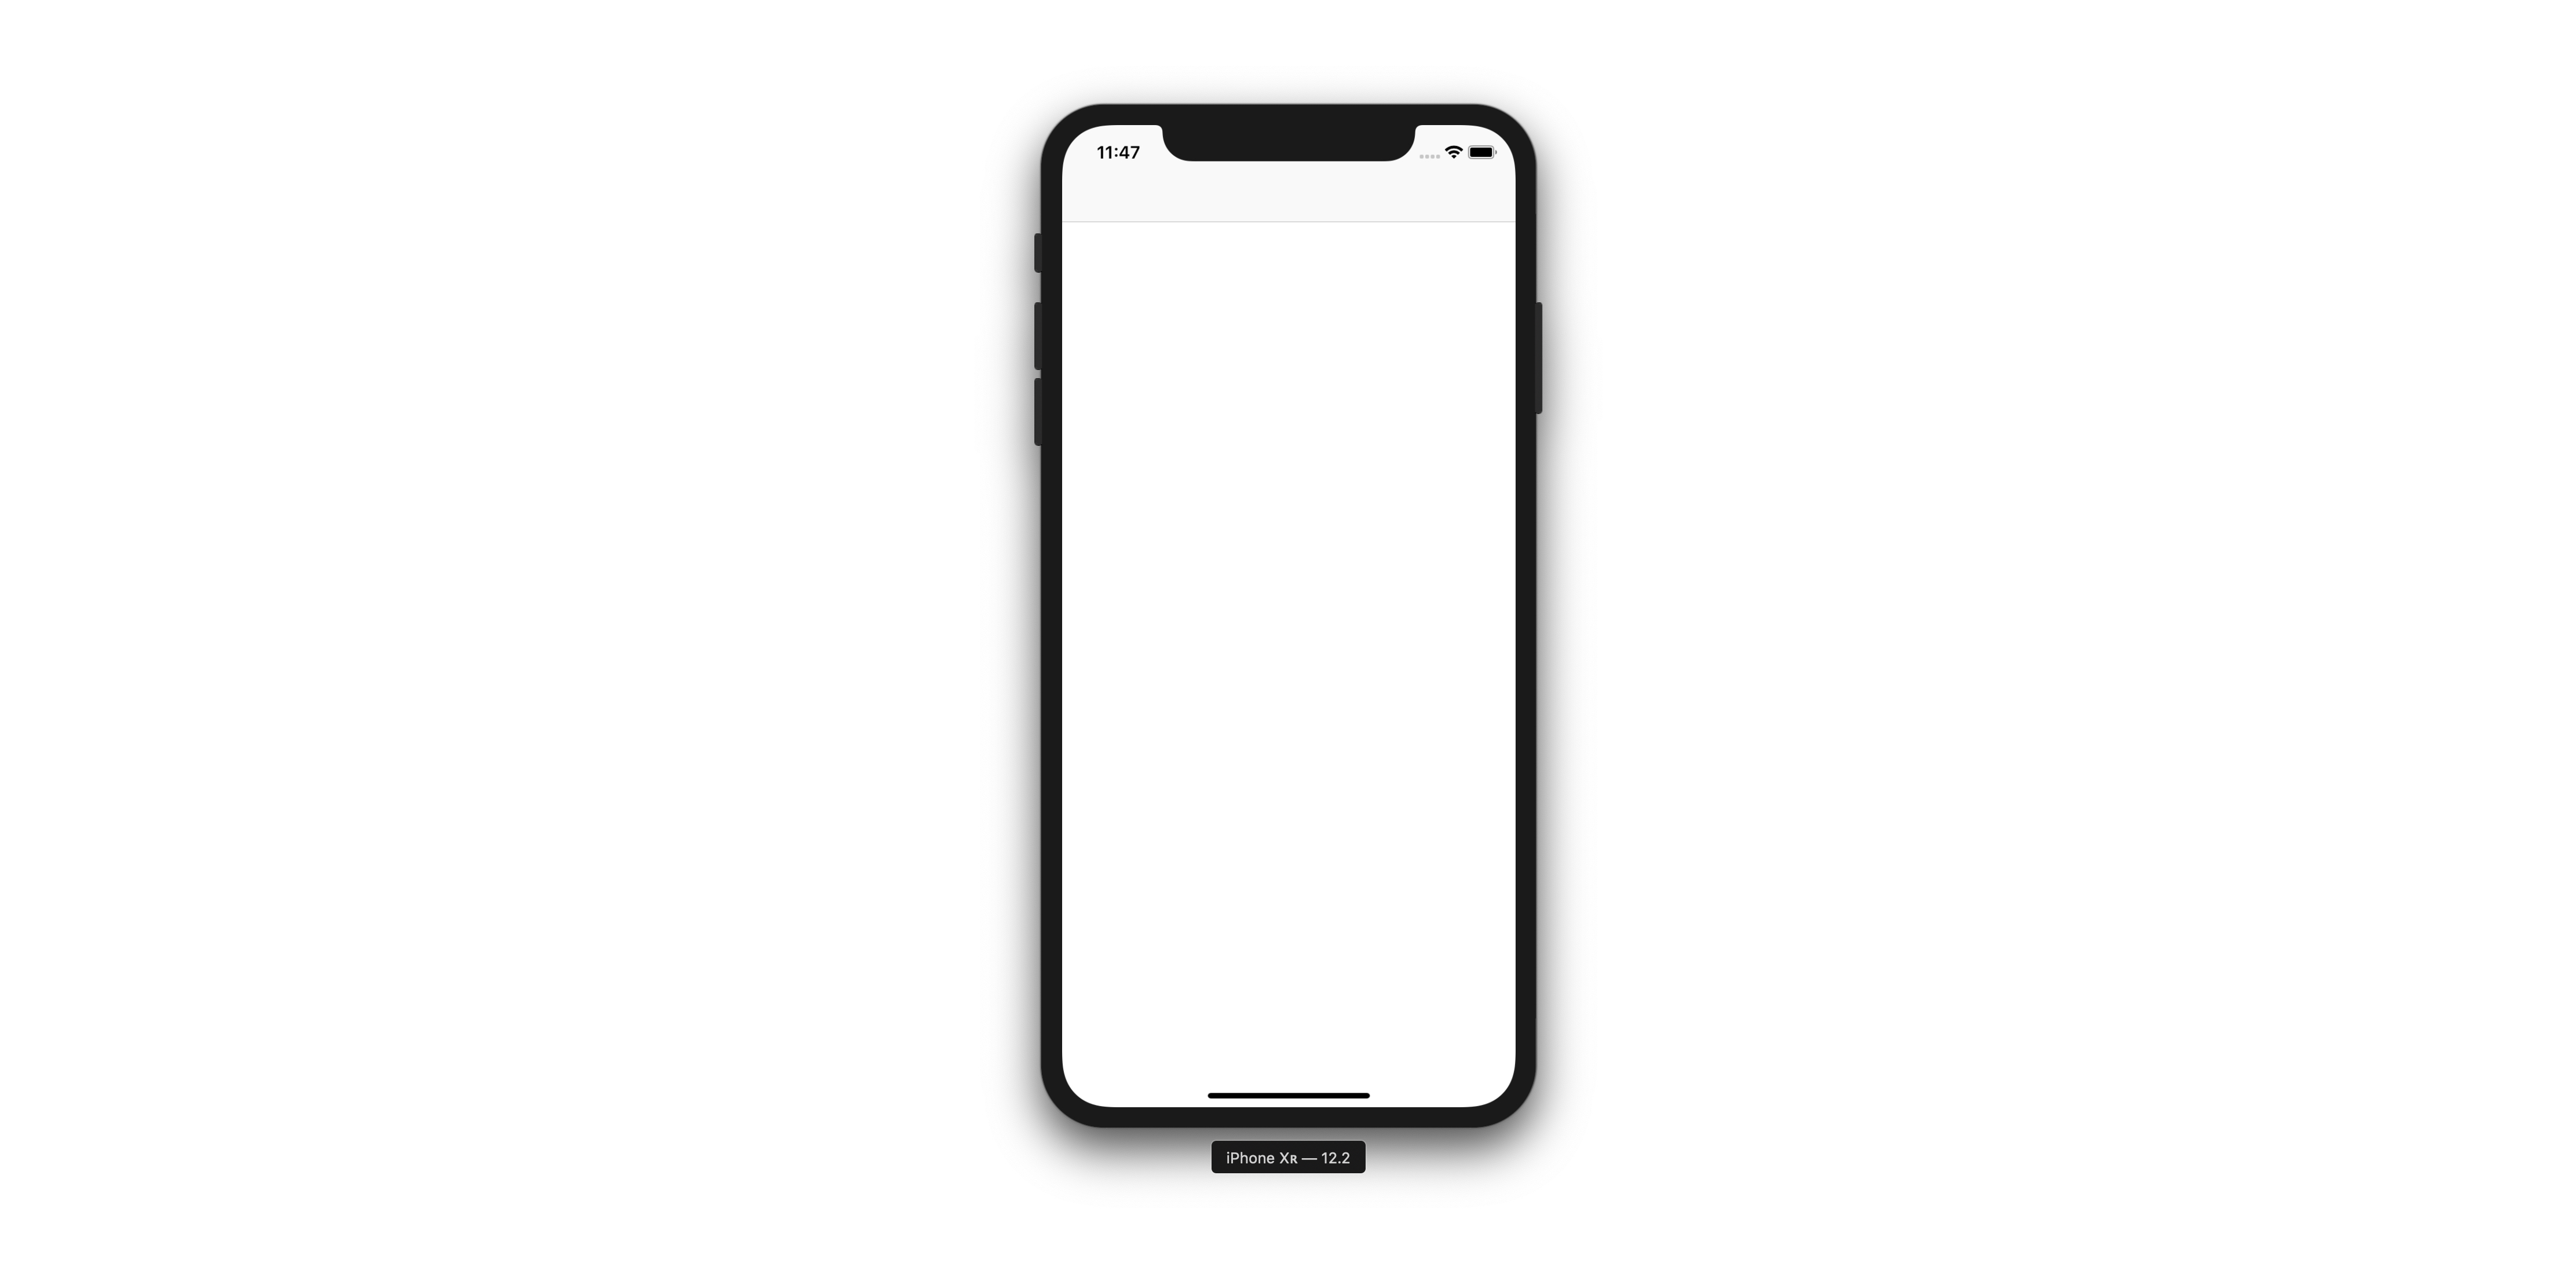
Switch to the step1 branch to get started and run the project pressing CMD + R.
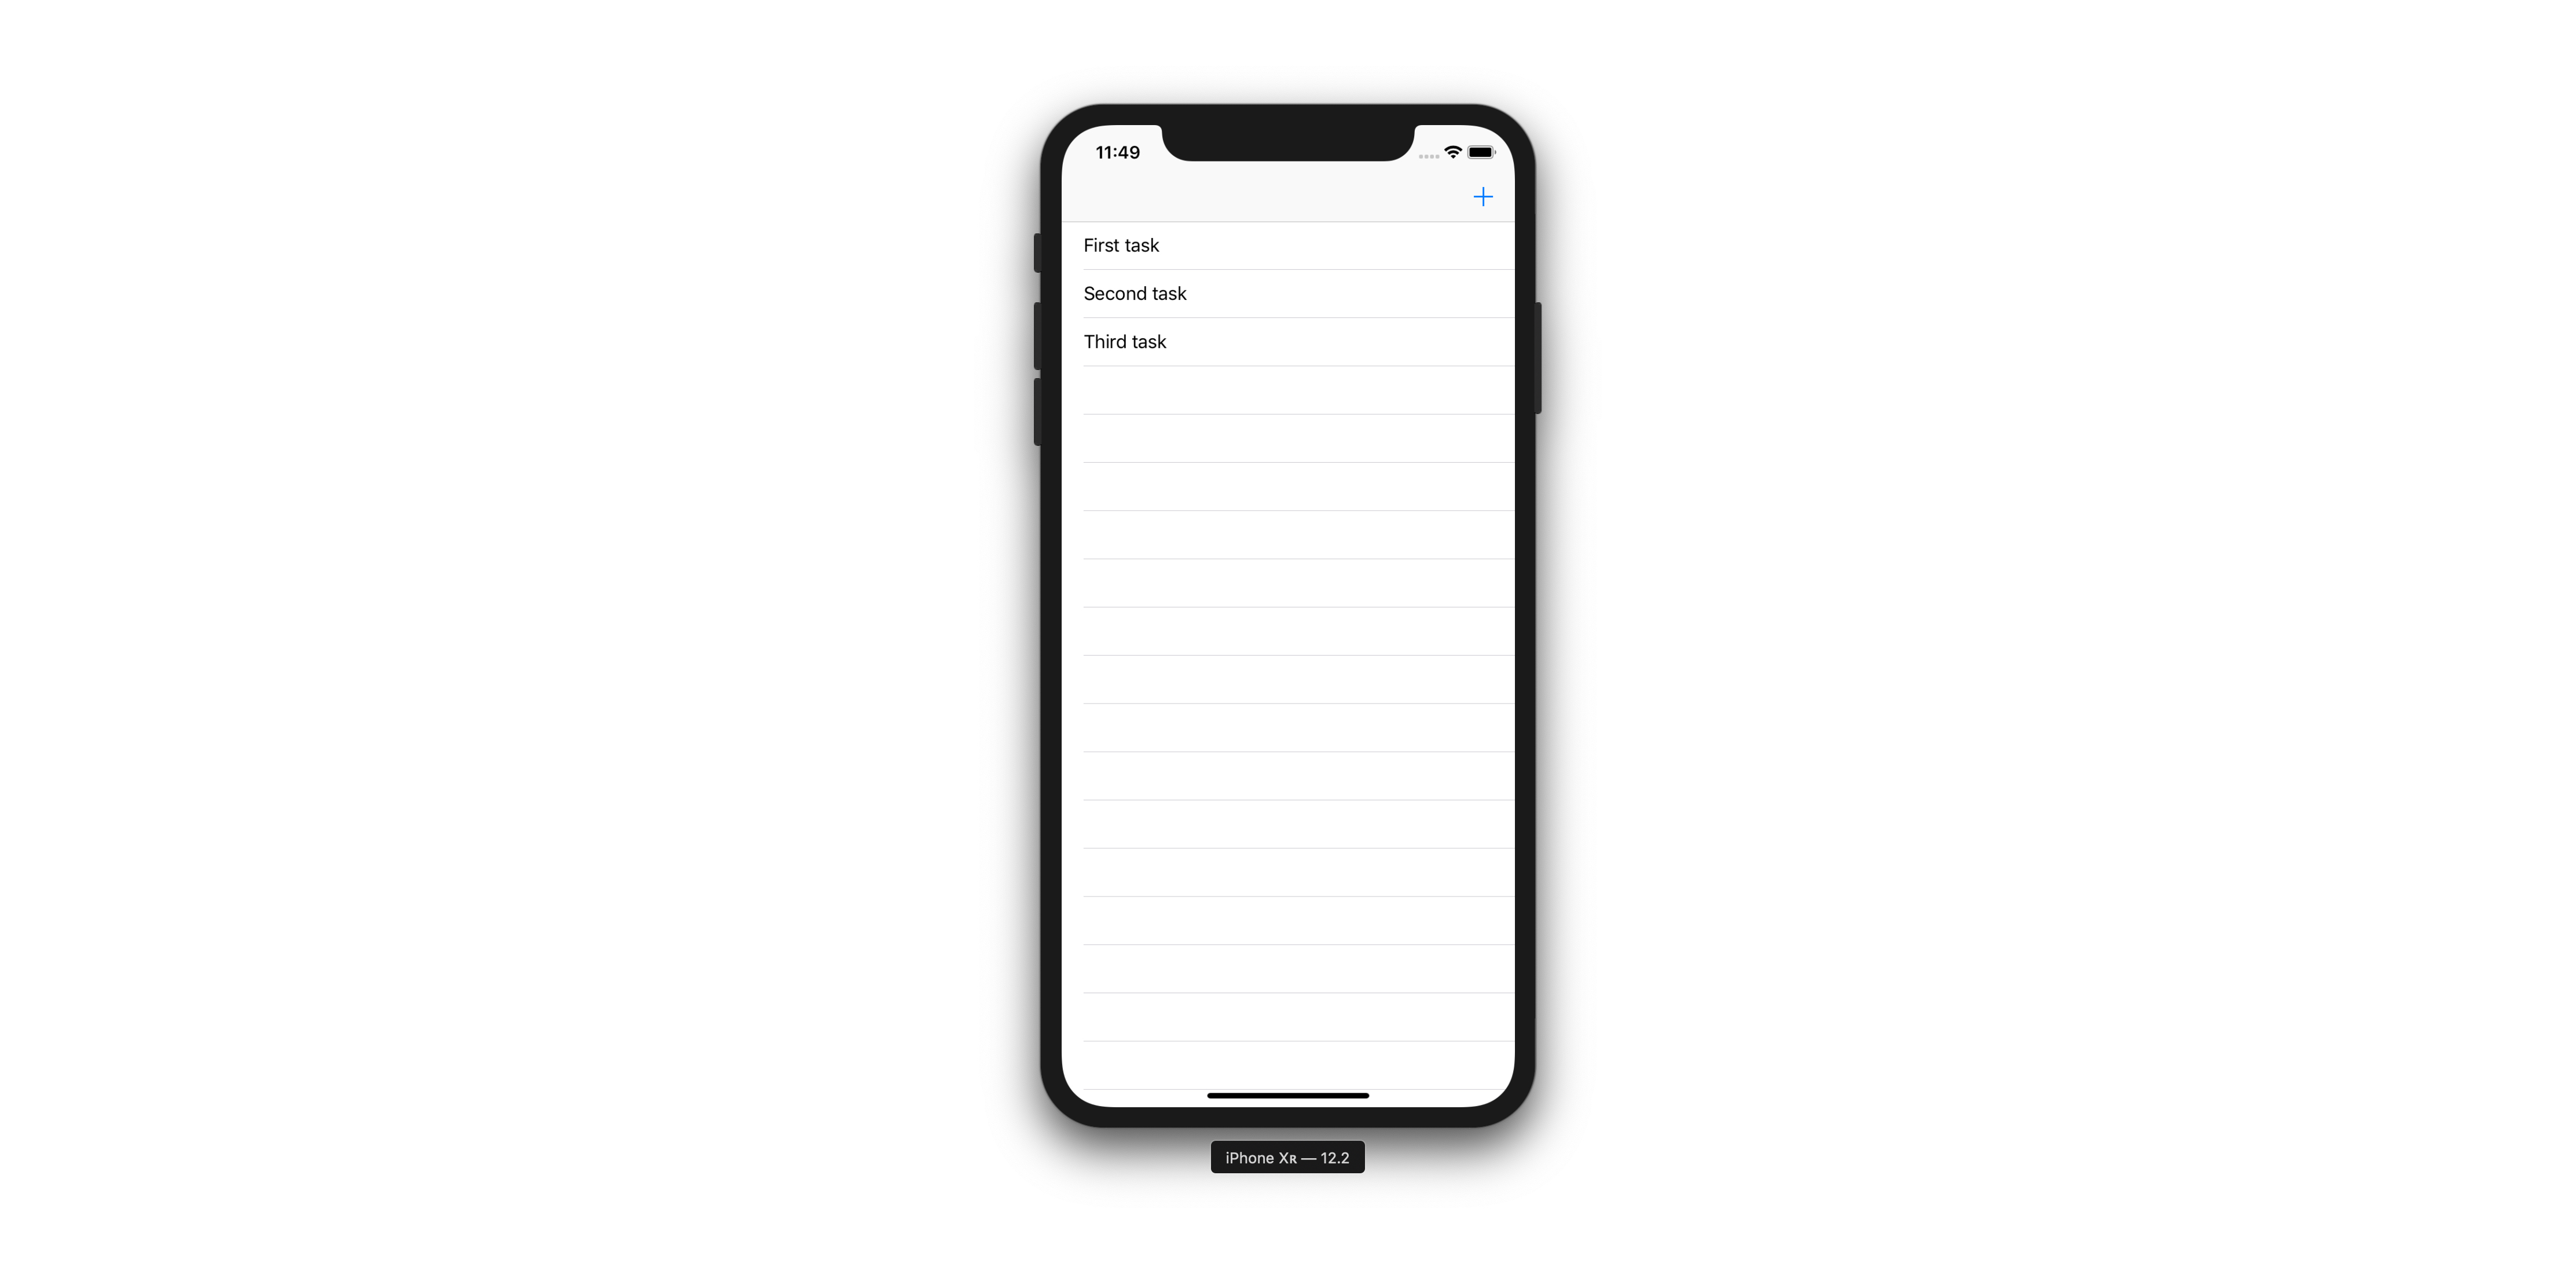
This is what you should see:
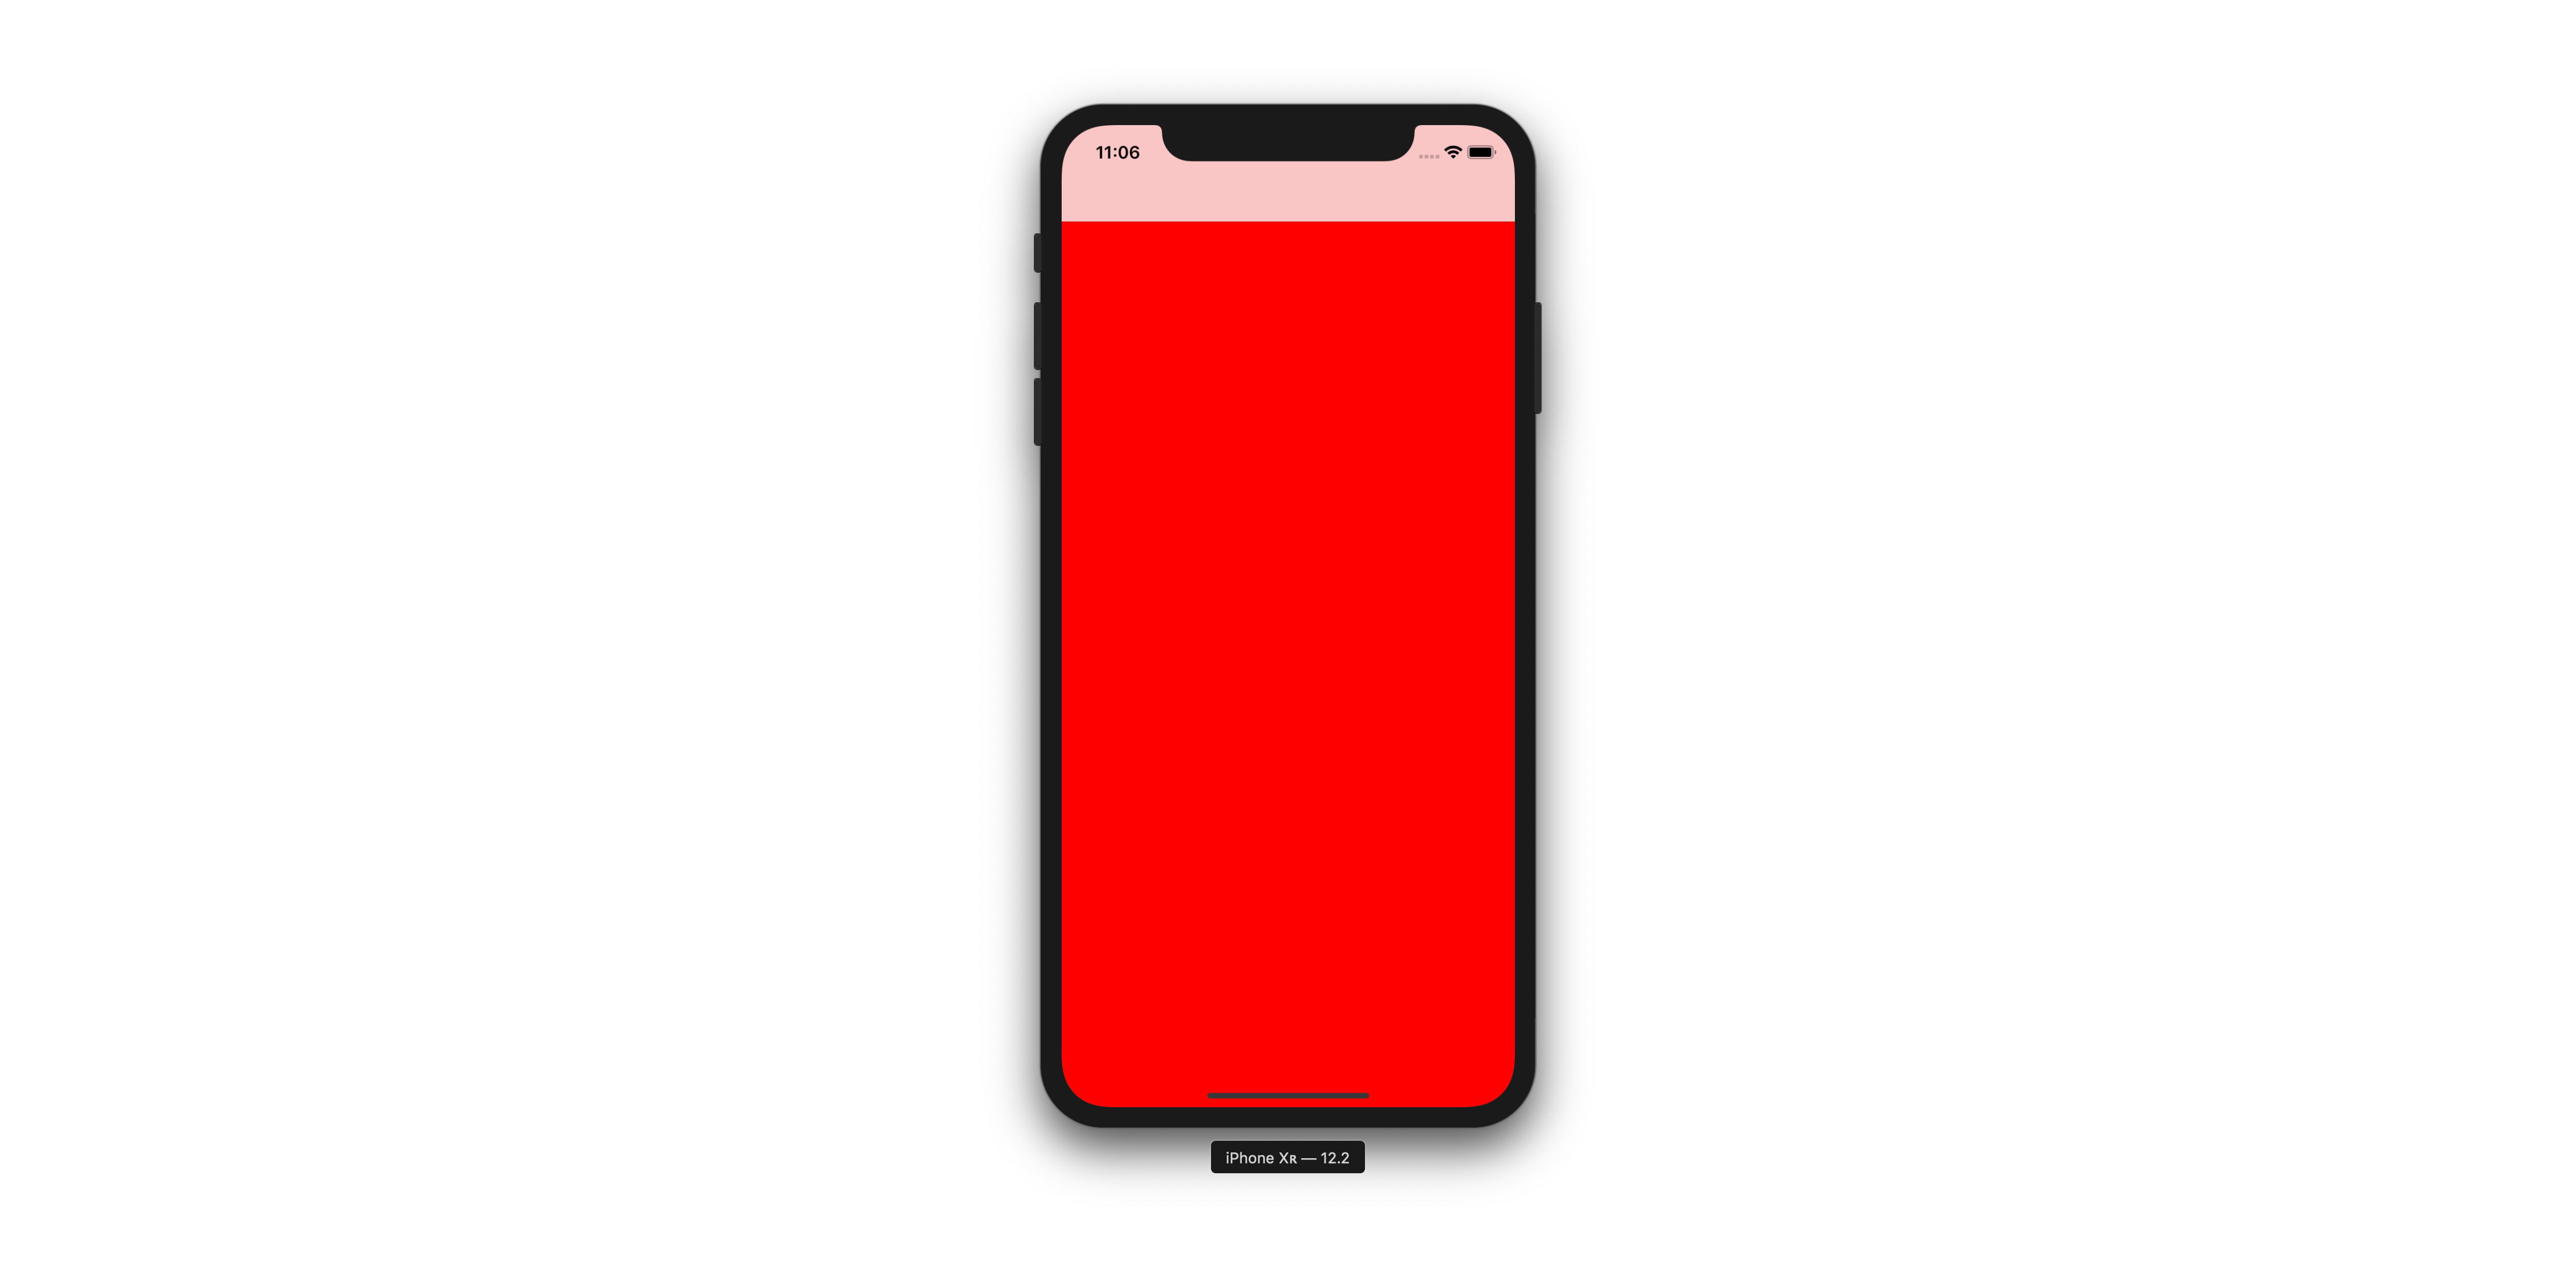
Change the color of the view to red
ViewController.swift
override func viewDidLoad() {
    super.viewDidLoad()

    view.backgroundColor = .red
}
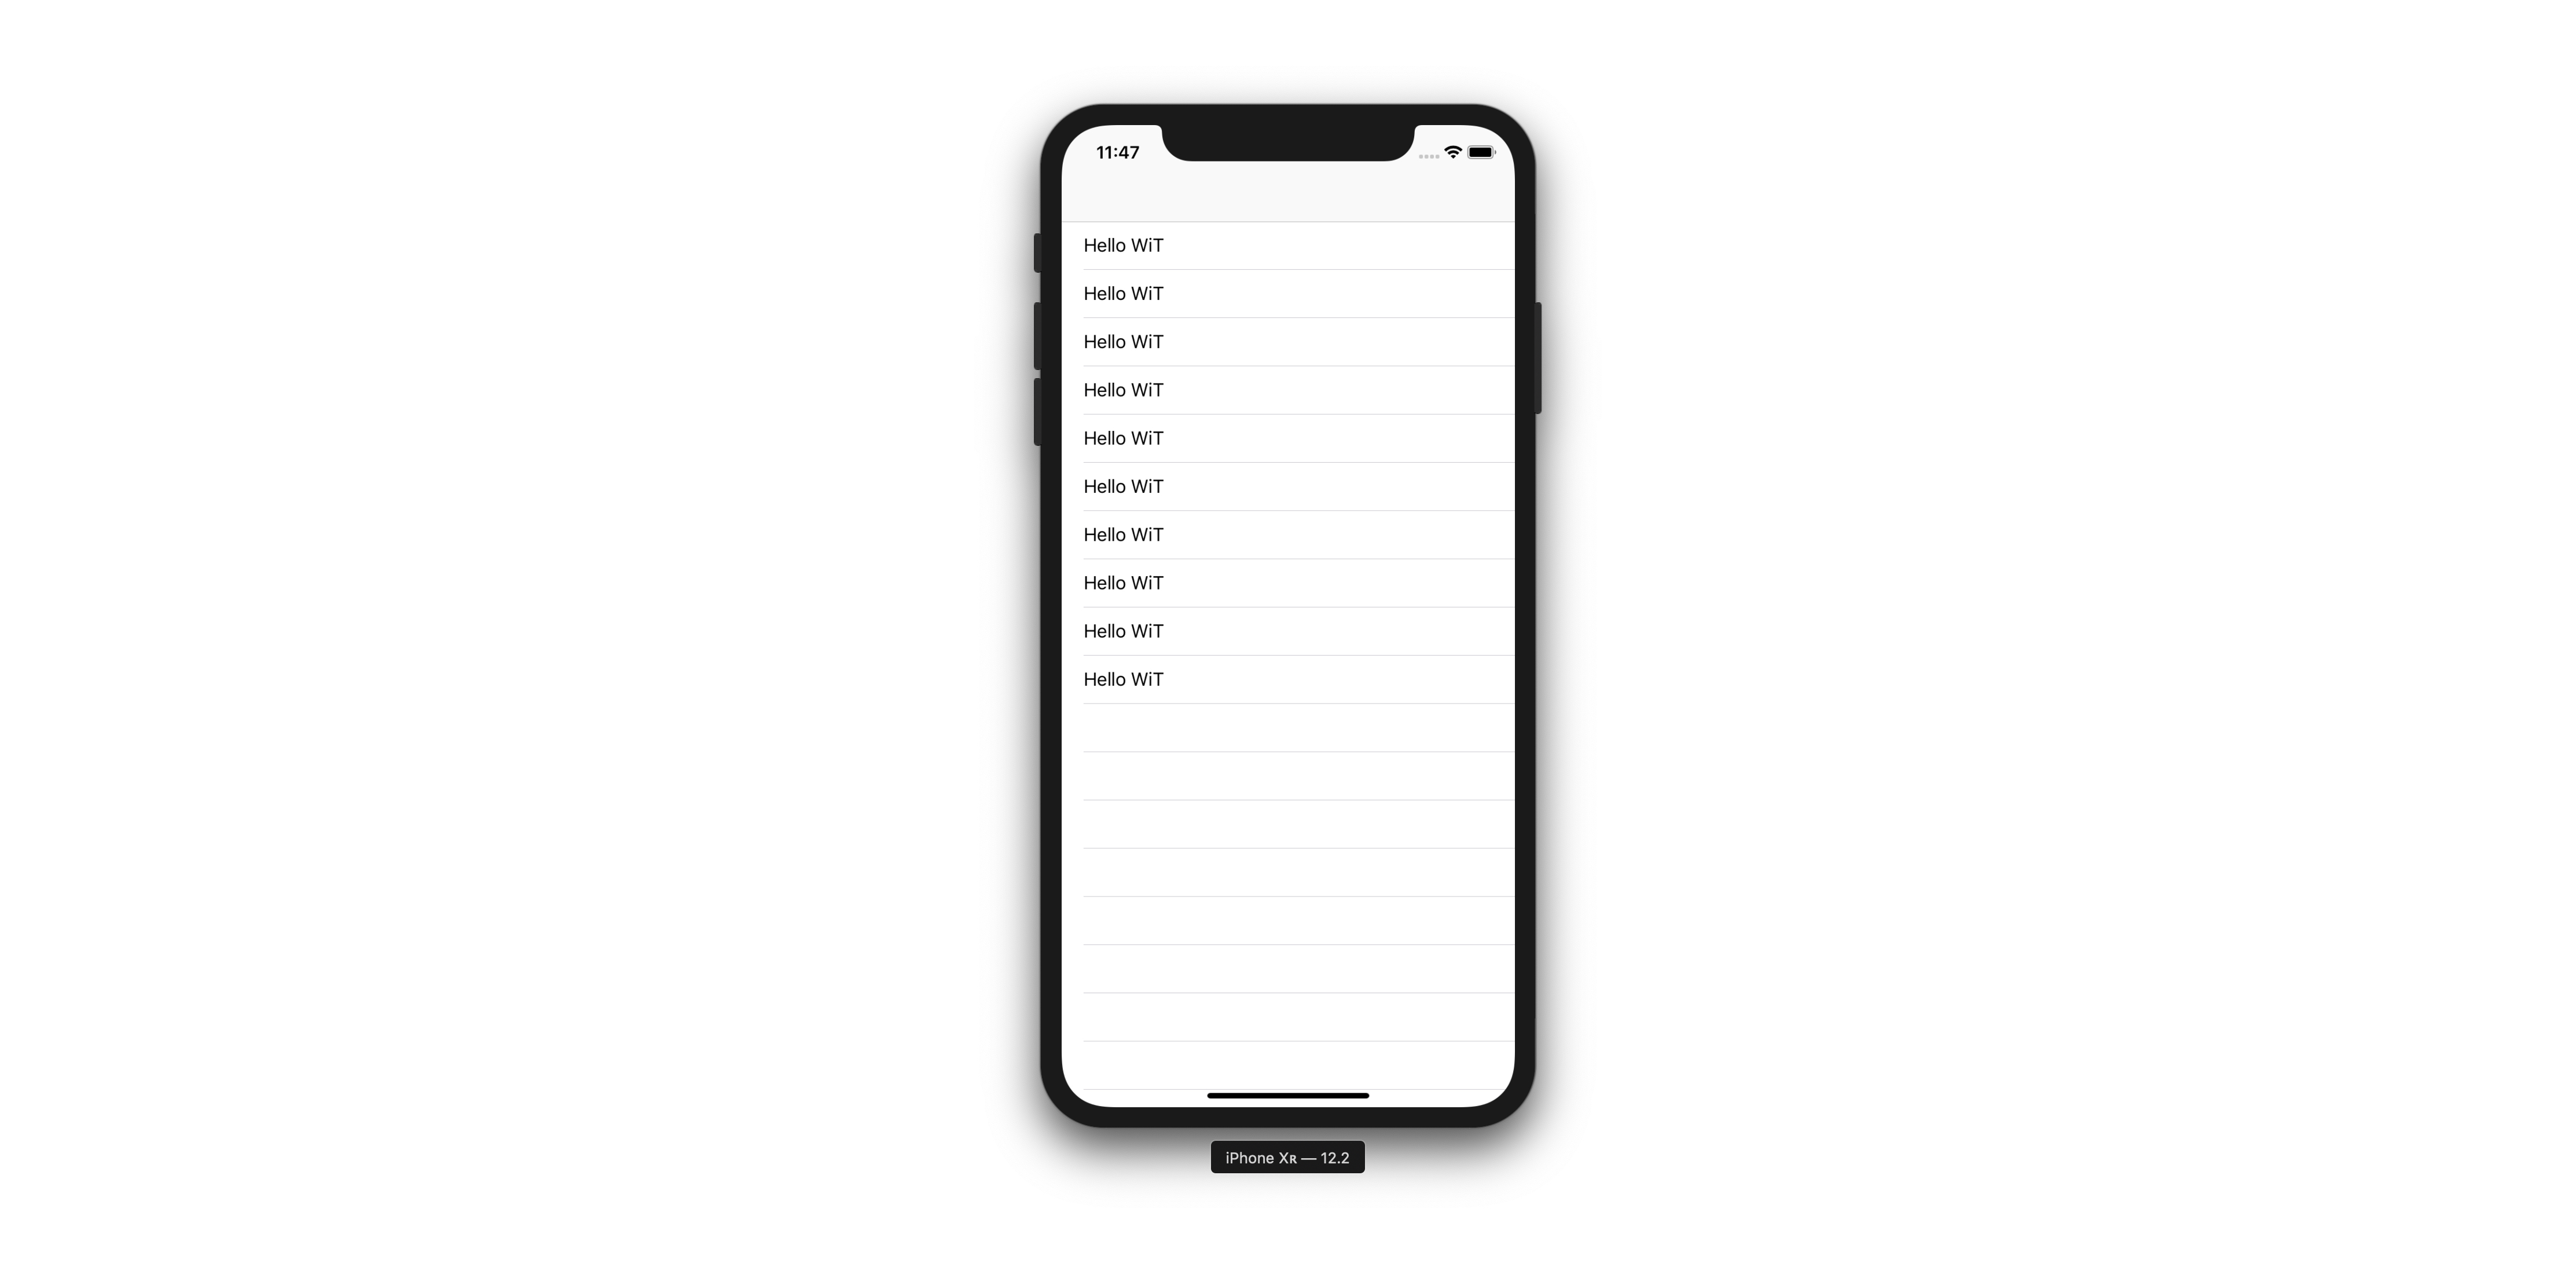
Add UITableViewController with hardcoded cells
ViewController.swift
override func viewDidLoad() {
    super.viewDidLoad()

    tableView.register(UITableViewCell.self, forCellReuseIdentifier: "Cell")
}

override func tableView(_ tableView: UITableView, numberOfRowsInSection section: Int) -> Int {
    return 10
}

override func tableView(_ tableView: UITableView, cellForRowAt indexPath: IndexPath) -> UITableViewCell {
    let cell = tableView.dequeueReusableCell(withIdentifier: "Cell", for: indexPath)
    cell.textLabel?.text = "Hello WiT"
    return cell
}
Add model
Task.swift
import Foundation

class Task: NSObject {
    let title: String

    init(title: String) {
        self.title = title
    }
}
ViewController.swift
let tasks = [
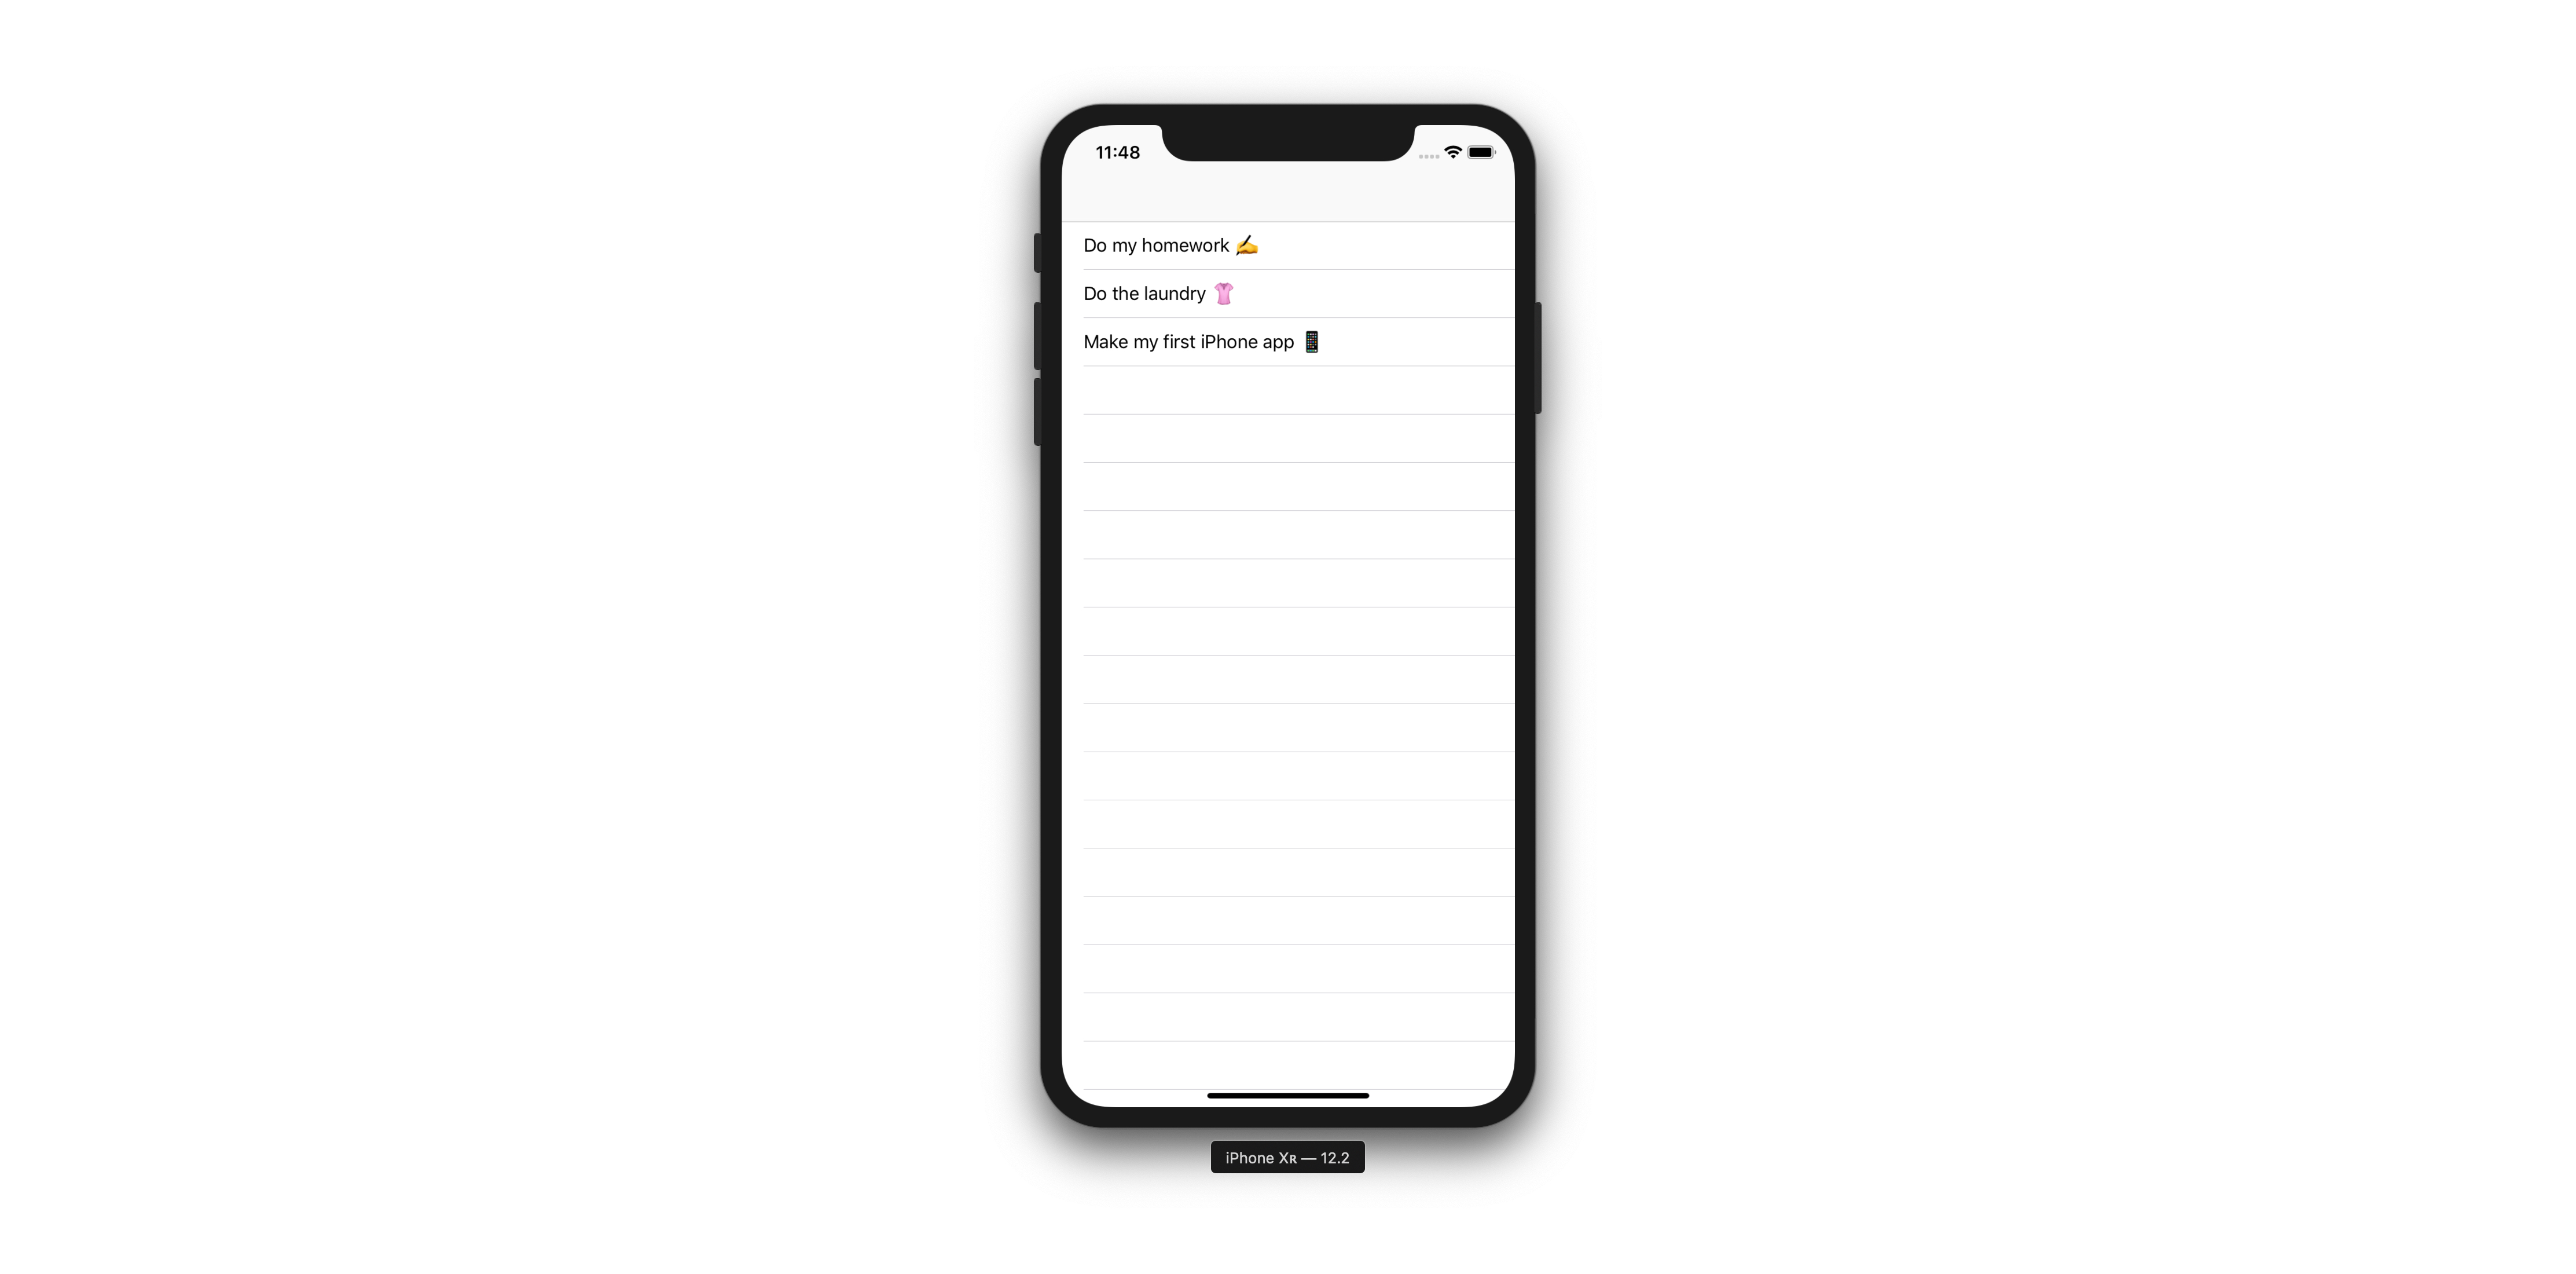
Task(title: "Do my homework ✍️"),
Task(title: "Do the laundry 👚"),
Task(title: "Make my first iPhone app 📱")
]
override func tableView(_ tableView: UITableView, numberOfRowsInSection section: Int) -> Int {
return tasks.count
}
override func tableView(_ tableView: UITableView, cellForRowAt indexPath: IndexPath) -> UITableViewCell {
let cell = tableView.dequeueReusableCell(withIdentifier: "Cell", for: indexPath)
cell.textLabel?.text = tasks[indexPath.row].title
return cell
}
Add new item button
ViewController.swift
override func viewDidLoad() {
    super.viewDidLoad()

    tableView.register(UITableViewCell.self, forCellReuseIdentifier: "Cell")
    navigationItem.rightBarButtonItem = UIBarButtonItem(barButtonSystemItem: .add, target: self, action: #selector(addItem))
}

@objc func addItem() {
    let alert = UIAlertController(title: "What do you need to get done?", message: nil, preferredStyle: .alert)

    alert.addTextField(configurationHandler: nil)

    let saveAction = UIAlertAction(title: "Save", style: .default, handler: { _ in
        if let text = alert.textFields?.last?.text {
            let indexPath = IndexPath(row: self.tasks.count, section: 0)
            let task = Task(title: text)
            self.tasks.append(task)
            self.tableView.insertRows(at: [indexPath], with: .automatic)
        }
    })
    alert.addAction(saveAction)

    let cancelAction = UIAlertAction(title: "Cancel", style: .cancel, handler: nil)
    alert.addAction(cancelAction)

    alert.preferredAction = saveAction
    present(alert, animated: true, completion: nil)
}
Slide to complete
ViewController.swift
override func tableView(_ tableView: UITableView, editActionsForRowAt indexPath: IndexPath) -> [UITableViewRowAction]? {
    let complete = UITableViewRowAction(style: .normal, title: "Complete") { _, indexPath in
        self.tasks.remove(at: indexPath.row)
        tableView.deleteRows(at: [indexPath], with: .automatic)
    }

    complete.backgroundColor = view.tintColor

    return [complete]

}
Persist your code
`ViewController.swift
static let documentsDirectory = FileManager().urls(for: .documentDirectory, in: .userDomainMask).first!
static let archiveURL = documentsDirectory.appendingPathComponent("tasks")

override func viewDidLoad() {
    //....

    loadTasks()
}

@objc func addItem() {
    //....

    let saveAction = UIAlertAction(title: "Save", style: .default, handler: { _ in
        if let text = alert.textFields?.last?.text {
            //...
            self.saveTasks()
        }
    })

    //...
}

override func tableView(_ tableView: UITableView, editActionsForRowAt indexPath: IndexPath) -> [UITableViewRowAction]? {
    let complete = UITableViewRowAction(style: .normal, title: "Complete") { _, indexPath in
        //....
        self.saveTasks()
    }

    //....
}

func saveTasks() {
    let data = try! NSKeyedArchiver.archivedData(withRootObject: tasks, requiringSecureCoding: false)
    try! data.write(to: ViewController.archiveURL)
}

func loadTasks() {
    guard let data = FileManager().contents(atPath: ViewController.archiveURL.path) else { return }
    tasks = try! NSKeyedUnarchiver.unarchiveTopLevelObjectWithData(data) as? [Task] ?? [Task]()
}
Task.swift
enum Keys: String {
    case title
}

class Task: NSObject, NSCoding {
    ///...
    ///...

    required convenience init?(coder aDecoder: NSCoder) {
        guard let title = aDecoder.decodeObject(forKey: Keys.title.rawValue) as? String else  {
            return nil
        }

        self.init(title: title)
    }

    func encode(with aCoder: NSCoder) {
        aCoder.encode(title, forKey: Keys.title.rawValue)
    }
}

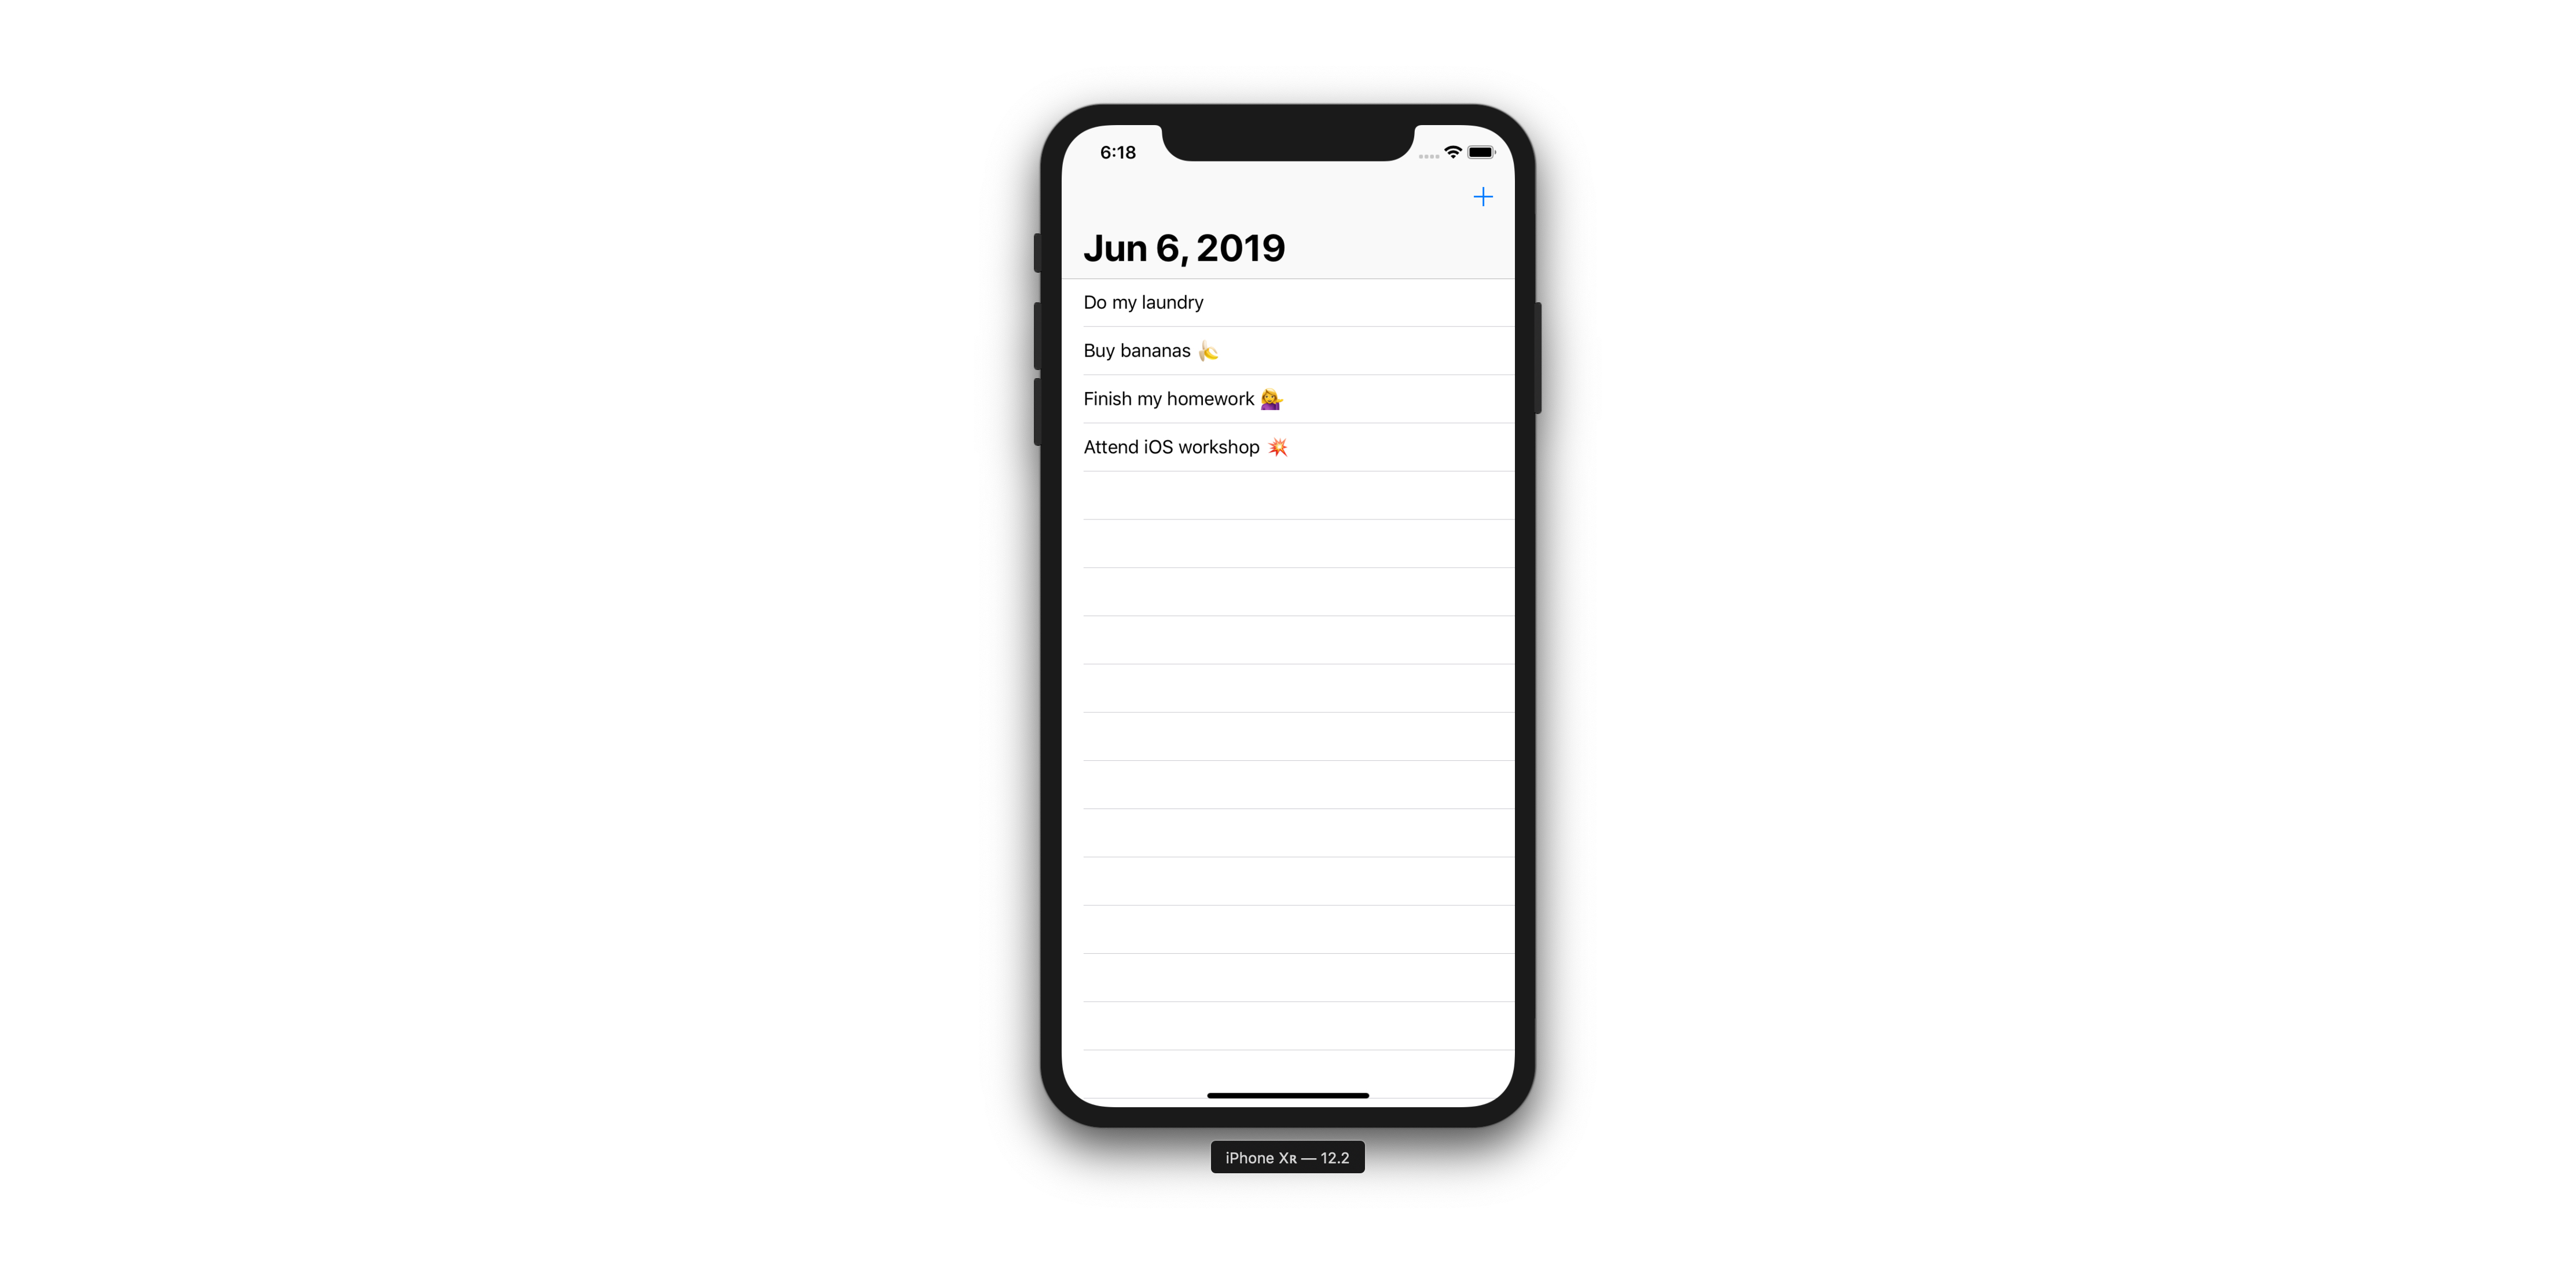
Add date as a title
ViewController.swift
override func viewDidLoad() {
    super.viewDidLoad()

    let dateFormatter = DateFormatter()
    dateFormatter.timeStyle = .none
    dateFormatter.dateStyle = .medium
    title = dateFormatter.string(from: Date())
    navigationController?.navigationBar.prefersLargeTitles = true
}