First up is the inventory . As for components , I have chosen ones which were readily available except for AT90USB646 which I wanted to experiment with for a long time .I have chosen AT90USB646 since the LUFA project by Dean Camera comes with examples of AT90USB1287 which is very similar to AT90USB646 for implementing the USB stack . I have included a transistor to drive the relay however for the relay i'm using this wasn't necessary since the AT90USB646 can source upto 40mA of current per I/O whereas the relay only needed 20mA but the relays you might use might be different hence the transistor.Okay , lets jump in then
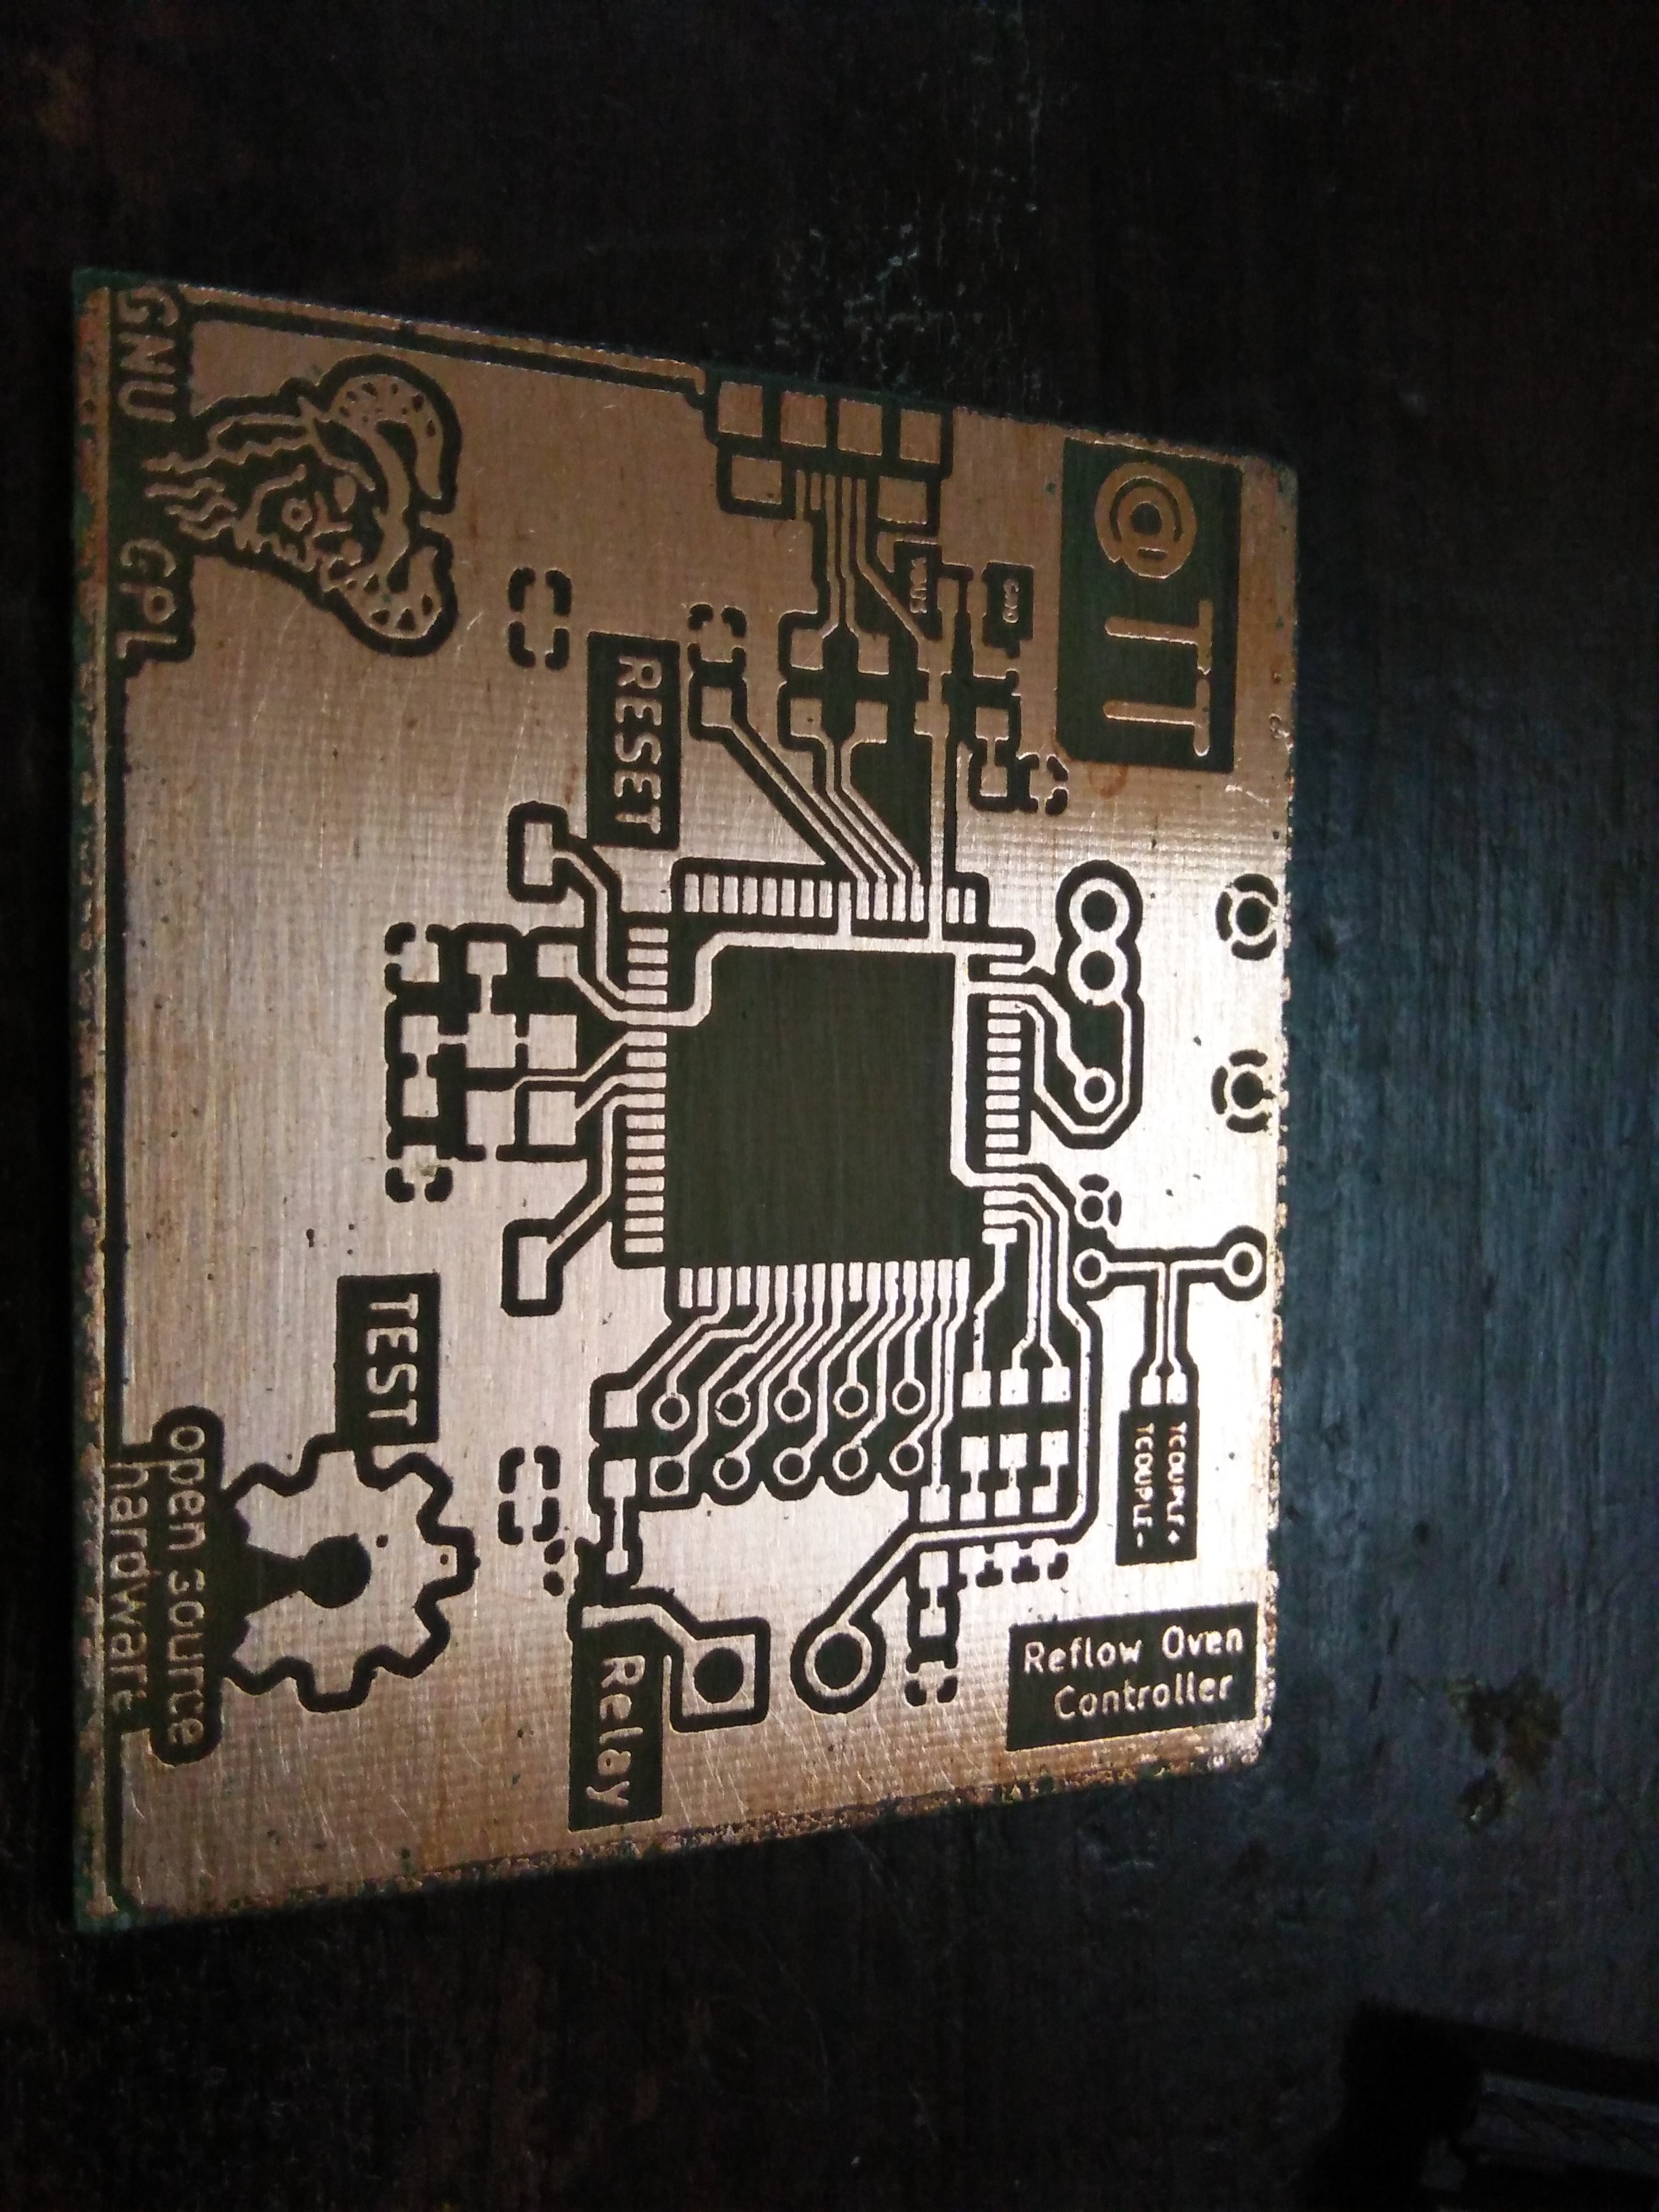
For the toner transfer , after a few tries I experienced better results when after scrubbing the copper surface with steel wool I left the surface damp with surgical spirit and stuck the glossy paper to it and then proceeded with ironing it.
I used a HP Laserjet M1005 printer and Oddy Photo Glossy Paper. I was initially apprehensive about using this glossy paper since its meant for inkjet but I have used it several times since writing this and its never caused any damage to my printer and the paper peels right off after ironing, leaving behind an excellent finish(note: I changed the crystal footprint to SMD since I realized I had a few left from a previous experiment)
We interrupt this post to bring you a brief review of chemistry to understand why this works !
Before this venture , lets clear some terminologies
Reduction :- In basic terms refers to an element/compound accepting the hydrogen ion/proton (hydrogen with its single valence electron removed)
Octet/Duplet :- Every element tries to achieve this stable configuration where it has 8 electrons in its valence shell if it has more than 1 shell whereas it tries to achieve a config with 2 electrons if it has a singe shell.
Covalent Bonds :- The above Octet/Duplet is normally achieved by forming bonds where the elements share one or more of their valence electrons . These bonds are called Covalent bonds.
Dipole Moment :- In covalent bonds , the electrons may not be shared equally . They may be drawn more towards one of the participating elements . Since electrons by definition represent -ve charge, the element towards which it is drawn becomes slightly -vely charged and the other becomes slightly +vely charged.
Okay , now to the chemical reactions.
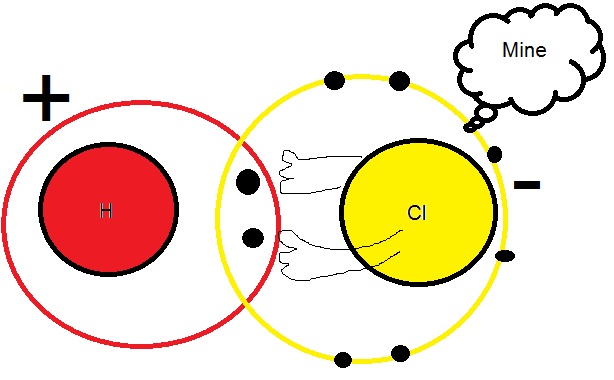
The hydrochloric acid has a covalent bond formed between hydrogen which requires an electron to become duplet and chlorine which also requires a single electron to achieve octet . However , the electrons are drawn more toward chlorine thereby making this bond polarized . This polarization makes HCL a pretty good acid since the slightly positive hydrogen has a tendancy to migrate from this HCL bond and attack other electronegative centres thus reducing them .
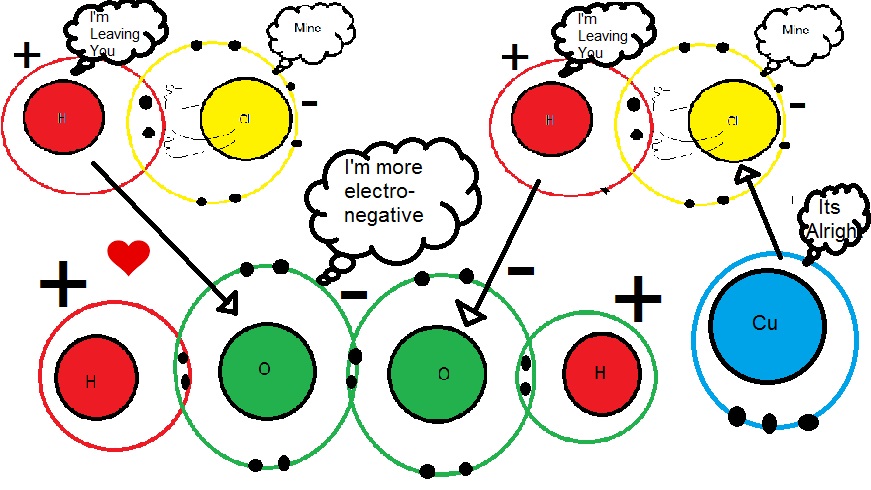
Now, lets examine our hydrogen peroxide molecule . It has a covalent bond between two oxygen atoms and each of these oxygen atoms forms a covalent bond with hydrogen atoms . Thus , every atom in this molecule has achieved either a duplet or octet and thus the molecule is stable. However , like in our previous case , the peroxide molecule is polarized . Of-course there is no fight between the oxygen atoms since they are identical in every aspect but between the oxygen and hydrogen . Except that this dipole moment is stronger than that of HCL. This provides the loosely bound hydrogen with a more electronegative oxygen to be attracted to , as a result hydrogen and chlorine covalent bond dissociate with the hydrogen attacking the peroxide linkage resulting in formation of water molecules while the copper on the PCB surface reacts with chlorine to form copper(II)chloride through ionic bond . (Note:- The bigger +ve and -ve imply stronger dipole moment/charge induction)
 Watch what your doing ya fool!
You want to get into a situation where you control the etching rate by adding hydrogen peroxide and not the acid .First , dilute the acid . LR grade HCL ships with 35-38% conc and in HCL terms that means very highly concentrated so treat it with respect , its real nasty stuff . Take a beaker and add about 150ml of water (preferably boiled and cooled but no fuss) , add to this about 10-12ml HCl using a bulb pipette . Don't mouth pipette , HCL fumes are nasty too . With this setup , slowly add hydrogen peroxide . HCL does not react with copper as it is since as we learnt in the previous section to break HCL bond we need a stronger electronegative centre than chlorine which is provided by oxygen of hydrogen peroxide(the dilution does cause the formation of hydronium ions but cuprous ions being below hydrogen in the reactivity series aren't very good in displacing hydrogen from HCL). So carefully add hydrogen peroxide in steps of 5ml with max quantity being around 15-25ml. Do not exceed this . For your sake , I have done it and added in a very high conc of HCl and H2O2 and as the below video shows , its not very pleasant.
Video of what happens when you add excess HCl and H2O2

Now coming back ,with each 5ml addition of peroxide you should observe the etching rate increase . When around 25ml of peroxide has been added , stop and stir with a glass rod . Stirring once again increases the etching rate . I usually do a trial with a spare bit of board before trying it on the actually design . This is how it went and you can see the etching rate increase with each addition of peroxide.
Video of controlling etching rate with controlled addition of H2O2

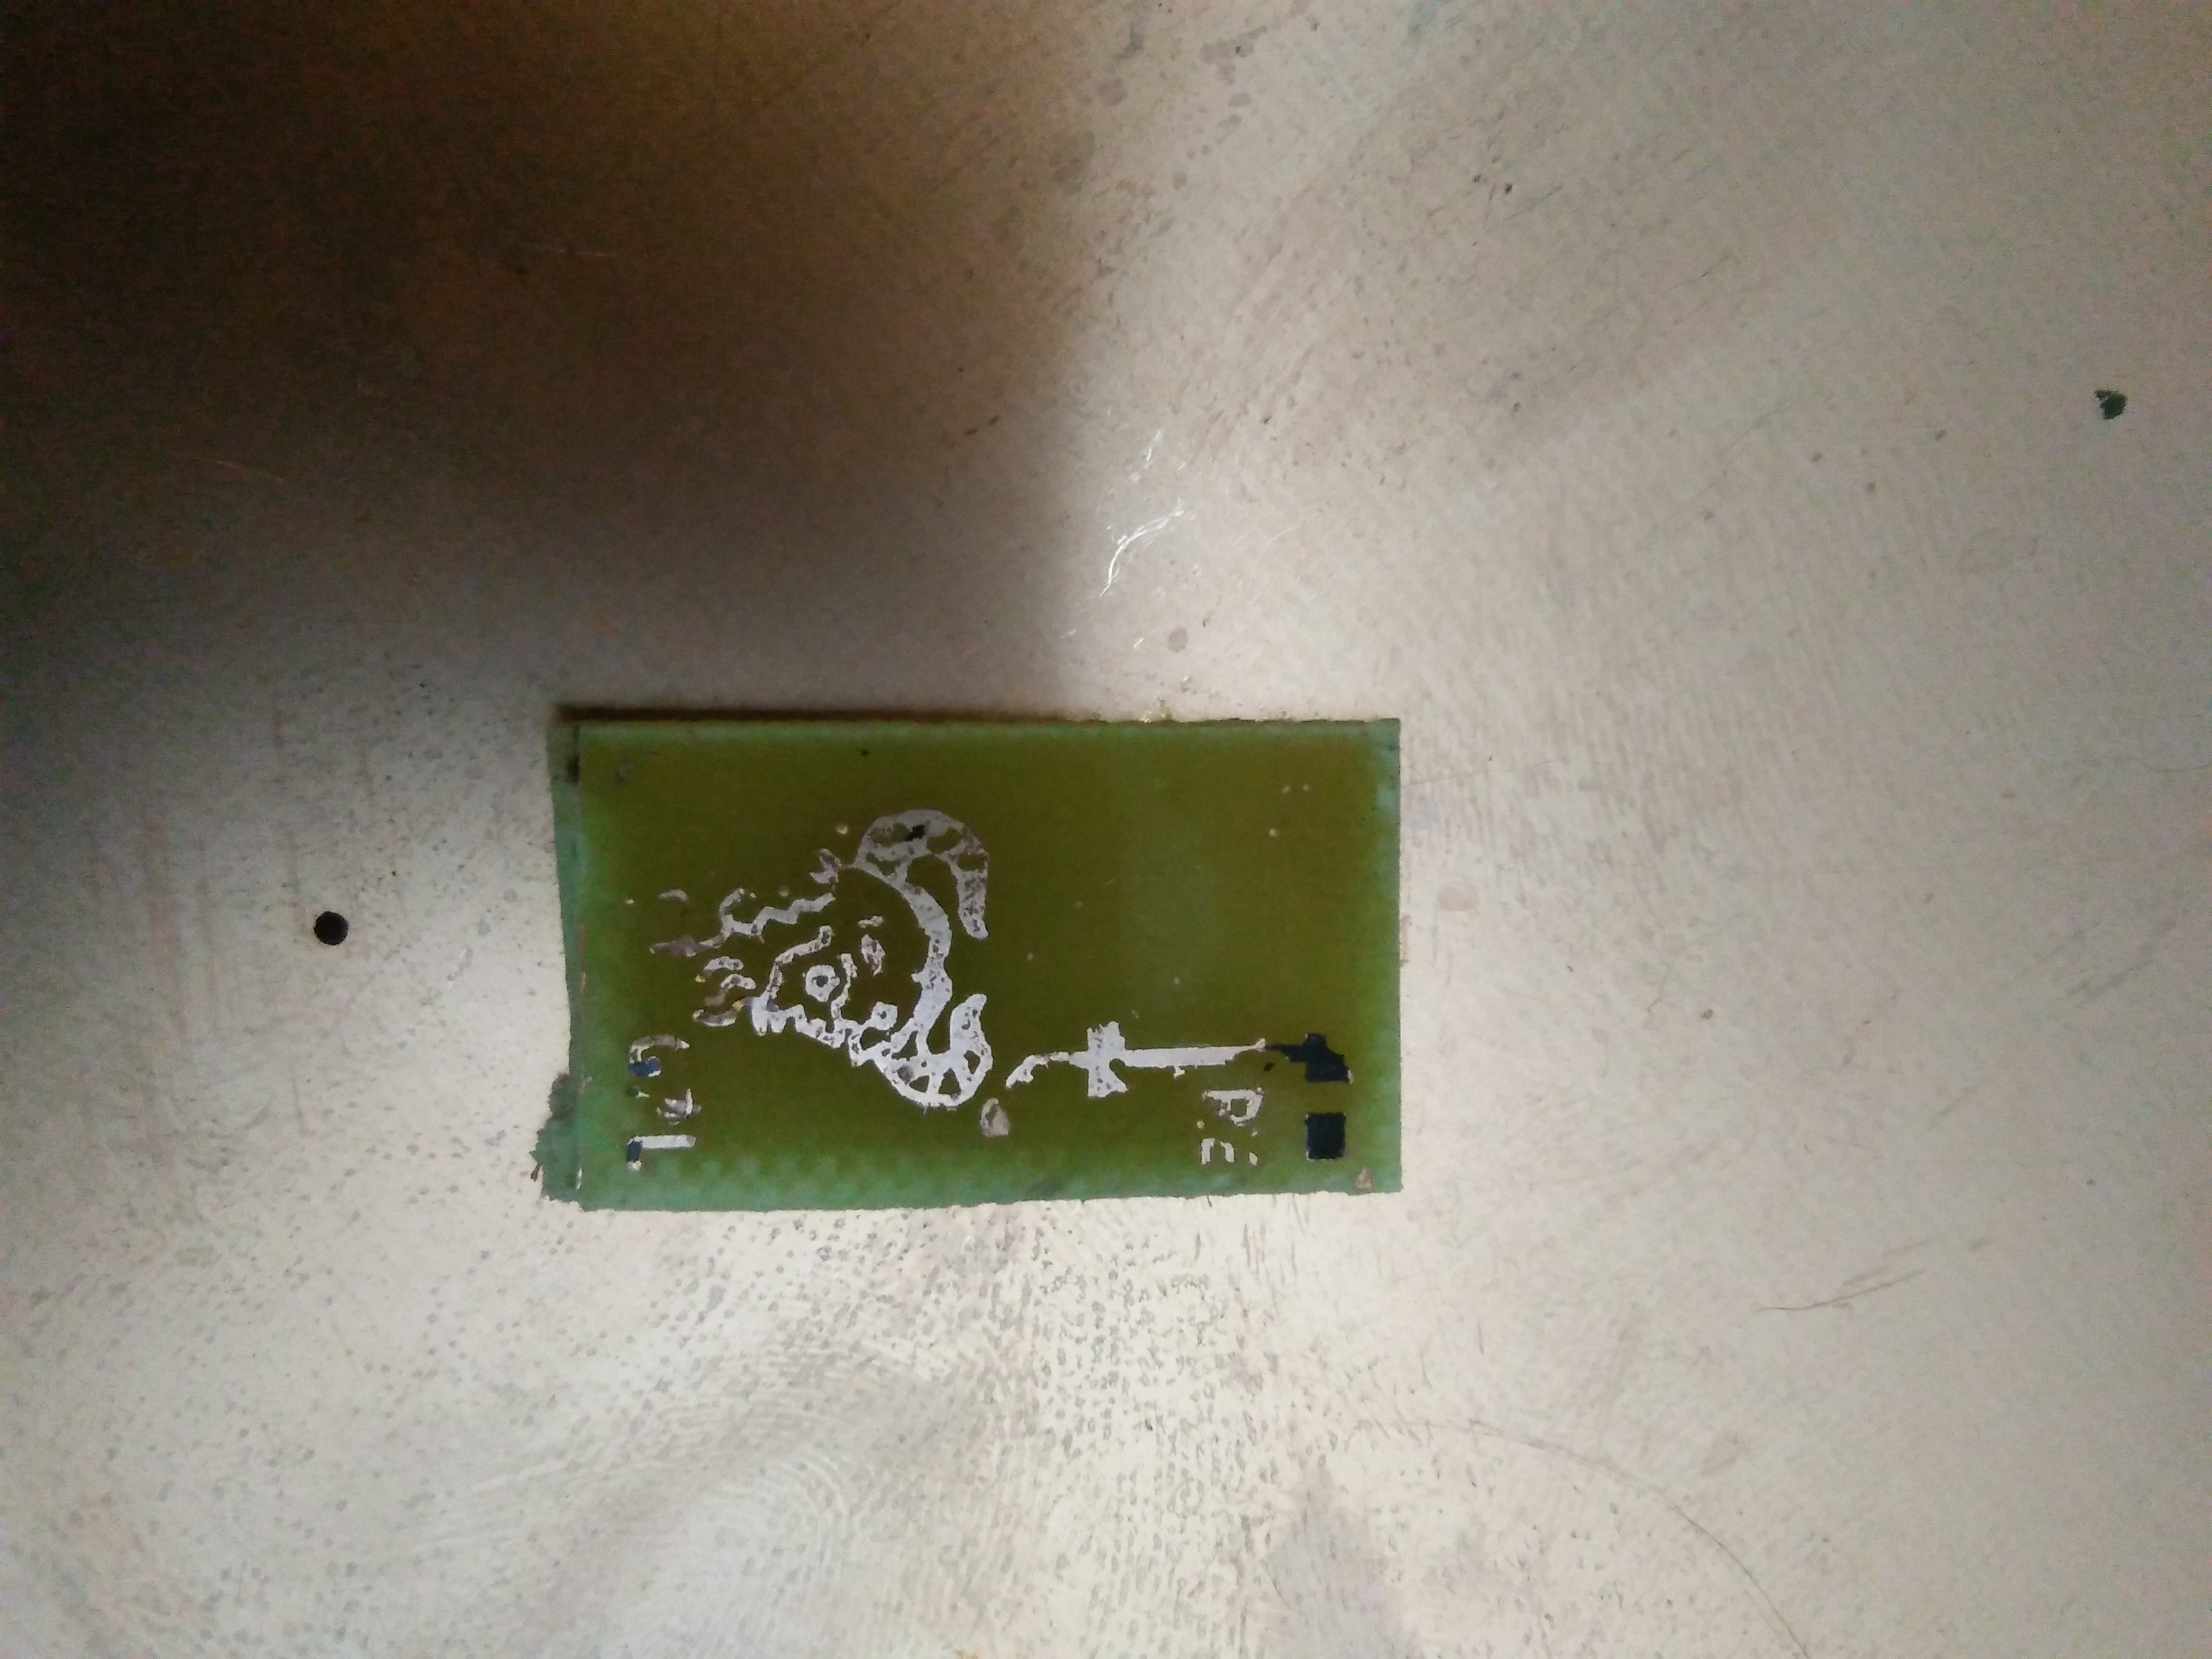
Final result of trial
Now for the real thing .
Video of the final design etching

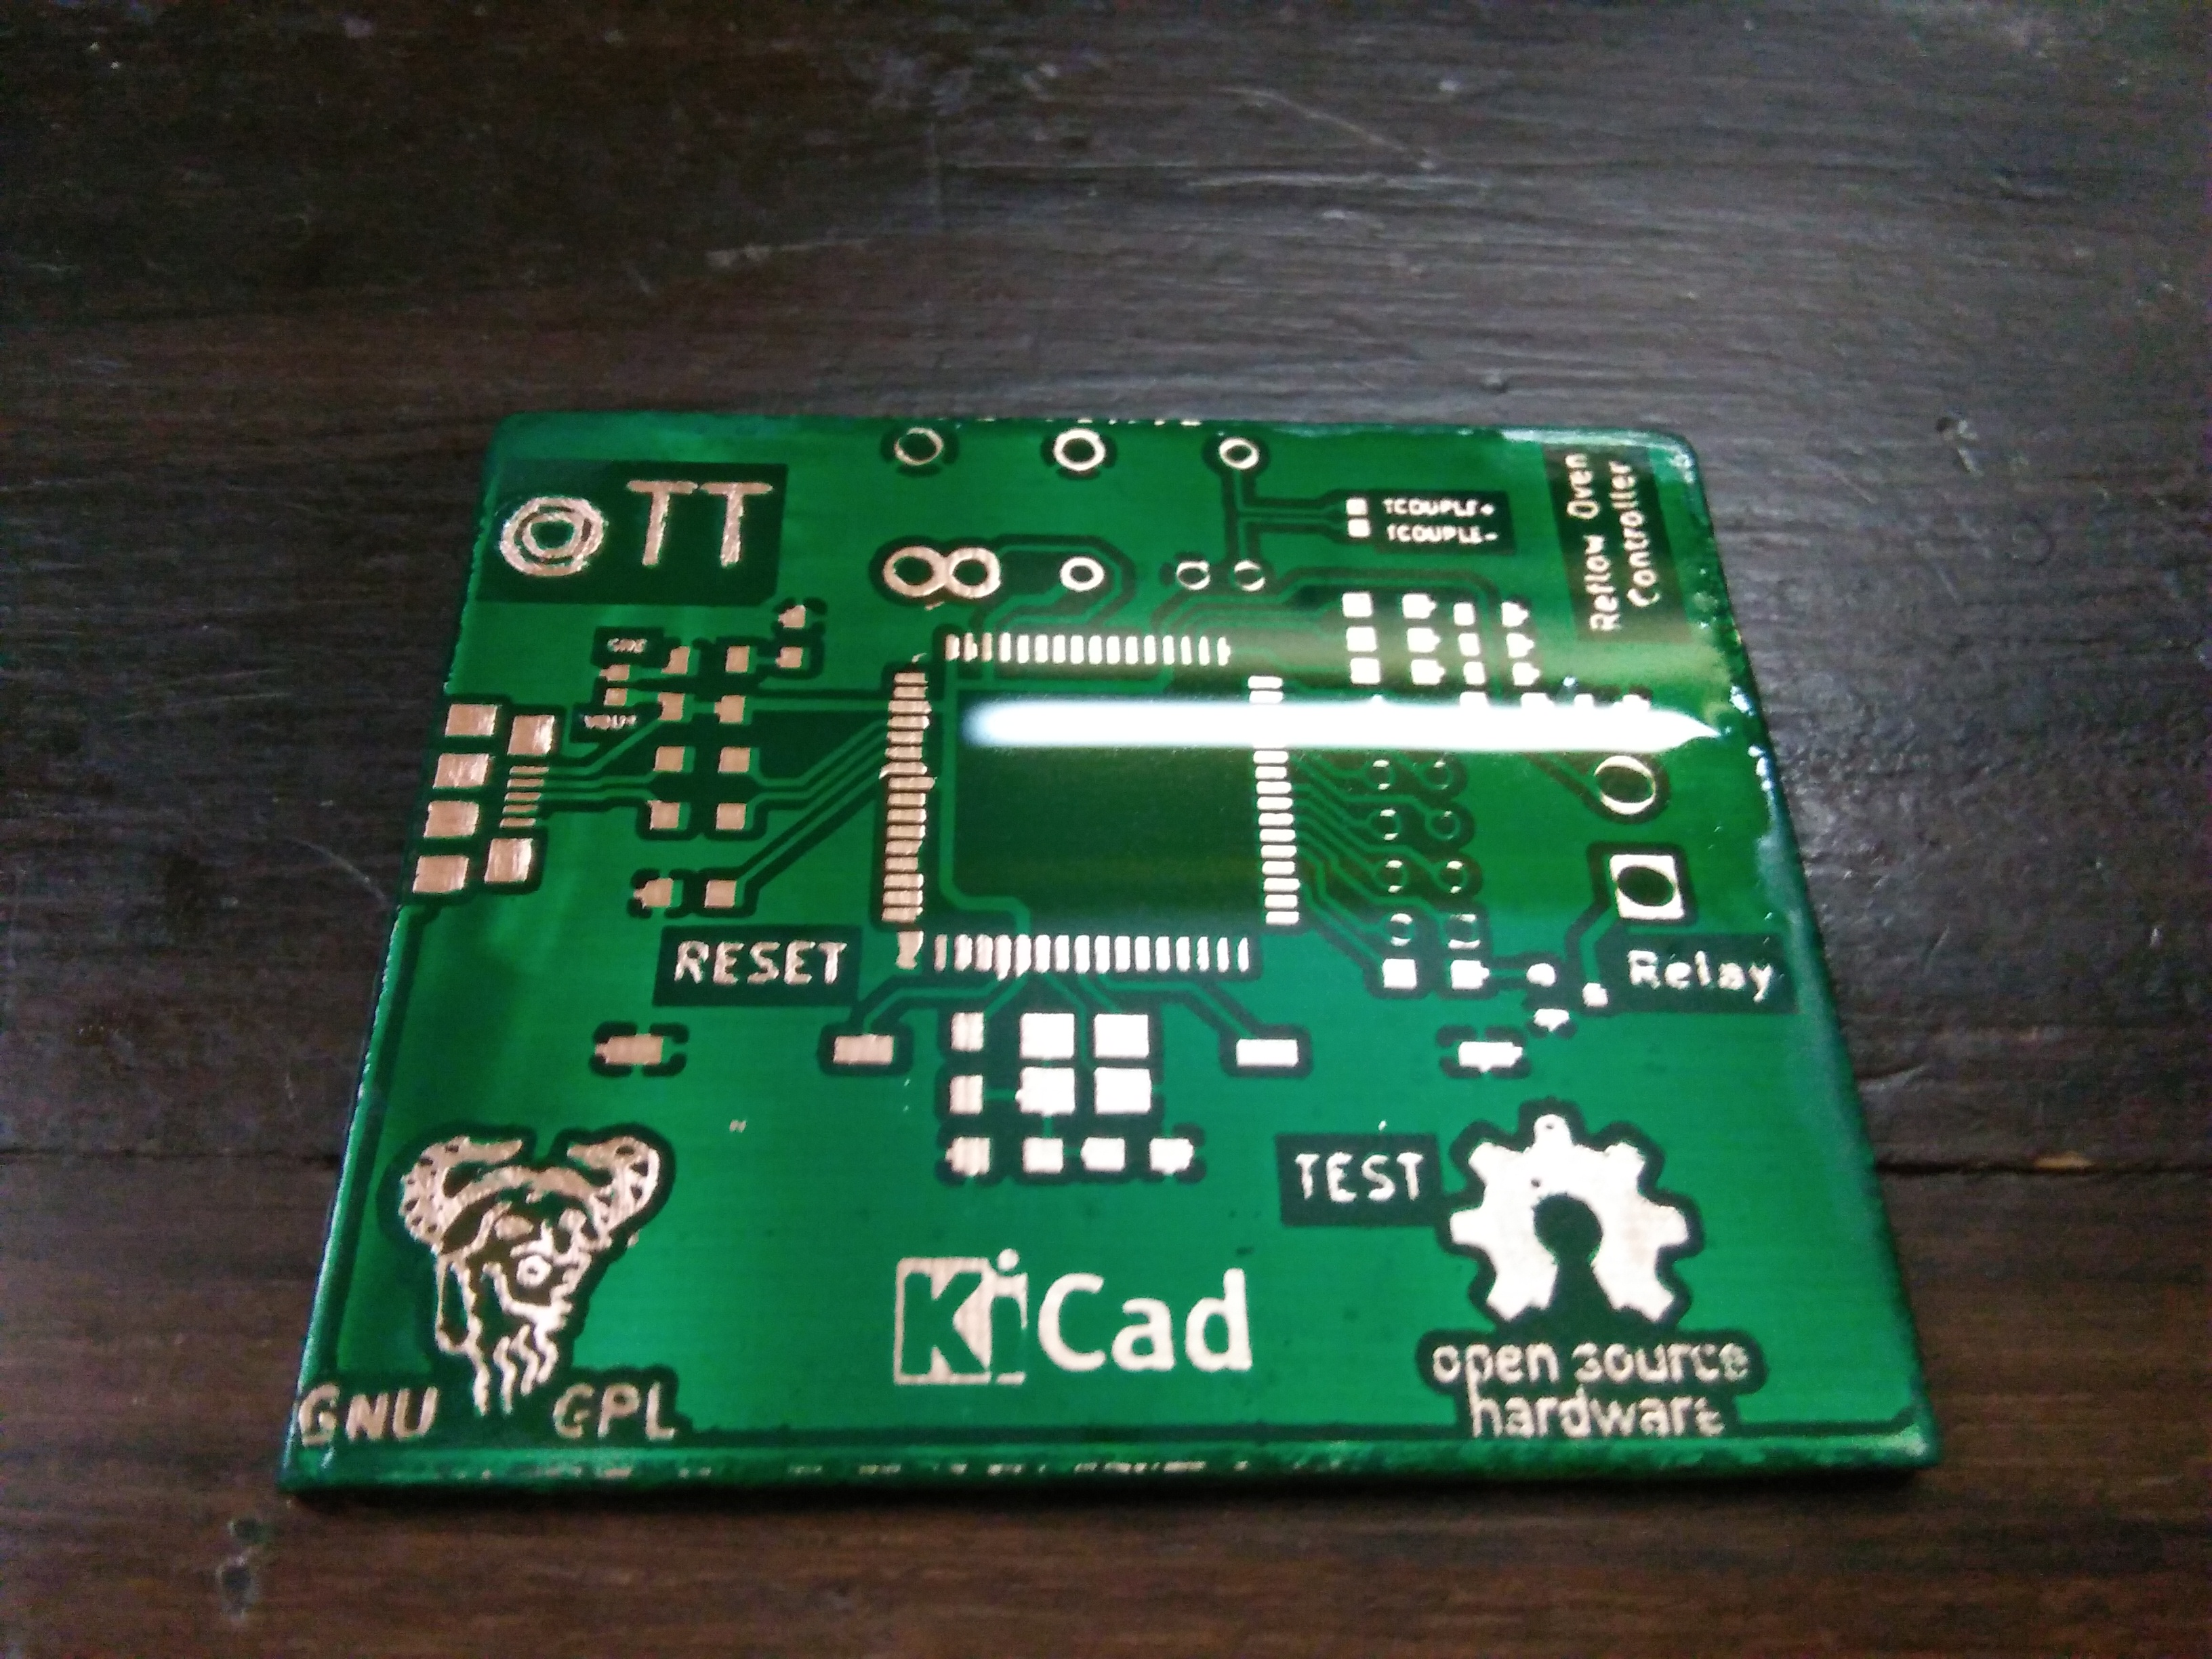
Most forums tell you that its possible to remove the toner with spirit but I tried and its pretty hard . On the other hand with acetone its a piece of cake. Finally
To protect the board and to make it easier for soldering , I used KSM-s6189 as the soldermak . This is a photoimageable ink and works slightly differently than the traditional UV soldermsk in that it requires to be pre-heated to 75 degree celsius before UV exposure followed by developing in an aqueos solution of sodium/potassium carbonate (I used cooking soda which is sodium bicarbonate but it worked fine) and post-heated to 150 degree celsius post exposure and development.Exposing the board
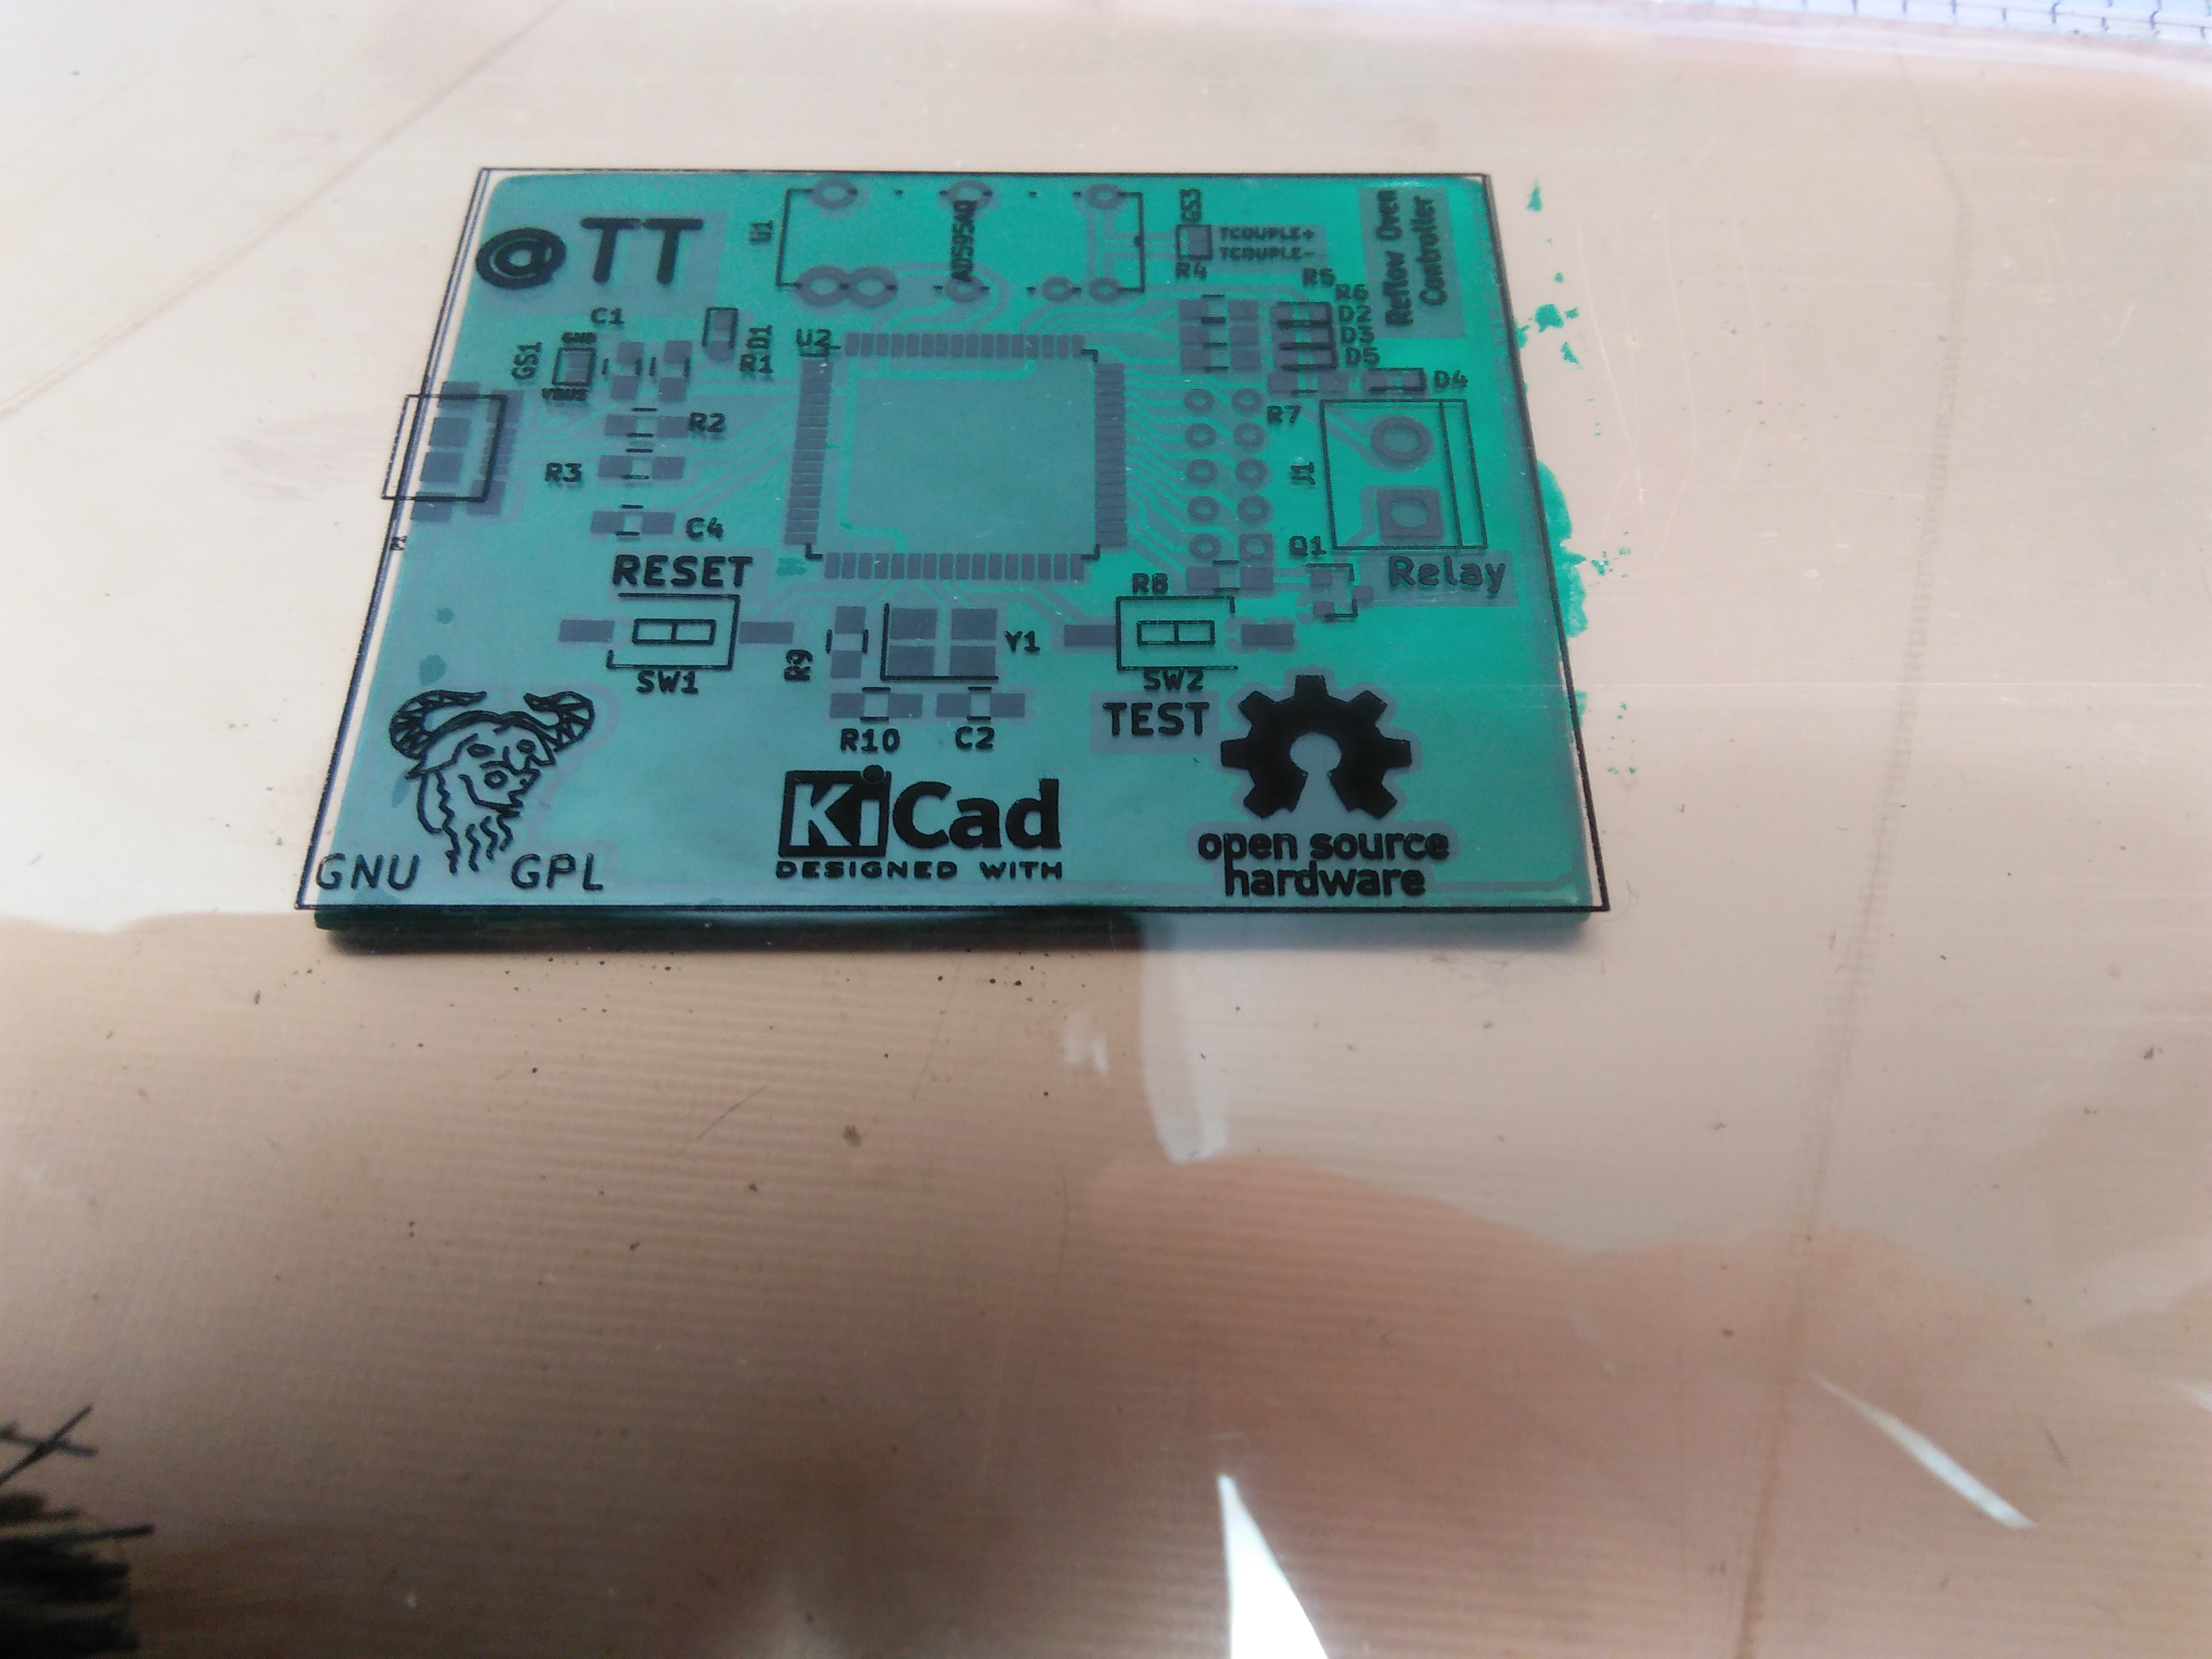
The final board.
Dealing with linear systems in control systems is a lot easier than with non-linear system . To prove an approximate linear relation arguement I started by turning on the toaster oven for 10 minutes and measured the AD595 output voltage by using the ADC on an arduino and plotted the data against time in Matlab. From AD595 datasheet the relation between temperature and AD595 output is linear and from the graph below we can see that the relation between the output voltage of AD595 and time is also linear therefore we can conclude that the rise in temperature of the toaster oven against time is also linear(an approximation but it makes things a lot easier)