Next.js Subscription Payments Starter
The all-in-one starter kit for high-performance SaaS applications.
Features
- Secure user management and authentication with Supabase
- Powerful data access & management tooling on top of PostgreSQL with Supabase
- Integration with Stripe Checkout and the Stripe customer portal
- Automatic syncing of pricing plans and subscription statuses via Stripe webhooks
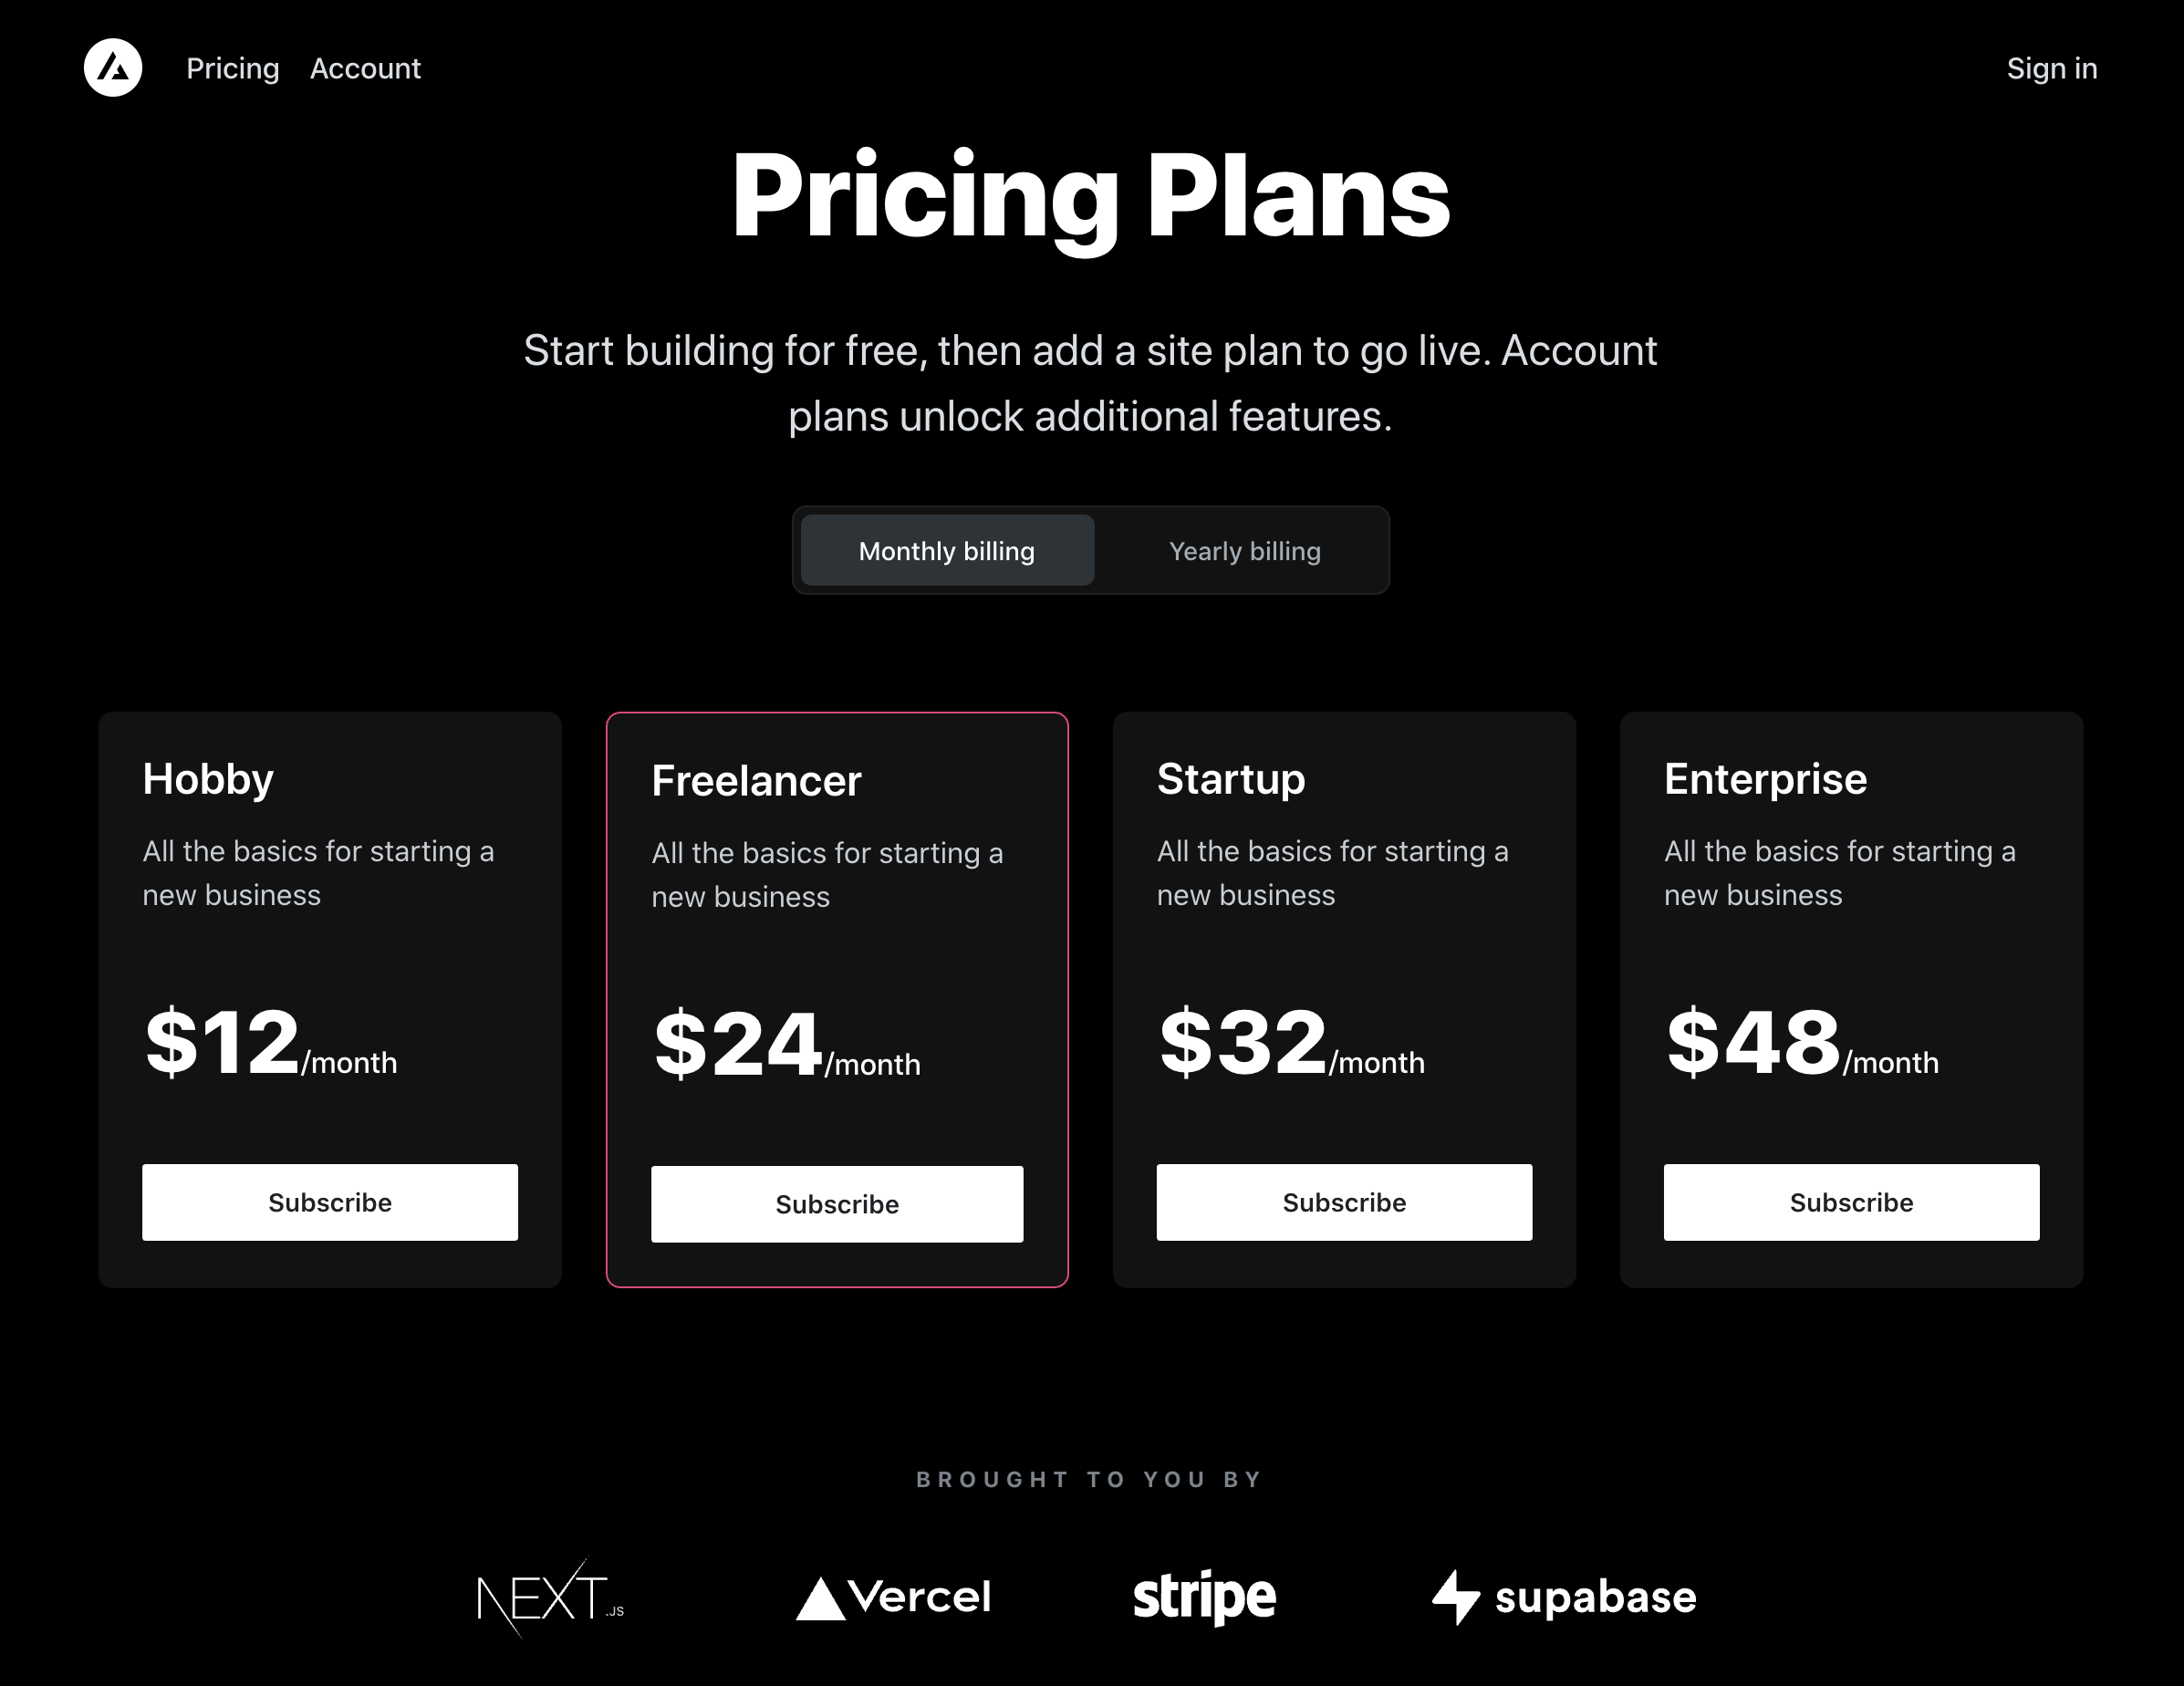
Demo
Architecture

Step-by-step setup
When deploying this template, the sequence of steps is important. Follow the steps below in order to get up and running.
The process is slightly different depending upon whether you start from Github or you start from Vercel, but it should work either way.
Note: We're working on our Stripe integration. We've documented the required steps below under "Configure Stripe" until the integration is ready.
Initiate Deployment
Initiate Vercel Deployment
To get started from Github, click the "Deploy" button below. You may do this either from your own fork or from the original template repo.
Vercel will prompt you to create a new Github repo. If you've used a fork, you may link your Vercel deployment to your existing fork by selecting "Import a different Git repository" from the left menu. If you've used the master template or started from the Vercel website instead of Github, you may allow Vercel to create a repo for you.
Open a Codespace or clone the repo
Before proceeding with your Vercel deployment, you'll need to set up a Supabase project. For this step, it will be helpful to either open a Github codespace from your fork or clone the repo to your local machine. To clone the repo, use git clone https://github.com/[your_username]/[your_repo_name] and then cd [your_repo_name].
Set up Supabase
Create a Supabase project
On Supabase, create a Supabase account and create a project, with any name you like. Also generate an access token from https://app.supabase.com/account/tokens. You will need this later.
Run schema.sql
From your Github fork, copy the code from schema.sql. In your Supabase project, navigate to the SQL editor, click New Query, paste the code, and run the code. This will create the necessary tables and RLS policies in your Supabase database.
Set up redirect wildcards for deploy previews
For auth redirects (magic links, OAuth providers) to work correctly in deploy previews, navigate to the auth settings (i.e. https://app.supabase.com/project/:project-id/auth/url-configuration) and add the following wildcard URL to "Redirect URLs": https://**vercel.app/*/*. (You can read more about redirect wildcard patterns in the docs.)
[Optional] - Set up OAuth providers
You can use third-party login providers like GitHub or Google. Refer to the docs to learn how to configure these. Once configured, you can add them to the provider array of the Auth component on the signin.tsx page.
Generate types from your Supabase database
Now open a terminal in your codespace or cloned repo. You can use the Supabase CLI to generate types from your Database by running:
- To install Supabase cli
npm install supabase --save-dev
yarn add supabase --dev- Connect to Supabase
npx supabase login-
Enter the access token you created earlier. (As mentioned above, you can generate an access token from https://app.supabase.com/account/tokens.)
-
Generate types
npx supabase gen types typescript --project-id [YOUR-PROJECT-REF] --schema public > types_db.tsSet up Supabase environment variables
Next, we need to set up environment variables for our Supabase project. We can copy these from Supabase > Project Settings > API and paste them into the Vercel deployment interface. Copy project API keys and paste into the NEXT_PUBLIC_SUPABASE_ANON_KEY and SUPABASE_SERVICE_ROLE_KEY fields, and copy the project URL and paste to Vercel as NEXT_PUBLIC_SUPABASE_URL.
This completes Supabase setup.
Configure Stripe
Next, we'll need to configure Stripe to handle test payments. If you don't already have a Stripe account, create one now.
For the following steps, make sure you have the "Test Mode" toggle switched on.
Create a webhook
We need to create a webhook in the Developers section of Stripe. Pictured in the architecture diagram above, this webhook is the piece that connects Stripe to your Vercel Serverless Functions.
- Click the "Add Endpoint" button on the test Endpoints page.
- Enter any placeholder text for the endpoint URL. (We will return later and change this to
https://your-deployment-url.vercel.app/api/webhooksonce we complete deployment to Vercel.) - Click
Select eventsunder theSelect events to listen toheading. - Click
Select all eventsin theSelect events to sendsection. - Copy
Signing secretas we'll need that in the next step.
Set Stripe environment variables
To securely interact with Stripe, we need to add a few more Environment Variables in the Vercel deployment interface.
NEXT_PUBLIC_STRIPE_PUBLISHABLE_KEYSTRIPE_SECRET_KEYSTRIPE_WEBHOOK_SECRET_LIVE
You can find the first two keys on the API keys tab in Stripe. The STRIPE_WEBHOOK_SECRET_LIVE is the Signing secret copied in the previous webhook configuration step.
Complete deployment
Complete Vercel deployment
Once you've set your environment variables in the Vercel deployment interface, complete your deployment. Vercel may take a few minutes to build your application. It will then provide you with a domain URL for your deployment. Copy this URL and add it to .env.local:
NEXT_PUBLIC_SITE_URL=https://your-deployment-url.vercel.app
Keep the url on your clipboard, because you will also need it for the next step.
NOTE: Vercel assigns you a domain that is stable from deployment to redeployment (https://your-deployment-url.vercel.app) and a dynamic URL that changes every time you redploy (e.g., https://your-deployment-url.vercel-12345678-your-organization.app). You want to use the stable one, not the dynamic one!
Complete Stripe webhook configuration
Now that we have a deployment URL, we can complete our Stripe webhook configuration. Go back to the Stripe test Webhooks page. Click your endpoint, and then click ... > Update Details. In the Endpoint URL field, paste your deployment URL and add /api/webhooks to the end. For example, if your deployment URL is https://your-deployment-url.vercel.app, then your endpoint URL should be https://your-deployment-url.vercel.app/api/webhooks. Click Update endpoint.
Create product and pricing information
Your application's webhook listens for product updates on Stripe and automatically propagates them to your Supabase database. So with your webhook listener running, you can now create your product and pricing information in the Stripe Dashboard.
Stripe Checkout currently supports pricing that bills a predefined amount at a specific interval. More complex plans (e.g., different pricing tiers or seats) are not yet supported.
For example, you can create business models with different pricing tiers, e.g.:
- Product 1: Hobby
- Price 1: 10 USD per month
- Price 2: 100 USD per year
- Product 2: Freelancer
- Price 1: 20 USD per month
- Price 2: 200 USD per year
Optionally, to speed up the setup, we have added a fixtures file to bootstrap test product and pricing data in your Stripe account. The Stripe CLI fixtures command executes a series of API requests defined in this JSON file. Simply run stripe fixtures fixtures/stripe-fixtures.json.
Important: Be sure webhook forwarding is active when you create your products, or the products created will not be imported into your database.
Configure the Stripe customer portal
- Set your custom branding in the settings
- Configure the Customer Portal settings
- Toggle on "Allow customers to update their payment methods"
- Toggle on "Allow customers to update subscriptions"
- Toggle on "Allow customers to cancel subscriptions"
- Add the products and prices that you want
- Set up the required business information and links
That's it
That's it. Now you're ready to earn recurring revenue from your customers. 🥳
Develop locally
If you haven't already done so, clone your Github repository to your local machine.
Next, use the Vercel CLI to link your project:
vercel login
vercel link
Setting up the env vars locally
Use the Vercel CLI to download the development env vars:
vercel env pull .env.localRunning this command will create a new .env.local file in your project folder. For security purposes, you will need to set the SUPABASE_SERVICE_ROLE_KEY manually from your Supabase dashboard (Settings > API).
Use the Stripe CLI to test webhooks
Install the Stripe CLI and link your Stripe account.
Next, start local webhook forwarding:
stripe listen --forward-to=localhost:3000/api/webhooksRunning this Stripe command will print a webhook secret (such as, whsec_***) to the console. Set STRIPE_WEBHOOK_SECRET to this value in your .env.local file.
Install dependencies and run the Next.js client
In a separate terminal, run the following commands to install dependencies and start the development server:
npm install
npm run dev
# or
yarn
yarn dev
Note that webhook forwarding and the development server must be running concurrently in two separate terminals for the application to work correctly.
Finally, navigate to http://localhost:3000 in your browser to see the application rendered.
Going live
Archive testing products
Archive all test mode Stripe products before going live. Before creating your live mode products, make sure to follow the steps below to set up your live mode env vars and webhooks.
Configure production environment variables
To run the project in live mode and process payments with Stripe, switch Stripe from "test mode" to "production mode." Your Stripe API keys will be different in production mode, and you will have to create a separate production mode webhook. Copy these values and paste them into Vercel, replacing the test mode values.
Redeploy
Afterward, you will need to rebuild your production deployment for the changes to take effect. Within your project Dashboard, navigate to the "Deployments" tab, select the most recent deployment, click the overflow menu button (next to the "Visit" button) and select "Redeploy."
To verify you are running in production mode, test checking out with the Stripe test card. The test card should not work.
A note on reliability
This template mirrors completed Stripe transactions to the Supabase database. This means that if the Supabase database is unavailable, the Stripe transaction will still succeed, but the Supabase database will not be updated, and the application will pass an error code back to Stripe. By default, Stripe will retry sending its response to the webhook for up to three days, or until the database update succeeds. This means that the Stripe transaction will eventually be reflected in the Supabase database as long as the database comes back online within three days. You may want to implement a process to automatically reconcile the Supabase database with Stripe in case of a prolonged outage.