Labelme is an image annotation tool for machine learning and deep learning inspired by [1, 2]. This tool has great impact in the development of object detection and segmentation with deep learning. Thanks to Wada's contribution [3], Labelme is developed and many researchers enjoy great benefits from it.
This repository is an extension of Wada's work [3], we extend Labelme with Deep learning, consequently, we can speed up annotating images with the assistance of deep learning. In this repo, we use mmdetection [4], a famous detection toolbox, to achieve semi-automated annotating images so that users can use the detector to provide annotated images without manual annotations.
-
Python environment and we recommand Python 3.7.
conda create -n semi_labelme python=3.7 -y conda activate semi_labelme -
Install Pytorch and torchvision. Following the official instructions, e.g.,
conda install pytorch torchvision -c pytorch
-
Install mmcv and mmdetection and we would recommend you install it with MIM.
pip install openmim mim install mmdet -
Install semi_labelme
# Under this repo pip install -e . -
Launch semi_labelme in the terminal
semi_labelmeOnce the GUI of semi_labelme is launched, you have successfully installed this tool!
It is easy to use semi_labelme which is the same as Labelme (please see Labelme tutorials). But in semi_labelme, you can just click on the 'Detect' button, then, the annotations are finished! Before you use the detection function, you need to set up the config file which is in semi_labelme/config/default_config.yaml and prepare your deep learning pretrained model and its corresponding config file in ./work_dirs.
-
Config Settings
- You need to prepare a config_file to decide which detector you are going to use and its corresponding pre-trained model. please see model zoo in mmdetection.
- Modify the config file in semi_labelme/config/default_config.yaml.
-
Here we prepare an example for detecting manipulator UR10 which in ./work_dirs.
-
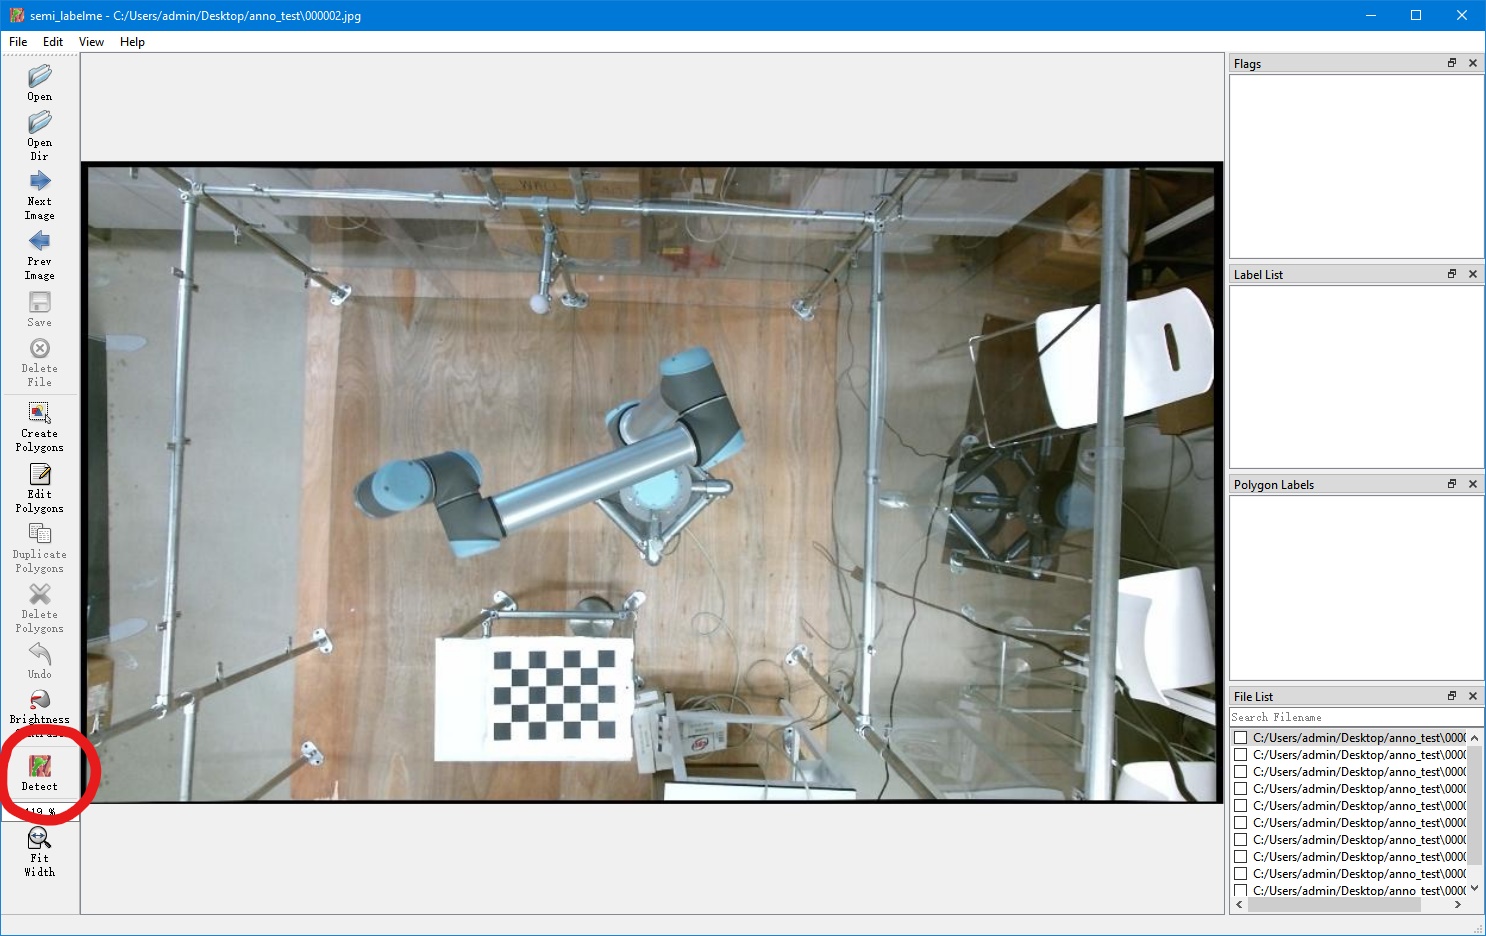
Detect and annotate. Take these two picture for example, you just need to click the Detect button.
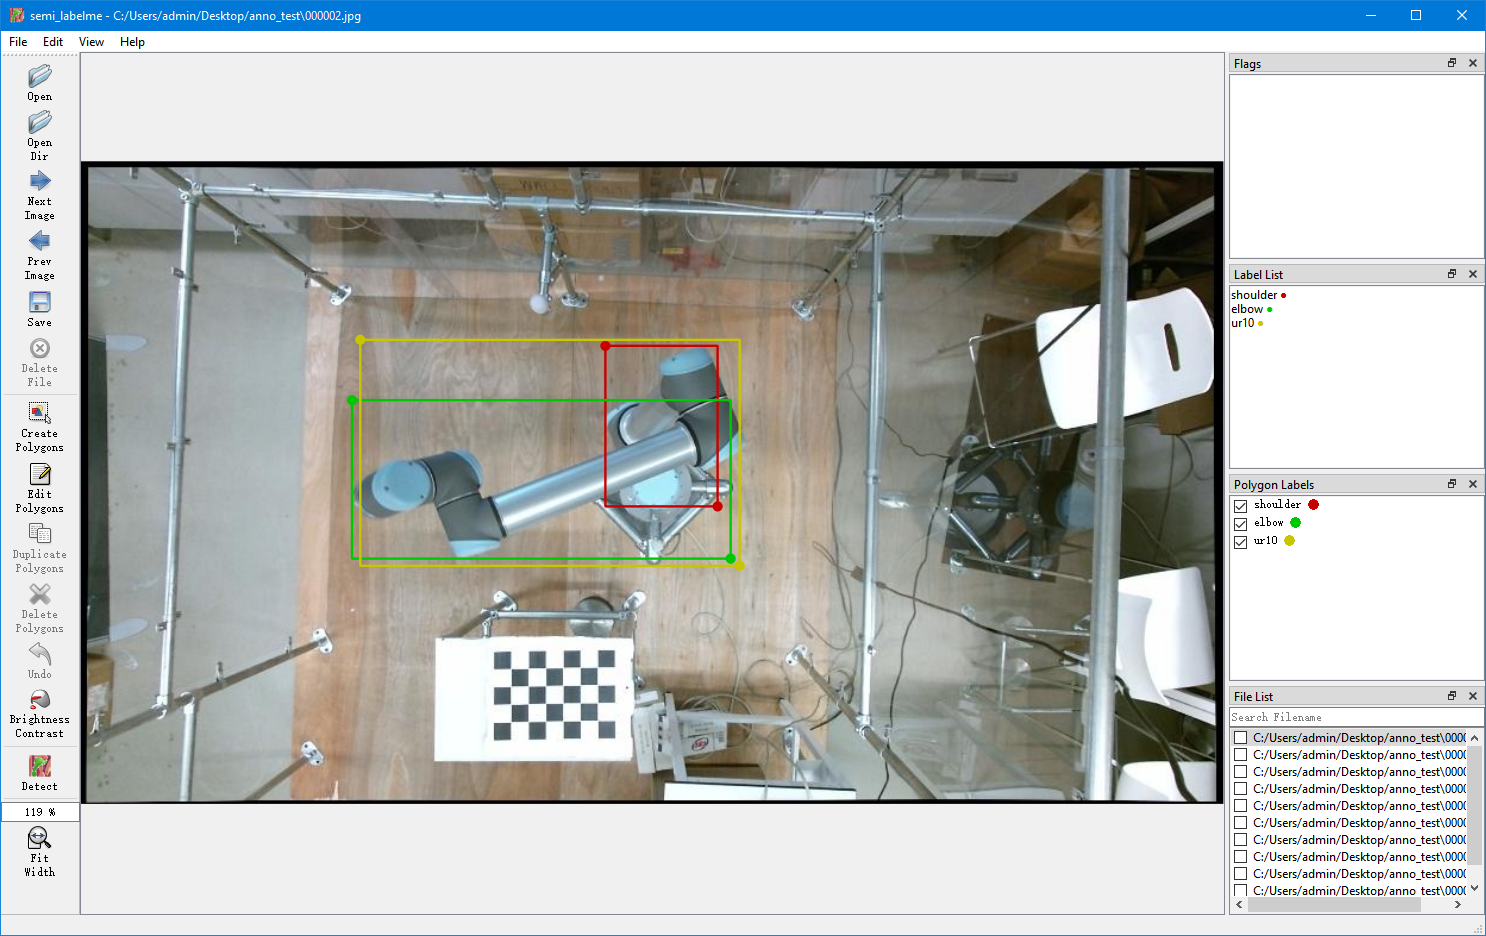
You can see the UR10 are annotated.
-
Annotate all the images
- you can also use batch_annotation.py to annotate all the images and use the tool to check to the annotation later.
-
For more tutorials, please see Labelme tutorials.


If you use this tool in your research, plsea cite this repository.
@software{wang_semi_labelme,
author = {Wang, Shenglin and Zhang, Jingqiong and Wang, Peng and Mihaylova, Lyudmila},
doi = {10.5281/zenodo.6393953},
license = {GPL-3},
title = {Semi-Automated Labelme, A Deep Learning Based Annotation Tool},
url = {https://github.com/wongsinglam/Semi_Labelme}
}
[1] http://labelme.csail.mit.edu
[2] https://github.com/mpitid/pylabelme
[3] Wada, K. Labelme: Image Polygonal Annotation with Python [Computer software]. https://doi.org/10.5281/zenodo.5711226
[4] MMDetection Contributors. (2018). OpenMMLab Detection Toolbox and Benchmark [Computer software]. https://github.com/open-mmlab/mmdetection