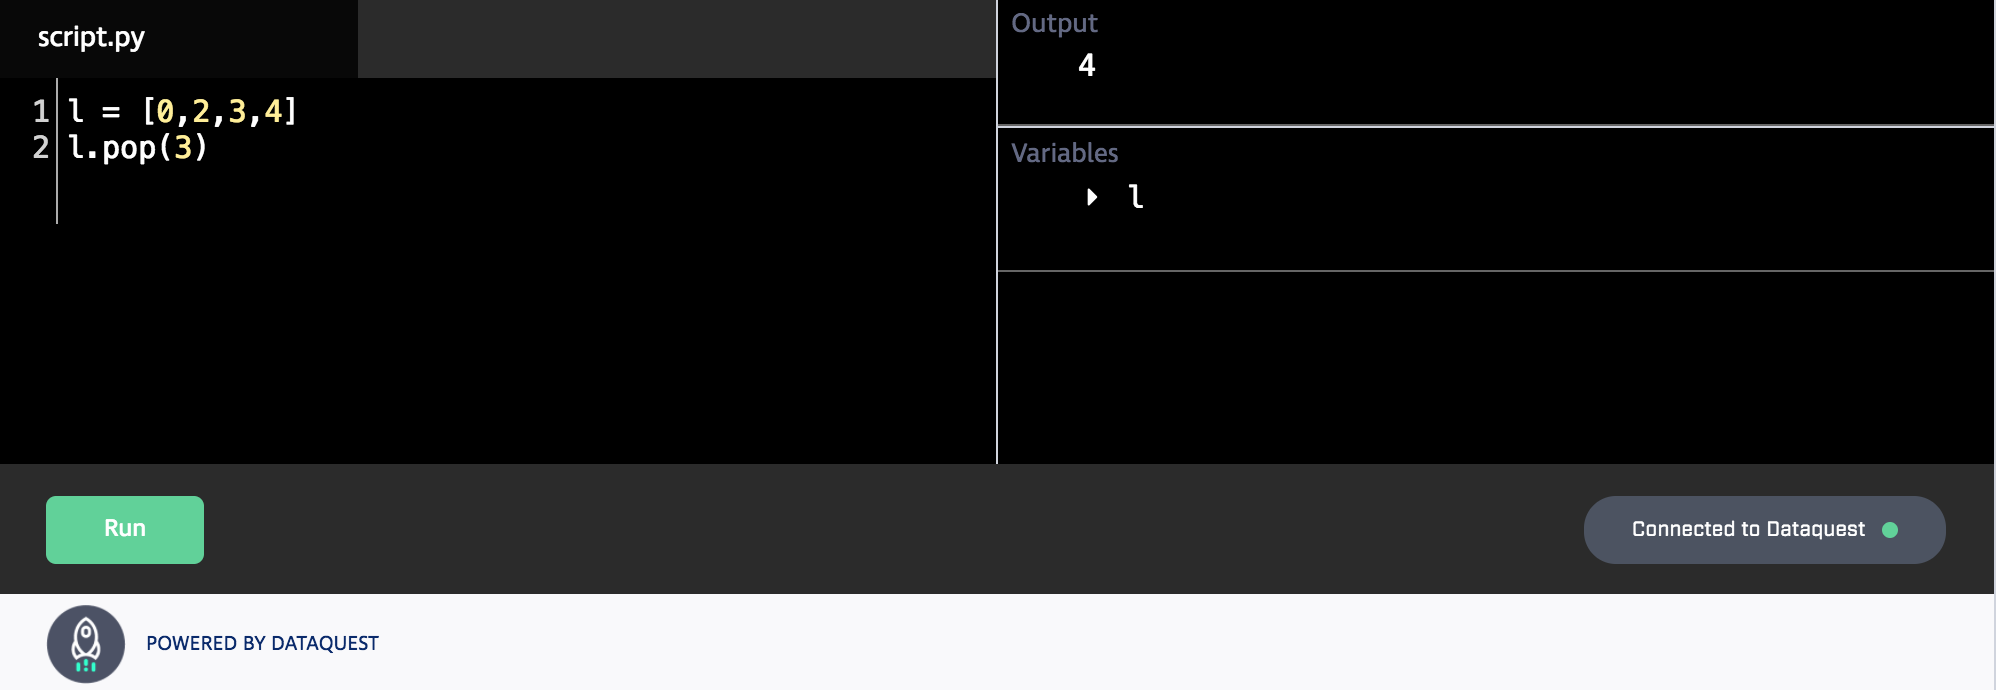
Embed a code editor in your blog that allows your visitors to write code, run it, and get answer checked. The same great interface that powers Dataquest is now available to you!
In order to use the editor, you'll need to import a javascript library globally, then instantiate each editor with some HTML.
Here's the import code for the javascript library:
<script src="//dqeditor.dataquest.io/dq_post_box.js"></script>Make sure to insert the code where your other javascript code is imported.
For each editor you want to instantiate, you just need to insert some HTML:
<iframe name="dq_editor" width="100%" height="350" src="//dqeditor.dataquest.io/" style="border: none" >
  <pre id="initialization-code">
  </pre>
  <pre id="code">
  # Hello world!
  </pre>
  <pre id="hint">
  </pre>
  <pre id="answer-code" check-vars="">
  </pre>
</iframe>
The above code will give you an editor with a single line shown, where you can write and run code. To customize the editor and add initial code and answer checking, see the next section.
To change the height of the editor change the attribute height=700 to a different pixel size.
The code provided in this section will be what the editor starts with when rendered to the student. This is what the student will see when they first load the blog post or website page.
The code provided in this section will be prepended to the student code before running. This can be used to import libraries or initialize data transparently to the student.
The markdown text in this section will be shown when the student clicks on the "Hint" button in the editor. This can be used to help students get an answer correct.
The code provide here is the correct answer code. This will be used to answer check the student, and to generate dynamic hints when students get the answer incorrect.
To check variables between the answer code and student code list them, comma separated on the attribue check-vars="" like check-vars="x, count". Make sure that these variables are defined in the initial code, display code, or answer code. This will check the variable values in the answer code against the variable values in the student code.
To check the output of a student's code, add the attribute check-stdout. If you do not want to check the stdout remove the attribute. This will match the output of the answer code with the output of the student code, and see if there are differences.
There are two convenience functions you can use to create dataset files, either from the web or inline in your initialization code:
DQ__download_dataset(url, filename)will download the file at url and save it in the user directory with the given filename.
For example:
DQ__download_dataset(
    'https://data.cityofnewyork.us/api/views/kku6-nxdu/rows.csv',
    'demo_stats.csv')
downloads the New York demographic statistics dataset and makes it available to the student as demo_stats.csv.
DQ__load_dataset(data, filename)allows you to create your own dataset file from a list of lists. For example:
DQ__load_dataset([
    ['date', 'min-temp', 'max-temp'],
    ['1989-04-05', '-5', '8'],
    ['1989-04-06', '-10', '0'],
    ['1989-04-07', '-1', '8'],
    ['1989-04-08', '7', '15'],
]], 'day_temps.csv')
creates a small table of temperatures in the csv file day_temps.csv.
In this example, you'd have the following setup text show on your blog before below editor:
Now that you understand NumPy arrays a bit, let's see if you can complete a challenge.  In the below code editor:

* Create a 3 x 4 array filled with all zeros, and a 6 x 4 array filled with all 1s.
* Concatenate both arrays vertically into a 9 x 4 array, with the all zeros array on top.
* Assign the entire first column of the combined array to `first_column`.
* Print out `first_column`.
And here's the editor html:
<iframe name="dq_editor" width="100%" height="350" src="//dqeditor.dataquest.io/" style="border: none">
  <pre id="initialization-code">
      import numpy as np
  </pre>
  <pre id="code">
      array_one = np.zeros([3,4])
  </pre>
  <pre id="hint">
      Here are the steps you'll need to take:

      * Create one array using `np.zeros`.
      * Overwrite all the values in the second array with `1`.
      * Use vstack to concatenate the arrays, with the first array on "top".
      * Use indexing to assign the entire first column to `first_column`.
      * Print out `first_column`.
  </pre>
  <pre id="answer-code" check-vars="first_column">
      array_one = np.zeros([3,4])
      array_two = np.zeros([6,4])
      array_two[:,:] = 1

      combined = np.vstack((array_one, array_two))
      first_column = combined[:,1]
      print(first_column)
  </pre>
</iframe>If you're using wordpress to host your site, see our plugin here that makes things easier.
You can find caravan editors embedded in a few places, including:
