SampleMsalAuthorizationCodeFlow
An example project to demonstrate the OAuth 2.0 authorization code flow against a protected web api resource with RBAC roles.
Auth Scenario
- Client: React SPA with Typescript, leveraging MSAL.JS 2.0
- API: ASP.NET Core Web API 3.x
- Azure AD: Single app registration with RBAC roles
Tutorial Post
For an end-to-end walkthrough and frequently asked questions, visit the linked blog post: https://keithbabinec.com/2020/09/27/oauth-2-0-authorization-code-flow-with-a-react-spa-asp-net-core-web-api-rbac-roles-and-msal
Azure AD configuration
These steps are required before you can build and run the application. All steps are to be executed from a PowerShell prompt.
-
Install Azure CLI tooling: install-azure-prerequisites.ps1
install-azure-prerequisites.ps1
-
Configure application RBAC groups: new-rbac-groups.ps1
new-rbac-groups.ps1 -RbacGroupNames 'MyAppUsersGroup','MyAppAdministratorsGroup'
-
Create Azure AD app registration: new-app-registration.ps1
new-app-registration.ps1 -AppRegistrationName 'authorization-flow-test-app' -RbacRoleNames 'MyAppUsersRole','MyAppAdministratorsRole'
-
Create Azure AD app service principal: new-app-serviceprincipal.ps1
new-app-serviceprincipal.ps1 -AppRegistrationName 'authorization-flow-test-app'
The following additional manual steps are required because no reasonable Azure tooling operation exists (yet) or they require more environment specific information.
-
In Azure AD Groups, add at least one user to each of the role groups created in step 2.
-
In the Azure AD app registration, click on the Authentication page then add your redirect URI's.
- These must be of type 'SPA' and not 'Web', otherwise the auth flow will fail.
- At minimum, add your local debug URI: https://localhost:3000 -- but you can also add your production environment redirects here if you know what they will be.
-
In the Azure AD app registration, click on the Expose an API page then take note of scope defined by the API.
- There should be a default 'user_impersonation' scope created if you ran the script from step 4.
- Copy the scope URI because it will be used in the MSAL app config later.
-
In the Azure AD app service principal (enterprise application), click on the Properties page, then set the User Assignment Required field to Yes.
- This must be set to enforce authorized access to your client app.
-
In the Azure AD app service principal (enterprise application), click on the Users and Groups page, then assign users or groups to the custom app roles you have defined.
Build and Run: Web API
-
Restore nuget packages.
-
Update appsettings.json and appsettings.Development.json with the Azure AD app registration details from the above setup.
-
Launch the project, take note of the locally hosted URI.
-
Test that the endpoints are available.
- Open a PowerShell prompt and send a test request against each of the 3 endpoints in the sample project.
- Replace the URI below with the specific port from your machine. The following shows the responses you should expect to see without specifying auth headers:
Invoke-RestMethod -Uri https://localhost:44313/api/test/noauth -Method Get
# should return: Successfully called the api/test/noauth endpoint, as an unauthenticated/anonymous user.

Invoke-RestMethod -Uri https://localhost:44313/api/test/standard -Method Get
# should return: Invoke-RestMethod: Response status code does not indicate success: 401 (Unauthorized).

Invoke-RestMethod -Uri https://localhost:44313/api/test/admin -Method Get
# should return: Invoke-RestMethod: Response status code does not indicate success: 401 (Unauthorized).
Build and Run: Web Client
-
Restore NPM packages
npm install -
Update .env.development and .env.production with the Azure AD app registration details from the above setup.
-
Start the project with local debugging.
npm start -
When the application starts in the browser:
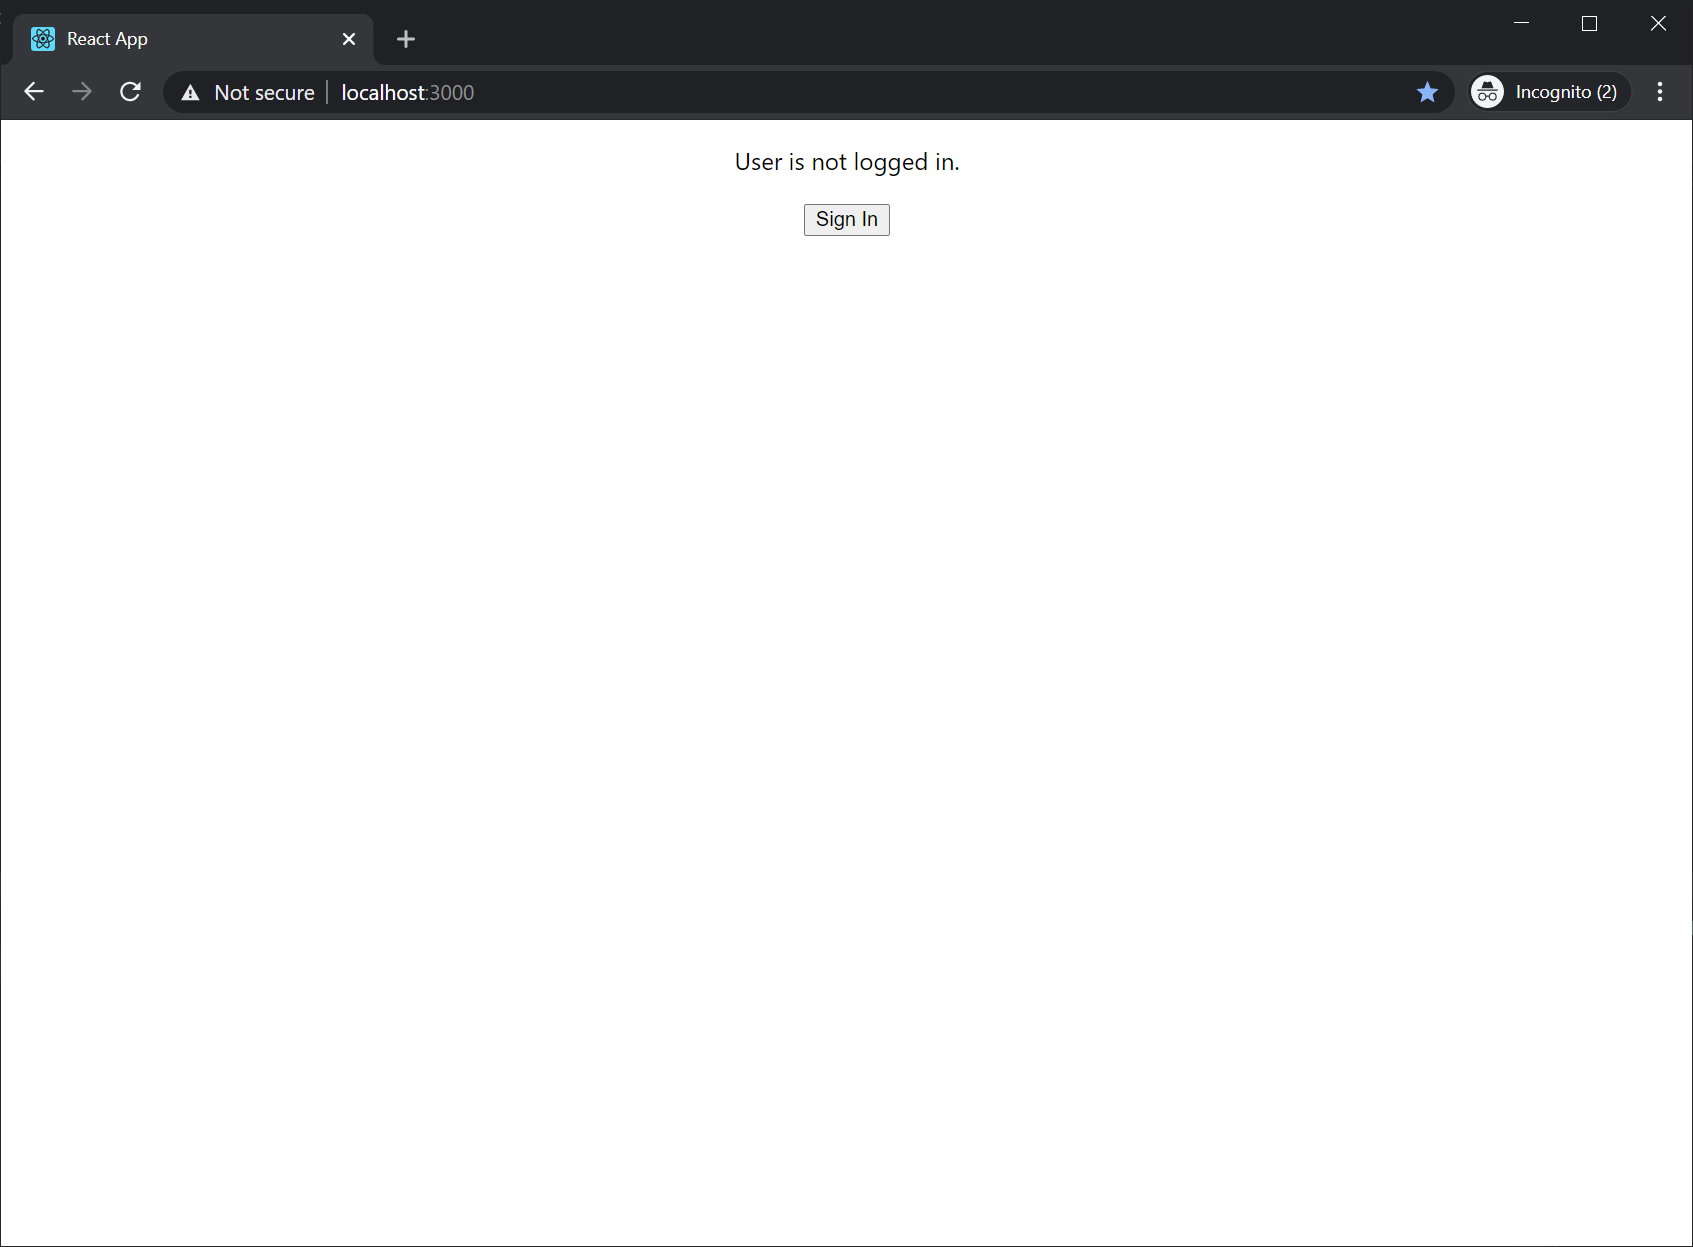
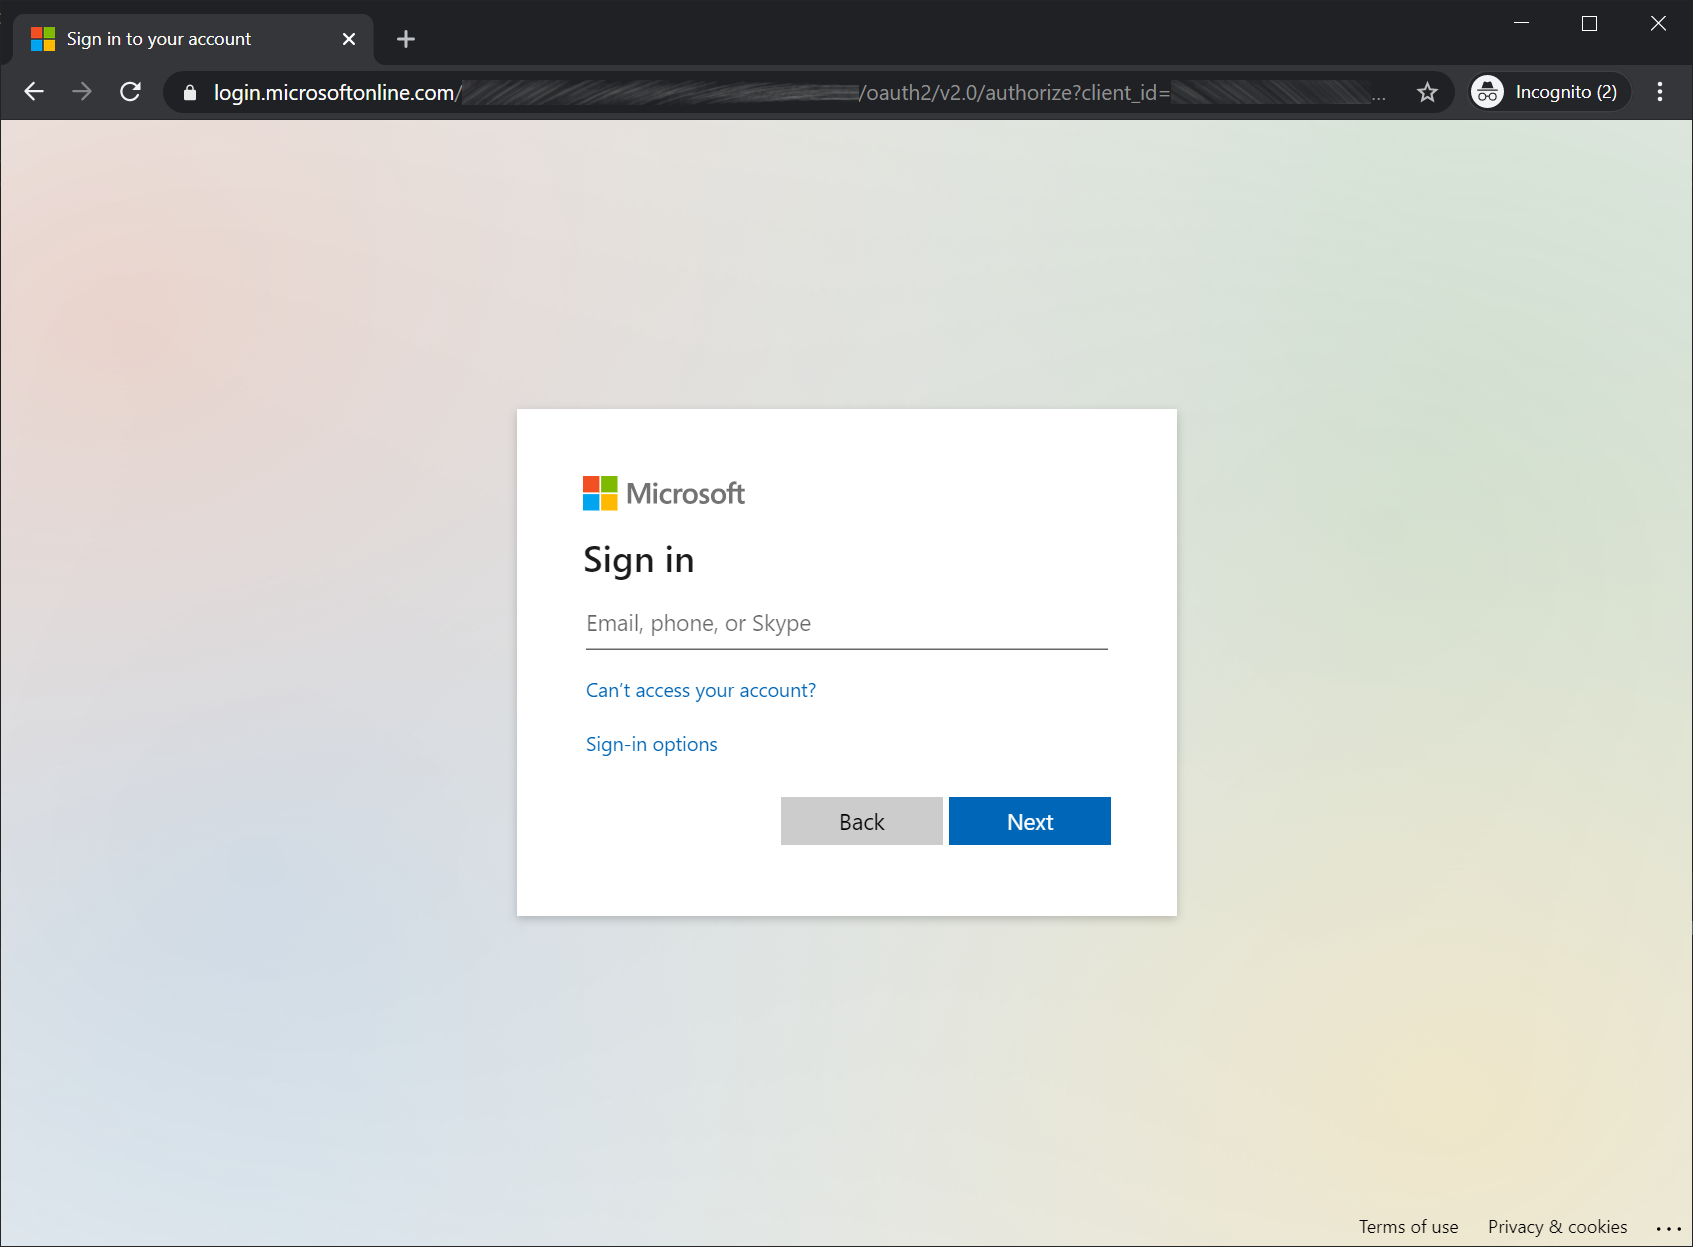
- Click the 'login' button, which will redirect you to the Microsoft Identity platform to sign in.
- Sign in with a user that has been assigned to one of your app roles.
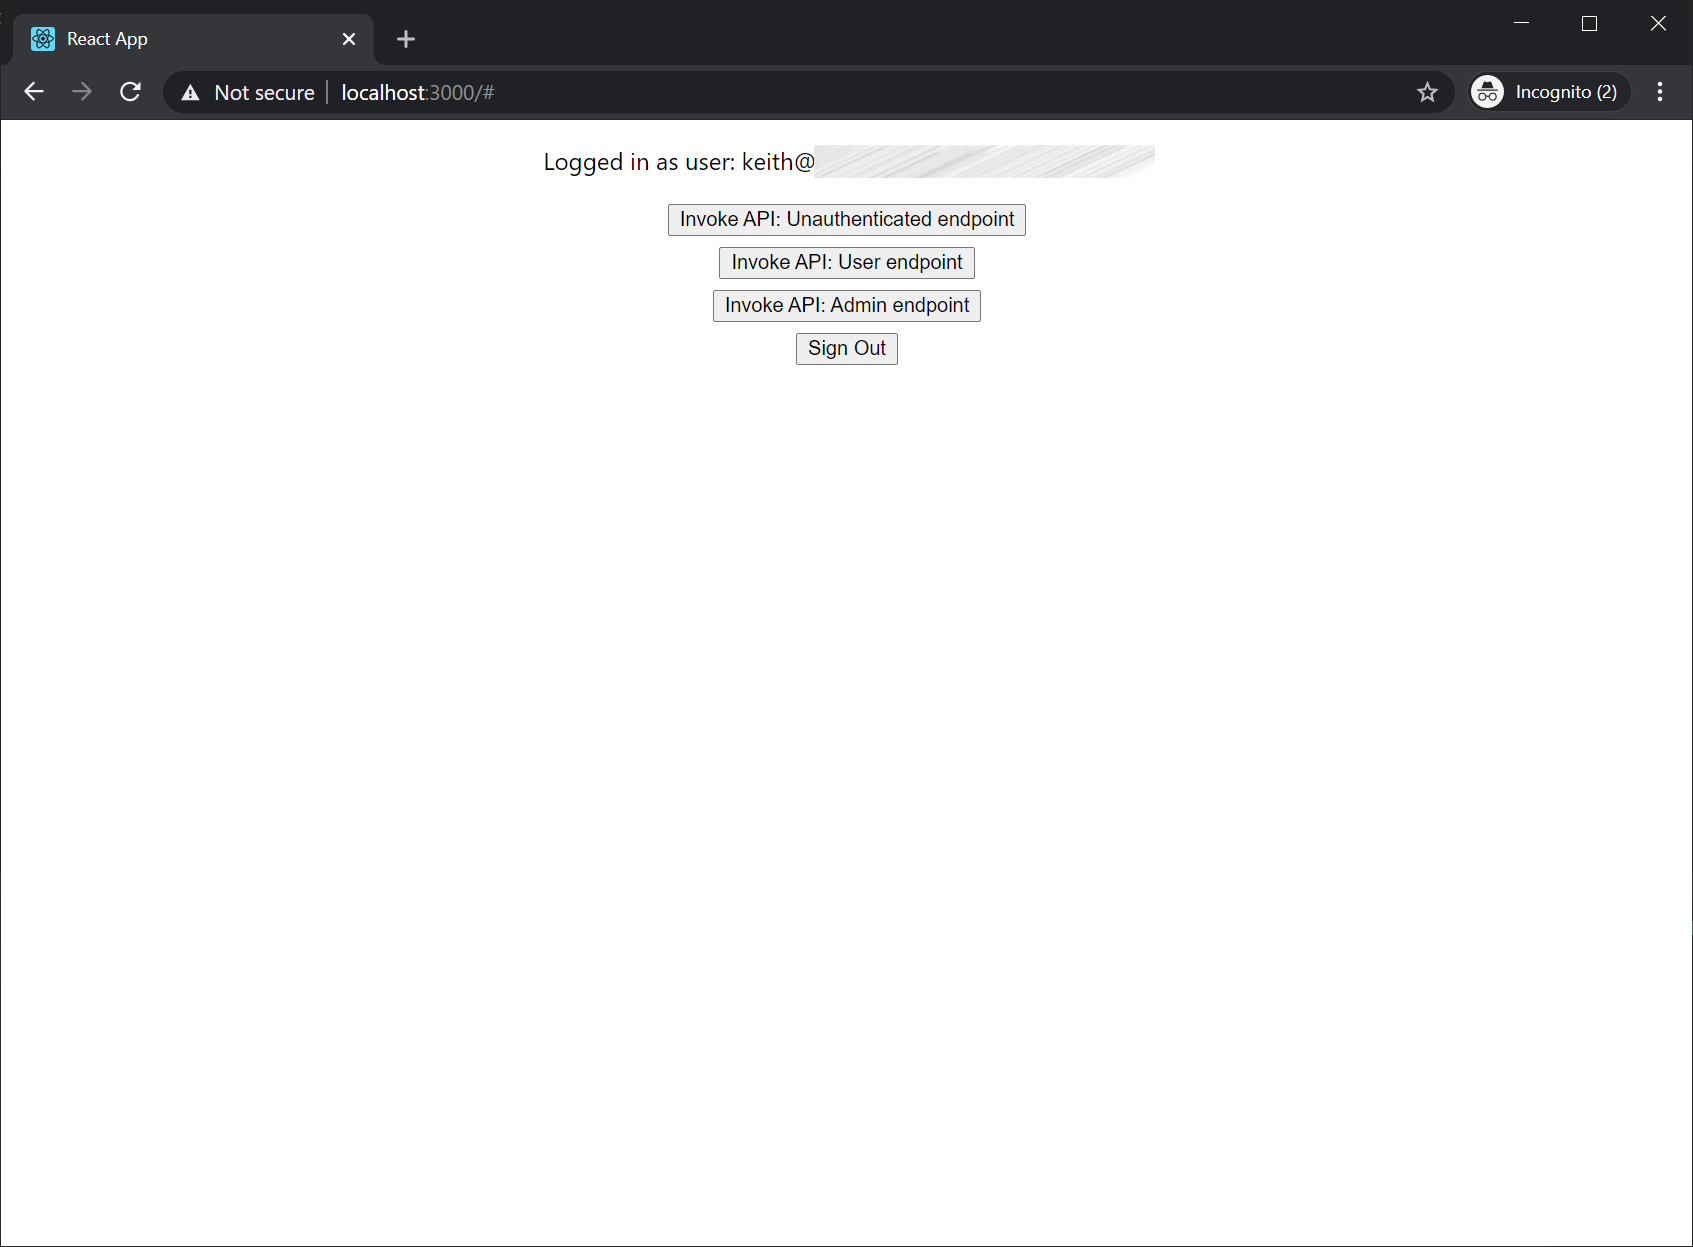
- Upon redirect you should see buttons to invoke the 3 test web api endpoints.
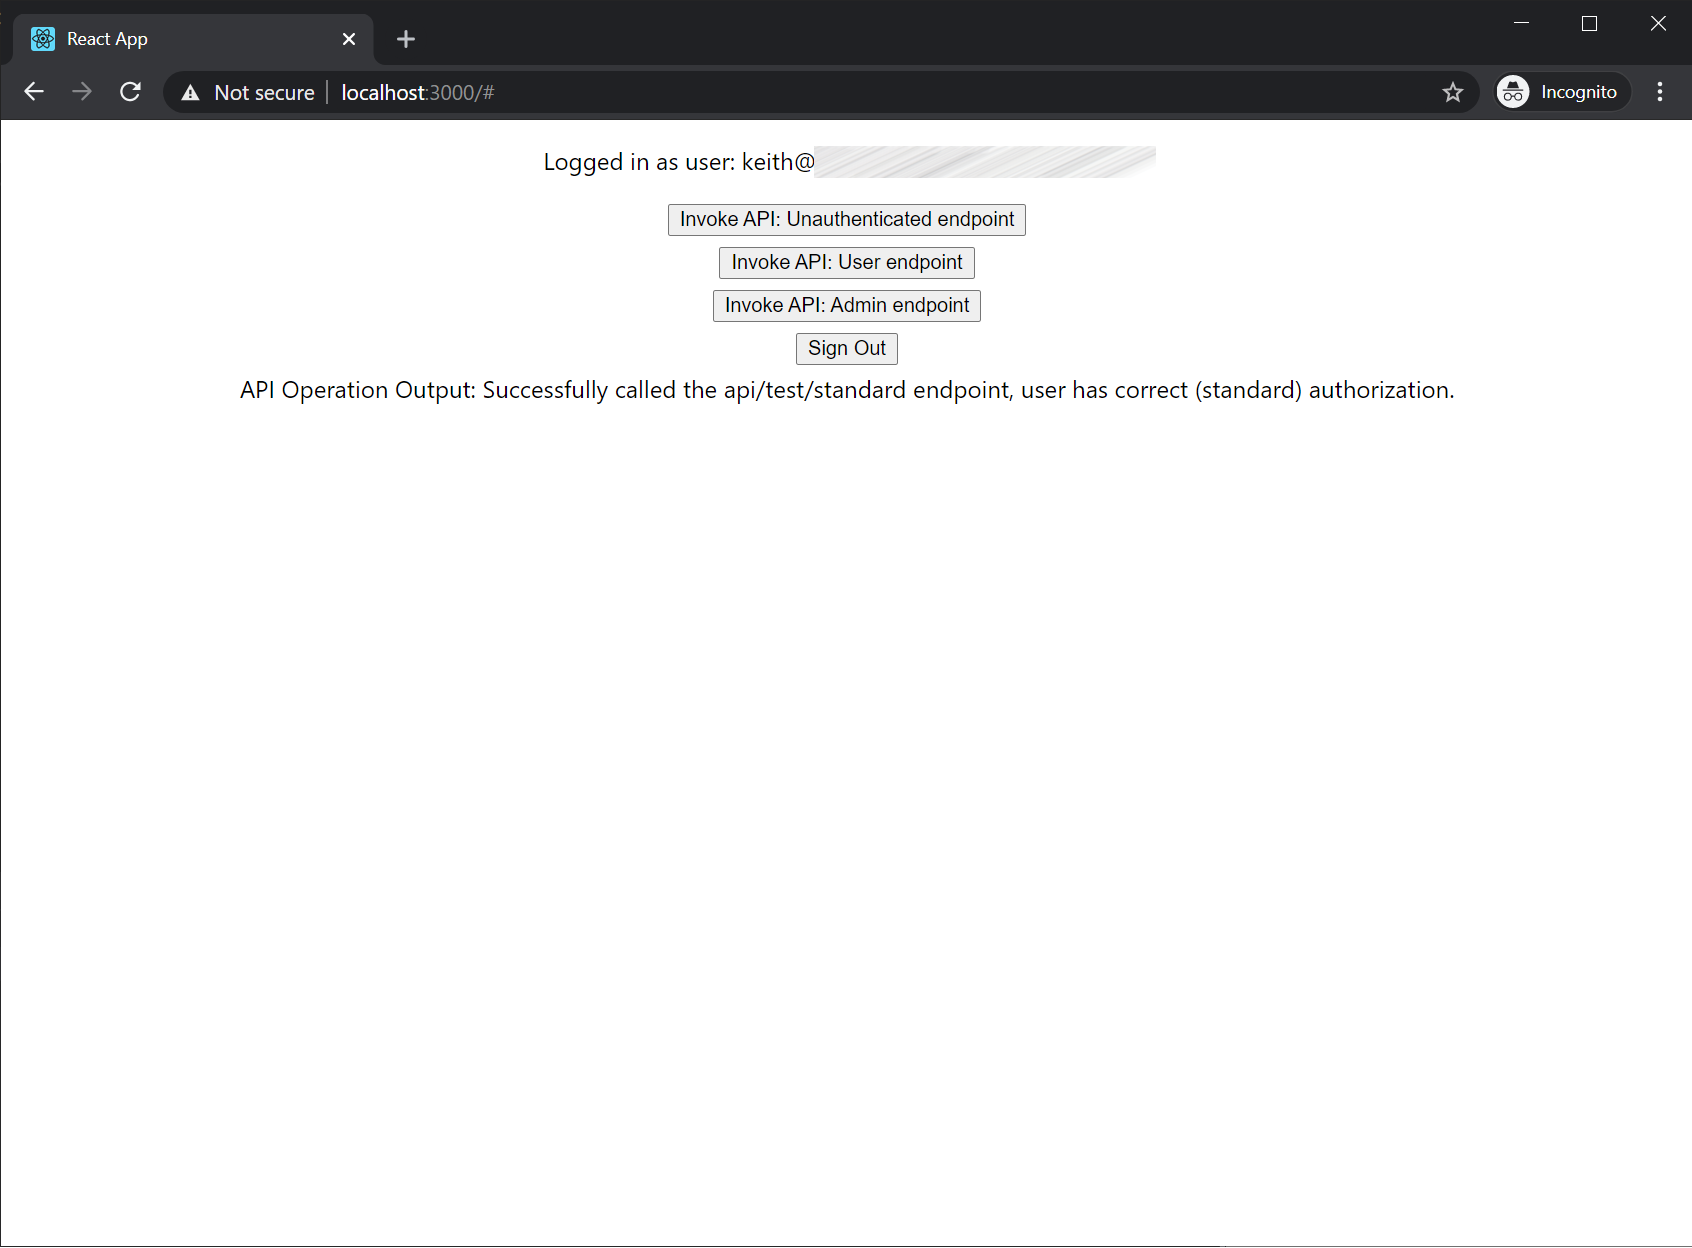
- Invoke the test endpoints to validate the end-to-end flow.
