This project efficiently help to process photo.
- resize image
- add watermark
- inputs Exif and IPTC titles and descriptions
Resizing images made easy - thanks to ImageMagick and ExifTool and Cairo .
Make sure ImageMagick and ExifTool and Cairo is installed on your system and properly set up in your PATH.
Ubuntu:
apt-get install imagemagick exiftool libcairo2-devMac OS X (using Homebrew):
brew install imagemagick --disable-openmp
brew install exiftool
brew install cairo --use-gcc
Windows & others:
- imagemagick : http://www.imagemagick.org/script/binary-releases.php
- exiftool : http://www.sno.phy.queensu.ca/~phil/exiftool/
- cairo : https://cairographics.org/download/
Confirm that ImageMagick is properly set up by executing convert -help in a terminal.
git clone https://github.com/tea3/resize-and-watermark.git
cd resize-and-watermark
npm install
For example, please create _config.yml as follows.
resizePix:                              # resize task option
  - 0                                   # no resize (original size)
  - 1024                                # resize images 1024 pixels
  - 2048                                # resize images 2048 pixels
# ignoreWatermark:                      # If you don't want to add watermark , enable option as following.
#   - 0
#   - 1024
readDir:                                # Folder name including image to resize
  - ./sample JPG/targetFolder
distDir: ./sample JPG/resizedFolder     # Path where you want to output the resized image
watermark: src/sample-watermark.png     # File path of watermark image
watermarkWidthRate : 0.1                # The size of the image occupied by the watermark
watermarkMarginRate: 0.02               # Watermark margin
# defaultWatermarkPosition:             # Default position of watermark
#   - North
#   - West
# watermarkColor: auto                  # Watermark Color Overlay (e.g. : auto , 00FFFF , FF00FF , FFFF00 , red , green , blue , ...)
# colorTiefQuality: 50                  # If watermarkColor is auto, determine the quality to calculate the color. ( 1: High Quality and very slow , 10: Normal Quality and slow , 50: Reasonable quality and fast )
# colorTiefQuality_watermarkArea: 1     #
# watermarkColorSelectionWeight:        # Criteria for choosing the color of the watermark
#   - 1.0                               # Hue difference
#   - 1.0                               # Saturation difference
#   - 4.0                               # Luminance difference
# defaultLens: lens:laowa105mm          # Lens keyword to enter when there is no Exif
# parallelLimit: 4                      # Max number of processes to be processed in parallel. The value is recommended about twice the number of CPUs.

quality: 97                             # JPEG quality value


fileTitle: My Picture                   # Always a character string to be included in the IPTC title meta field
constTag:                               # Always a character string to be included in the IPTC keywords meta field
  - photo
  - animal
  - etc
copyright: (c) your-name                # Always a character string to be included in the Exif copyright field
descriptionTemplate : desciption        # Always a character string to be included in the Exif desciption field
Then run node.js. Must install NodeJS from https://nodejs.org/ beforehand to launch with "node index.js"
$ node index.js resize
or
$ node index.js r
You can customize processing with with photo included keywords and exif. For example , how to include keywords, please see the following.
You can customize the position of the watermark based on pos:****-**** keywords .
| keywords to include in photos | watermark position |
|---|---|
pos:top-left |
NorthWest |
pos:top-right |
NorthEast |
pos:bottom-left |
SouthWest |
pos:bottom-right |
SouthEast |
pos:middle-center |
Center |
You can change keywords from Photoshop or Lightroom, but you can also change them with the following commands.
$ node index.js position bottom right image1.jpg image2.jpg ...
Also , you can customize position rule . if you want to customize , please edit settings/watermarkPosition.json.
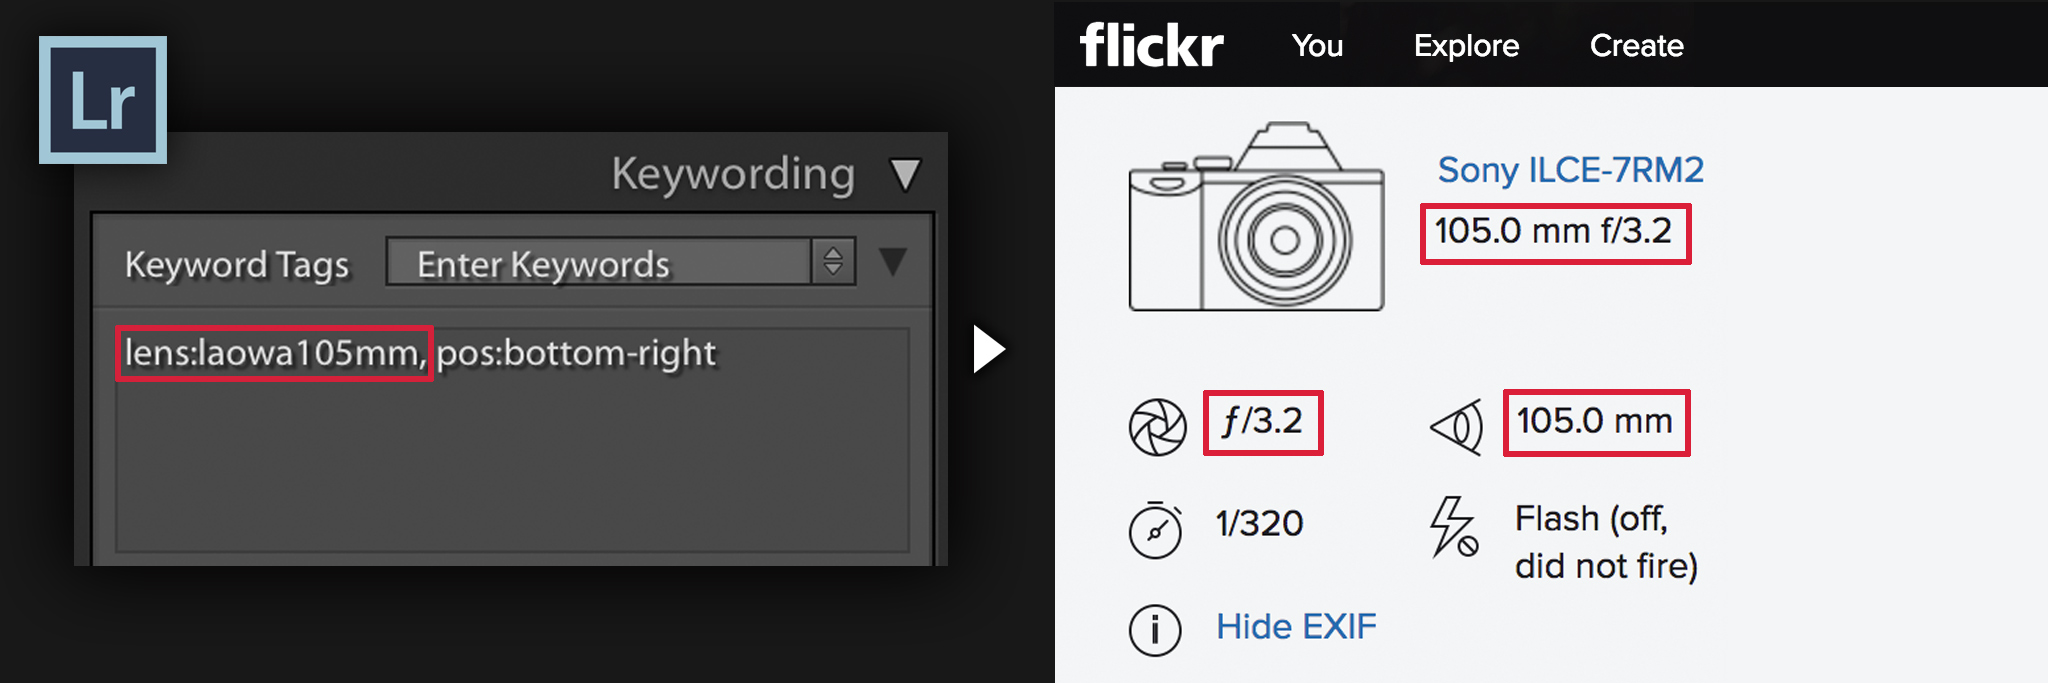
When resizing, lens information can be entered automatically by keyword.
| keywords to include in photos | Input lens information ( Exif and IPTC ) |
|---|---|
lens:50mmf1.2s |
Ai Nikkor 50mm f/1.2S |
lens:laowa105mm |
LAOWA 105mm F2 Bokeh Dreamer STF |
You can change keywords from Photoshop or Lightroom, but you can also change them with the following commands.
$ node index.js lens laowa105mm image1.jpg image2.jpg ...
Also , you can customize lens rule . if you want to customize , please edit settings/cameraLens.json.
For example, if you want to use Lightroom's Export Action, please describe Apple Script in Automator as follows.
function run(input, parameters) {

  var cdm = "cd \"$HOME/Desktop/your-cloned-dir/resize-and-watermark\"";
  var nvm = "nvm use 4.3.0";

  var Terminal = Application('Terminal')
  Terminal.activate()
  var terW1 = Terminal.windows[0]
  try{
    console.log(terW1.selectedTab.properties())
  }catch(e){
    Terminal.doScript("echo 'Hi terminal window 1'");
    terW1 = Terminal.windows[0]
  }
  waitDelay(terW1)

  Terminal.doScript( cdm , {in: terW1} )
  waitDelay(terW1)
  Terminal.doScript( nvm , {in: terW1} )
  waitDelay(terW1)
  Terminal.doScript( "node index.js resize" , {in: terW1} )
  waitDelay(terW1)

    return input;
}

function waitDelay(inTerminalWindow){
  delay(1)
  while( inTerminalWindow.selectedTab.busy() ){
    delay(1)
  }
}


