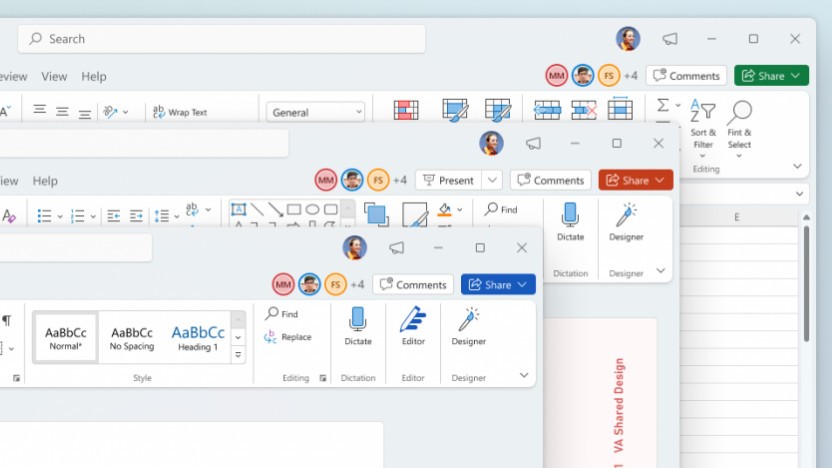
A customizable WPF window that adheres to Fluent Design and Windows 11 Design Language. A simple way to apply the Mica material on your windows, fully customize the titlebar and more. Think of this as a modernized <WindowChrome>.
This project was made in .NET 6.0 using C#.
In the repository, a SampleApp WPF project file is provided as a starting point. To integrate this with your project, do the following:-
If you haven't already got a Themes\Generic.xaml ResourceDictionary file in your WPF project root directory, you can use the Generic.xaml in this repository.
If you do, add the resource keys and styles from the file and add to your own.
Add the FluentWindow.cs class file wherever best suits your WPF project folder structure.
Create a new window or change one of your windows e.g. MainWindow.xaml to use FluentWindow like so:-
<local:FluentWindow x:Class="SampleApp.MainWindow"
       xmlns="http://schemas.microsoft.com/winfx/2006/xaml/presentation"
       xmlns:x="http://schemas.microsoft.com/winfx/2006/xaml"
       xmlns:d="http://schemas.microsoft.com/expression/blend/2008"
       xmlns:mc="http://schemas.openxmlformats.org/markup-compatibility/2006"
       xmlns:local="clr-namespace:SampleApp"
       mc:Ignorable="d"
       Title="MainWindow" Height="450" Width="800">
   <Grid>

   </Grid>
</local:FluentWindow>
Don't forget to change in your MainWindow.xaml.cs to subclass from FluentWindow instead of Window like so:-
public partial class MainWindow : FluentWindow
{
    public MainWindow()
    {
        InitializeComponent();
    }
}
And of course, change the namespaces appropriately to match your WPF project.
By default, the Mica material is applied to the window (on Windows 11 systems) and provides a standard caption titlebar which is typical of a WPF window. The window uses Light/Dark mode defined by the Personalization settings and responds to changes. You can customise your window by adding/changing the properties provided below.
Here is a code snippet of MainWindow.xaml with all the options available set to default.
<local:FluentWindow x:Class="SampleApp.MainWindow"
        xmlns="http://schemas.microsoft.com/winfx/2006/xaml/presentation"
        xmlns:x="http://schemas.microsoft.com/winfx/2006/xaml"
        xmlns:d="http://schemas.microsoft.com/expression/blend/2008"
        xmlns:mc="http://schemas.openxmlformats.org/markup-compatibility/2006"
        xmlns:local="clr-namespace:SampleApp"
        mc:Ignorable="d"
        EnableMica="True"
        CaptionHeight="28"
        ExtendViewIntoTitlebar="False"
        AppThemeColor="System"
        Title="MainWindow" Height="450" Width="800">
    <Grid>

    </Grid>
</local:FluentWindow>You can turn off Mica by adding the following property to the window's XAML:-
EnableMica="False"Also by default, a standard caption titlebar is provided. To fully customise the titlebar and remove the standard caption, add the following property:-
ExtendViewIntoTitlebar="True"In addition, you can customize the caption titlebar height by adding the following property:-
ExtendViewIntoTitlebar="True"
CaptionHeight="48"
Recommended: For full customisation, both ExtendViewIntoTitlebar and CaptionHeight need to be defined.
When the caption height is above 28 pixels (standard caption height), custom drawn caption buttons are drawn and utilize the customized caption height instead of using the native ones. This is so the caption button icons will align vertically centered which provides a cleaner look and lets you replicate the look in this mockup.
Actual implementation:-
Note: Icon and title will need to be custom drawn.
Since the caption height area is owned by the windowing system, to allow hit-testing on WPF controls in the caption area, simply add this to the appropriate controls much like you would if you were using the <WindowChrome> class:-
<Button x:Name="CaptionButton" WindowChrome.IsHitTestVisibleInChrome="true"/>You can force a Light or Dark theme on your window. This is useful if you want to design your app based on your brand e.g. Dark Mode for Spotify or Steam.
Options available are:-
AppThemeColor="Light" or AppThemeColor="Dark" or AppThemeColor="System"
You can also query if the app is running in Dark Mode by reading the IsDarkMode property to make appropriate <Style> changes.
IsDarkMode only returns true if AppThemeColor is set to Dark or if the system-defined setting is set to Dark in Windows Settings -> Personalization.
This project was originally tested only for Windows 11 systems. In the future, I'll make some adjustments and modifications to the project when on Windows 10 to provide an satisfactory experience e.g. the custom caption button icons are based on Windows 11 and do not reflect Windows 10's look.
The project also doesn't support WindowStyle="ToolWindow" and impartial support for WindowStyle="None" currently but will add support later.
Despite my references and similarities to the WindowChrome class, I strongly advise from using the actual WindowChrome class in your Window (aside from attached properties like IsHitTestVisibleInChrome) to avoid conflicts with FluentWindow.
I also welcome any suggestions and feedback on how to improve FluentWindow.
This project was made possible with the help of these references (and excessive use of P/Invoke):-
"Apply Mica to a WPF app on Windows 11 - Blogopolis, 2022" https://tvc-16.science/mica-wpf.html
"How to create a custom window in WPF | Magnus Montin" https://blog.magnusmontin.net/2013/03/16/how-to-create-a-custom-window-in-wpf/
"WindowChromeWorker.cs" https://referencesource.microsoft.com/#PresentationFramework/src/Framework/System/Windows/Shell/WindowChromeWorker.cs
I also recommend using "WPF UI" for controls and is available as a NuGet package: https://github.com/lepoco/wpfui


