The University of Melbourne
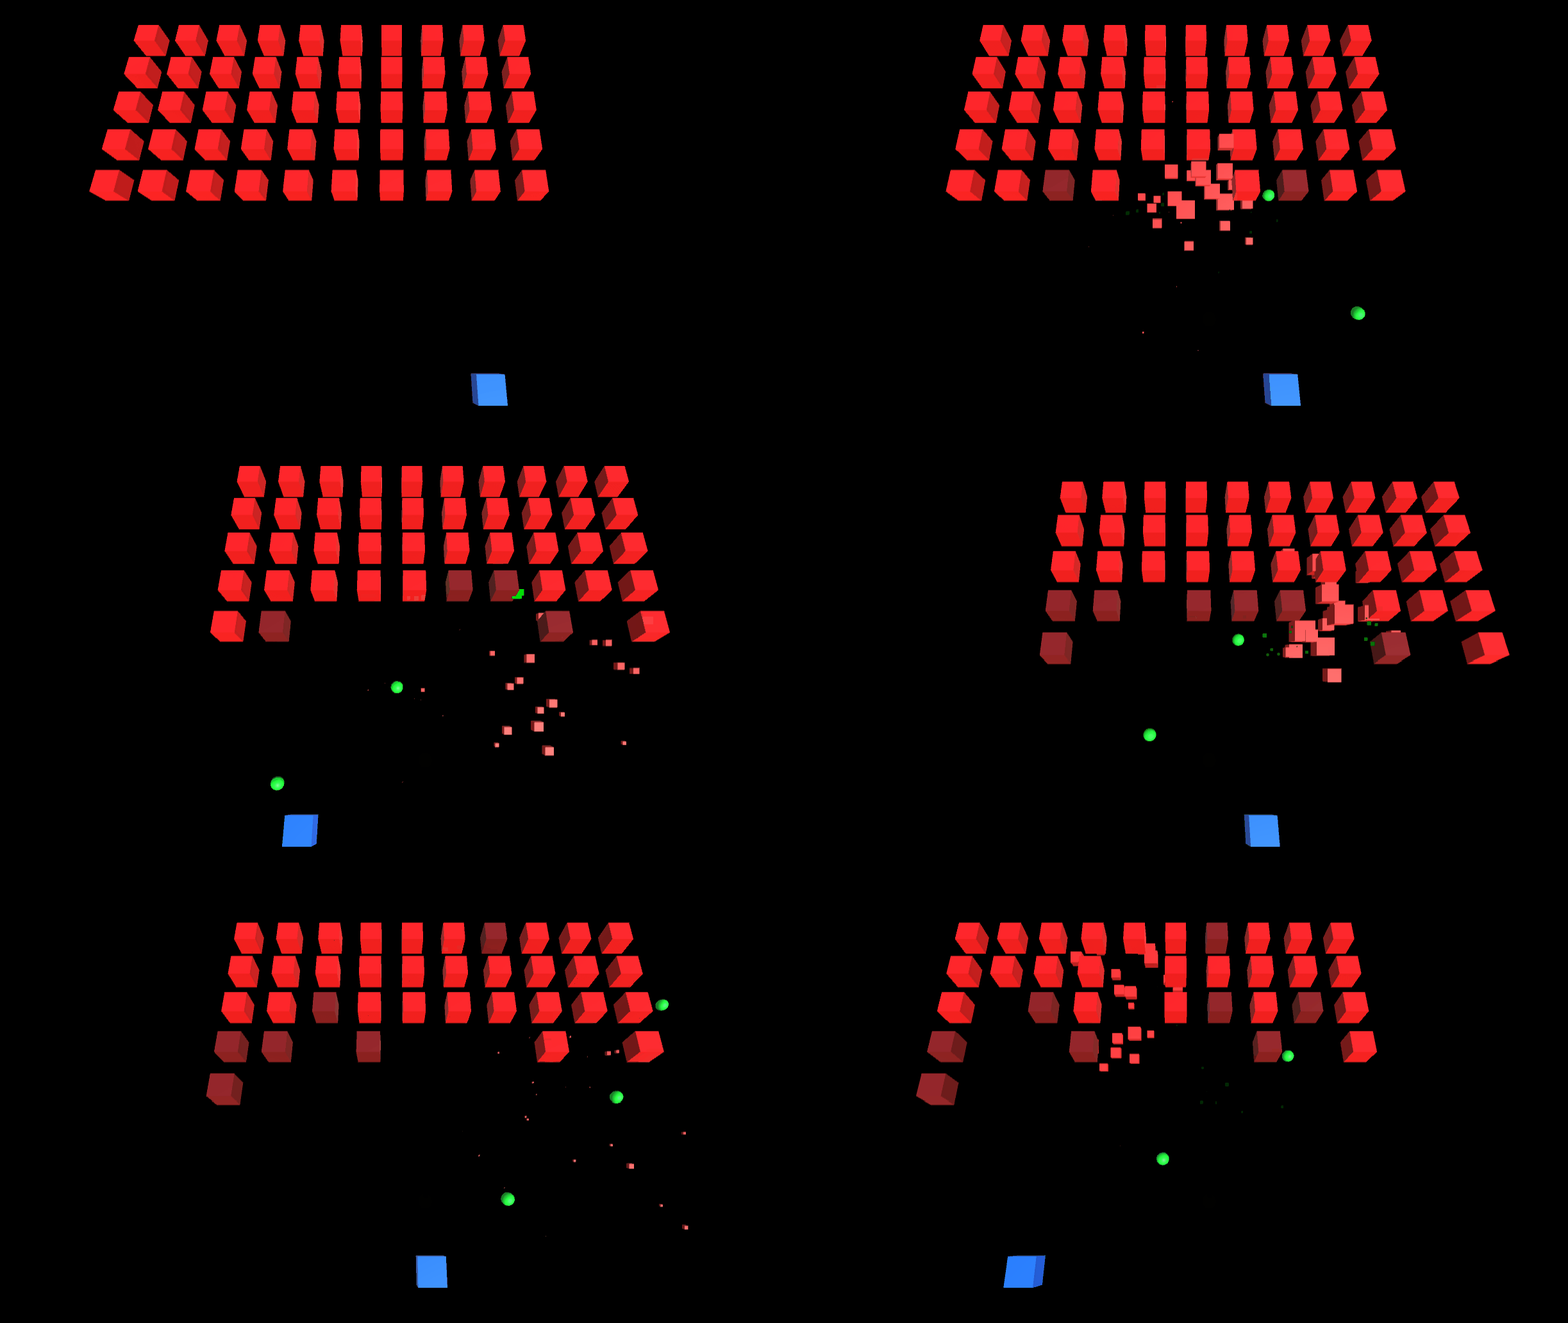
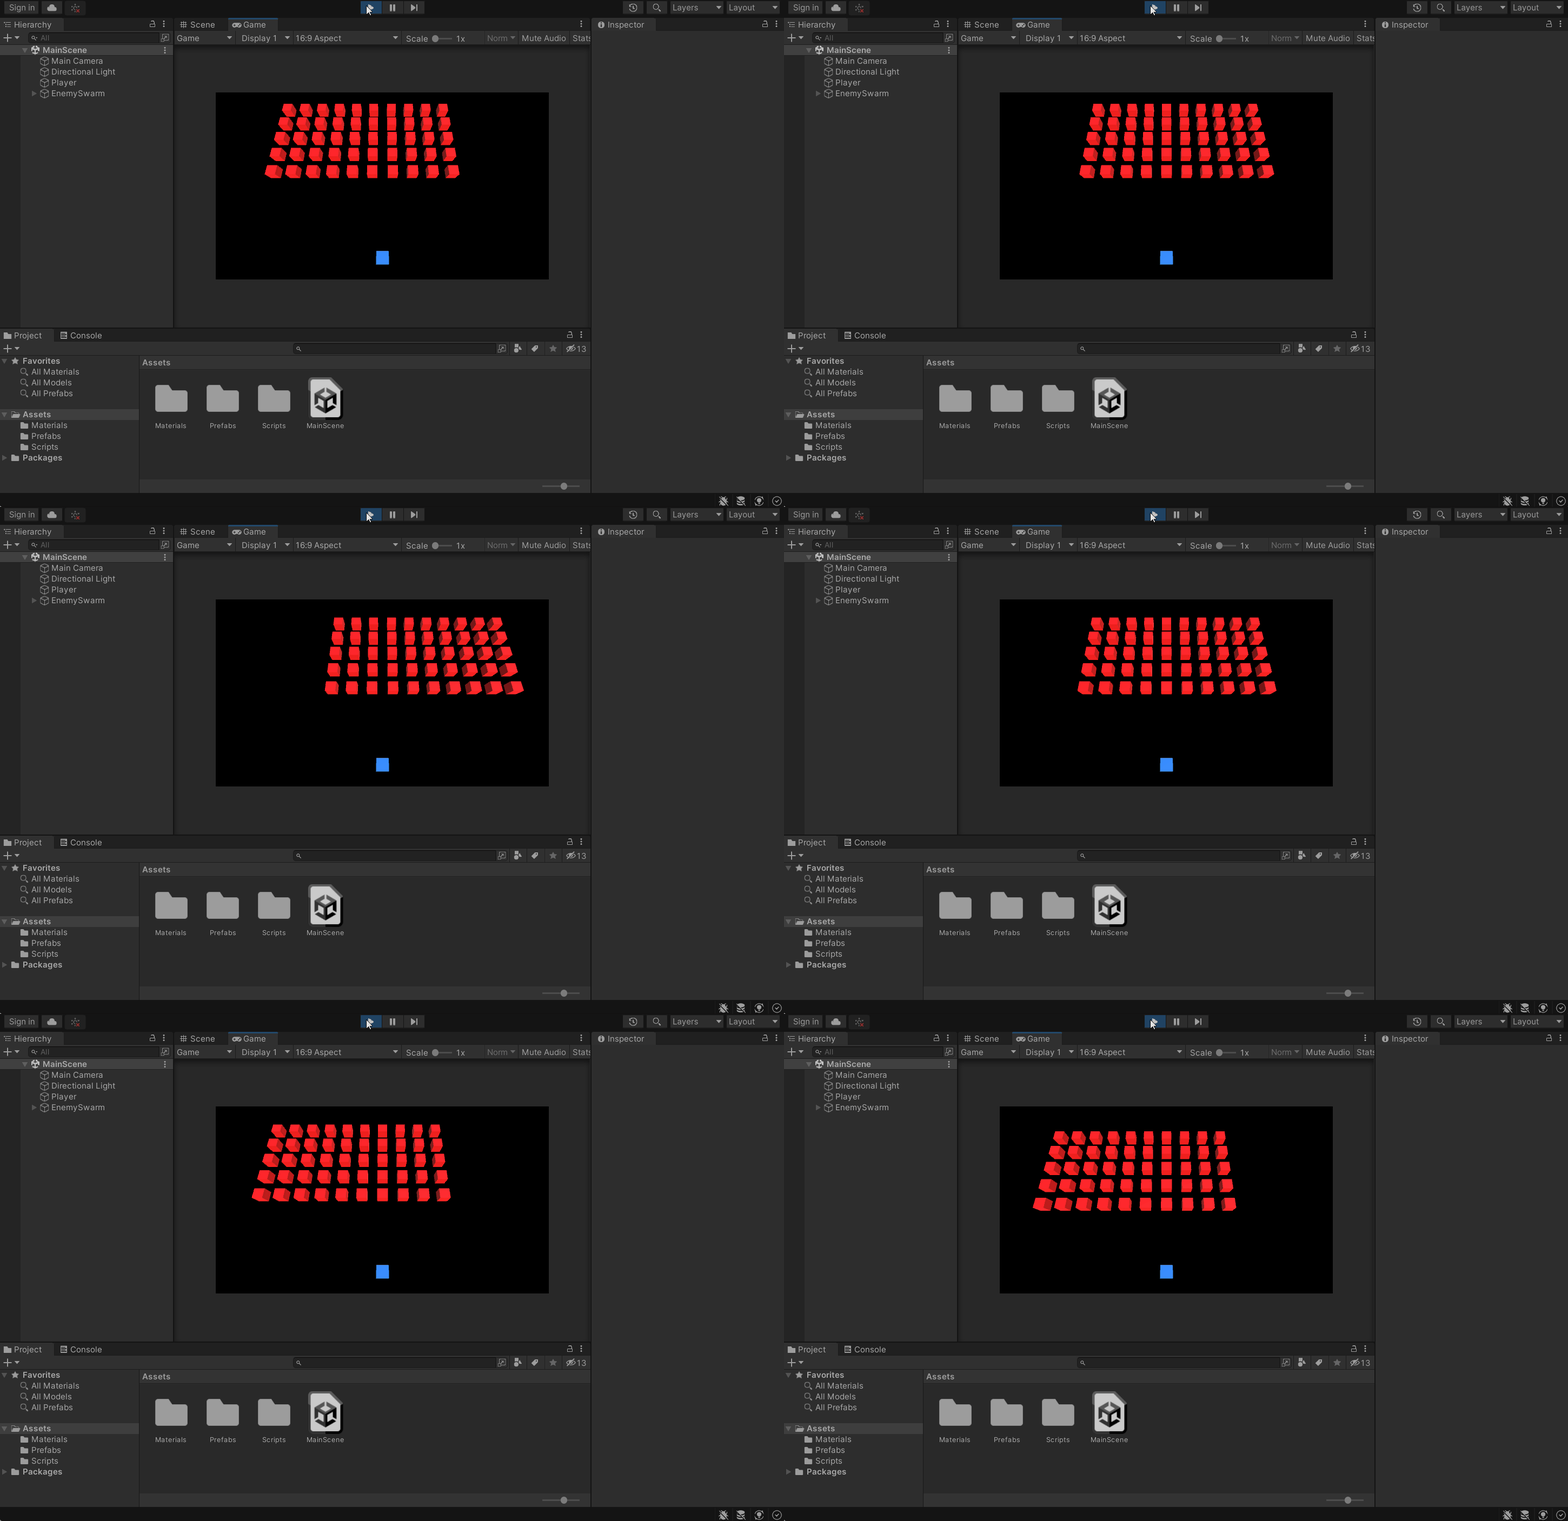
In this workshop you will be constructing the beginnings of a simple game called Cube Invaders. In particular, you will practice using the component based architecture offered by Unity, and learn how it can be used to put together interactive applications rapidly. The game will be rendered in a 3D environment, but will be played in the x-z plane (in other words, it's a "2.5D" game). Therefore, unless stated otherwise, game objects will be assumed to have a y-position of 0.
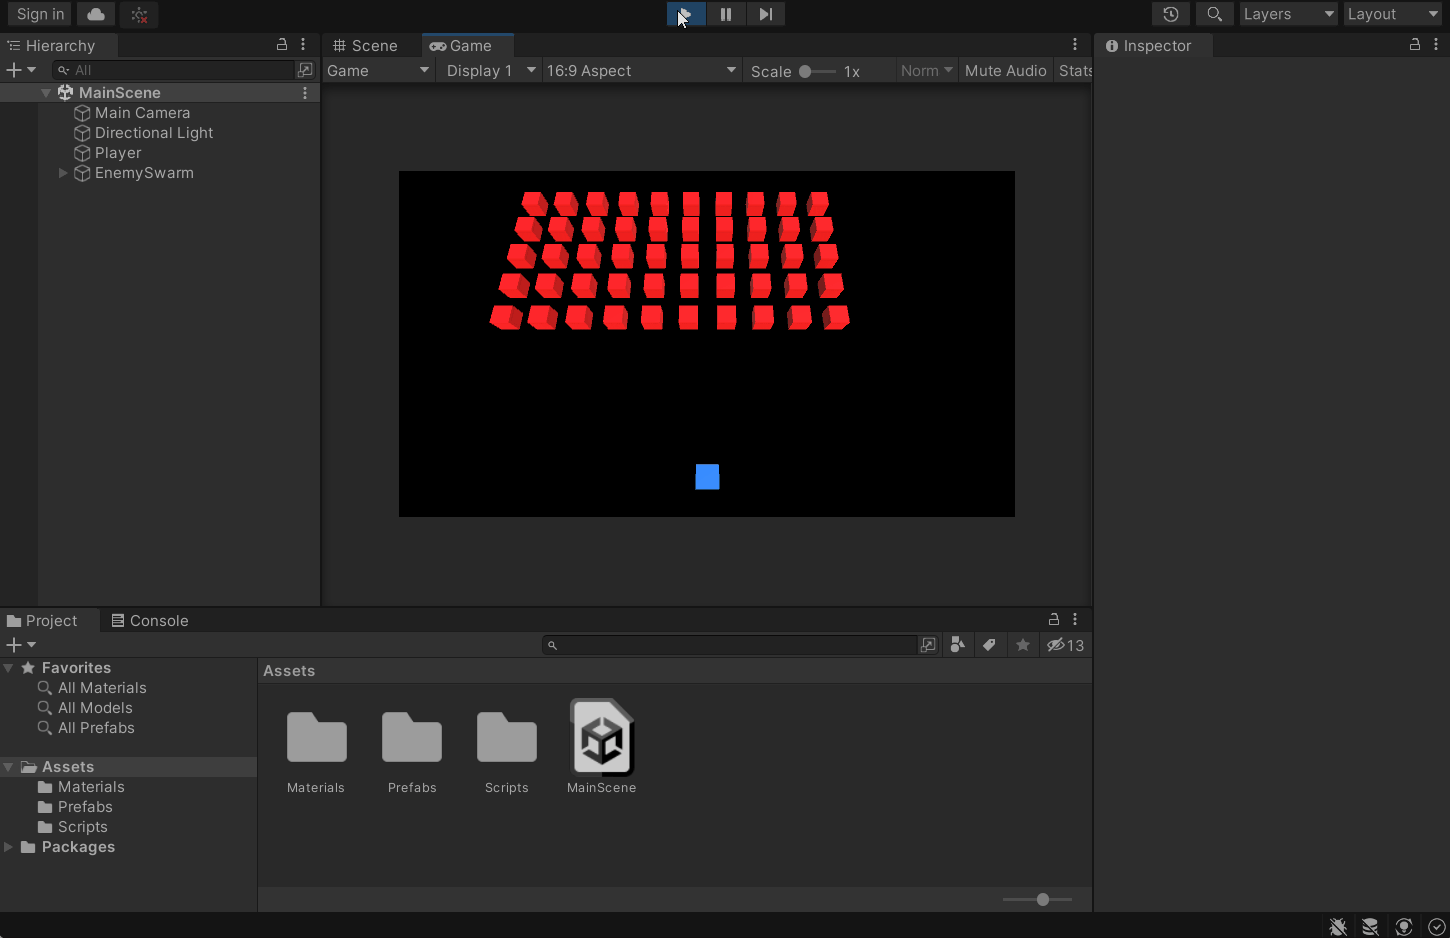
Open MainScene.unity in Unity. Press the ‘Play’ button. You’ll notice that a ‘player ship’ is
at the bottom of the screen, and can move left and right when you press the respective arrow keys.
Now open the PlayerController.cs and examine the code. Notice how Input.GetKey() is used to poll
whether the left and/or right arrow keys are currently pressed every frame. The transform.Translate()
method applies a translation accordingly. At this point it might help to re-familiarise yourself with the
Unity Input class, as well as the
Transform component API.
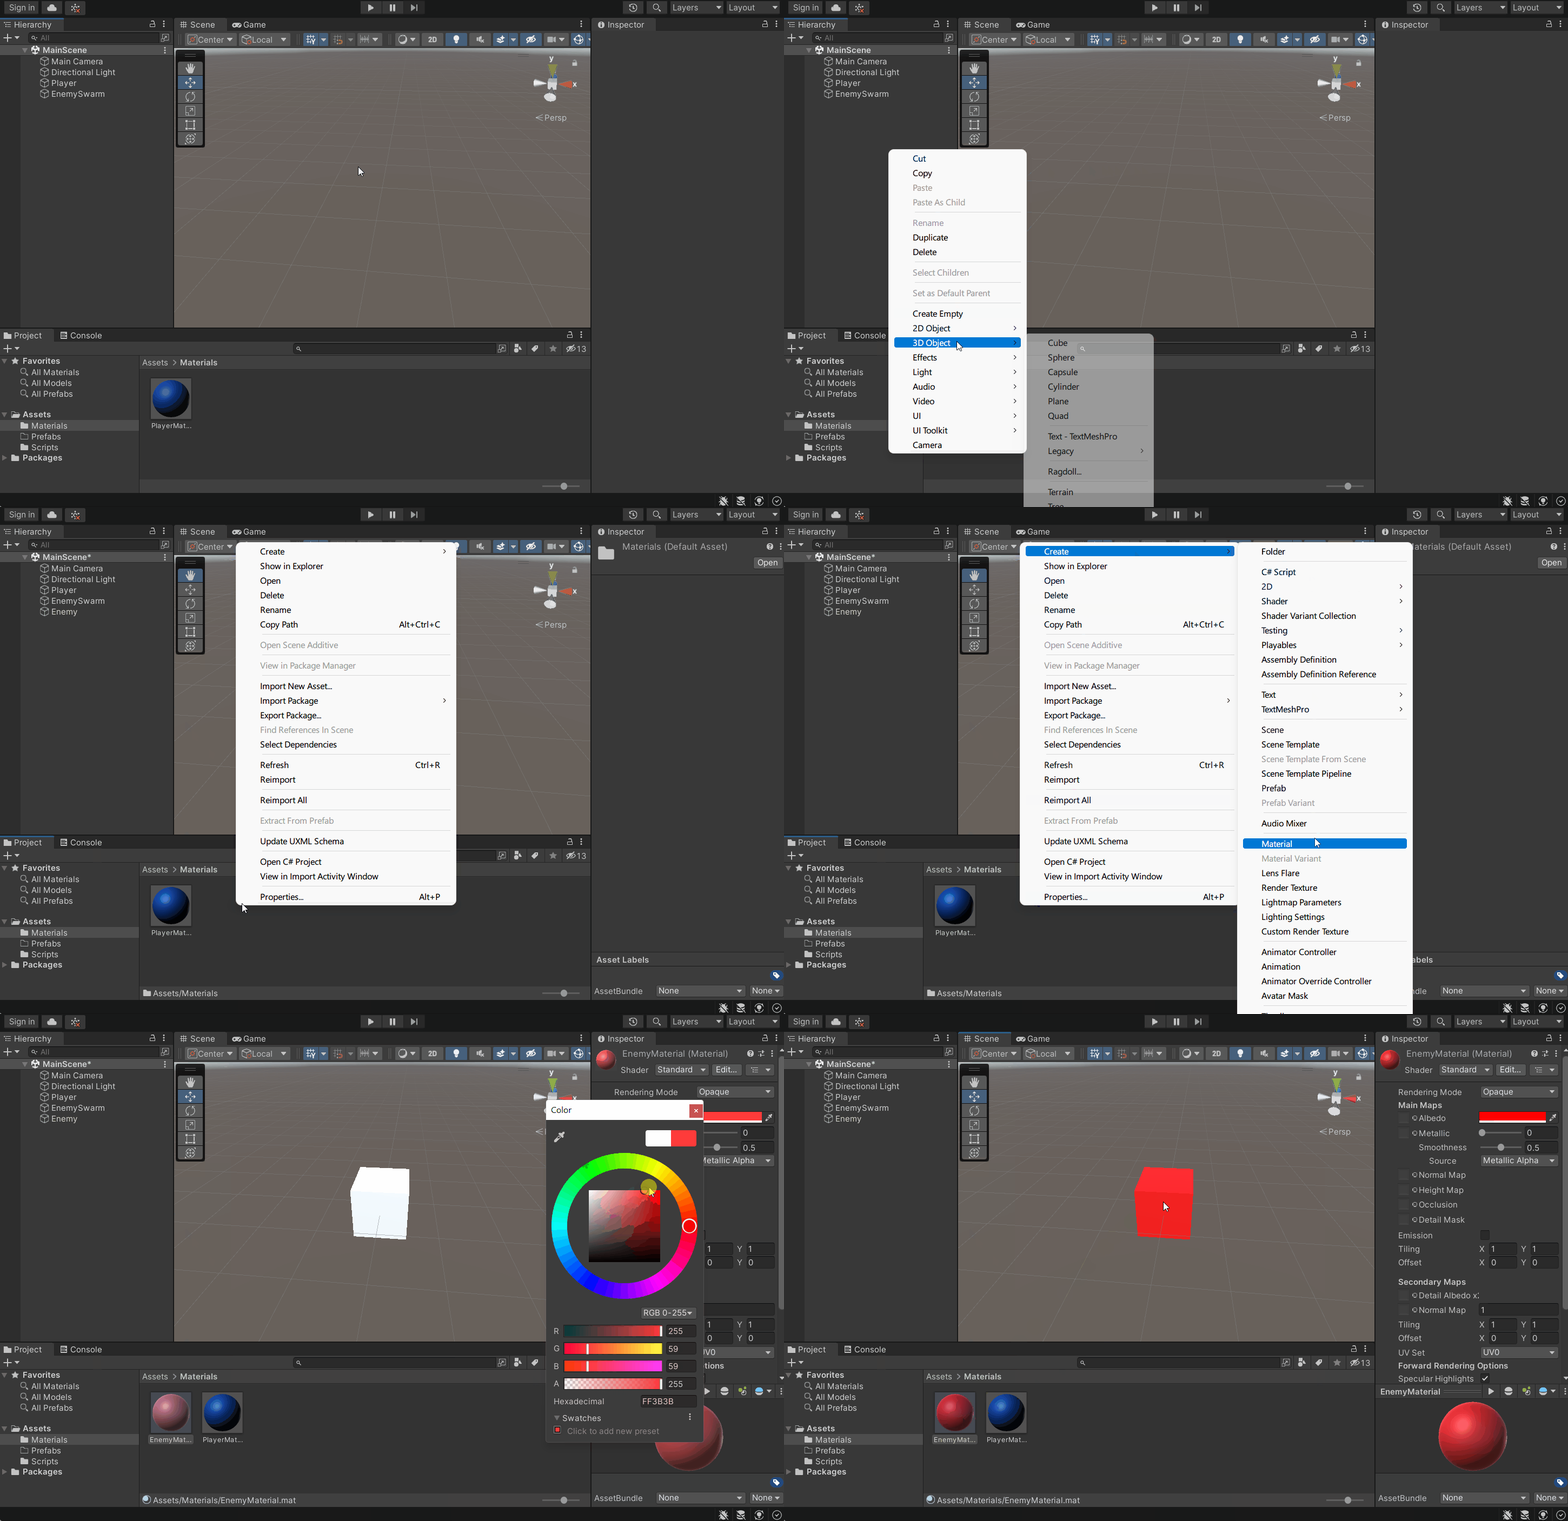
Create a cube game object to serve as an enemy. Also create a red material asset, like the player's material currently, and apply this to the enemy. At this stage the enemy will not do anything when the game is run, it's just a placeholder.
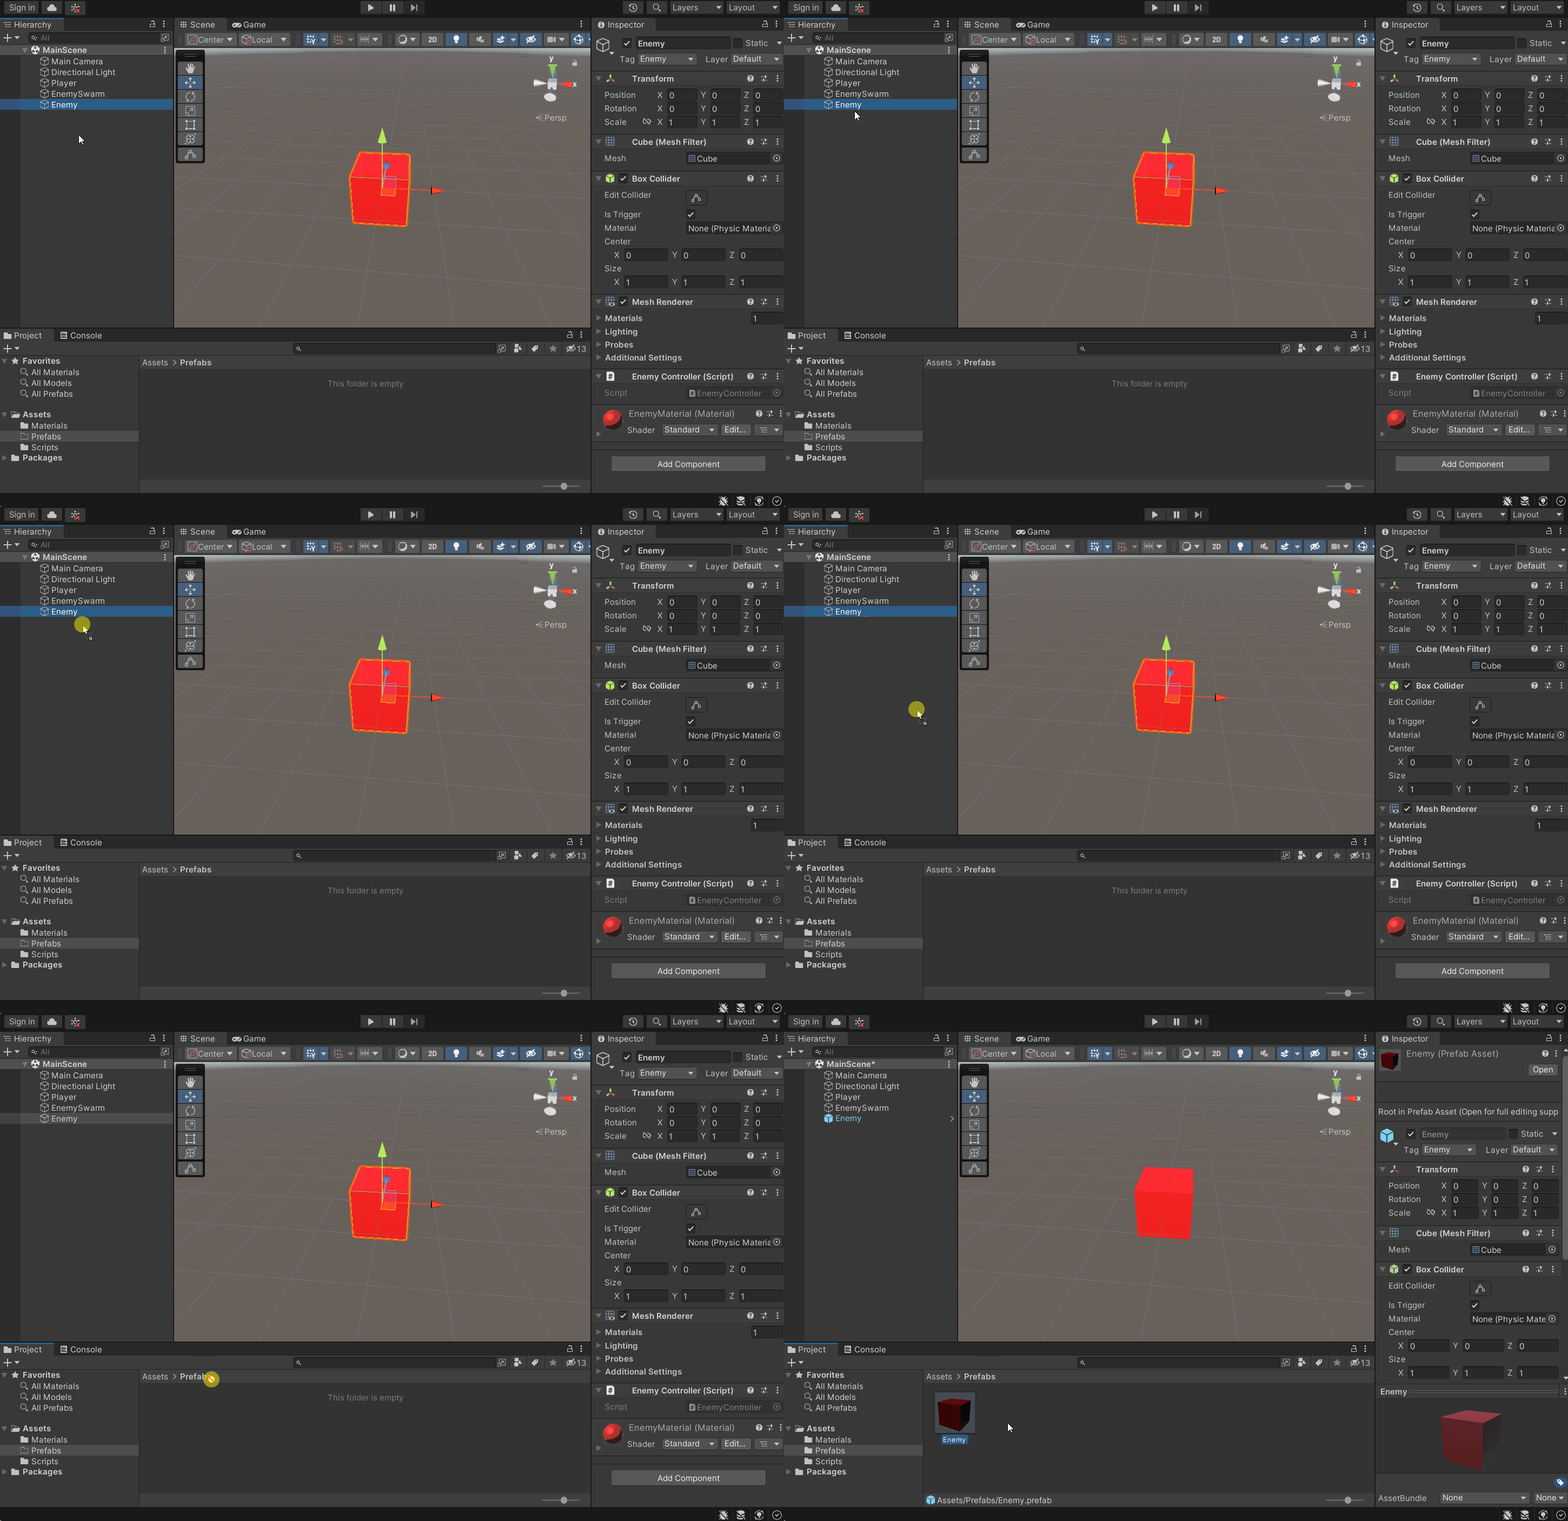
Create a prefab from the enemy object you created. This can be done simply by dragging the game object from the hierarchy to the assets folder. Making the enemy a prefab will allow it to be instantiated such that you can place many identical enemies in the scene. Importantly, if a modification is made directly to the prefab, then every instance of it will automatically reflect the modification.
Note
Prefabs are an essential tool in Unity game development, and can save you an enormous amount of time if used well. If you haven't already, make sure you have an in-depth read of the respective Unity manual pages discussing the prefab system in detail.
Delete the enemy game object (not the prefab) from the scene. Remember that because you created a prefab asset from the enemy earlier, the "template" to produce enemies is still there! We will now write some game logic to instantiate a swarm of enemies and bring them to life, using this prefab as the template.
Open the script SwarmManager.cs. Notice that it is currently attached to the
EnemySwarm game object. Complete the GenerateSwarm() method in SwarmManager.cs.
The method should instantiate a swarm of enemies in a "grid" formation.
Make use of the already given serialized fields to determine the number of rows and columns
the grid of enemies comprises of, as well as the spacing between enemy cube instances.
You will need to use the
Instantiate() method
to create actual instances of the given prefab reference. Ensure the serialized field in
the editor is correctly assigned the enemy prefab you created, currently stored in the game assets. A
drag and drop will do the trick, as usual.
It's a good idea to make the enemies children of the swarm
manager game object in the object hierarchy. This way, transforming the swarm object will transform
all the enemies together, without the need for maintaining an explicit list
of enemy instances. You may use the transform.SetParent()
method to do this, or it's also possible to do it by using one of the
Instantiate() method overloads.
Now complete the StepSwarm() method in SwarmManager.cs. This method
should move all the enemies across the screen one step. If the enemy
swarm has reached the edge of the playing area, the enemies should move
down one step and reverse their stepping direction, just like classic space
invaders. Note that the script already contains logic to
call StepSwarm() every stepTime seconds.
Note
We use a coroutine to periodically step the swarm, however we could have also achieved this by using a private timer variable that is incremented every frame and resets when it exceedsstepTime. This is bit messy though, and a coroutine offers an arguably cleaner way to solve this problem. If you are interested in learning more about coroutines, check out this page.
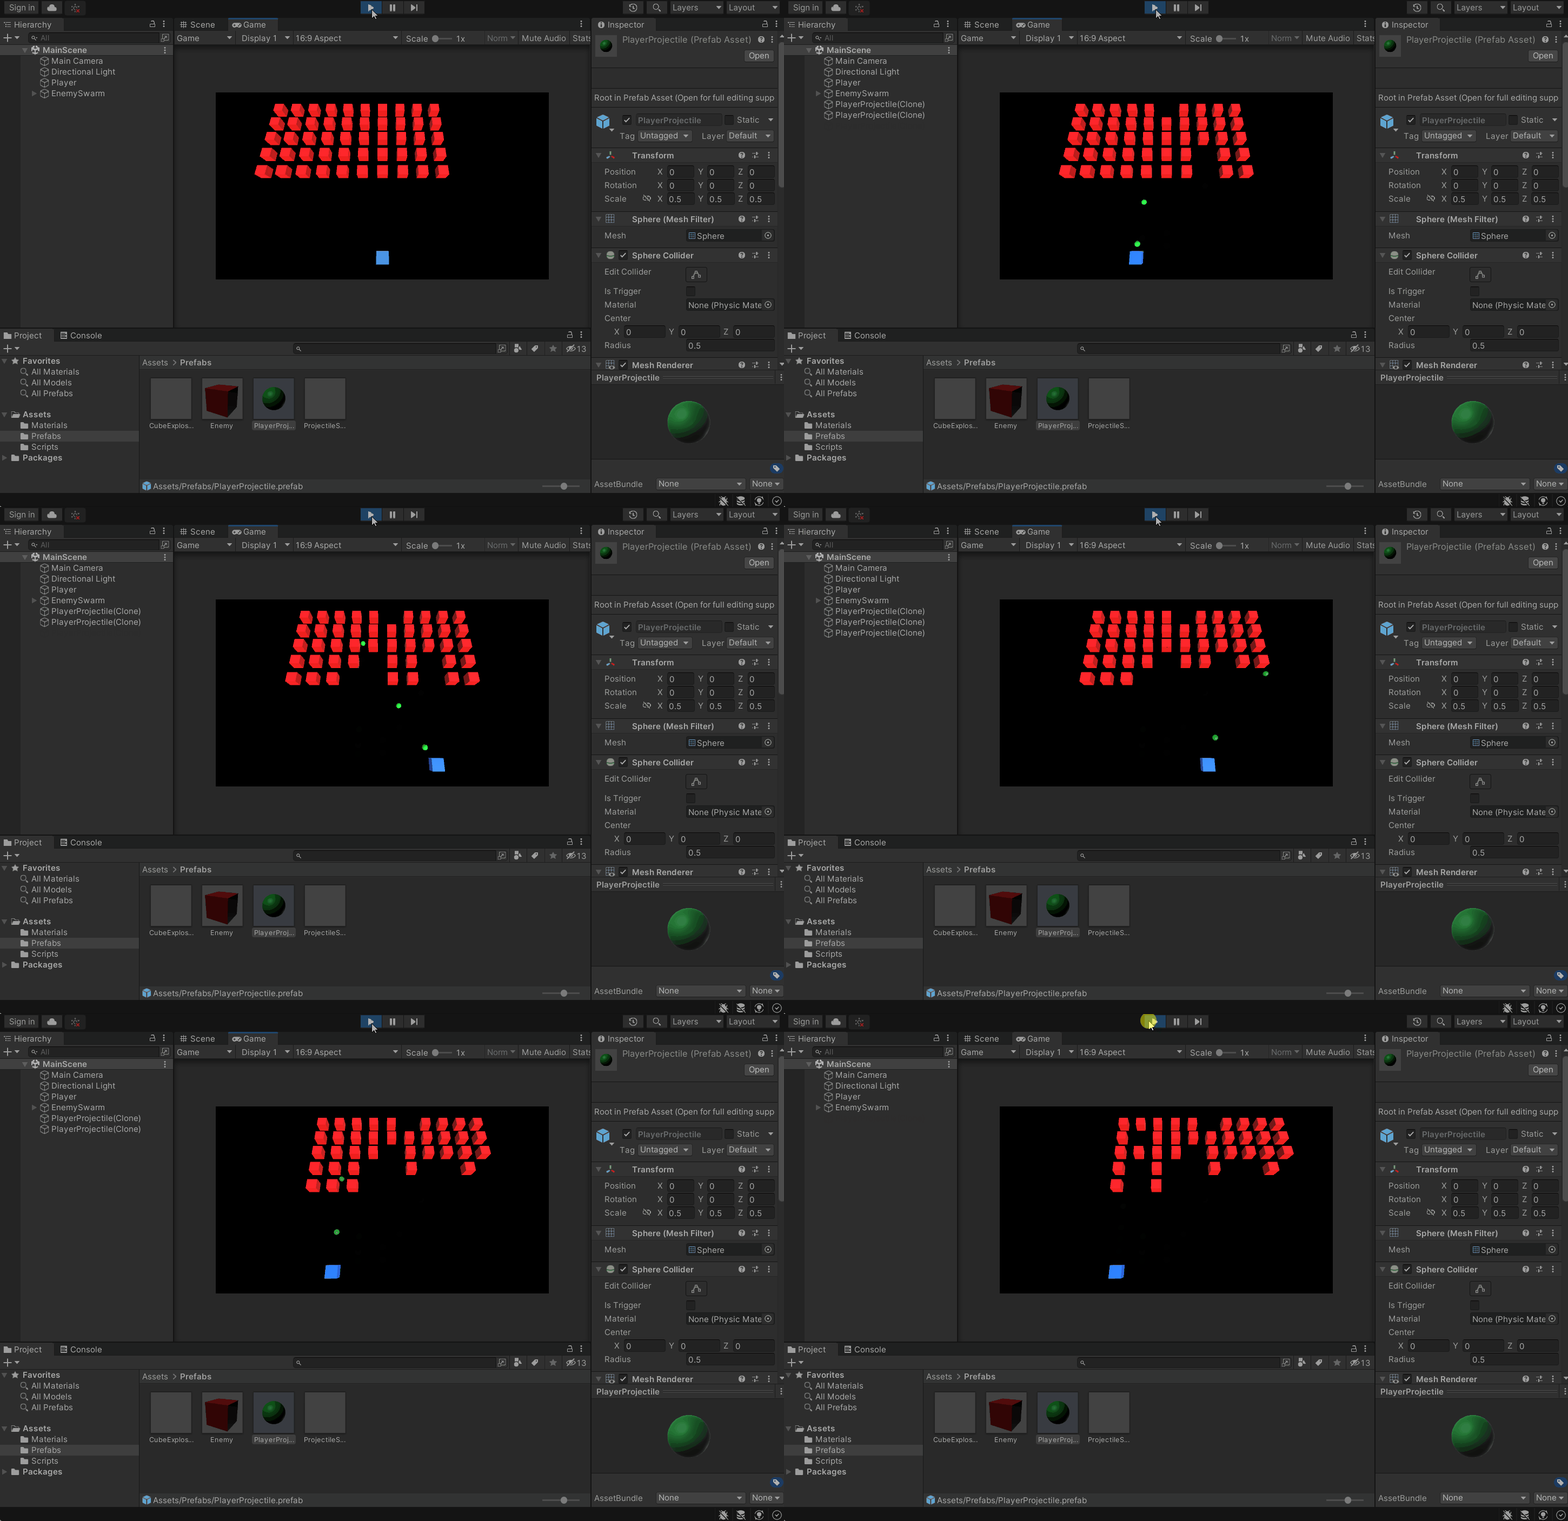
Create a new prefab which represents a player projectile. Pressing 'Space'
should fire a projectile instance upwards towards the enemy swarm. If the
projectile collides with an enemy cube, it should be destroyed as well as the
projectile itself. You will find the Destroy()
method comes in handy here.
Warning
Ensure that projectiles which miss and fly off the screen are eventually destroyed. Otherwise you'll be creating a 'memory leak' of sorts, at least until the scene ends. Try to create a component that can be re-used for this purpose, e.g., when attached to any game object, it will automatically destroy it if it's no longer visible.
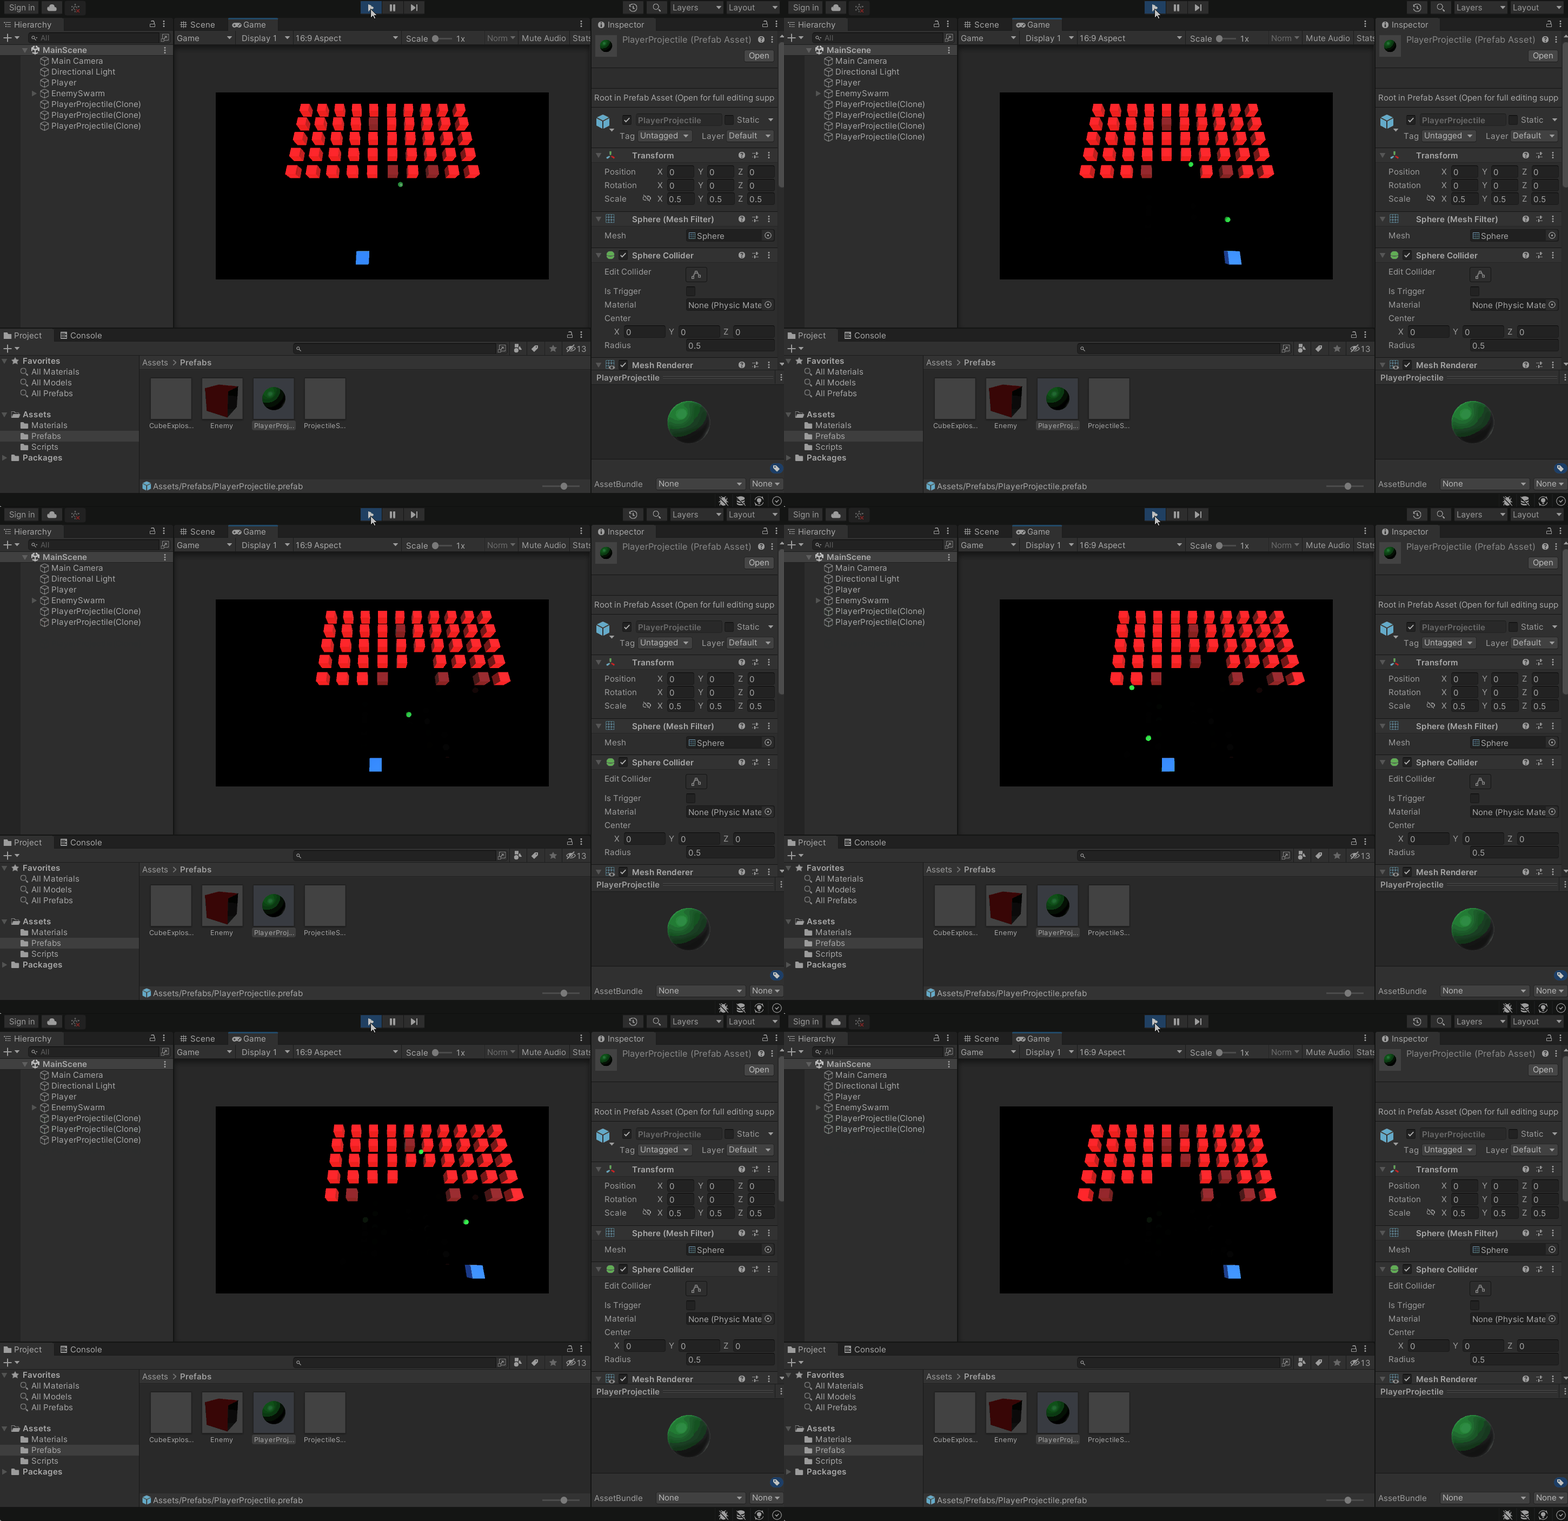
Modify the game such that the enemies have health, and so aren’t destroyed
by just one projectile. Enemies should change visually in some way to reflect
the loss in health (i.e. darken in colour). You should think about
designing any components you create for this in a modular and reusable way. For example,
you could create a HealthManager.cs script which simply tracks the "health" of a game object. This
could eventually be used for different types of enemies, "bosses" and the player themselves. Even
static/non-living objects could eventually make use of it, if they can be destroyed by projectiles.
For an extra challenge, you can try making use of Unity events, such that an event is fired when an object is destroyed, or health is depleted. This is another useful tool that helps further decouple components and maximise re-usability. If you can't figure this out yourself, don't worry, the solution will provide an example approach.
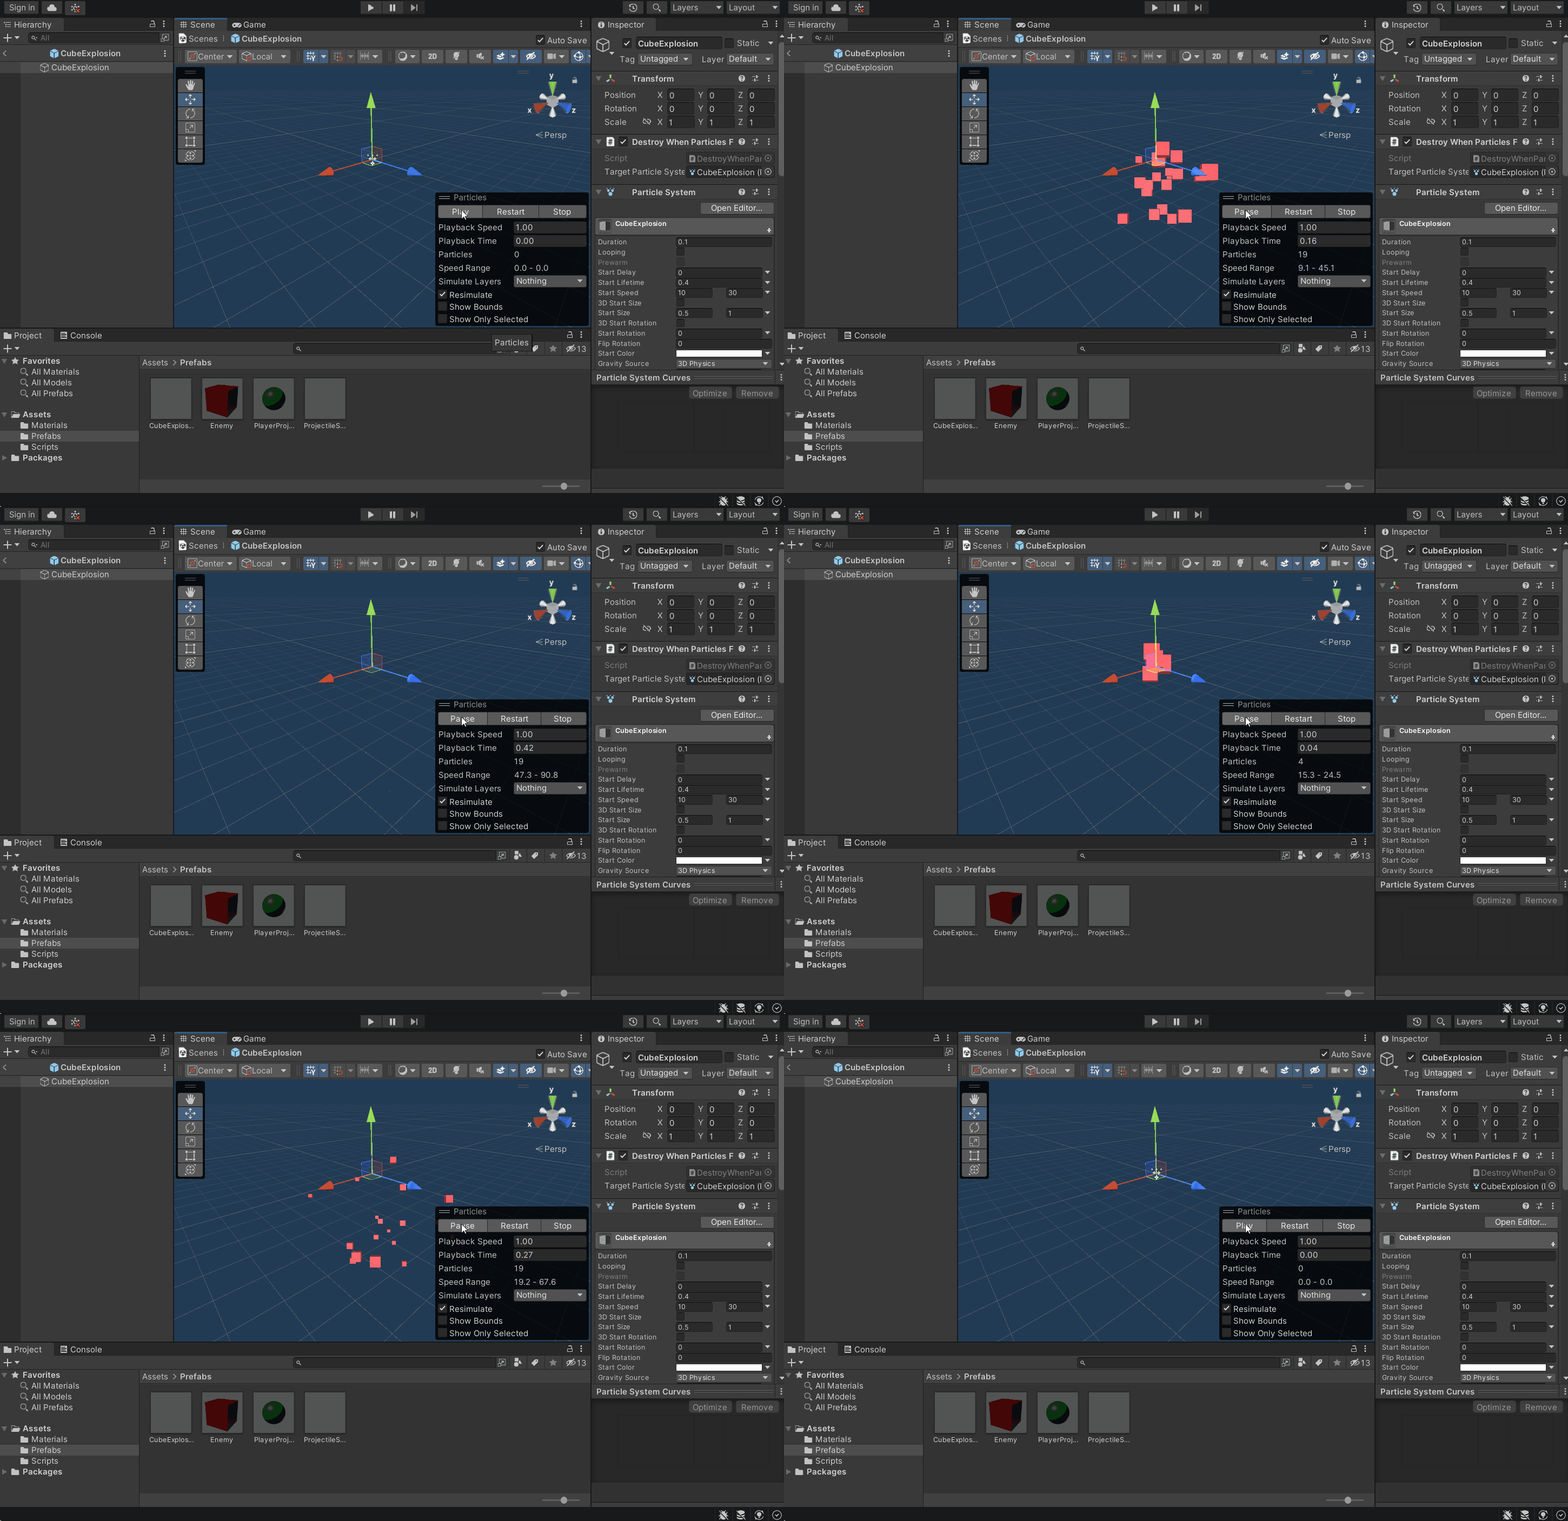
Using a particle system, generate a suitable 'explosion' effect that is triggered when an enemy cube is destroyed. Prefabs will once again be your friend. Ensure the explosions are randomly varied in some way from enemy to enemy. Feel free to be creative with this exercise, and try tuning all the different particle attributes in the editor interface -- there are heaps!
Also create some separate "spark" particles for the projectile when it is destroyed against an enemy cube. The sparks should fire in the opposite direction to the projectile's velocity in order to provide a sense of impact. Again think about the potential re-usability of what you create. The enemies will eventually fire their own projectiles at the player, so perhaps it's worth refactoring your code to generalise your approach.
Consider what would happen to your game's performance if there were hundreds or even thousands of game objects created and/or destroyed each second (e.g. rapid fire projectiles). Sometimes it is worth utilising "object pools" to recycle objects rather than continually instantiating and destroying them, as there is most certainly a cost associated with this. Research techniques for implementing object pools in Unity, and as an exercise, you might wish to try implementing an object pool for the projectiles (and particle systems) presently implemented.
We'll continue to develop this project into more of an actual game next week! In the meantime, experiment with what you have created today and develop the game further yourself. For example, you could make the enemy cubes fire their own projectiles that can destroy the player, or you can create different types of enemies with varying health levels. If you want more practice with the graphics side of things, make the "damaged" enemy cubes visually a little less boring than a darker shade of red (perhaps practice writing a shader here).
Remember that game development requires a lot of practice and initiative, as does software development generally. Ensure that you're tinkering with Unity in your spare time as much as possible while work on project 2 continues...
