Please follow the Quickstart: Deploy an Azure Kubernetes Services (AKS) cluster using Azure CLI to create the required Azure Kubernetes Services.
We are using 3 CLI tools: Azure CLI, Kubectl and Helm. If you are running in CloudShell, these tools are already available there for you.
AKS_CLUSTER_RG="aks-takserver-rg"
AKS_CLUSTER_NAME="aks-takserver-cluster"
AKS_CLUSTER_LOCATION="usgovvirginia"
Run the following command to create your AKS Cluster:
# Create Resource Group used by AKS and Storage account
az group create --name "${AKS_CLUSTER_RG}" --location "${AKS_CLUSTER_LOCATION}"

# Create AKS Cluster
az aks create --resource-group $AKS_CLUSTER_RG --name $AKS_CLUSTER_NAME --node-count 1 --generate-ssh-keys
To manage a Kubernetes cluster, use the Kubernetes command-line client, [kubectl][kubectl]. kubectl is already installed if you use Azure Cloud Shell. To install kubectl locally, use the az aks install-cli command.
- Configure
kubectlto connect to your Kubernetes cluster using theaz aks get-credentialscommand. This command downloads credentials and configures the Kubernetes CLI to use them.
az aks get-credentials -g "${AKS_CLUSTER_RG}" -n "${AKS_CLUSTER_NAME}"- Verify the connection to your cluster using the
kubectl getcommand. This command returns a list of the cluster nodes.
kubectl get nodesDownload and Push TakServer Images to Azure Container Registry.
- Login to Azure
  az cloud set --name AzureUSGovernment
  az login
  az acr login -n takacr
- Download the HELM scripts from the GitHub Repo
git clone https://github.com/cheruvu1/tak-helm-hardened.git
- Create ACR Auth Secret
acr="takacr"
acr_login_server=$(az acr show --name $acr --query loginServer --output tsv)
docker_user=$(az acr credential show --name $acr --query username --output tsv)
docker_password=$(az acr credential show --name $acr --query "passwords[0].value" --output tsv)

kubectl create namespace tak
kubectl -n tak create secret docker-registry acr-creds --docker-server=$acr_login_server \
--docker-username=$docker_user \
--docker-password=$docker_password
- Install TakServer
cd tak-helm-hardened/takserver
helm install takserver . -n tak
helm list -A -n tak
kubectl get all -n tak
kubectl describe pod/<Pod Name> -n tak
- Install TakServer-FedHub
cd tak-helm-hardened/takserver-fedhub
helm install takserver-fedhub . -n tak
helm list -A -n tak
TAK Server uses client and server certificates, TLS and X.509 mutual authentication and for channel encryption. Scripts for generating a private security enclave, including a Certificate Authority (CA), and certs for use by TAK Server and clients are located in /utils/misc/certs.
- Download the generated certificates
kubectl cp tak/<takserver-core-Pod>:opt/tak/certs/files/admin.p12 ./admin.p12
kubectl cp tak/<takserver-core-Pod>:opt/tak/certs/files/root-ca.pem ./root-ca.pem
kubectl cp tak/<takserver-core-Pod>:opt/tak/certs/files/ca.pem ./ca.pem
kubectl cp tak/<takserver-core-Pod>:opt/tak/certs/files/ca-trusted.pem ./ca-trusted.pem
kubectl cp tak/<takserver-core-Pod>:opt/tak/certs/files/root-ca.pem  ./root-ca.pem
kubectl cp tak/<takserver-core-Pod>:opt/tak/certs/files/takserver.pem ./takserver.pem
- Import the certificate into your browser
- Open Chrome and go to "Settings" (three dots in the top right corner).
- Navigate to "Privacy and Security" -> "Security" -> "Manage Certificates."
- Go to the "Your certificates" tab.
- Click the "Import" button.
- Browse to and select your admin.p12 file.
- Enter the certificate password when prompted. The default password is often atakatak unless you changed it during the TAK Server setup.
- Open Firefox and go to "Settings" (three lines in the top right corner).
- Search for "Certificates" in the settings search bar.
- Click on "View Certificates."
- Go to the "Your Certificates" tab.
- Click the "Import" button.
- Browse to and select your admin.p12 file.
- Enter the certificate password when prompted.
- Access the TAK Server WebTak web UI
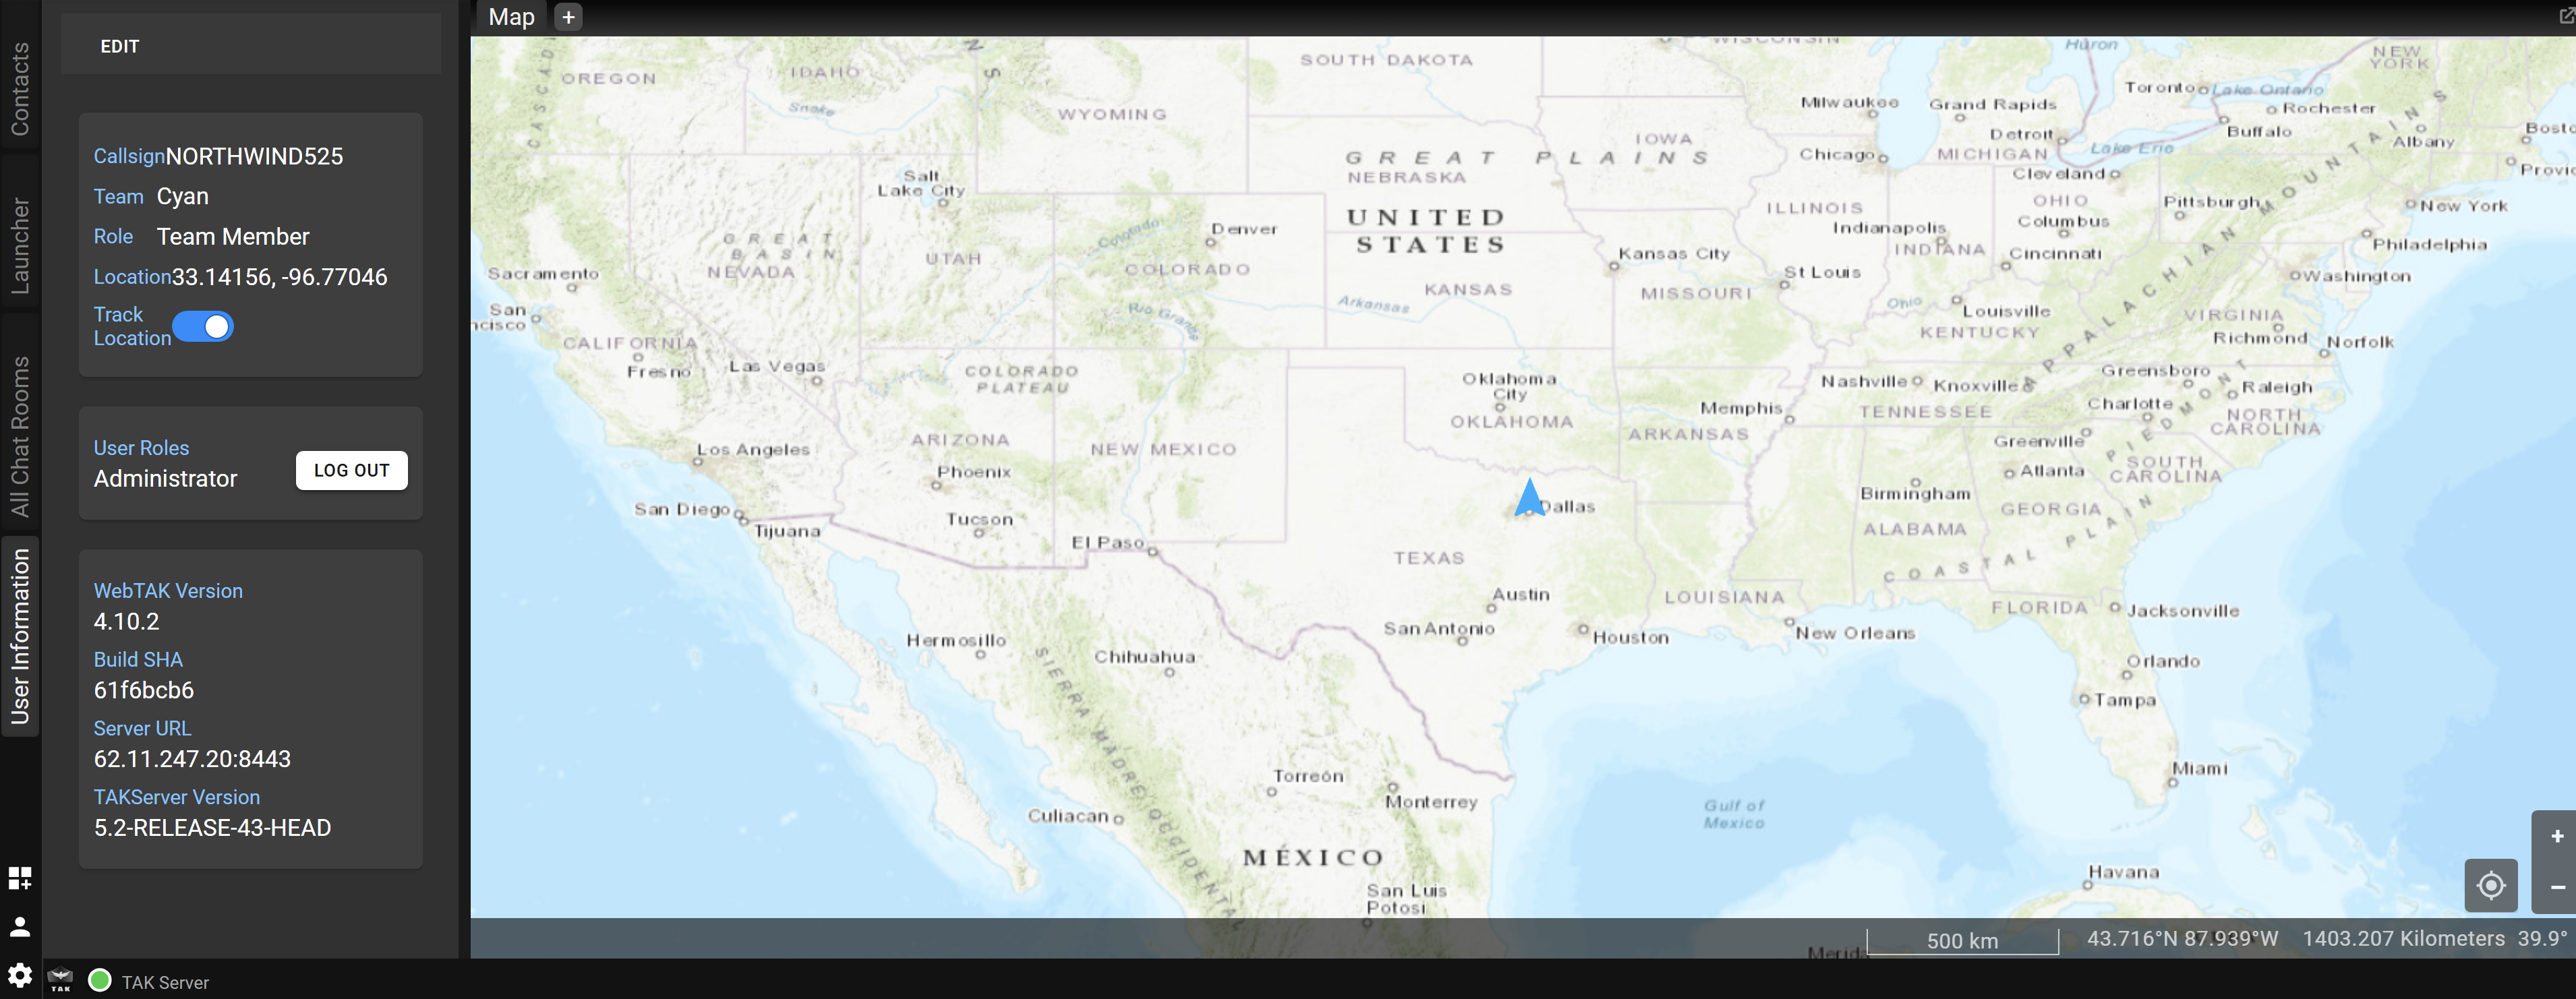
Once the certificate is imported, you can access the TAK Server web interface by navigating to its IP address and port (e.g., https://YOUR_SERVER_IP:8443 or https://YOUR_SERVER_IP:8446). Your browser will likely prompt you to select the admin certificate for authentication.
Note: The admin.p12 certificate not only provides secure communication but also identifies you as an administrator, eliminating the need to repeatedly enter a password for web UI access.
kubectl get service/takserver-core -n tak
Note: Capture the EXTERNAL-IP

https://EXTERNAL-IP:8443/webtak/index.html

Configure the DNS or add the External IP in local host file
https://takserver:8443/webtak/index.html
- Access the TakServer Admin Portal
kubectl get service/takserver-core -n tak
Note: Capture the EXTERNAL-IP

https://EXTERNAL-IP:8446/Marti/metrics/index.html#!/

Configure the DNS or add the External IP in local host file

https://takserver:8446/Marti/metrics/index.html#!/

