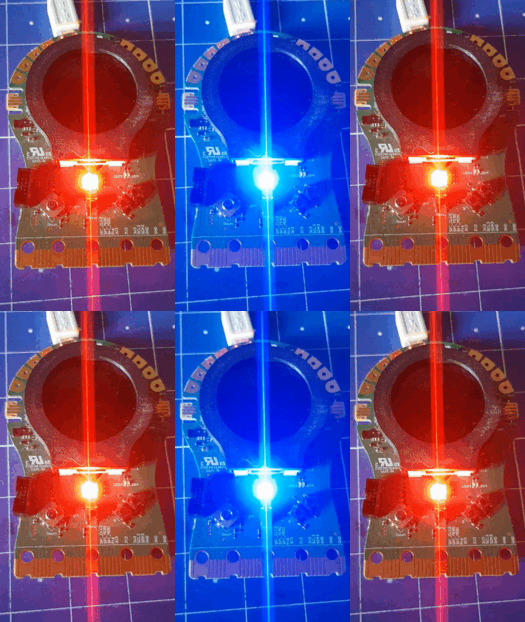
This tools is for internal usage, we use it to load daplink on target (STM32L475, STM32WB55, ...), to replace ST-LINK.
With OpenOCD, the program steps are :
- Unlock the RDP of the STM32F1x (if needed)
- Mass erase flash
- Flash bootloader
- Send firmware
- (optionnal) Send test program
- OpenOCD:
sudo apt install openocd - Python 3.x:
sudo apt install python3 - Python3 pip:
sudo apt install python3-pip
💡 All in one: sudo apt install openocd python3 python3-pip
- OpenOCD:
- Download lastest release from https://github.com/openocd-org/openocd/releases/latest
- add the
binfolder to your path (e.gC:/openOCD/bin).
- Python 3.x: Download it from https://www.python.org/downloads/windows/
- Python3 pip: If not installed with Python, here are the instructions: https://packaging.python.org/en/latest/tutorials/installing-packages/#requirements-for-installing-packages
Untested, but certainly identical to Linux.
- virtual-env:
pip install virtualenv(optionnal) - Tkinter:
pip install tk - psutil:
pip install psutil
💡 You can install everything (virtual env include), with the install.sh script (Linux only).
DapLink bootloaders and firmwares can be found at https://github.com/letssteam/DAPLink/releases
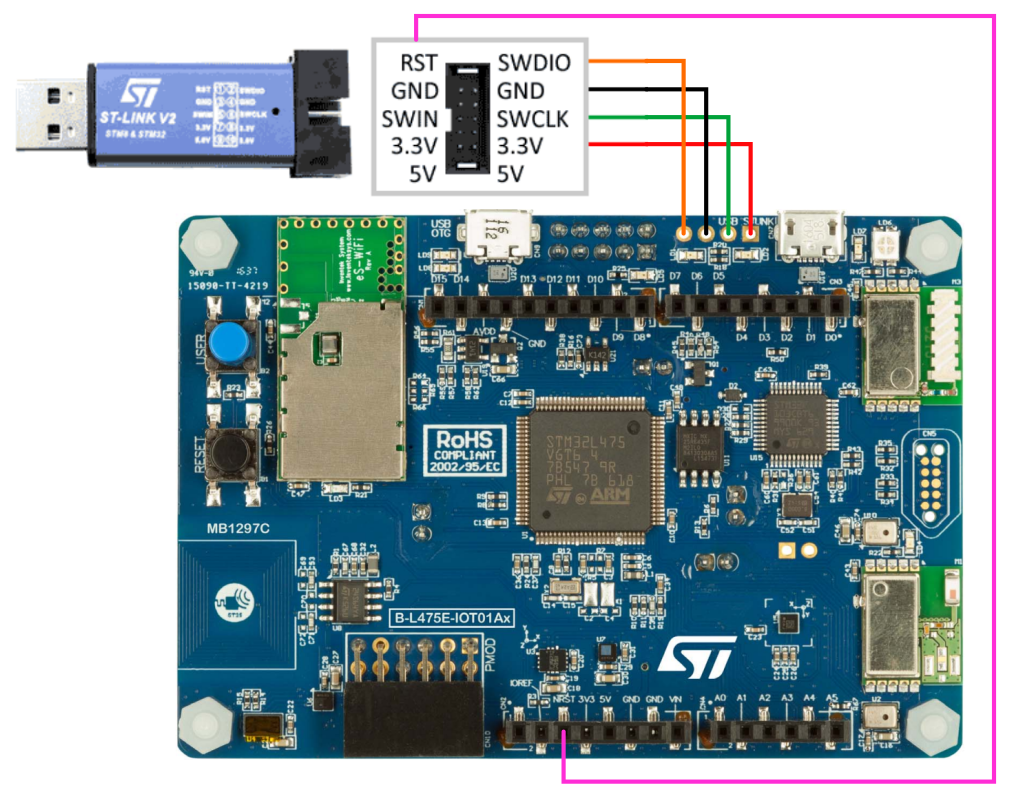
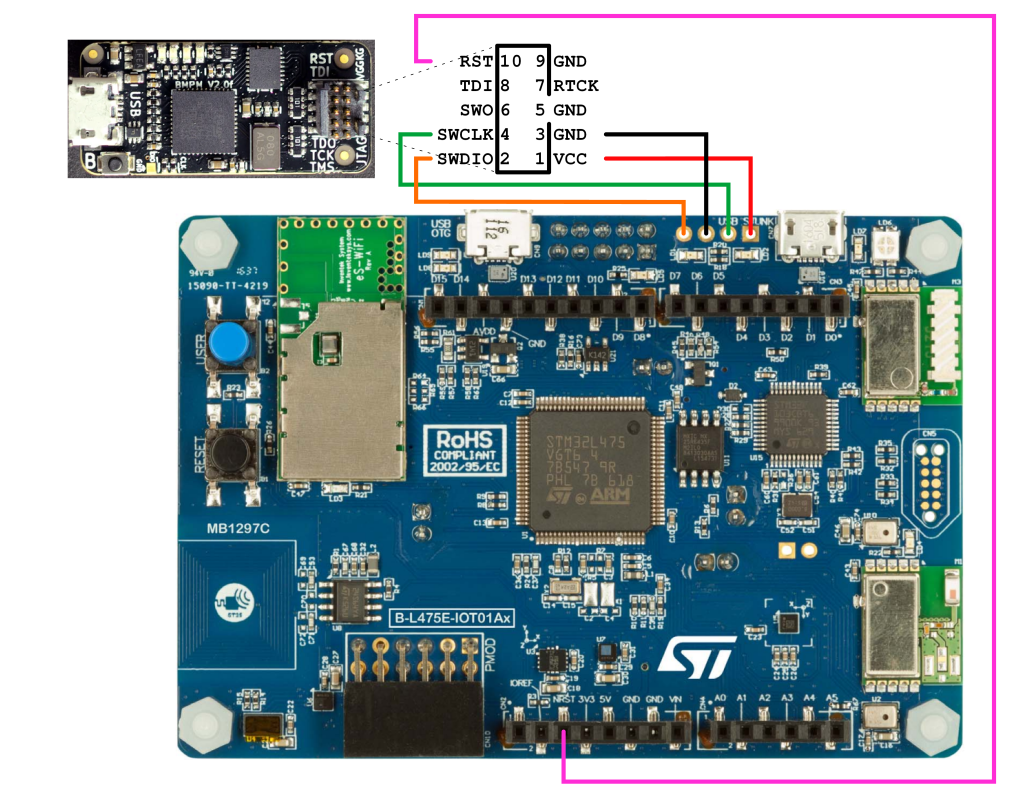
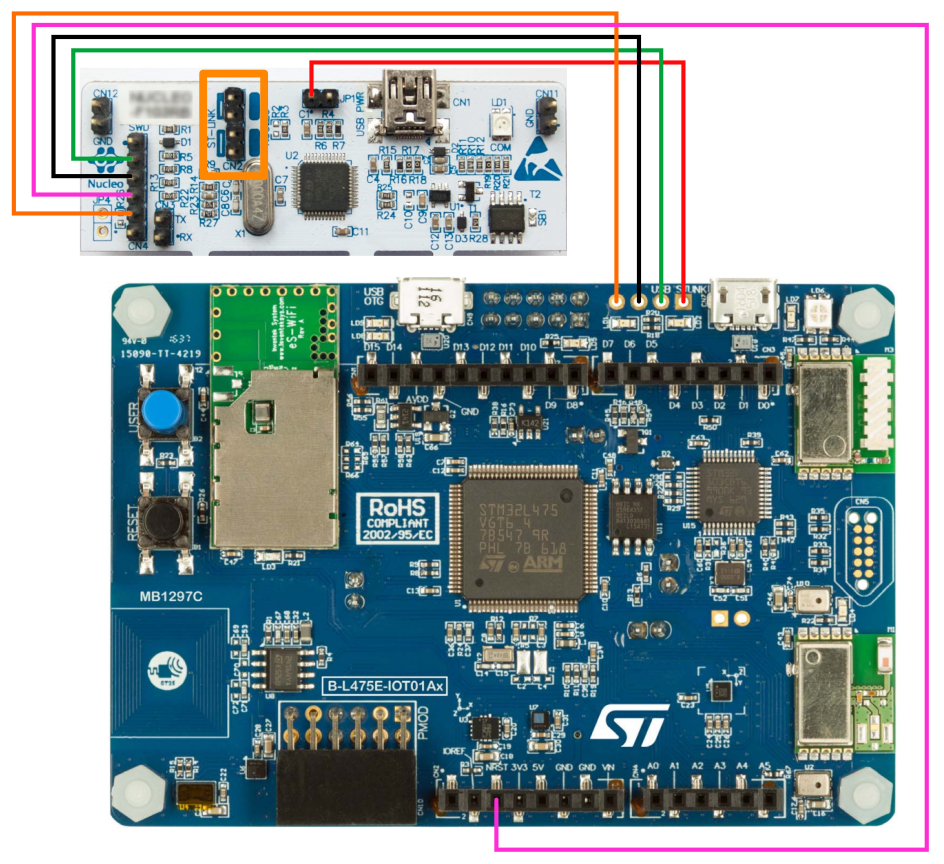
To allow the program flash the DapLink bootloader, the DapLink firmware, then the test program (optional), it's important to wiring you board.
Note: Connect the target (STM32 Disco L475 IoTNode, STM32 Nucleo WB55, ...) to your computer after wiring and connecting the probe to your computer
Here are somes schematics, to show you how to plug probes to the board.
CN2 (orange rectangle) before flashing anything. Then replace them when you are finished.
Soon... ;)
The program offer a simple GUI interface to select the bootload and the firmware that will be flashed on the STM32F1x.
- Launch the script
easy_daplink.pyfile (e.gpython3 easy_daplink.py)
If you're using a virtual environment, you can launch it with python in thevenv/bin/directory (for example:venv/bin/python3 easy_daplink.py), or you can start the program withstart_venv.sh(Linux only). - Select the
scriptfolder of OpenOCD (e.g On Linux :/usr/share/openocd/scripts/) - Select files you downloaded from requirements
- The bootloader binary file to flash (e.g:
stm32f103xb_bl.bin) - The firmware binary file to flash (e.g:
stm32f103xb_stm32l475vg_if.bin) - (optionnal) The program binary file to flash (you can find test program in
test binfolder)
- The bootloader binary file to flash (e.g:
- Set the mount point name
- For "Maintenance", after bootloader was flashed (e.g:
MAINTENANCE) - For "Programming", after firmware was flashed (e.g:
DIS_L4IOT,DAPLINK, ...)
- For "Maintenance", after bootloader was flashed (e.g:
- Define the timeout mount point waiting (e.g:
10000), in milliseconds (1000 milliseconds = 1 second) - Push the "Start" button.
💡 Pro tips: All inputs are saved for the next time you will open the tool !
In the test bin folder, you can find some simple programs for targets.
It blinks the LEDs, LD1 and LD2, in two different patterns.
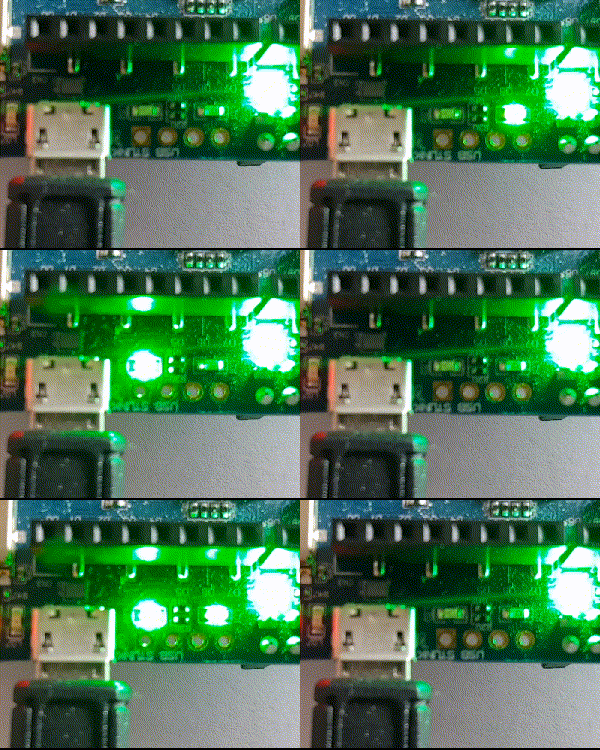
Toggles between high and low states of pins PC10 and PC12. (The video is the result on the STeaMi board).
