BSCS3A - GROUP 6
- Ken Horlador
- Ma. Antoinette Sisno
- Jedele Mae Gaspi
- Loren Llorin
- Ma. Veronica Beltrano
- Download RaspberryPI via this link: RaspberryPI
- Raspberry Pi Imager is the quick and easy way to install Raspberry Pi OS and other operating systems to a microSD card, ready to use with your Raspberry Pi. Here is the link for the Raspberry Pi Imager
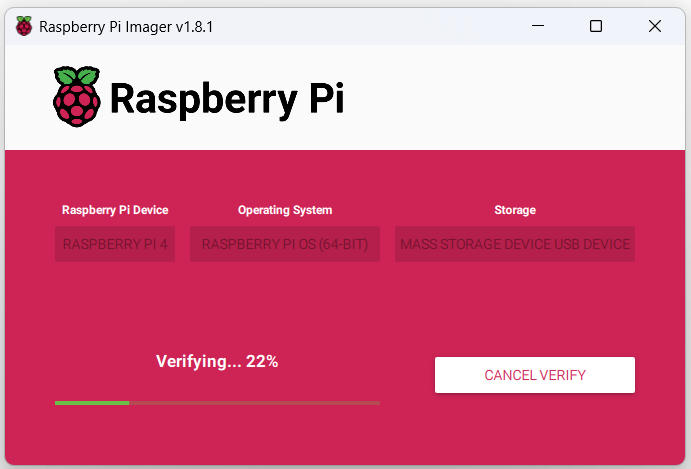
- Open Raspberry Pi Imager. Choose Raspberrry Pi Device, Operating System, and Storage.
- In this project, we choose Raspberry Pi 3 as device, Raspberry Pi OS (Legacy) as operating system, and our 32GB SD Card as storage.
- After choosing the preferred device, OS, and storage, click Next.
- OS writing on our SD card will then start
- After writing, verification will start.
- Wait until the verification hits 100%, and write succesfull prompt will appear. In this part, it's now safe to eject our SD card from the PC.
- In the command prompt, type SSH to access the network protocol. Then type the following command:
ssh <username>@<hostname>
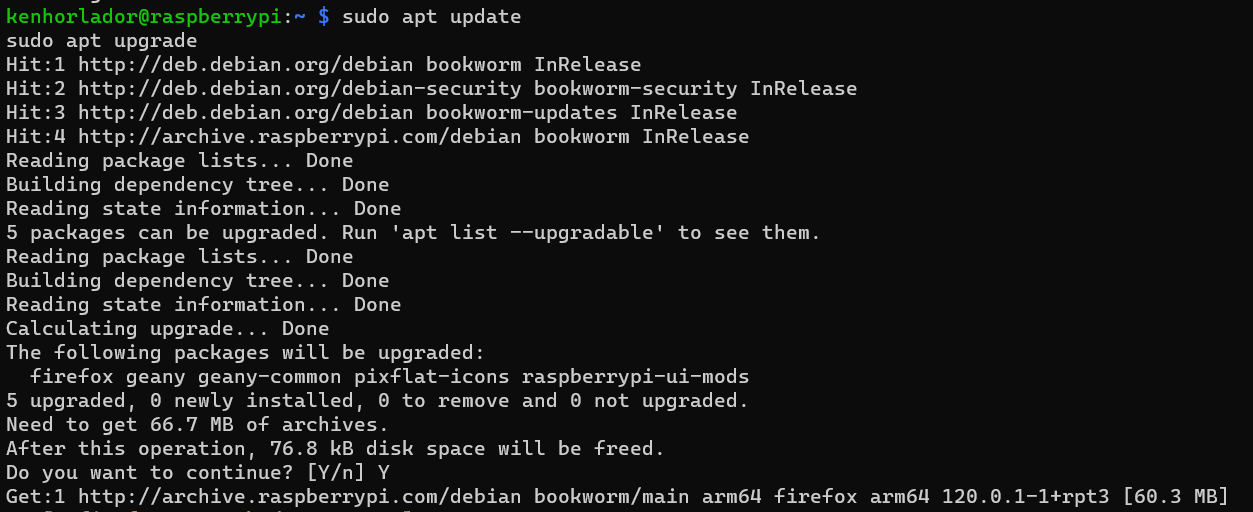
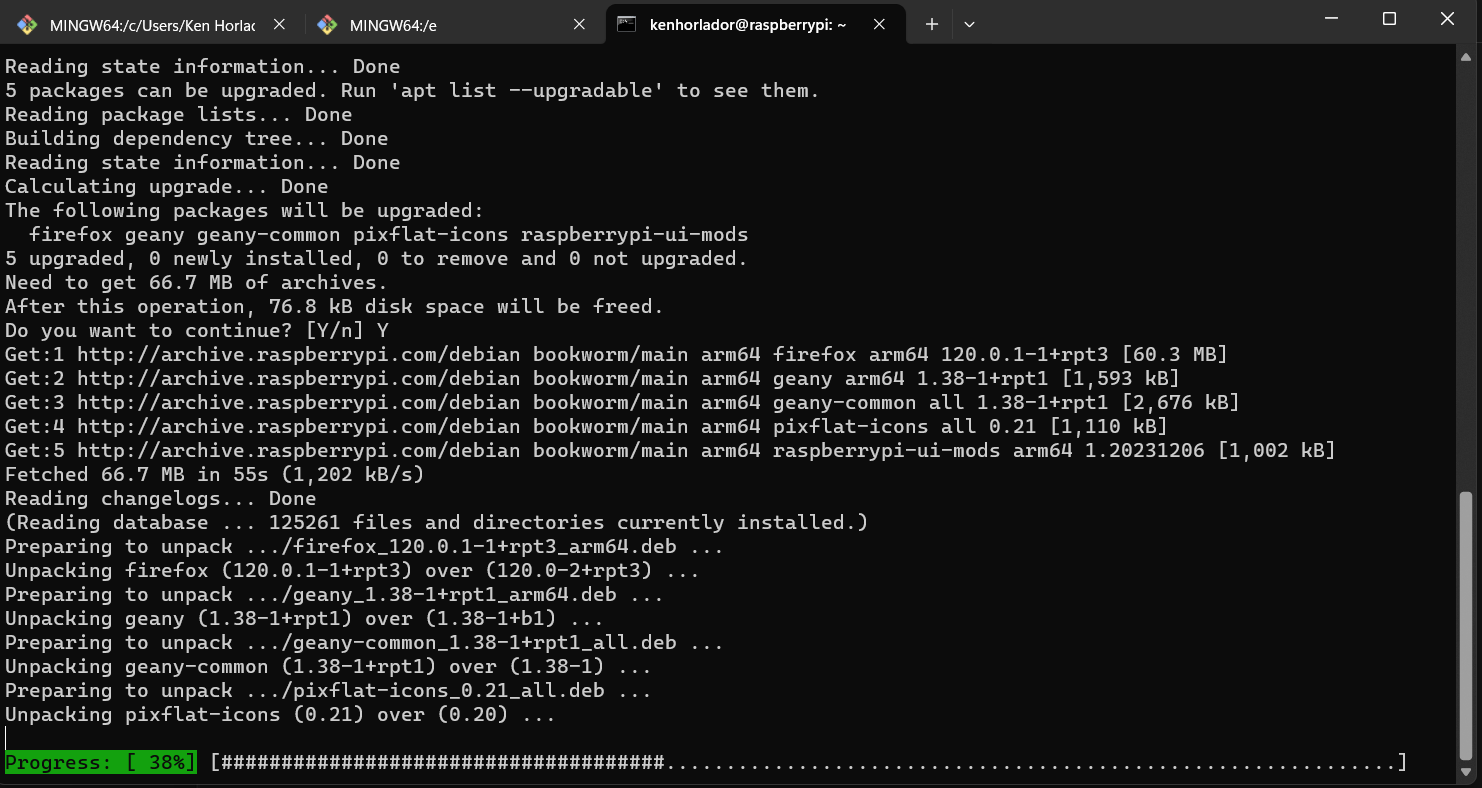
ssh kenhorlador@172.18.171.248sudo apt updatesudo apt upgrade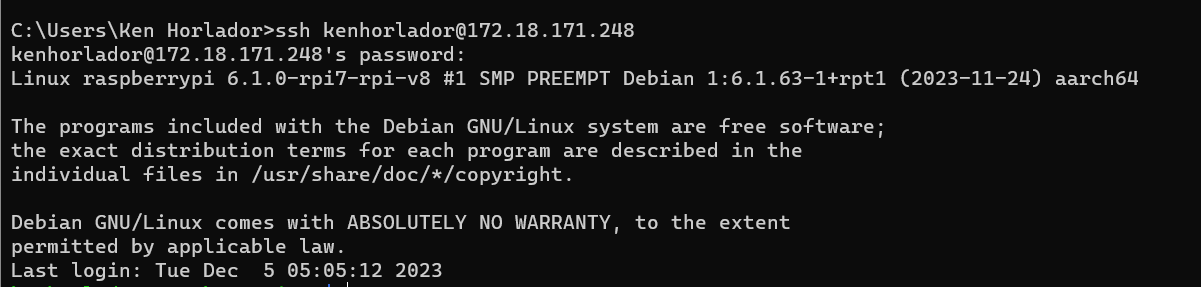


- Deploying a LAMP stack on a Raspberry Pi involves installing and configuring several software components:
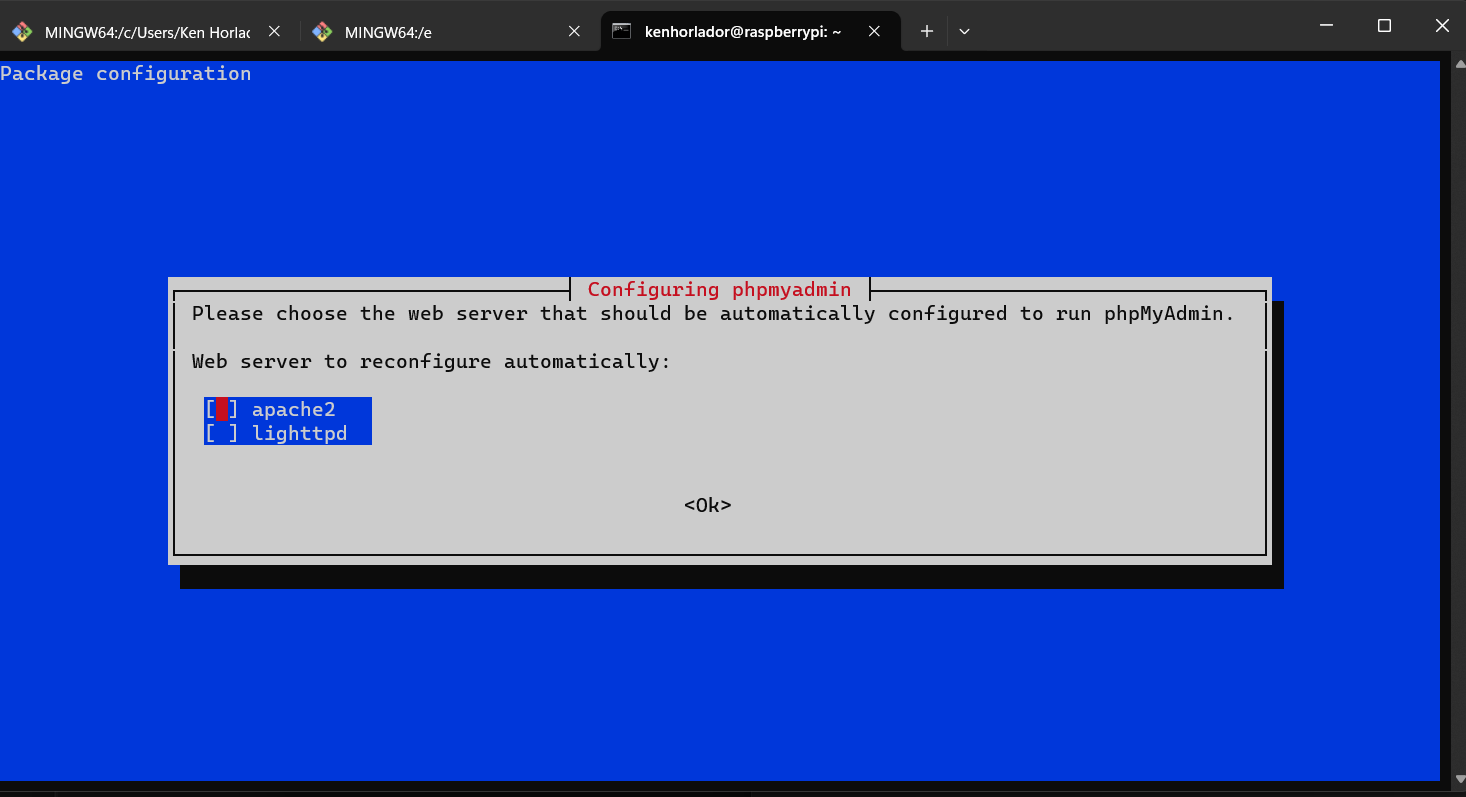
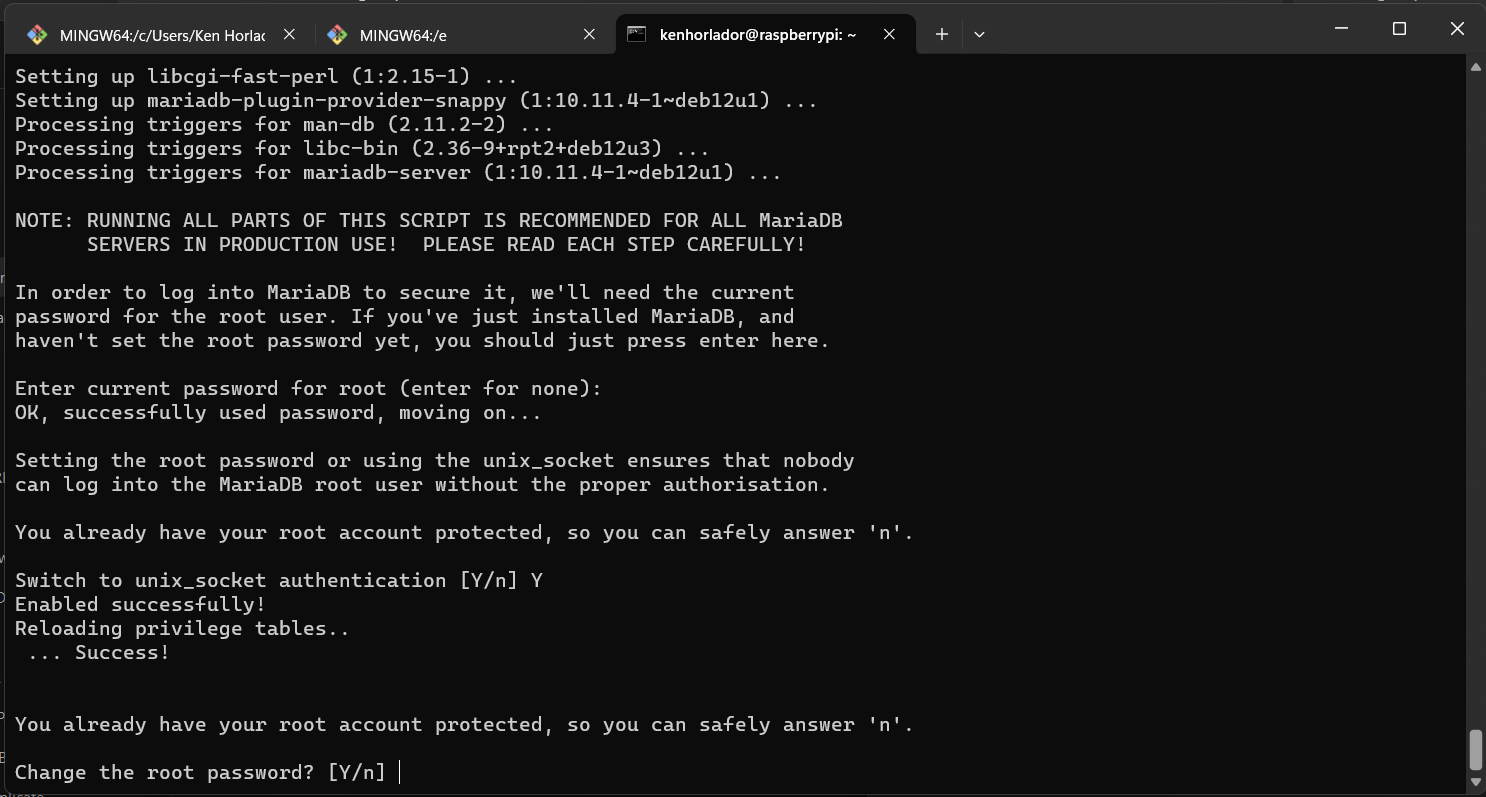
sudo apt install apache2sudo apt intall mariadb-serversudo mysql_secure_installationsudo apt install php libapache2-mod-php php-mysqlsudo apt-get install phpsudo apt install phpMyAdmin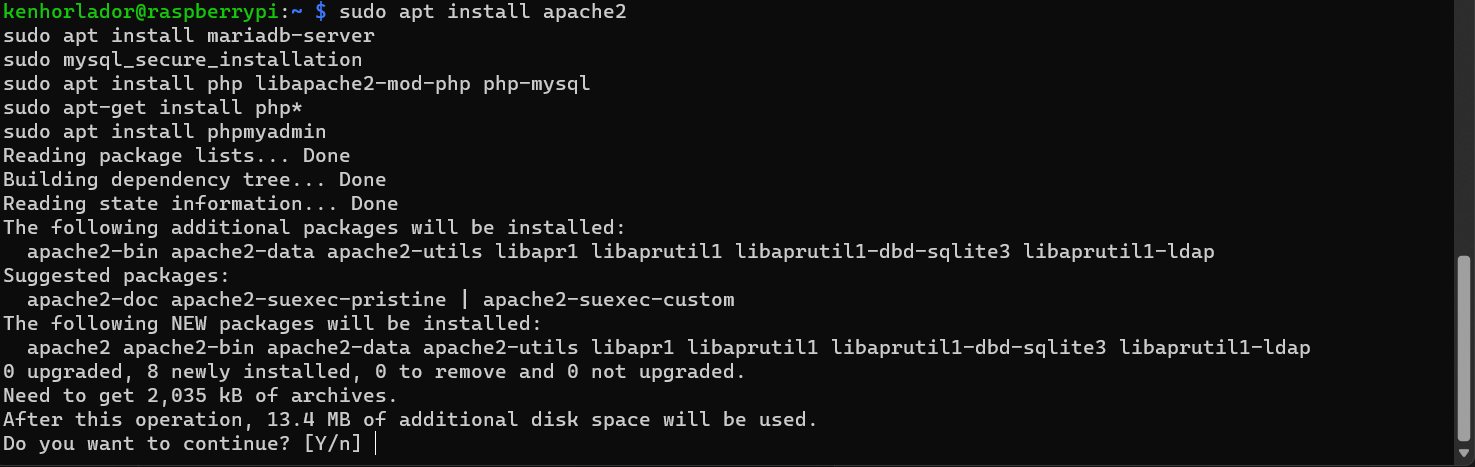
- Install RealVNC® Viewer to the device you want to control from via this RealVNC
- Before opening VNC on our PC, access first the Raspberry Pi Configuration Tool to enable VNC on the OS via the sudo raspi-config command.
- Using the arrows, navigate to 'Interfacing Options' > 'VNC', then choose 'Yes' and select 'OK'
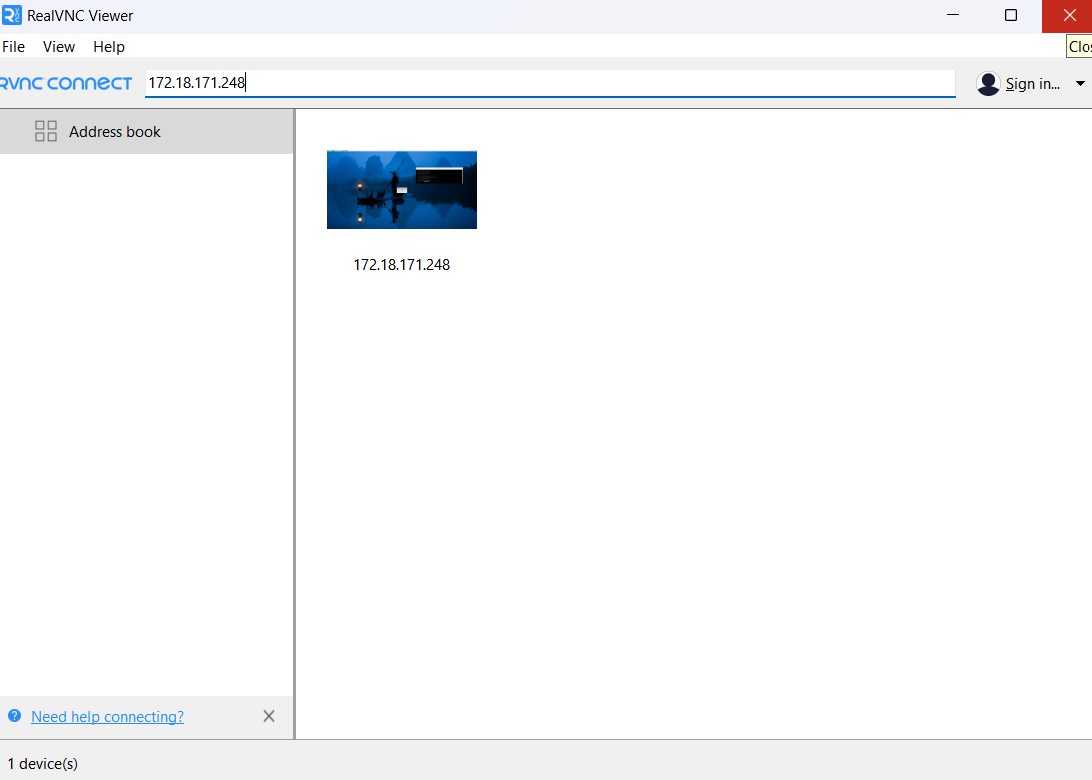
- On the device you will use to take control, run RealVNC Viewer and enter the private IP address in the search bar. If the screen of the Raspberry Pi appeared on RealVNC, it means that it already established connection and control on the Raspberry Pi.