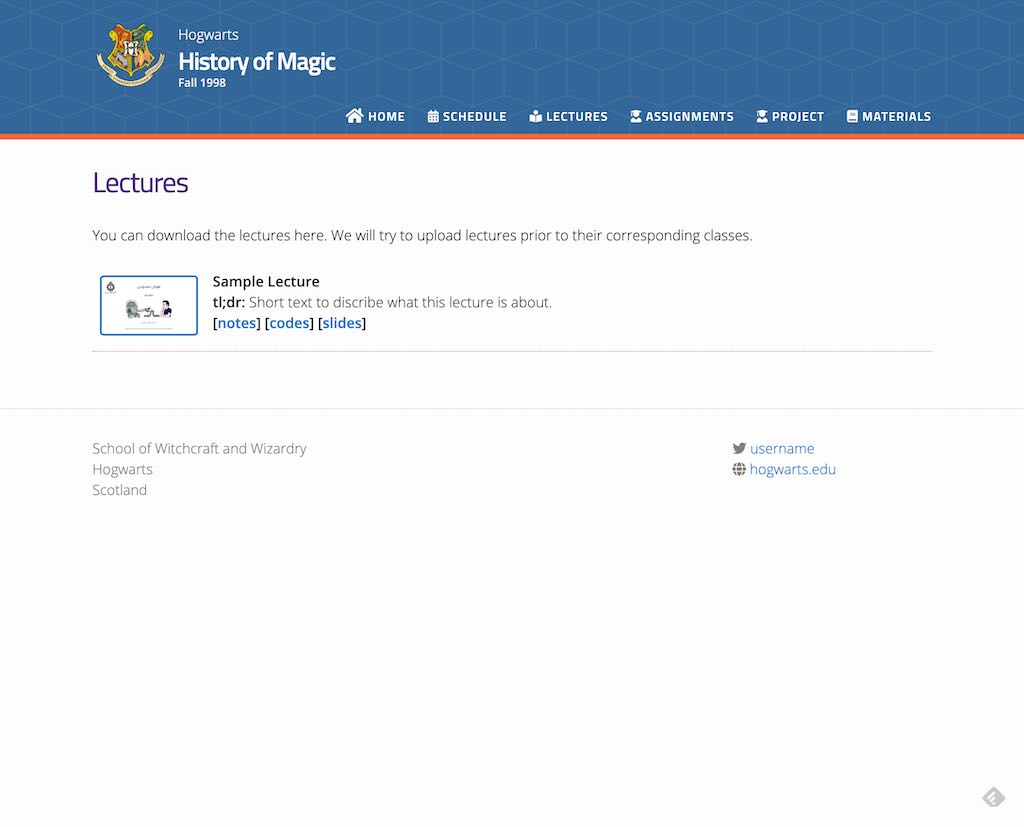
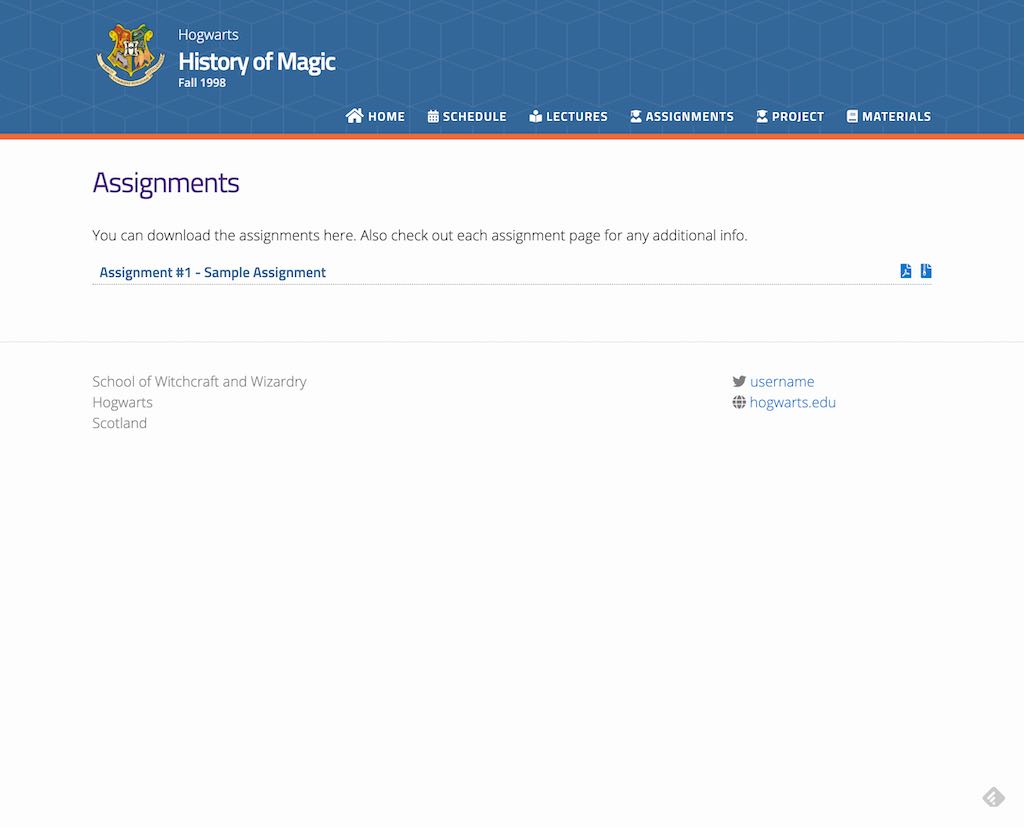
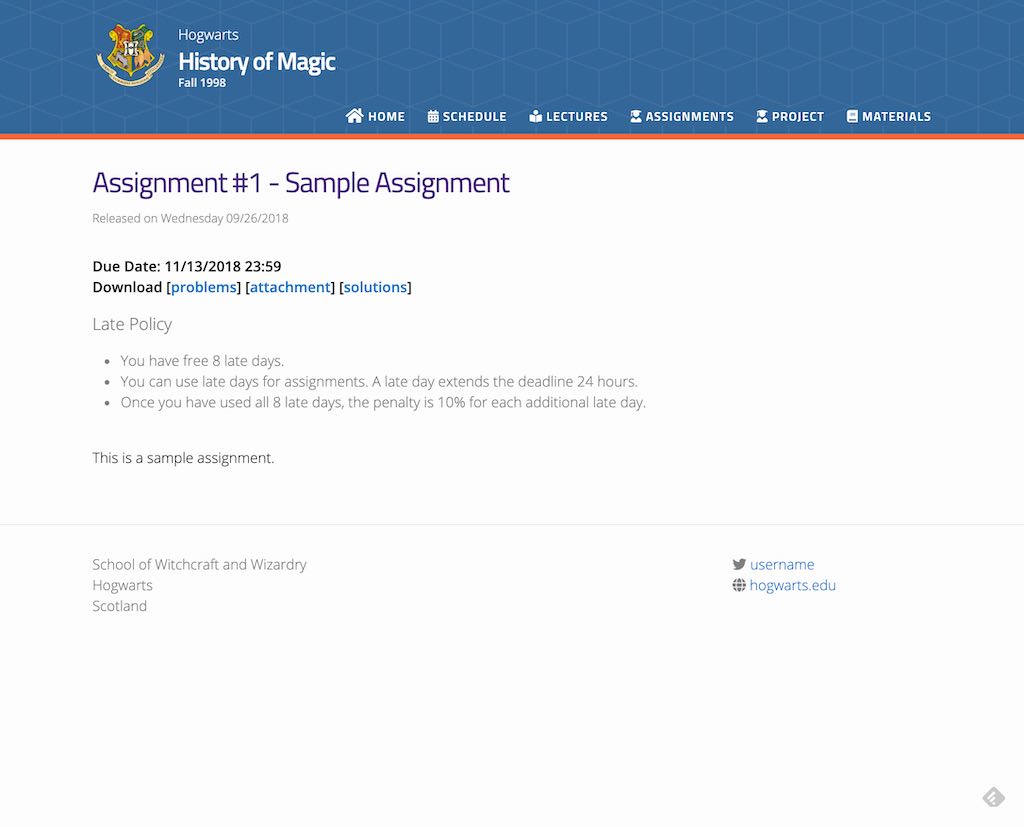
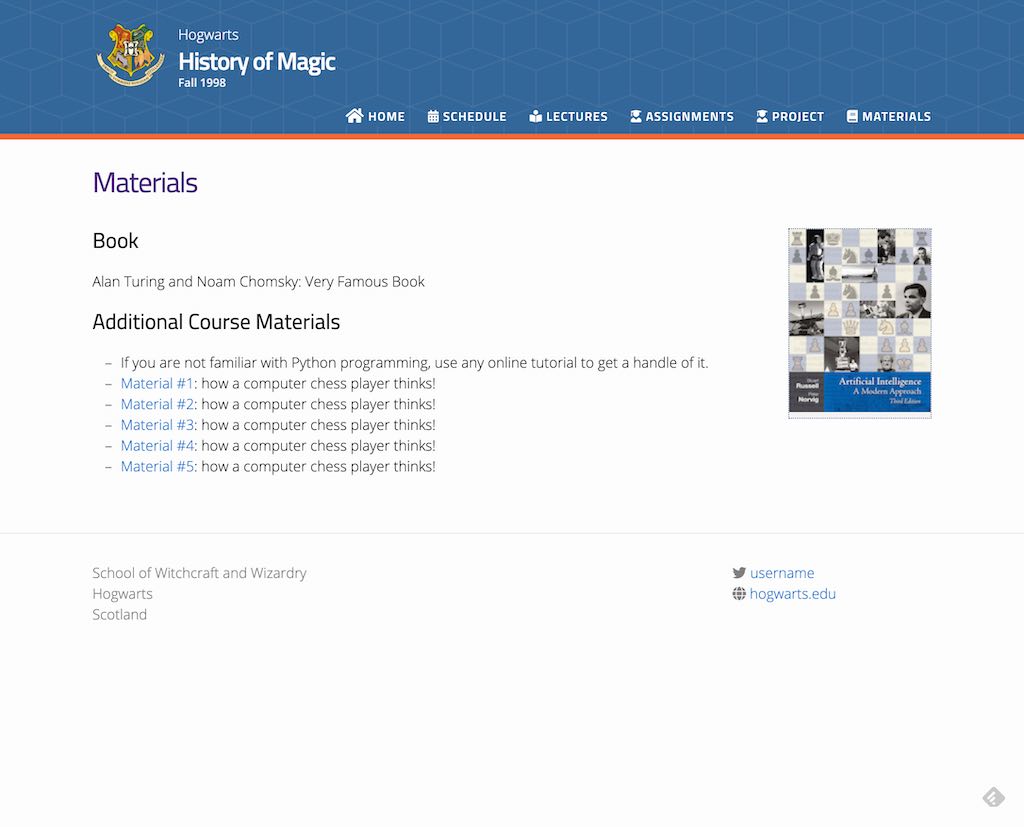
- Individual page for assignments, lectures, course material, course schedule
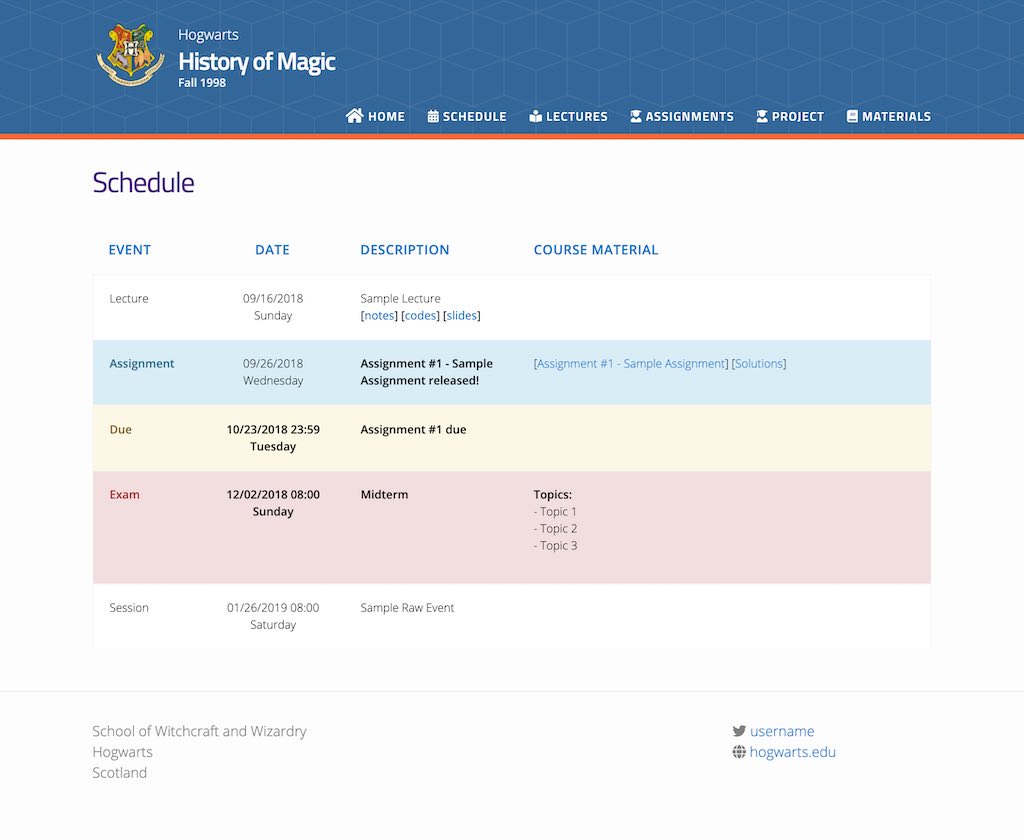
- Auto generated Course schedule Page
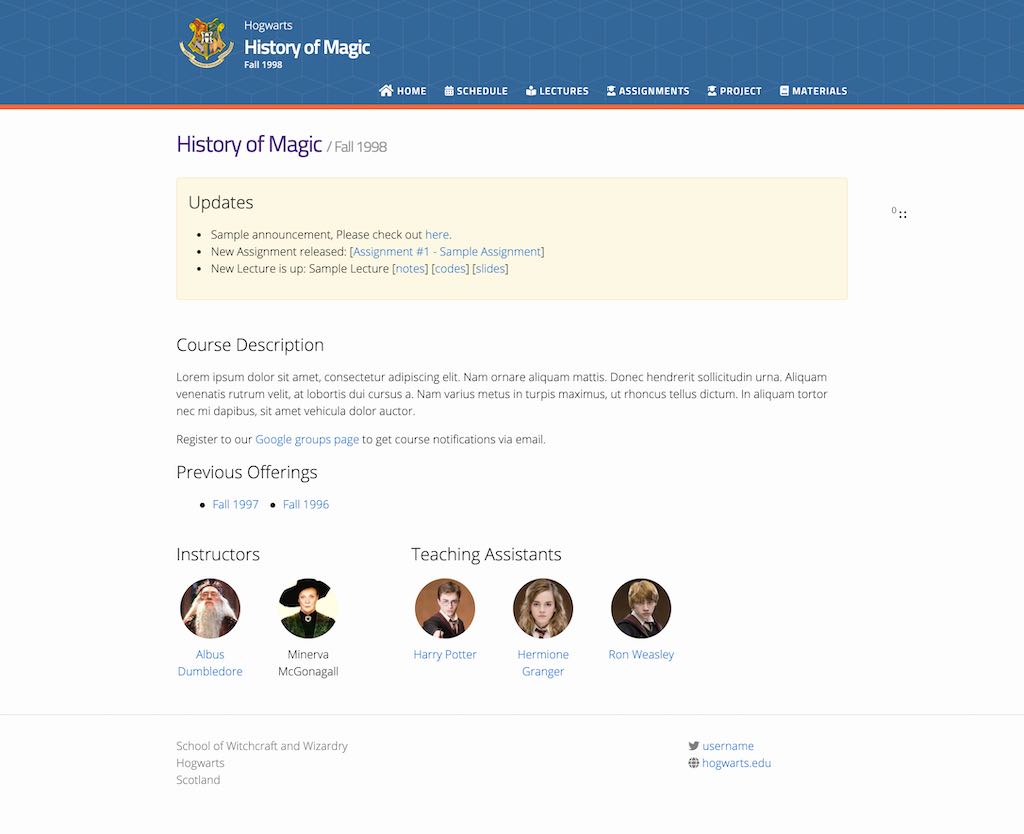
- Auto generated course updates section (for each new lectures and assignments) + custom/manual announcements
- Super lightweight
- Highly customizable
- Ready to be used in Github Pages
- Responsive Mobile View
- Support for Google Analytics
- Version 2.0
- New Schedule page with more efficient use of space.
- Gregorian calendar is now the default one (English Calendar).
- Add customization options to home, assignments, lectures, and schedule pages.
- Add support for themes (so you can modify the website's look according to your school's brandings)!.
- Move navigation menus to YAML which means it is now easier to add new pages.
- Add more flexibility to lecture's links
Checkout for a working demo at kazemnejad.github.io/jekyll-course-website-template/. You may also want to see this real-world example at iust-deep-learning.github.io/972 or iust-courses.github.io/ai97/ (Please note the last two examples are using the older version).
This template is heavily based on svmiller / course-website.
- Fork this repository.
- Open
_config.yml.- Update
urlfield according to your GitHub account (e.g.,https://<your-github-username>.github.io/). - Update
baseurlfield according to your reporsitory's name (e.g.,/cs101). - Commit and push your changes.
- Update
- Go to your repository's settigns (
https://github.com/<your-github-username>/<your-repo-name>/settings). - On GitHub Pages section, choose source to be your master branch, and enable Github Pages.
- You are now ready to go! Start customizing your website.
Pro Tip: You don't need to clone your repo to update your website. Use GitHub web UI to update its source files, and GitHub will build and deploy your website automatically!
Best Practice for managing repositories: If you plan to use this template for university courses, and the course is offered for multiple semesters/quarters, I suggests you to create a GitHub account or an Organization for it. Then, create new repoository under that account/organization for each semester.
- Example:
- Course name: CS101
- Semester: Fall 2020
- School name: CMU
- => account/org name:
cmu-cs101 - => repo name:
fa2020 - => website address will be:
https://cmu-cs101.github.io/fa2020/
- Install Jekyll (Installation guide)
- Clone your repo
- Watch your website while editing:
bundle exec jekyll serve
- Open
_config.yml - Update
course_name,course_semester, andcourse_description(this will appear in the home page). - Update
schoolname,schoolurl,twitter_username, andaddressaccordingly. - (Optional) Enter your Google Analytics tracking ID in the
google_analyticsfield (Remember to uncomment it). - Add more content to your home page: Update
index.md(it supports Markdown!) - Update course staff info at
_data/people.yml(You may need to upload the profile pics to_imagesfolder. - (Optional) Open
_data/previous_offering.ymland update the data if needed.
- Open
_sass/_user_vars.scss - Select your favorite from the pre-defined themes (comment all other themes, and uncomment your desired one)
- Here are all themes:
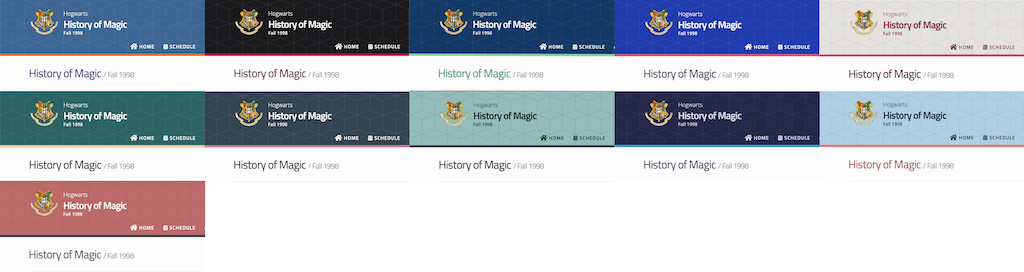
- You can also change the colors manually to match your branding
To add a new lecture, create an empty file with .md postfix in _lectures/ directory. fill it using below template:
---
type: lecture
date: 20xx-xx-xxTx:xx:xx+4:30
title: <Title of this lecture>

# optional
# please use /static_files/notes directory to store notes
thumbnail: /static_files/path/to/image.jpg

# optional
tldr: "What is AI? How does it impact our lives? The current state of the art."

# optional
# set it to true if you dont want this lecture to appear in the updates section
hide_from_announcments: false

# optional
links:
    - url: /static_files/presentations/lec.zip
      name: notes
    - url: /static_files/presentations/code.zip
      name: codes
    - url: https://google.com
      name: slides
    - url: https://example.com
      name: other
---
<!-- Other additional contents using markdown -->
**Suggested Readings:**
- [Readings 1](http://example.com)
- [Readings 2](http://example.com)To add a new assignments, create an empty file with .md postfix in _assignments/ directory. fill it using below template:
---
type: assignment
date: 20xx-xx-xxTx:xx:xx+4:30
title: <Assignment title (e.g. Assignment #1>

# optional
pdf: /static_files/assignments/assign_01.pdf

# optional
solutions: /static_files/assignments/assign_01_solutions.pdf

# optional
attachment: /static_files/assignments/assign_01_attachment.zip

# optional
# set it to true if you don't want this assignment to appear in the announcements section
hide_from_announcments: false

due_event:
    type: due
    date: 20xx-xx-xxTx:xx:xx+4:30
    description: 'Assignment #1 due'
---
<!-- Other additional contents using markdown -->Use _events/ directory to add new a deadline, use type: due. These events will apear at the schedule page.
---
type: due
date: 20xx-xx-xxTx:xx:xx+4:30
description: <Description of deadline (e.g. 'Final report due')>

# optional
# set it to true if you don't want this event to appear in the announcements section
hide_from_announcments: false
---Use _events/ directory to add new Exam alert, use type: exam. These events will apear at the schedule page.
---
type: exam
date: 20xx-xx-xxTx:xx:xx+4:30
description: <Description of the exam (e.g. 'The midterm exam')>

# optional
# set it to true if you don't want to this event appear in the announcements section
hide_from_announcments: false
---Use _events/ directory to add new custom events, use type: raw_event. These events will apear at the schedule page.
---
type: raw_event
name: <Event name>
date: 20xx-xx-xxTx:xx:xx+4:30
description: <Event description>

# optional
# if you want to hide time in Schedule, set this to true
hide_time: false

# optional
# set it to true if you don't want this event appear to in the announcements section
hide_from_announcments: false
---
<!-- you can create custom content using markdown. this section will be placed in "Course Materials (in schedule section)" -->
## Hello
this is a custom event with `code` All contents here appear in at the home page
Use _announcements/ directory to create new Announcement
---
date: 20xx-xx-xxTx:xx:xx+4:30
---
<put a short announcement here, you can use all markdown features>You can add custom contents to each section (lectures, assignments, schedule, materials, and project)
- Lectures: Edit
lectures.md - Assignments: Edit
assignments.md - Schedule: Edit
schedule.md - Materials: Edit
materials.md - Project: Edit
project.md
Additionally, you can update navigation menus (the menu at the top of the website) by editing _data/nav.yml
To add new section, add new navigation menu. Then create a new file in website's root directory using the following template:
---
layout: page
title: Page Title
permalink: /page-address/
---