- Do Le Long An (s3963207)
- Vo Nguyen Khoi (s3891987)
Project should be built on a Unix system, either a bare metal, VM, usb-live (remember this might not be preserved between boots). Remember this is a UNIX SYS ADMIN course, so the point of the exercise is to install on an existing unix OS. The choice of Unix installation may constrain some features of installation, for example you may or may not be able to make an installation on a 'live' system preserve between reboots, if using a VM you may be limited in broader internet access.
MinIO is a high-performance, S3 compatible object store. It is built for large scale AI/ML, data lake and database workloads. It runs on-prem and on any cloud (public or private) and from the data center to the edge.
This README provides quickstart instructions on running MinIO on Google Cloud Platform (GCP) and VirtualBox Ubuntu. View more here
Use the following command to run a standalone MinIO server on Linux hosts running 64-bit Intel/AMD architectures.
- Elevate to Superuser (root) Mode and Navigate to Home Directory:
sudo -s
cd ~- Download and Prepare MinIO Binary:
wget https://dl.min.io/server/minio/release/linux-amd64/minio
chmod +x minio- Start MinIO Server with the Default Storage Location (Optional):
./minio server /minio- Check MinIO Binary Location and Move MinIO Binary to System Bin Directory::
which minio
mv minio /usr/local/bin- Create a Directory for MinIO Data and Start the Server:
mkdir ~/minio
minio server ~/minio --console-address :9090
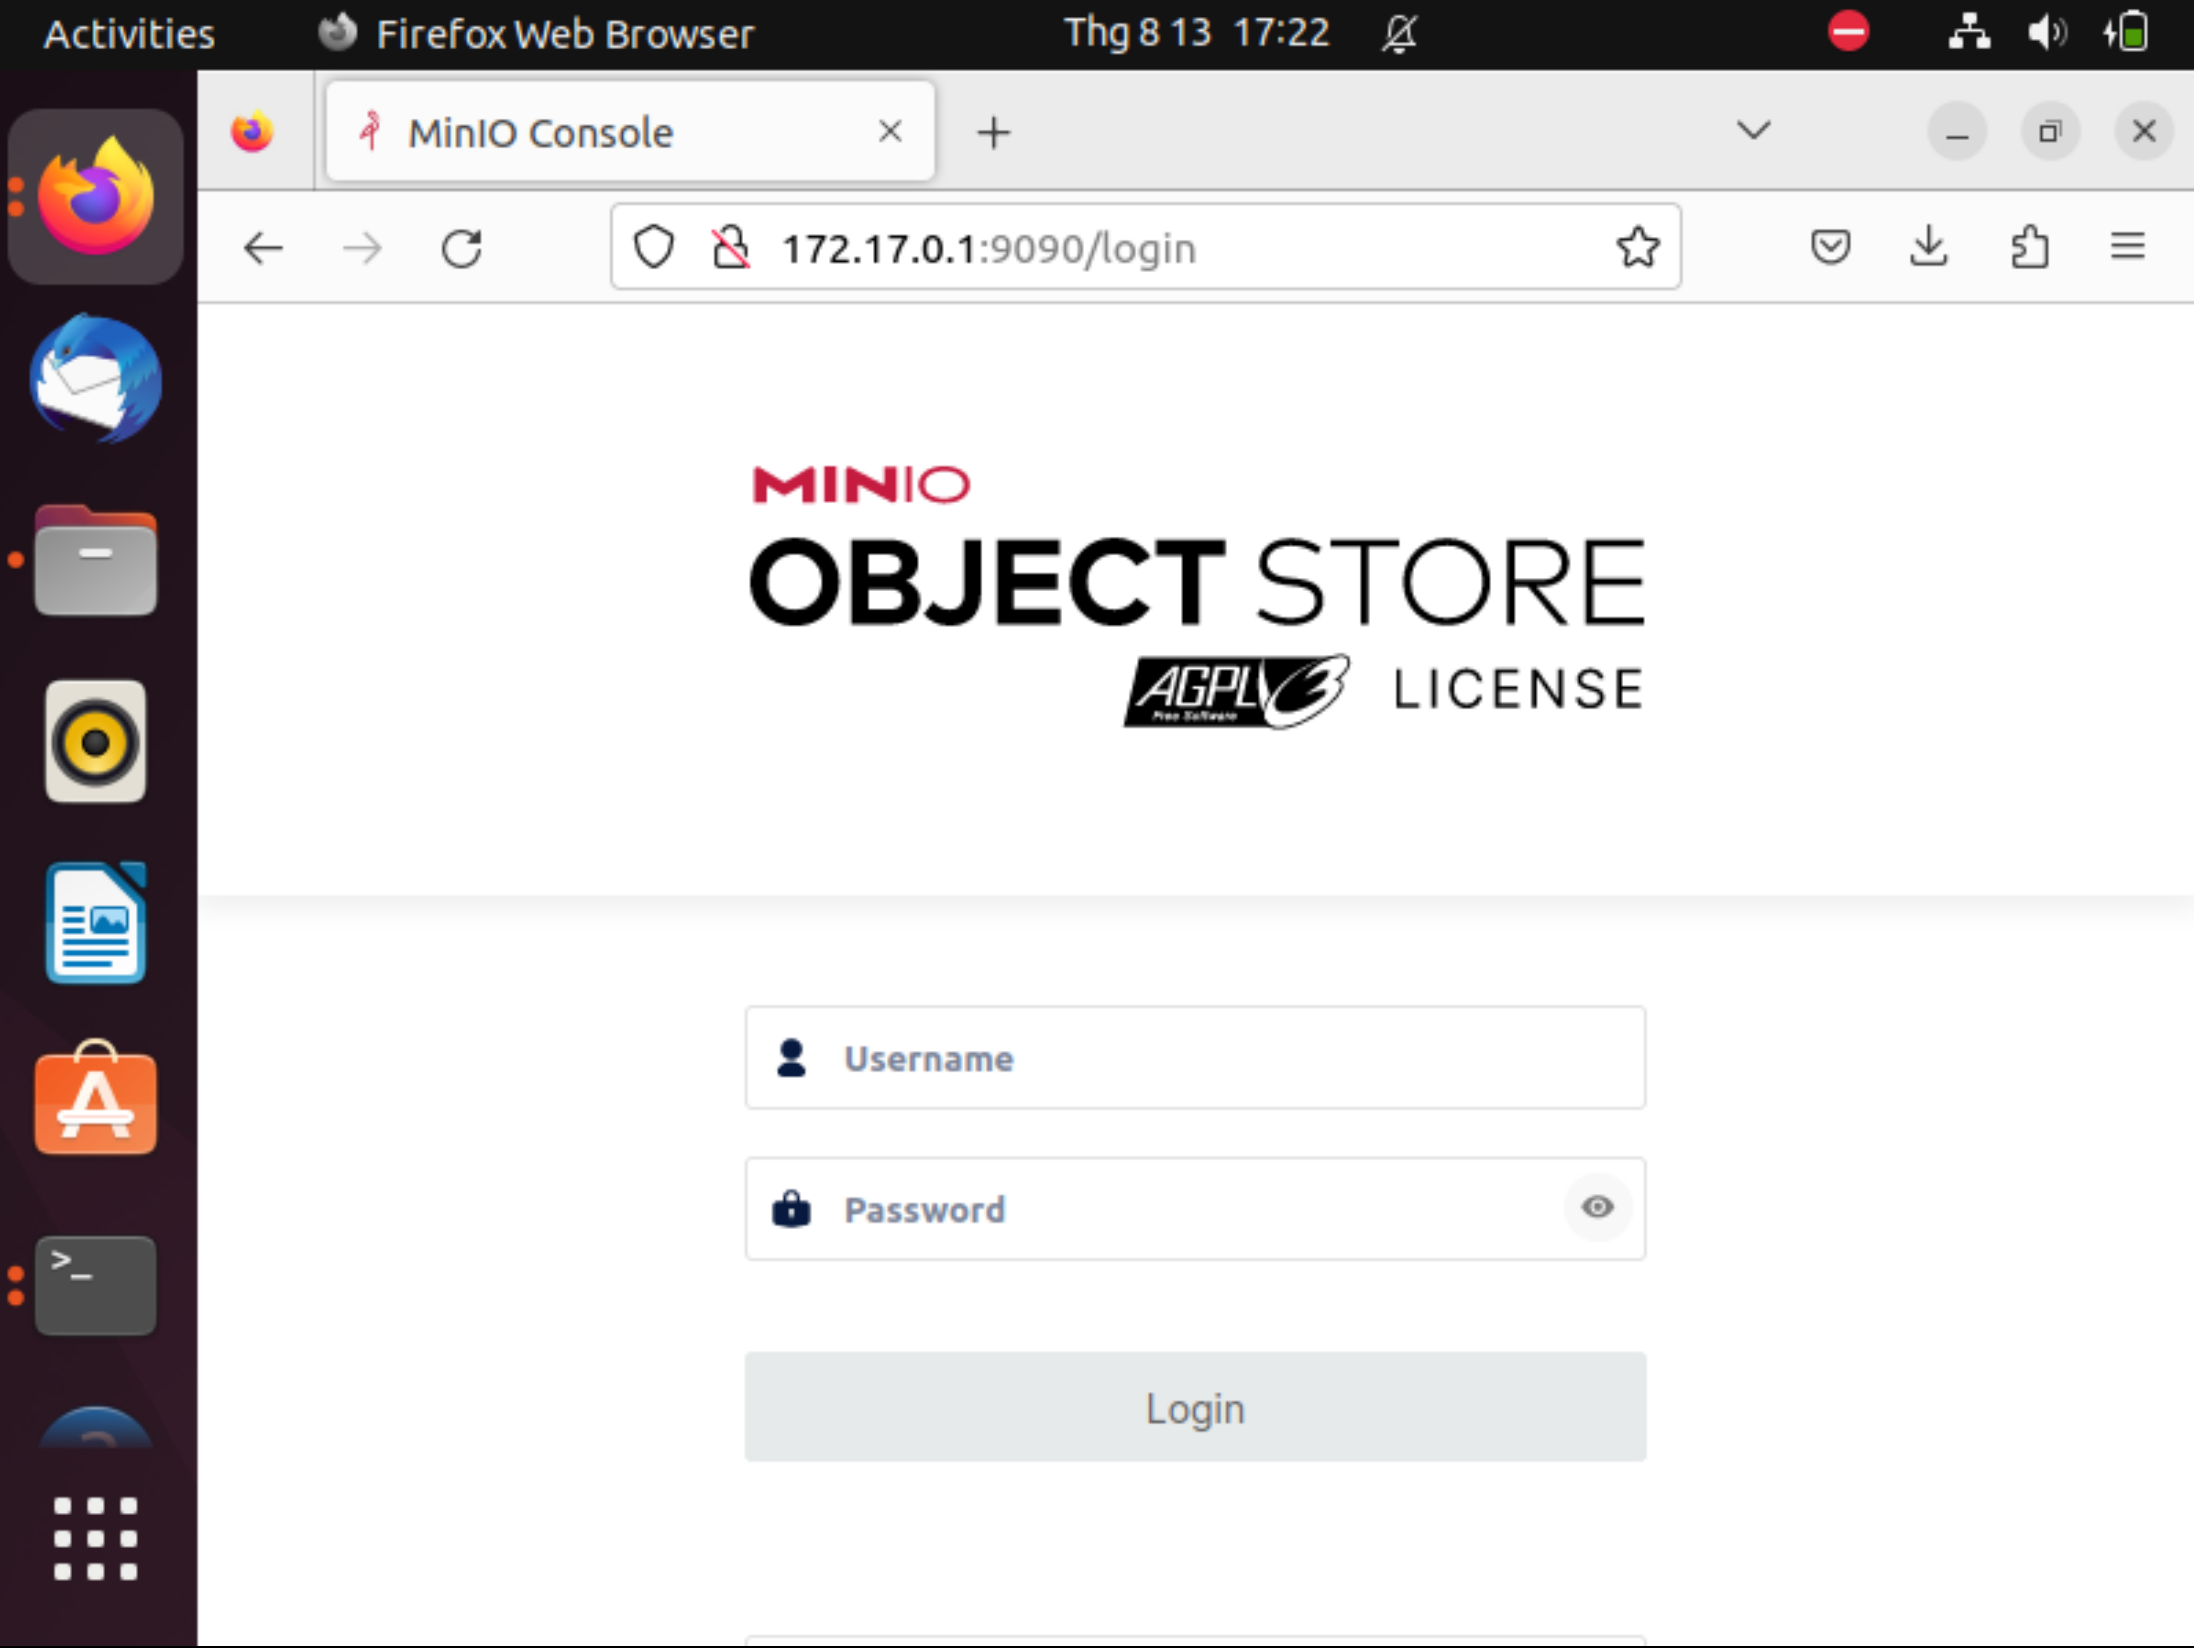
You should see the screen as below:
MinIO Object Storage Server
Copyright: 2015-2023 MinIO, Inc.
License: GNU AGPLv3 <https://www.gnu.org/licenses/agpl-3.0.html>
Version: RELEASE.2023-08-09T23-30-22Z (go1.19.12 linux/amd64)

Status:         1 Online, 0 Offline.
S3-API: http://10.0.2.15:9000  http://172.17.0.1:9000  http://127.0.0.1:9000
RootUser: minioadmin
RootPass: minioadmin

Console: http://10.0.2.15:9090 http://172.17.0.1:9090 http://127.0.0.1:9090
RootUser: minioadmin
RootPass: minioadmin

Command-line: https://min.io/docs/minio/linux/reference/minio-mc.html#quickstart
   $ mc alias set myminio http://10.0.2.15:9000 minioadmin minioadmin

Documentation: https://min.io/docs/minio/linux/index.html
The following table lists supported architectures. Replace the
 wget URL with the architecture for your Linux host.
| Architecture | URL |
|---|---|
| 64-bit Intel/AMD | https://dl.min.io/server/minio/release/linux-amd64/minio |
| 64-bit ARM | https://dl.min.io/server/minio/release/linux-arm64/minio |
| 64-bit PowerPC LE (ppc64le) | https://dl.min.io/server/minio/release/linux-ppc64le/minio |
| IBM Z-Series (S390X) | https://dl.min.io/server/minio/release/linux-s390x/minio |
The MinIO deployment starts using default root credentials minioadmin:minioadmin. You can test the deployment using the MinIO Console, an embedded web-based object browser built into MinIO Server. You can use the Browser to create buckets, upload objects, and browse the contents of the MinIO server.
You can also connect using any S3-compatible tool, such as the MinIO Client mc commandline tool. See Test using MinIO Client mc for more information on using the mc commandline tool. For application developers, see https://min.io/docs/minio/linux/developers/minio-drivers.html to view MinIO SDKs for supported languages.
- To see the structure of the MinIO storage directory, use the
treecommand with the-hflag on the MinIO directory:
tree -h ~/minio- Download and Prepare MinIO Client (mc) Binary: Download the MinIO Client (mc) binary for Linux AMD64, make it executable, and move it to the system's bin directory:
wget https://dl.min.io/client/mc/release/linux-amd64/mc
chmod +x mc
mv mc /usr/local/bin/mc- Configure MinIO Client (mc) Alias: Set an alias named local for the MinIO server using the mc alias set command. Replace http://10.0.2.15:9000 with the actual MinIO server address, and minioadmin with your access key and secret key:
mc alias set local http://10.0.2.15:9000 minioadmin minioadmin- Retrieve MinIO Server Information and List Objects in MinIO Storage:
mc admin info local
mc ls -r local