Looper
Original blog post
http://www.cutlasses.co.uk/tech/looper-version-1-complete/
What is it?
A looper module in the eurorack format inspired by the MLR app which ran with the monome. It records audio to an SD card, so is not limited by RAM constraints. It supports unlimited overdubs, only limited by headroom (e.g. if you layer over too many overdubs, the audio will begin to digitally clip). Once the loop is recorded, you can switch from Record Mode to Play Mode. This allows you to ‘cut’ the loop using the 8 buttons. Each button will jump to a section of the loop, essentially dividing the loop into 8 equal size segments.
How does it work?
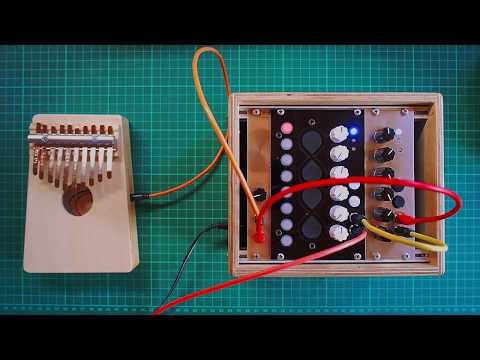
The version shown in this video uses Version 2.0 of my Teensy 3.5 based audio board. This uses the in-built ADC and DAC to process audio. The audio is recorded to SD card. As SD cards are rather slow, especially when writing, I need to use 2 circular buffers. One for reading audio, and one for writing. SD cards are slightly unpredictable in terms of read and write speed (e.g. writing the same size block can take varying amounts of time each time you do it), I had to experiment to get buffer sizes that worked. These may need to change when using other SD cards.
I achieve overdub by keeping 2 copies of the audio loop, whilst one is being played, the other is being written to. At the end of the loop, the files are swapped (read file becomes write file and visa versa), and the loop starts again. When the Record button is pressed again, to engage overdub, the incoming signal is added to the recorded signal, and written to the write file.
I designed a separate PCB to deal with the 8 LED buttons. This communicates with the Teensy via I2c. The code is here. It uses a technique borrowed from the Le Strum by 64pixels which uses a shift register to scan the buttons and turn the LEDs on and off. Take a look at this schematic to see how it’s setup. Essentially a single bit at a time is shifted all the way through the 8 bit shift register. Each output of the shift register is connected to the LED and the switch of one of the buttons. So the single ‘bit’ will visit each of the buttons in turn. For each button we can read the value of the switch (is it pressed or not), and decide whether to turn on the LED or not (this is done by turning on the transistor). This is done very quickly, so you can give the impression a button is continuously lit, even though it is actually flashing on and off very fast.