![]()
![]()
Polypyus learns to locate functions in raw binaries by extracting known functions from similar binaries. Thus, it is a firmware historian. Polypyus works without disassembling these binaries, which is an advantage for binaries that are complex to disassemble and where common tools miss functions. In addition, the binary-only approach makes it very fast and run within a few seconds. However, this approach requires the binaries to be for the same architecture and have similar compiler options.
Polypyus integrates into the workflow of existing tools like Ghidra, IDA, BinDiff, and Diaphora. For example, it can import previously annotated functions and learn from these, and also export found functions to be imported into IDA. Since Polypyus uses rather strict thresholds, it only found correct matches in our experiments. While this leads to fewer results than in existing tools, it is a good entry point for loading these matches into IDA to improve its auto analysis results and then run BinDiff on top.
When working on raw firmware binaries, namely various Broadcom and Cypress Bluetooth firmware versions, we found that IDA auto analysis often identified function starts incorrectly. In IDA Pro 6.8 the auto analysis is a bit more aggressive, leading to more results but also more false positives. Overall, IDA Pro 7.2 was more pessimistic, but missed a lot of functions. This led to only a few BinDiff matches between our firmwares in IDA Pro 6.8 and no useful matches at all in IDA Pro 7.2.
Interestingly, BinDiff often failed to identify functions that, except from branches, were byte-identical. Note that Polypyus searches exactly for these byte-identical functions. We assume that BinDiff fails at these functions due to a different call graph produced by missing functions and false positives. Sometimes, these functions were already recognized by IDA, but often, IDA did either not recognize these as code or not mark them as function. Note that Diaphora has similar problems, as it exports functions identified by IDA before further processing them. The following shows a benchmark on the CYW20735B1 Bluetooth firmware binary that compares various disassemblers and how the disassembler failures result in follow-up diffing issues.

Moreover, while we found that Amnesia finds many functions, it also finds many false positives. However, many functions have a similar stack frame setup in the beginning. Thus, Polypyus has an option to learn common function starts from the annotated input binaries and apply this to other binaries to identify functions without matching their name. This optional step is only applied to the regions in which no functions were previously located, this way the common function starts method and the main function finding do not conflict.
Since these matchers work on the raw binary, they do not depend on a disassembler. This also has one important drawback: if there were different compiler options or a different target architecture, Polypyus will not detect similar functions. Moreover, while the identified matches are very reliable, the function start identification is a bit less reliable, so use the latter with care. In the following, you can see that the Cypress evaluation kits are very similar to each other, but the MacBook firmware is very different.

Polypyus creates fuzzy binary matchers by comparing common functions in a collection of annotated firmware binaries.
Currently, the following annotations are supported:
- A WICED Studio
patch.elffile, which is a special ELF file containing only symbol definitions. - A
.symdefsfile as it is produced by most ARM compilers. - A
.csvfile with a format documented in thefirmwarefolder.
These annotations contain the address, size, and name of known functions. The more commonalities the input binaries in the history collection have, the better for Polypyus performance and results. Given several slightly different functions, Polypyus creates very good matchers.
Polypyus requires Python 3 >= 3.6. We advise the use of a virtualenv for the following installation. Clone this repository and in this folder run:
pip install .After the installation the following commands are available:
polypyus-guipolypyus-cli
Polypyus is available through a graphical and a command-line interface.
Both, the GUI polypyus-gui and the CLI polypyus-cli, take these arguments during invocation:
  --verbose is the verbosity level. By default, it shows warnings -v shows info -vv show debug information.
  --project sets the location of the project file. This is either a file path or ":memory:".
  --help    Show help message.
The project option facilitates you to store your work for different contexts in different files and also reopen them again.
The general GUI workflow goes from the left-hand side of the window to the right.
First, binaries are added to the history. Then, symbol annotations to the entries
in the history follow.
Afterward, target binaries can be added.
For the matching, hit Create matchers from history. Once the matchers are created, single targets
can be selected, or all targets can be matched by selecting batch match.
Finally, the findings can be exported to a .csv file.
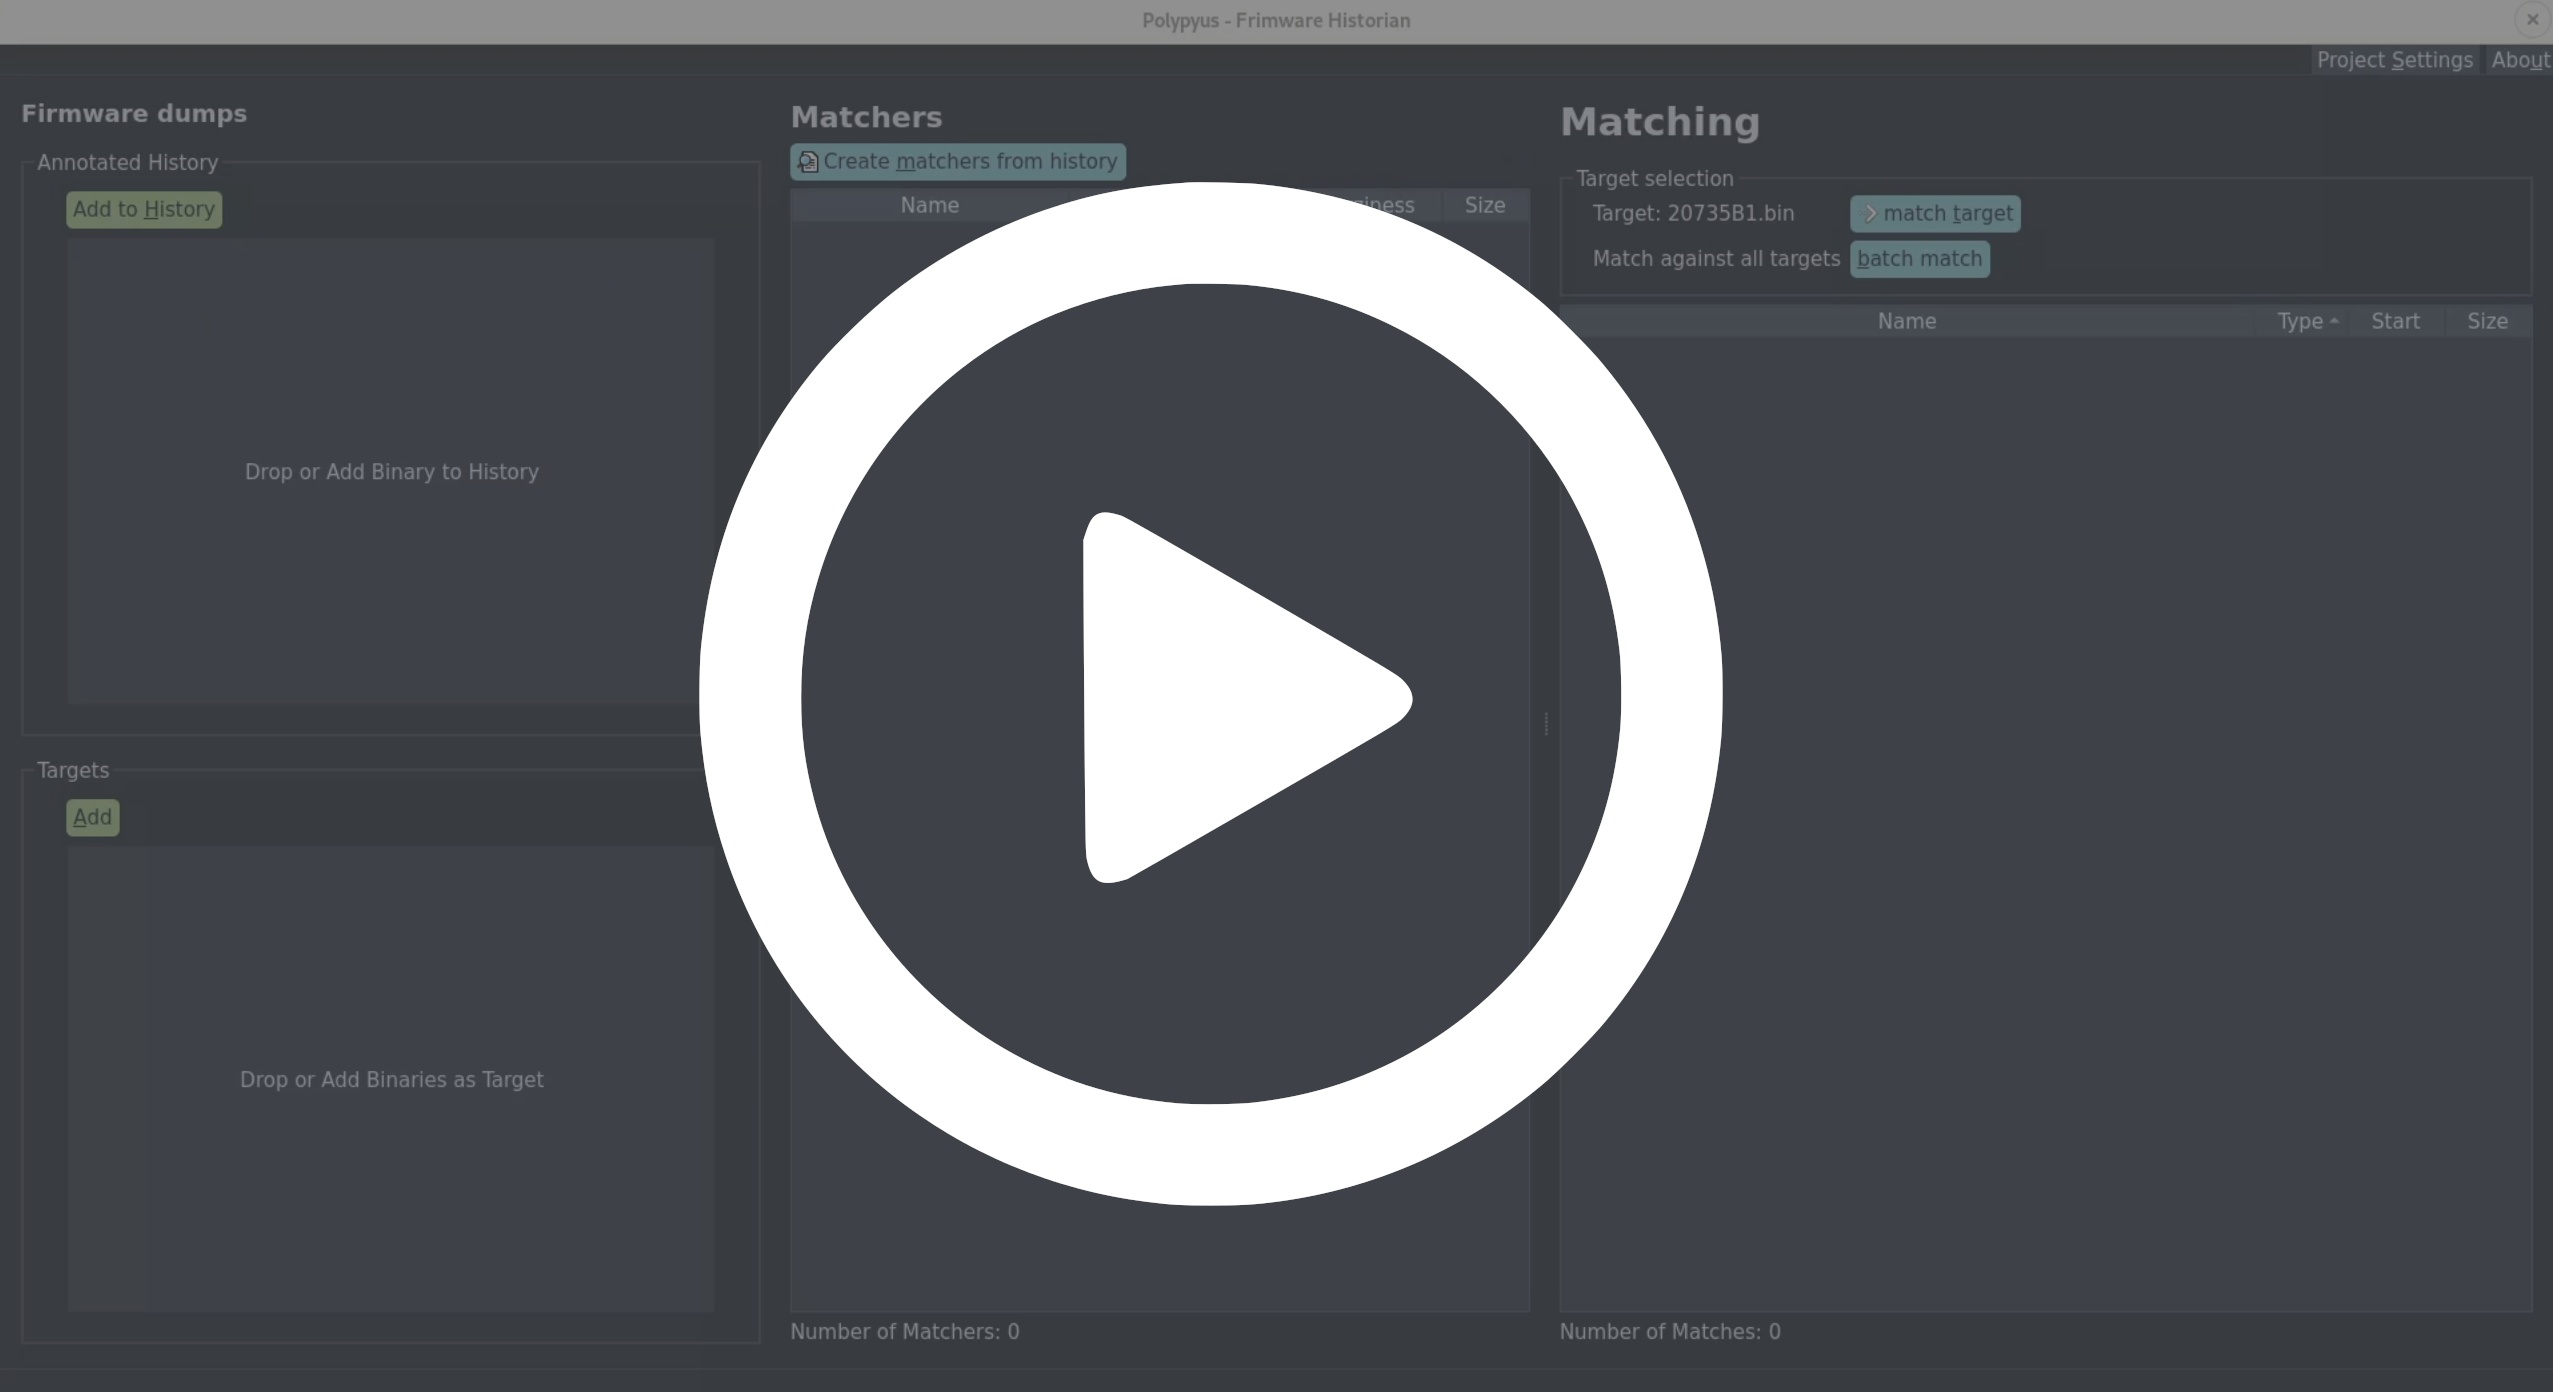
In the following you can see a demo video where Polypyus only takes a few seconds to learn from two input binaries, annotate them, create matchers, and apply matches to a new binary.
The upside to using the CLI is its ability to be automated. As of now, the output format of the CLI is subject to change. However, here is an example of calling it:
polypyus-cli --history firmware/history/20819-A1.bin --annotation firmware/history/20819-A1_patch.elf --history firmware/history/20735B1.bin --annotation firmware/history/20735B1_patch.elf --project test.sqlite
polypyus-cli --target firmware/history/20739B1.bin --project test.sqlite
The first command creates test.sqlite as a new project file and imports 20819-A1.bin and 20735B1.bin
with their respective patch.elf files.
The second invocation reuses the same project file and matches against the binary 20739B1.bin.
For each command, the number of --history and --annotation needs to match.
These two commands could also be combined into one by adding the --target argument to the first command.
A paper that explains the internals was published at the Workshop on Binary Analysis Research (BAR) 2021 with the title Polypyus - The Firmware Historian. Some more details are also contained in Jan's Master thesis final presentation, which covers the issues encountered when working with conventional binary diffing approaches in ARM Thumb2 mode, and how the alternate binary-only approach works.
The leaked symbols in the patch.elf or .symdefs format only contain function and
global variable names. However, there are also a couple .pdom Eclipse project files
in WICED Studio 6.2 and 6.4. These contain additional type information. Eclipse uses them
internally for auto completion, function search, etc., and we can utilize them in reverse
to add type information. Since .pdom files only contain partial, cached information, it
can be helpful to combine multiple of them.
In a first step, we export .pdom type information into an SQLite database. The export
takes a while, but it can even be aborted and continued later on. Export works as follows:
java -jar pdom/export/export.jar -P BCM20739-B0.1462220149391.pdom
The PDOM import searches for function names in an IDA database, looks them up in the PDOM to search
for type information, and then applies that type information into the IDA database. Thus, the IDA
database needs to contain correct function names in advance. In principle, these can be created with
the import_export scripts from Polypyus. However, the somewhat more advanced scripts
that support PDOM import can also handle patch.elf sections. Run the importer as follows:
- Open the firmware binary in IDA.
- Set Thumb mode to
T=0x1(Alt-g). - Set the compiler options (Options -> Compiler...) to GNU C++.
- Run the script file pdom/import/main.py (File -> Script file).
- Select an
patch.elffile (Select file). - Import it (Import ELF). After a few seconds you will have sections and function names.
- Select a reference database, which should be the PDOM that belongs to your firmware binary.
- Select multiple additional databases, and the importer will pick the best combined matches.
- Import it (Import PDOM). This will take a while.
- You can also import a hardware register file
20739mapb0.hto name hardware registers (Import map.h).
This script was tested on IDA Pro 7.4 and 7.5.
After some internal testing, we can recommend the following workflow when working with IDA Pro and Polypyus:
- Create a fresh database. ARM v7 little endian, ARM Cortex M for the Bluetooth firmware.
- Mark position 0x0 as Thumb (
Alt-g,T=0x1). - Create ROM and RAM segments. ROM at
0x0withrx, RAM at0x200000withrwx(at least for the Bluetooth firmware). - Create vector table offsets in ROM, at least for the reset vector, which is a 4-byte offset at
0x4(o). On the CYW20735 firmware it points to0x3bc+1. Go back one byte and create a function (p). - Wait for auto analysis to finish.
- Import Polypyus results.
- Run the Thumbs Up scripts.
- Run both BinDiff and Diaphora. The latter ideally in an IDA version with decompiler. Use both, as they use different heuristics.
...now your IDA database might be somewhat useful :) Still a lot of things the disassembler fails at within ARM Thumb2 but way better than anything IDA does on its own.
The firmware folder contains various firmware with and without symbols.
Everything in the history contains symbols, everything in targets is without symbols.
| Chip | Device | Build Date | Symbols |
|---|---|---|---|
| BCM20703A2 | MacBook/iMac 2016-2017 | Oct 22 2015 | ✔ |
| CYW20719B1 | Evaluation board | Jan 17 2017 | ✔ |
| CYW20735B1 | Evaluation board | Jan 18 2018 | ✔ |
| CYW20819A1 | Evaluation board | May 22 2018 | ✔ |
| Chip | Device | Build Date | Symbols |
|---|---|---|---|
| BCM2046A2 | iMac Late 2009 | 2007? | - |
| BCM2070B0 | MacBook 2011, Thinkpad T420 | Jul 9 2008 | - |
| BCM20702A1 | Asus USB Dongle | Feb (?) 2010 | - |
| BCM4345B0 | iPhone 6 | Jul 15 2013 | - |
| BCM4335C0 | Google Nexus 5 | Dec 11 2012 | - |
| BCM4345B0 | Google Nexus 6P / Galaxy S6 | Oct 23 2014 | - |
| BCM43430A1 | Raspberry Pi 3 and Zero W | Jun 2 2014 | - |
| BCM4345C0 | Raspberry Pi 3+ and 4 | Aug 19 2014 | - |
| BCM4347B0 | Samsung Galaxy S8 series | Jun 3 2016 | - |
| BCM4375B1 | Samsung Galaxy S10/20 series | Apr 13 2018 | - |
| BCM4378B1 | iPhone 11/SE2 | Oct 25 2018 | Strings |
For the Samsung series, S8 also includes the Note 8 and S8+ etc., and the S10/S20 also includes everything from the S10e up to the Note 20 5G.
Dump quality might vary, some are with RAM and some are just the ROM. We have access to most of the devices in this list. If you need a dump with most recent patch levels and including RAM, feel free to ping us.
A few devices mentioned in the paper are not included here, since these might not be research-only devices etc. A few iPhones and MacBooks are missing as well, since we have them as research-only devices but the original dump wasn't. These devices will be added soon :)
There is an .editorconfig file in this repository. It configures indention style, charset and line separators. Follow this configuration when contributing, which can be made easier if you use an IDE plugin for .editorconfig.
To install test dependencies execute
pip install '.[test]'this will install packages that are only needed for executing test cases.
Developement dependencies, provide for example stubs for package types. To install them run
pip install '.[development]'pytest will run all tests.
The project uses tox to locally run the tests against different versions of python. Tox is setup to test against versions 3.6, 3.7, 3.8 and 3.9 To run tox install the test dependencies and install these 4 mentioned versions of python. Our recommended way to install and manage several versions of python on is pyenv.
Steps:
- Install Pyenv
- Install Pyenv virtualenv
- Run
pyenv install 3.9.1
pyenv install 3.8.6
pyenv install 3.7.9
pyenv install 3.6.12
pyenv virtualenv 3.9.1 polypyus
penv local polypyus 3.8.6 3.7.9 3.6.12
pip install '.[test]'
pip install '.[development]'
- Run
tox
Polypyus uses GitHub Actions for automated test runs and some linting. If you want you can run the linting steps locally with on pre-commit git hooks.
Every time before a new commit is created this will trigger the linting and show the issues that would prevent this code from succeed in the GitHub Actions linting step. It will also format changed files with black .
pip install '.[development]'
pre-commit installWe thank Anna Stichling for creating the Polypyus logo. We also thank Christian Blichmann and Joxean Koret for their feedback.
Polypyus is open-source and licensed under the GPLv3.