

A sample project to test CodePush (now called App Center) integration in React Native, which worked successfully 🎉.
CodePush is a service by Microsoft to deliver OTA updates on React Native applications which gives mobile applications a web-like agility.
- App Center account (prefer signing in with GitHub).
- React Native setup.
Create a React Native app using react-native-cli and push the code to a GitHub repo.
react-native init CodePushRN    # initialize a new React Native Project
cd CodePushRN                   # switch to project directory
react-native run-android        # run app in device/simulator

# pushing code to GitHub repo (say we name it react-native-codespush-sample)

git remote add origin <GitHub repo URL>
git add .
git commit -m ":tada: Initailised React Native project"
git push origin master
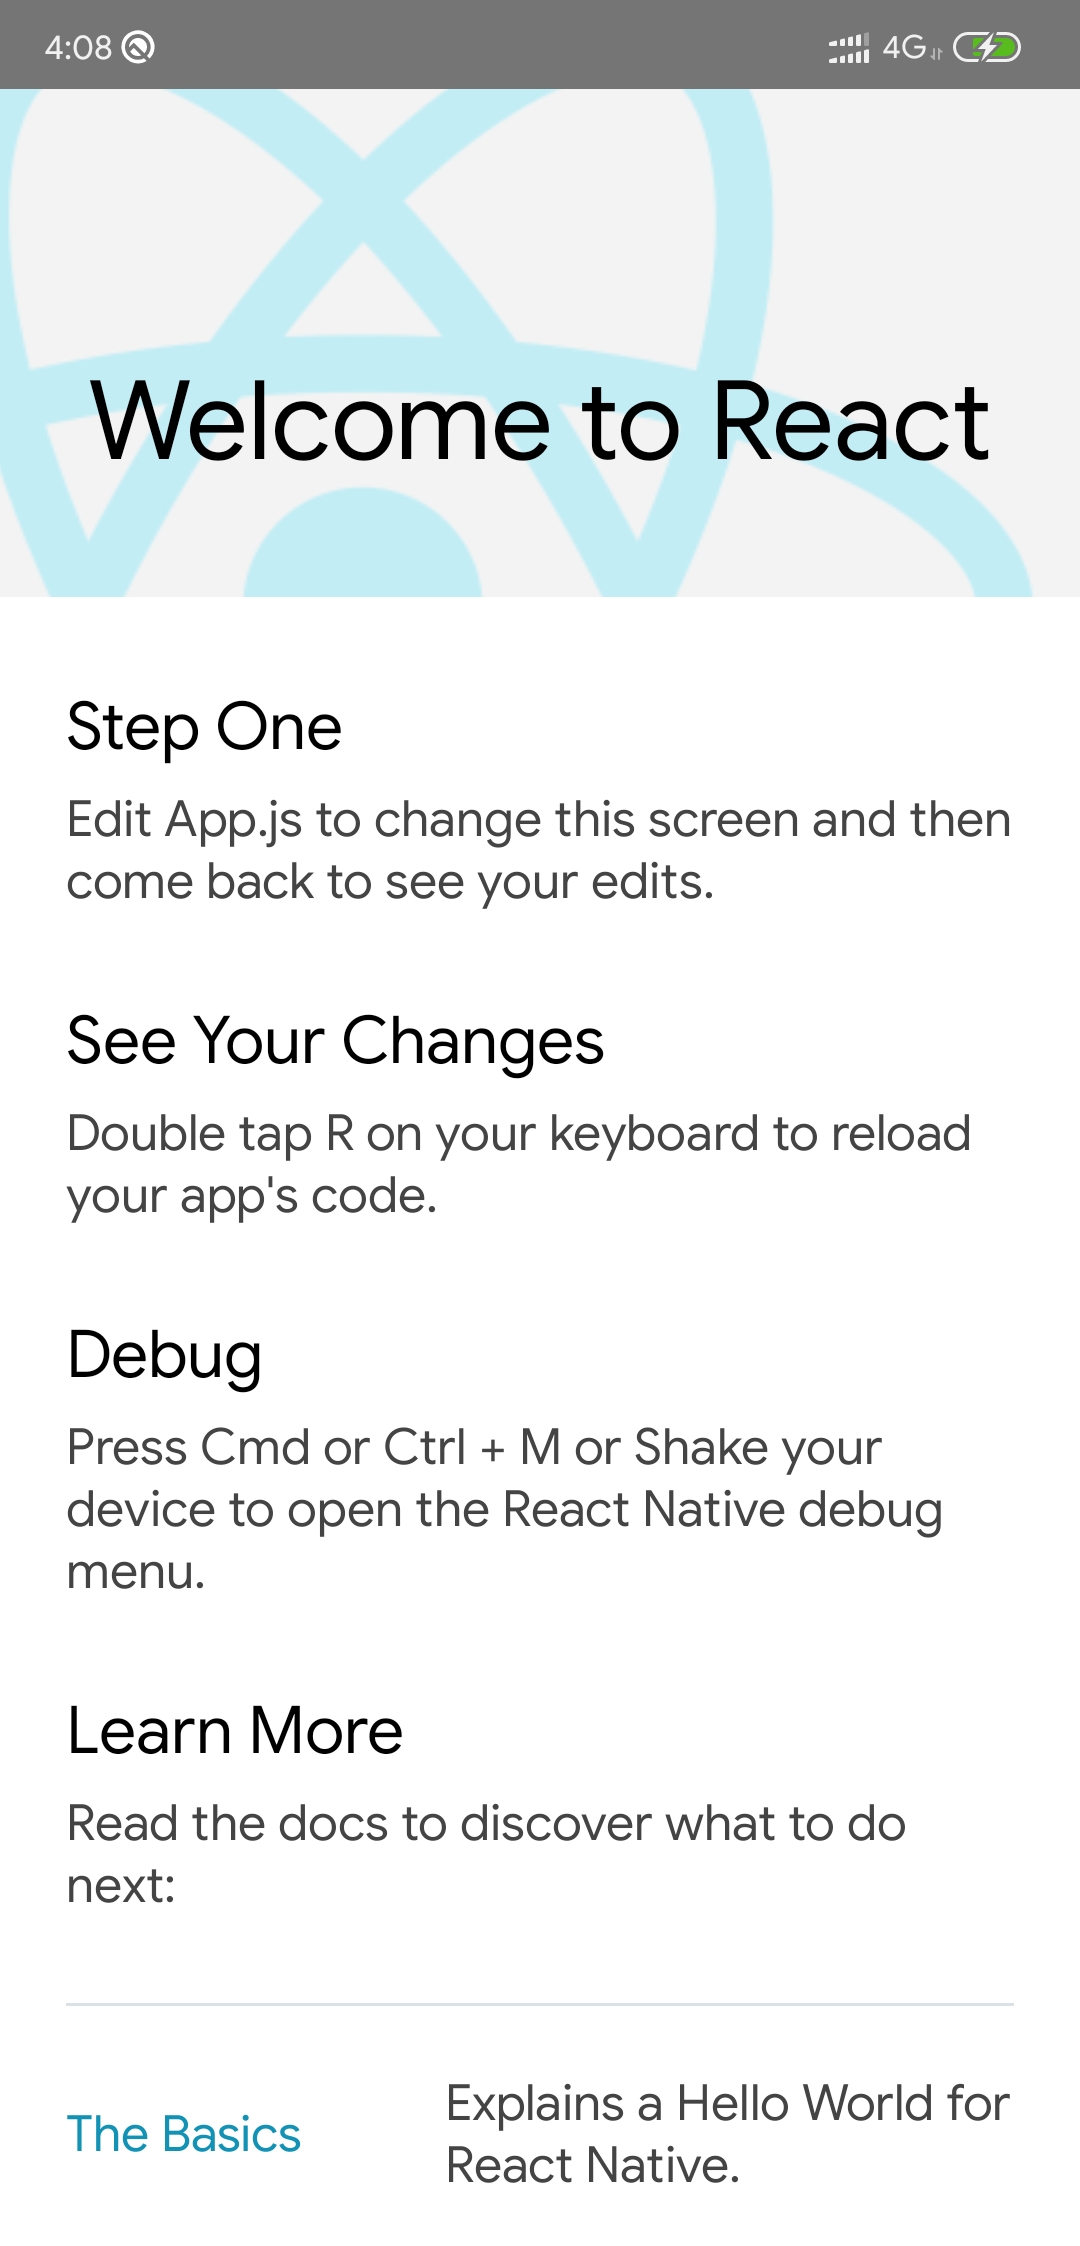
Your app on device/simulator should look like below.
-
Login to App Center and click on 'Add new app' button.
-
Fill the details according to your requirements. Sample inputs -
Label Input App Name CodePushRN Release Type Beta OS Android Platform React Native -
Click 'Add new app' button.
-
Add App Center SDK in your app as instructed in 'Overview' section, if needed.
-
Go to 'Build' section to connect your repo.
-
Select 'GitHub' service and select your repo.
-
Select
masterbranch and click on the gear icon (settings) at the end of the item.- Build Variant - Release
- Node.js version - 12.x
- Sign Builds - On
- Check 'My Gradle settings are...' (only for test purpose)
- Distribute Builds - On
-
Click 'Save & Build'.
-
After successful build, you'll receive a mail from App Center to install the APK on the device.
-
Install APK on device.
npm install -g appcenter-cli    # Install appcenter
appcenter login                 # Login to appcenter
Copy authentication code opened in browser and paste in terminal prompt.
- Select Distribute > Codepush.
- Click Create standard deployments.
Refer the documentation for other platform guides.
-
In your
android/app/build.gradlefile, add thecodepush.gradlefile as an additional build task definition underneathreact.gradle:... apply from: "../../node_modules/react-native/react.gradle" apply from: "../../node_modules/react-native-code-push/android/codepush.gradle" ...
-
Update the
MainApplication.javafile to use CodePush via the following changes:... // 1. Import the plugin class. import com.microsoft.codepush.react.CodePush; public class MainApplication extends Application implements ReactApplication { private final ReactNativeHost mReactNativeHost = new ReactNativeHost(this) { ... // 2. Override the getJSBundleFile method in order to let // the CodePush runtime determine where to get the JS // bundle location from on each app start @Override protected String getJSBundleFile() { return CodePush.getJSBundleFile(); } }; }
-
Get Staging and Production keys from the terminal.
appcenter codepush deployment list --app gupta-ji6/CodePushRN -k -
Add the Staging Deployment key to
strings.xml:<resources> <string name="app_name">AppName</string> <string moduleConfig="true" name="CodePushDeploymentKey">DeploymentKey</string> </resources>
-
Install & link `react-native-code-push'
npm install --save react-native-code-push # Install the code push client sdk
react-native link react-native-code-push  # Link this npm with the natvie build
-
Go to
App.jsand importreact-native-code-pushmodule:import codePush from "react-native-code-push"; -
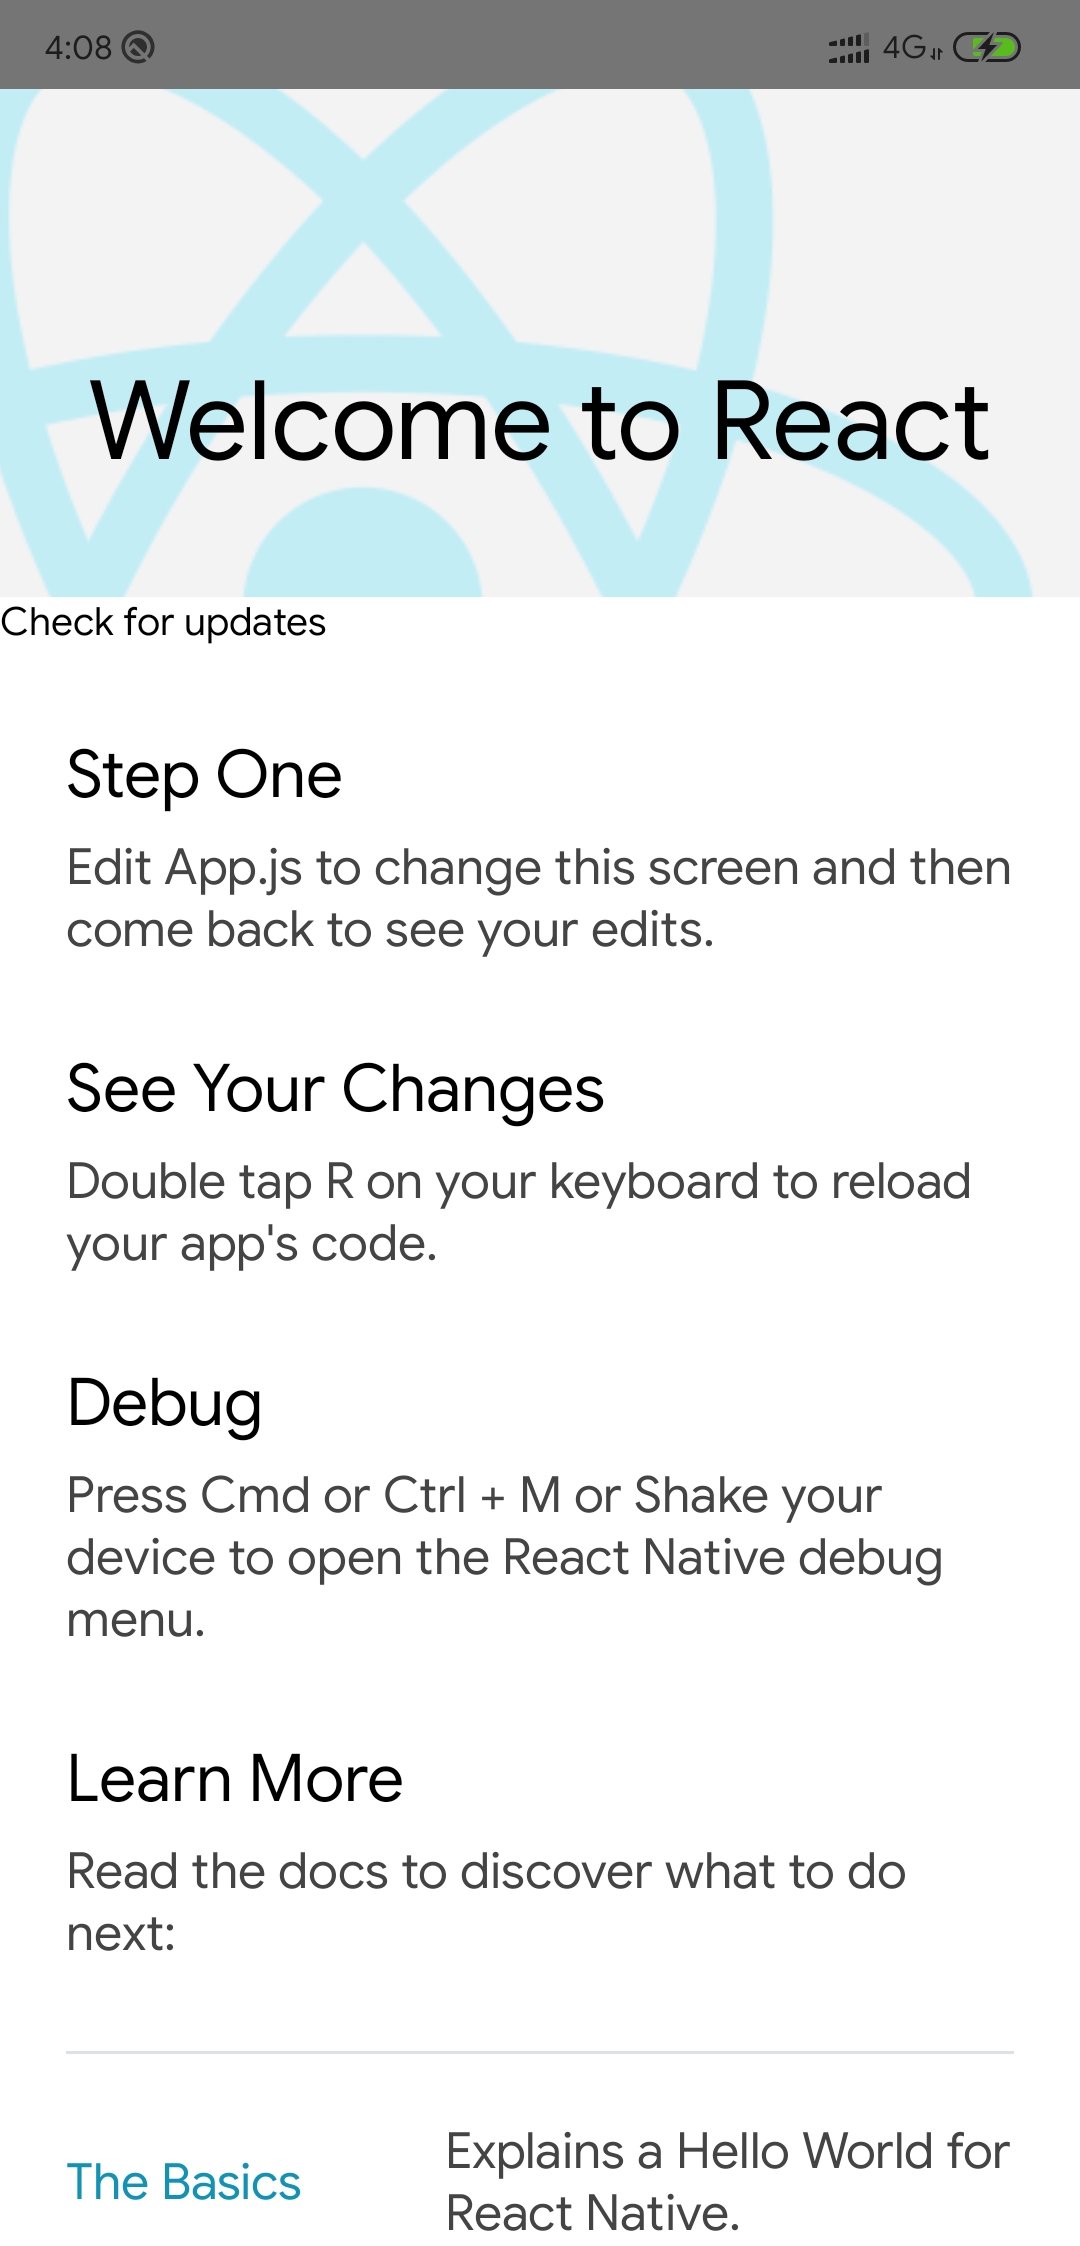
Add a Touchable Opacity with a corresponding handler.
<TouchableOpacity onPress={this.onButtonPress}>
<Text>Check for updates</Text>
</TouchableOpacity>
onButtonPress() {
    codePush.sync({
    updateDialog: true,
    installMode: codePush.InstallMode.IMMEDIATE
    });
}
-
Make the above changes and check in the code in the remote git repo. This will trigger a build automatically in the app center and we’ll receive a mail with the new download link for the updated app. Once installed, it’ll look something like this.
Once your app has been configured and distributed to your users, and you have made some JS and/or asset changes, it's time to instantly release them! (See More)
-
Change some text/component in your code.
-
Run:
appcenter codepush release-react -a <ownerName>/<appName> appcenter codepush release-react -a gupta-ji6/CodePushRN -d Staging #for staging appcenter codepush release-react -a gupta-ji6/CodePushRN -d Production #for production -
Reopen the latest mobile app installed.
-
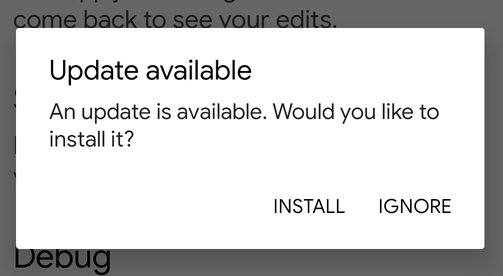
Click on Check for updates button.
-
Click Install on prompt.
-
Voila! 🎉 You'll see your updated changes after the app reopens.

- Visual Studio App Center documentation
- microsoft/react-native-code-push
- microsoft/code-push
- code-push-cli
- React Native updates with VS App Center CodePush
- Using legacy dependencies with React Native and CodePush
- Microsoft CodePush Integration in React Native 0.60+
- Bitrise + CodePush + React Native = Ideal Mobile CI Setup?
- ZeeMee Engineering and the Quest for the Holy (Mobile Dev) Grail
- LinkedIn Learning Course: App Center: Continuous Integration and Delivery for iOS