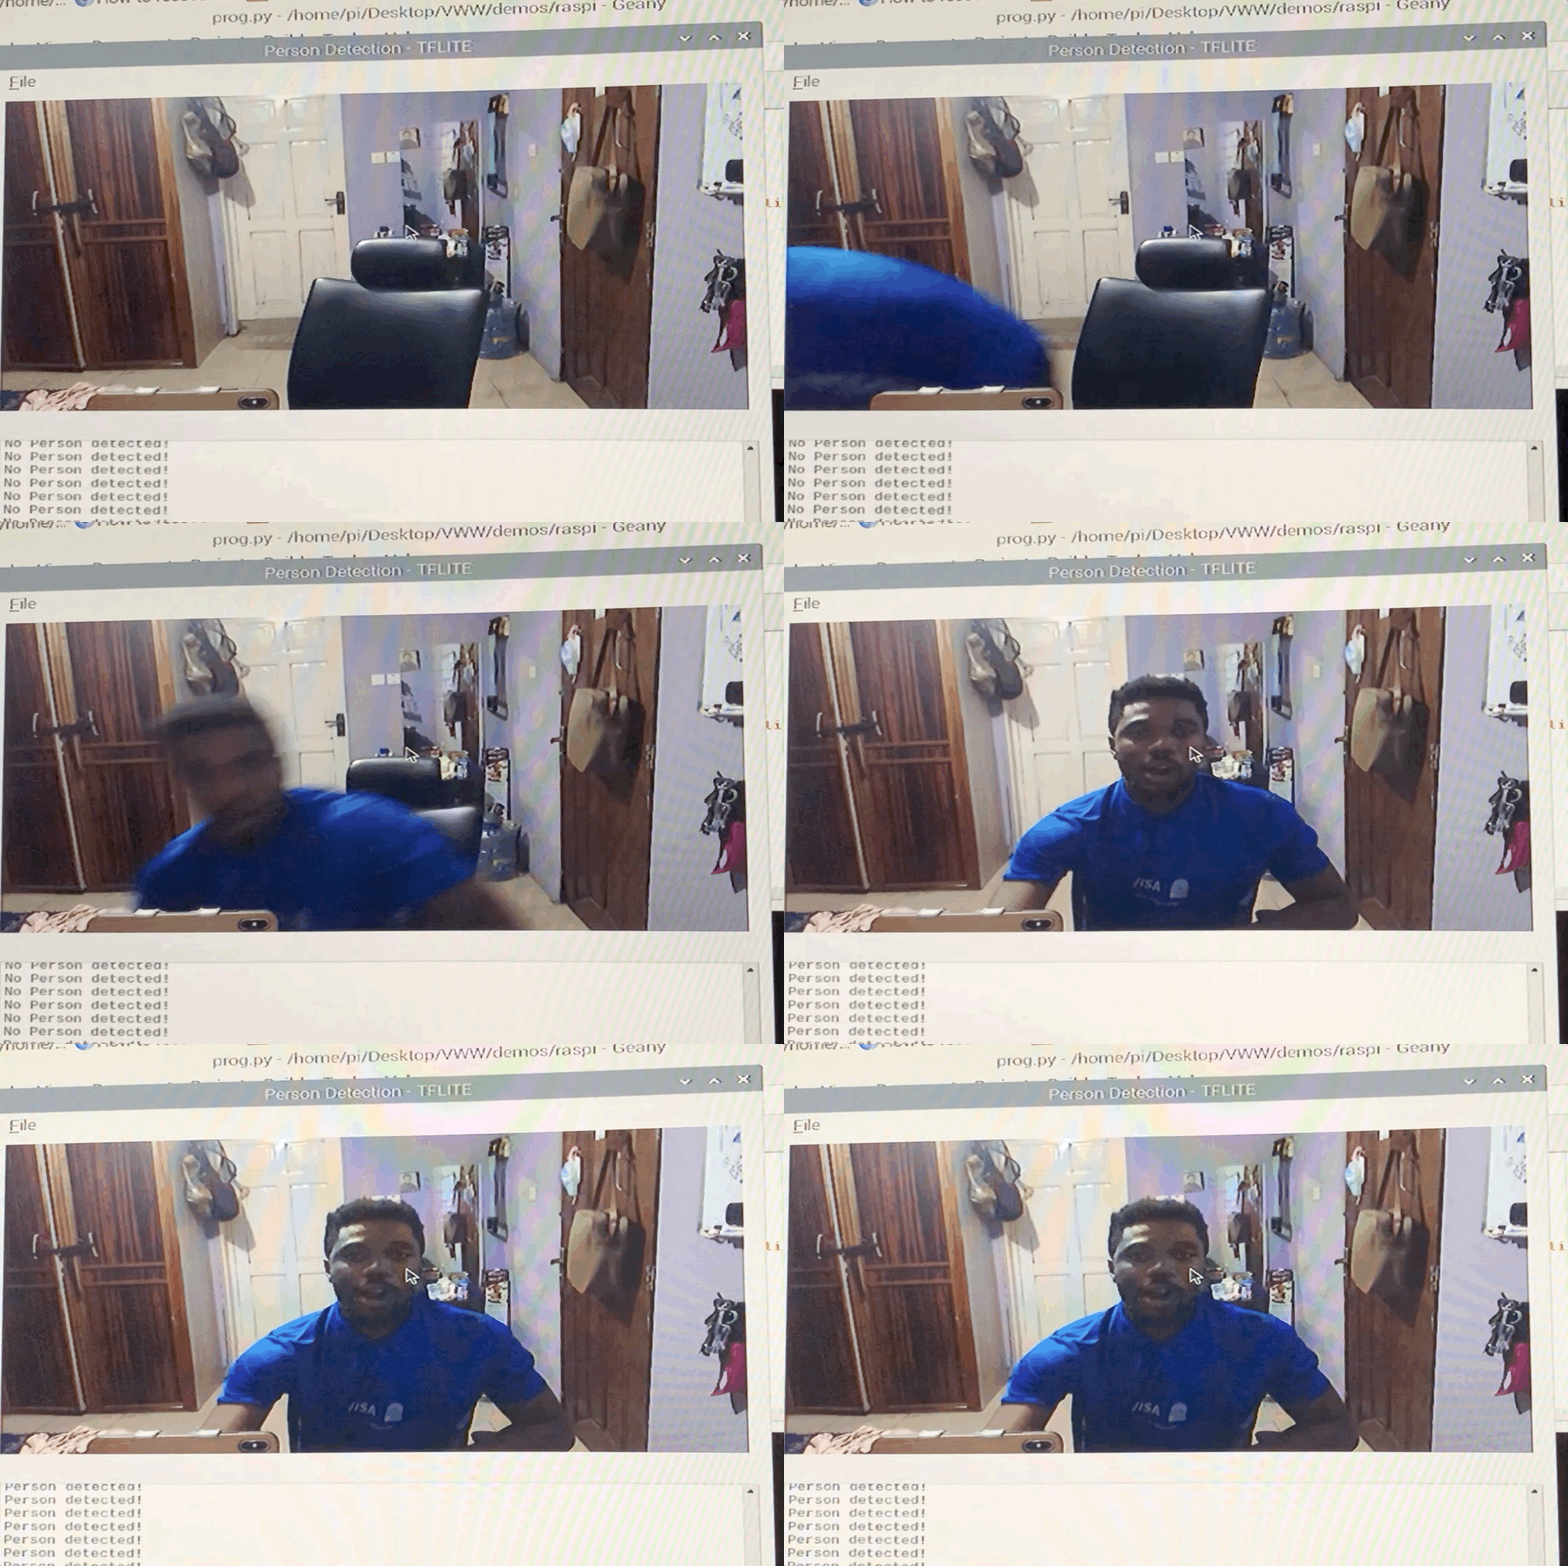
The recent introduction of the Raspberry Pi 4, a device that offers the most computing power of a Raspberry Pi yet, offers a new platform to perform inference with TensorFlow Lite models. In this guide, you'll learn how to set up your Raspberry Pi, install TensorFlow, and get models running in no time!
Firstly, download the latest version of Raspian Buster from the Raspberry Pi Foundation's official website.
Depending on your needs, you can download the version with desktop (if you want to work with a monitor) or just download the lite version (if you're running a headless setup)
Next, use an etcher program like balenaEtcher to flash the disk image to the microSD card.
After waiting for a few minutes, the OS should be flashed to your microSD card.
The way which you access your Raspberry Pi depends on your setup. If you have a spare monitor, keyboard, and mouse, you can simply plug those in and use the Pi as a computer. If you don't have these, look to the next section for help.
Once you insert the microSD card into the Raspberry Pi and plug the device into a power source, wait a few moments for the OS to boot.
Then, simply follow the onscreen instructions to get your Raspberry Pi set up.
Now, you need to enable ssh and connect the Raspberry Pi to your WiFi.
First, let's enter the disk via command line and create a file called ssh (no file extension). This tells the Raspberry Pi to enable SSH, as it is disabled by default.
cd /Volumes/boot
touch ssh
Next, let's create a file called wpa_supplicant.conf. This file will store the network information of your WiFi network so your Raspberry Pi can connect to it automatically.
vi wpa_supplicant.conf
In the text editor, enter the following lines, replacing your WiFi and country information with the placeholders below:
country=yourCountry
update_config=1
ctrl_interface=/var/run/wpa_supplicant

network={
 scan_ssid=1
 ssid="myNetworkName"
 psk="myNetworkPassword"
}
Make sure the ssid and psk fields are surrounded by double quotes.
Then, simply use :wq to leave vi and then eject the microSD card from your computer.
Insert the microSD card into your Raspberry Pi and connect it to a power source. Wait a few minutes for the Pi to boot up completely.
Now you need to find the Raspberry Pi's IP address so you can access it via ssh. You can find the IP address using your router's admin interface by listing connected devices. Your Raspberry Pi should appear.
If you don't have admin access to your router, you can try using the ping command to ping the Raspberry Pi.
ping raspberrypi.local
This command will return the IP address of the Raspberry Pi and make sure that the device is online. If you get the following error,
ping: cannot resolve raspberrypi.local: Unknown host
make sure that you set up the wpa_supplicant.conf correctly and check that the Raspberry Pi is connected to your WiFi.
If you successfully got the IP address, great! You can now access your Raspberry Pi by running
ssh pi@yourIPAddress
A security warning should pop up, but simply type "yes".
You should now be able to work in your Raspberry Pi!
Although TensorFlow's website provides installation instructions and binaries, they don't come built with TensorFlow Lite.
Additionally, I encountered some issues with the official install instructions on the Raspberry Pi 4, as it is a very new platform.
Thus, we're going to be using an unofficial distribution to install TensorFlow.
We first install a few dependencies then install Tensorflow itself. If you're running a different version of Python or using a Raspberry Pi, look for the version of TensorFlow that corresponds to your Raspberry Pi's architecture and your version of Python.
sudo apt-get install -y libhdf5-dev libc-ares-dev libeigen3-dev
sudo pip3 install keras_applications==1.0.7 --no-deps
sudo pip3 install keras_preprocessing==1.0.9 --no-deps
sudo pip3 install h5py==2.9.0
sudo apt-get install -y openmpi-bin libopenmpi-dev
sudo apt-get install -y libatlas-base-dev
pip3 install -U --user six wheel mock
wget https://github.com/PINTO0309/Tensorflow-bin/raw/master/tensorflow-1.14.0-cp35-cp35m-linux_armv7l.whl
sudo pip3 install tensorflow-1.14.0-cp35-cp35m-linux_armv7l.whl
After running the following commands, make sure to reboot your Raspberry Pi via sudo reboot.
When you ssh back into the Pi, you should now have a working version of TensorFlow!
python3 -c 'import tensorflow as tf; print(tf.__version__)'
We provide example code to run the Visual Wake Words demo on Raspberry Pi, so if you want to start there, first clone this repo:
git clone https://github.com/mit-han-lab/VWW
cd VWW
In this folder you'll find two files, model_quantized.tflite and vww_demo.py. The first file is our pretrained model on the Visual Wake Words dataset, while the second is the example code used to run the demo on Raspberry Pi. To run the demo, you need to install one dependency, python3-opencv, a computer vision library which we use to get a live image stream.
sudo apt-get install python3-opencv
If you have a USB webcam or other camera for your Raspberry Pi, connect it to the Pi now.
To start the demo, simply run python3 vww_demo.py.
