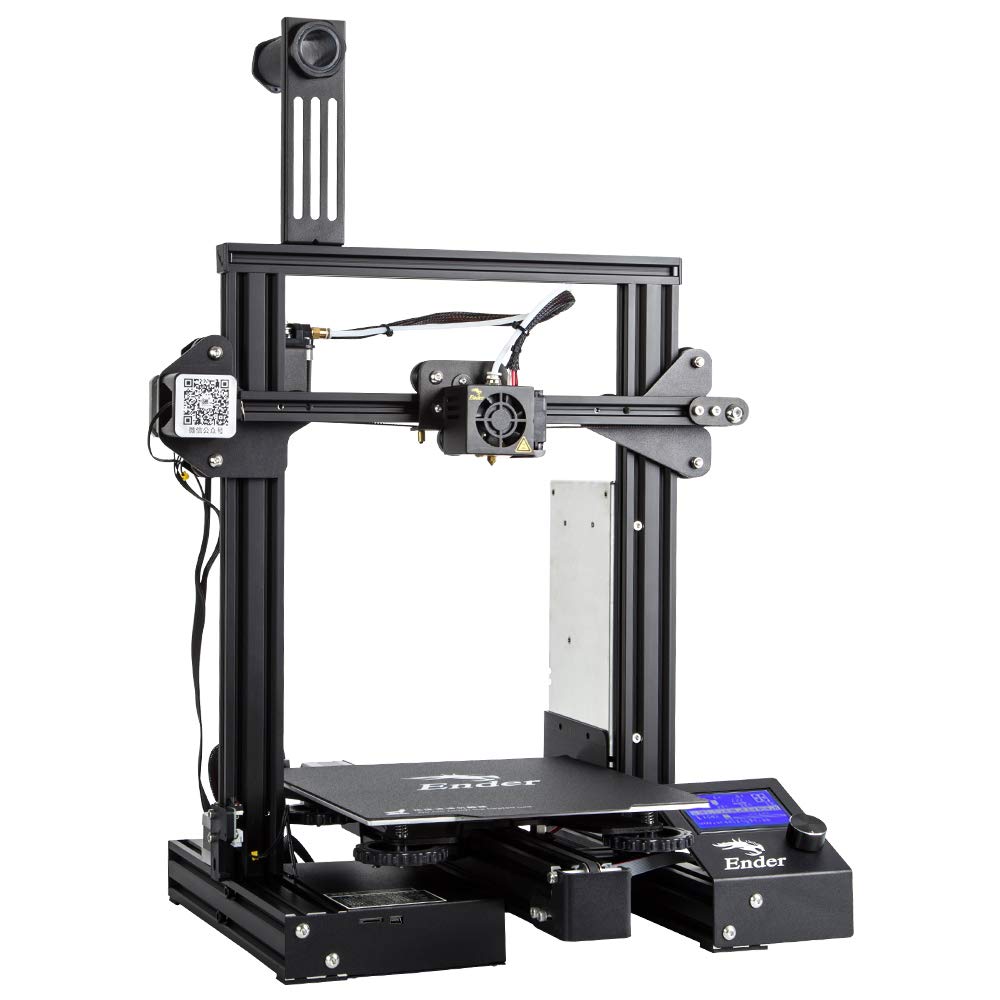
In this post I will make a summary of the things I wish I knew how to do when I first got my Ender 3 and other things I have learned along the way. The focus will be on which upgrades I have tried, if they are worthwhile or not. (I have tried most of them, I think). Right now my Ender 3 Pro is as reliable as my Prusa MK3S and produces the same, sometimes better print quality.
- Setup
- Calibration
- Maintenance check list
- Troubleshooting
- Upgrades to avoid
- Upgrades that are not needed, but are nice
- Upgrades that are good
- Upgrades that are essential
- The ultimate upgrades (my printer)
- Spares, maintenance and tools
- Extra
This is a crucial step, however it is a step that is thoroughly covered in several build videos online. Tomb of 3D Printing Horrors has an amazing video on assembly that you should follow to get the frame as square as possible. Here's a couple of things that I have learned to always check for the Ender 3.
One of the easiest ways to do this is to tighten the screws down and back them off a bit. Then use a ruler to measure the distance between the extrusions at the bottom and at the top. This value should be 250mm. Now you can tighten/loosen the screws underneath to tilt the extrusions inwards/outwards until the measurements are correct. Once this step is completed you could be able to place the top bar on and screw the screws into the threads with your fingers easily.
So, the X gantry extrusion is fastened into the 2 plates that are holding the X axis motor and rollers, but these screws have a little bit of play. You should never loosen these screws while your X axis belt is tensioned, this will push the plates towards the middle and it will mess up your life, because when you put the X gantry on the machine it will squeeze the Z axis extrusions together. Loosen the belt, loosen the screws and then tighten them.
The build videos cover this well, but it is easily and quickly forgotten what the proper pressure of the wheels should be. The correct answer here is that they should only be tight enough so that you can still rotate the opposite wheels (not the ones with eccentric nuts) with your fingers.
Try wobbling the build plate a bit side to side with your fingers. If you can do that, the rollers are set up incorrectly. Same goes if you roll the build plate back and forth and you can feel it bump a little bit.
Loosen the eccentric nuts and tighten them slowly while rotating the opposite wheels with your fingers, trying to feel out the right setting. Once you are done you should not be able to wiggle the build plate side to side and it should be stable when you move it back and forth.
If your belts are too tensioned, they will stretch over time and it can result in other problems with your print quality. You can print/buy belt tensioners if your printer doesn't already have them, but for most people they aren't needed, it's just a quality of life thing. You rarely re-tension your belts unless you disassemble the printer to make an upgrade or something else. It's also good to learn how to do this manually first. The belts should be tight enough so that they properly grip the pulleys with teeth on them and dont slip when moving back and forth. When printing a calibration cube you can see if you have layer shifts or if the layers arent put exactly on top of one another. If your belts are too loose the layers will shift.
I still can't believe that the Ender comes with a PTFE lined hotend when the all metal ones are pretty much the same price. Anyways, here you can run into several issues because the PTFE couplers that come with the Ender is usually very poor and should be replaced. They will cause the PTFE tube (bowden) to slide back and forth while the extruder is retracting filament. You can see this by using a permanent marker to put a dot on the PTFE tube right next to the couplers, this dot should not be moving if the coupler grabs the tube properly.
Another common issue with the Ender 3 hotend is that there is a gap between the bowden tube and the nozzle itself, either because the bowden tube hasn't been inserted properly, the nozzle hasn't been tightened or that the bowden tube has not been cut straight, leaving a small space between it and the nozzle which will cause issues. All these problems will manifest themselves as stringing and/or the hotend leaking. The bowden tube gap can also cause a clog in the hotend, jamming it in the process.
There are several videos covering this, how to change PTFE couplers and how to re-seat the bowden tube after cutting it straight. Usually this is not something you have to do if it is a new printer, but this is something you should keep in mind every time you do some work in this area, making sure everything is put back in place properly.
Z binding manifests itself as visible lines in your print at certain heights. This can be difficult to figure out at first because it can manifest itself similarly to a slightly loose belt that caused a layer shift or under/over extrusion to the untrained eye. Google images for "z binding" or "z banding" and you will see some examples.
This can occur if your leadscrew is bent, not lubricated enough, or if the trapezoidal nut is tightened at the wrong angle or position, forcing the leadscrew into a position where it cannot rotate cleanly, hence causing it to bind.
Follow the guides on how to seat the Z motor, some people use the manual underneath the motor when screwing it in to keep it straight, others use a steel ruler, there's also printable motor supports you can use for this. This helps to keep the base straight, giving the leadscrew a fairer chance to point straight up.
When fastening the coupler, make sure that it does not touch the motor housing. Different couplers need different space between itself and the motor but the stock one should only need a millimeter or so.
The leadscrew is already greased, but the grease used is quite poor. If you can, wipe the grease off and replace it with PTFE grease or White Lithium Grease.
Support the X gantry with a filament box or something, back off the screws of the trapezoidal nut so that it is very loose - now put the leadscrew through the nut, into the coupler and tighten only the coupler, leaving the trapezoidal nut loose still. Carefully remove the X gantry support and hold your hand underneath to make sure that you properly tightened the Z coupler, preventing the gantry from falling.
Use your hand to spin the coupler, raising the X gantry to the top of the machine. Tighten the trapezoidal nut all the way, then back both screws 2 full turns. Now spin the Z coupler the opposite direction, moving the X gantry all the way down to the bed. After that you can tighten the screws on the trapezoidal nut but there is no need for them to be super tight, when screwing them in and you start encountering resistance, stop.
Now, try moving the X gantry up and down the Z axis, there should be no binding and no tight spots. If there is, loosen the screws on the trapezoidal nuts again and keep moving the Z axis up and down until it feels smooth.
Place the X gantry about halfway up from the bed on the Z axis. Now use a ruler and measure the distance between the X gantry extrusion and the top bar on each side. They should be equal distances. If they aren't there's a great video showing how to fix this here.
This can also be fixed by having dual Z leadscrews or a belted Z axis. (see upgrades section)
I am just going to refer to (this site)[https://teachingtechyt.github.io/calibration.html] made by YouTuber "Teaching Tech", it has everything you will need. Calibrating your extruder E-steps and flow is most important.
It is most likely not broken and I cannot believe I dont see more people talking about this. Eventually this will happen to your probe, it is because it is deployed and stowed using a magnet. This magnet will lose strength over time and you have to re-magnetize it. Just remove the BLTouch and unscrew the middle grub screw on top, removing the probe itself. Now place a magnet near the magnet on the probe and put it back into the BLTouch body, then screw the grub screw back in. Your probe should be working properly again.
- Make sure rollers aren't too tight / lose
- Make sure rollers don't have any flat spots or are worn out, if they are - replace them.
- Make sure lead screw is greased and moves smoothly. Add a bit of grease and move the Z axis up and down a few times to spread the grease.
- Make sure belts are tight enough
- Make sure that the hotend isn't leaking
These can actually cause the leadscrew to bind. It looks cool and sounds like a good upgrade but it requires the leadscrew to be 100% straight and have a perfect alignment with the motor, frame and trapezoidal nut. There is absolutely no need to install these.
If you have seen this one, you might be surprised to find that I list this one here. But this part has a crucial design flaw. Once you install it, it starts wearing out rapidly because there is no washer between the gear that isn't attached on the motor and the aluminium underneath, so it will over time grind the aluminium down, leaving dust all over the place and eventually just affecting your print quality.

This is a good upgrade but it can also make it tricky to align the belt properly, be mindful to make sure that the belt isn't scraping against the aluminum extrusion when it moves.
This is less needed than the X axis since you are less likely to remove the Y belt or release the tension. You tension this very rarely anyway.
I would not buy this again, simply because the SKR is better and cheaper (see good upgrades)
This is a great print on Thingiverse that I have used for a long time. Automatically rewinds the spool when you retract!
This is a good upgrade, not needed for most users though.
There are several printable versions of this, but it just clips on to your rollers and prevents them from gathering dust or cables getting stuck in them.
Good upgrades for longer prints if your filament runs out.
You can buy one from Creality directly, or buy a piece of glass / mirror and cut it yourself. The one from Creality has a special surface on it making parts pop off easier. Remember that you cannot print PETG straight on glass, you have to use glue stick or some other release agent to avoid destroying the glass surface.
This is an upgrade to the flexible build plate that comes with the Ender 3 Pro. If you have the regular Ender 3 I would suggest getting this one right away. They usually come with a PEI sheet on it, but if you manage to destroy it or it wears out you can just peel it off and replace it with a new PEI sheet. PEI is an amazing material to print on, one of the best upgrades for quality of life. Pick between smooth and textured PEI for different surfaces beneath your prints! :)
You can find these on Amazon or AliExpress for kind of cheap. They are just an aluminium version of the stock extruder, making it a worthwhile upgrade. (However, not the best upgrade)
This is a great extruder for sure, I would put it above the aluminium extruder though, but it's more expensive.
Control your printer remotely, upload GCODE via WiFi and start/stop/monitor prints from your phone/pc. This is a fantastic upgrade. Installing Klipper instead of Octoprint is for advanced users, but unlocks higher print speeds and other great features that Marlin and Octoprint does not have.
I use dual 12v Sunon blower fans and with Hydra Fan Duct (see ultimate upgrades section) I can bridge across my entire build plate.
A wire scheme for how to hook up 12V/5V fans on a 24V system, look here.
This is a good fan duct loved by many users. Easy to print and easy to install. Use PETG for this, not PLA. (See ultimate upgrades section for an even better duct)
There are several kits for these and people seem to have many opinions regarding if it is good to do this with 2 motors or not. My personal opinion is that it is better to do it with 2 motors, even if they work off the same driver. I bought the kit from Funssor on AliExpress. It was alright, but the plate that held the trapezoidal nut did not have a right angle, causing the lead screw to bind so I had to adjust it myself. This is not a beginner level upgrade, but it does 100% get rid of any elephants foot issues and improves print quality overall, especially if you have issues with a drooping X gantry, which can happen even without a direct drive setup weighing it down.
The stock fans are loud and bad. There are several better 4010 fans that are quieter and push more air. If you know your way around electronics you can even buy 12v noctua fans and use a buck converter for some ultra quiet cooling.
A wire scheme for how to hook up 12V/5V fans on a 24V system, look here.
This is another fantastic upgrade. Drop-in replacement for the stock hotend and uses the same nozzles too. All your fan ducts etc will fit just fine still. This will also allow you to print with high temperature filaments without your PTFE tube degrading and releasing neurotoxins (yikes!). This also handles heat better, allowing you to use much shorter retraction distances. Remember to PID tune after upgrading!
They also have an extruder which is good, but I still prefer the BMG extruder with Hydra Fan Duct (see ultimate upgrades section).
(This)[https://www.conrad.com/p/hellermanntyton-170-01001-twist-in-08-helagaine-meshwork-hose-black-541574] is the same one that Prusa uses on their machine, it is very stiff and almost works like a cable chain. It's available in several sizes too so you can have one for your main loom and another one for other electroncis that you attach as well.
These are upgrades that you should go for if you get the chance.
The stock springs are pretty poor, causing you to have to re-level your bed all the time. These are stiffer and makes sure that your bed stays level for longer. This is an essential upgrade for any Ender 3 machine and probably one of the most common ones.
The silicone bed spacers just makes your bed stationary, it will always have the same level but you instead have to make sure that the gantry is aligned relative to the silicone bed spacers. This is an advanced upgrade and you should only do it if you know what you are doing.
This is an amazing upgrade for any machine that uses PTFE tubing. But it's even more valuable if you are using bowden instead of direct drive since the inner diameter is closer to that of the filament, making the filament flex much less in the tube, allowing for better print quality.
You can buy high quality PTFE couplers on Amazon and AliExpress for both the extruder and the hotend. You are 100% going to have to replace the stock couplers with these eventually, might aswell do it sooner rather than later. These are great to have as spares too, since they wear out.
These are fantastic mainboards. SKR 1.4 doesn't come with drivers and is a more advanced upgrade. The SKR Mini E3 is a drop-in replacement for the stock mainboard and comes with better drivers (TMC2209) than the Creality Silent Mainboard (TMC2208). The reason I think this mainboard is essential is that is has both silent drivers, but also a 32bit chip and a bootloader, making upgrading firmware super easy and you have a lot of space to enable all the features you want, no compromises.
This is by far the biggest jump in print quality you will see. And it's only a firmware change and then calibration on your part. But while it does work for bowden, it is more recommended changing to direct drive to get the full benefits.
The biggest quality of life upgrade when it comes to bed leveling. Also helps you adjust your prints if your bed is warped. These days I just make sure my gantry is level, then I run the BLTouch and see the bed level graph in BedVisualiser in OctoPrint and adjust the wheels on the bed accordingly, then run it again and adjust until the bed is level.
Essential? Yes, if you access your electronics regularly and you have a Raspberry Pi, this is such a nice upgrade because you wont have to flip your printer on the side anymore. There are multiple versions available on Thingiverse. Printing them in PETG is preferred since the electronics generate heat.
A very short piece between the hotend and extruder
This, in combination with Linear Advance has been the biggest bump in print quality for me. Linear Advance is just amazing and it feels like it is made for direct drive setups. The Hydra Fan duct (see below) has several mounts for this and is 100% printable apart from the screws and nuts. Remember that you might need a longer stepper motor cable for this.
The TriangleLab clone is amazing, by far the best quality clone out there. This is the best extruder I have tried so far, also works fantastically with a pancake stepper motor. There's absolutely no need at all for a big, heavy motor like the stock one.
This is an amazing and beautifully designed fan duct system. Supports dual 5015 blower fans as well and has a lot of remixes for modifications. Comes with options for 90 degree, 35 degree and 25 degree fan ducts. I mostly use the 35 degree ducts. Also has several "hats" for direct drive conversions.
Belted Z axis (Thingiverse)
This is a very recent mod, it attempts to solve the same issue as dual Z screws solves but this also allows you to move your Z axis at the same speed as your X and Y. So you can enable Z hop without adding almost anything to your print time. It also gets rid of all the problems that is caused by lead screws in general. Costs about as much as a dual Z kit, but I would say it is a much better upgrade. This WILL increase your print quality unless you have a perfect lead screw and a perfectly level gantry.
- Wheels
- PTFE couplers
- PTFE tube
- Grease for lead screws
- Isopropanol/Isopropyl alcohol (to clean the bed)
- A spare hotend (yes! this costs like 15 bucks and could save you from a long downtime if something happens to your main hotend, comes with a thermistor and heat cartridge too).
During my journey I have also bought kits for JST connectors and Molex Micro-Fit 3 along with crimpers so that I can make my own cables if I want/need a longer one. It has also helped me a lot because I have connectors for the fans right at the hotend so that I can replace/disconnect them easily.
If you go through a buck converter with both the VCC and GND wires the capacitor on the buck converter will filter out the GND signals coming from the mainboard which is attempting to control speed, this will result in your fan being set to 100% as soon as it turns on. To work around this you have to draw power from the PSU and lower that voltage to 12V/5V, then combine that VCC with the GND from the mainboard. PLEASE NOTE: This PSU has to be the same PSU powering the mainboard. The buck converter and mainboard has to have a common GND. For example:
