Duck Hunt
Description
Duck Hunt is a simple arcade game inspired by the original Nintendo Duck Hunt game.
Links
- User stories: Trello
- Production deployment: BitBalloon
- GitHub: Duck Hunt
Technologies
- HTML5
- SASS
- JavaScript
- jQuery
- Yeoman, Grunt, Bower
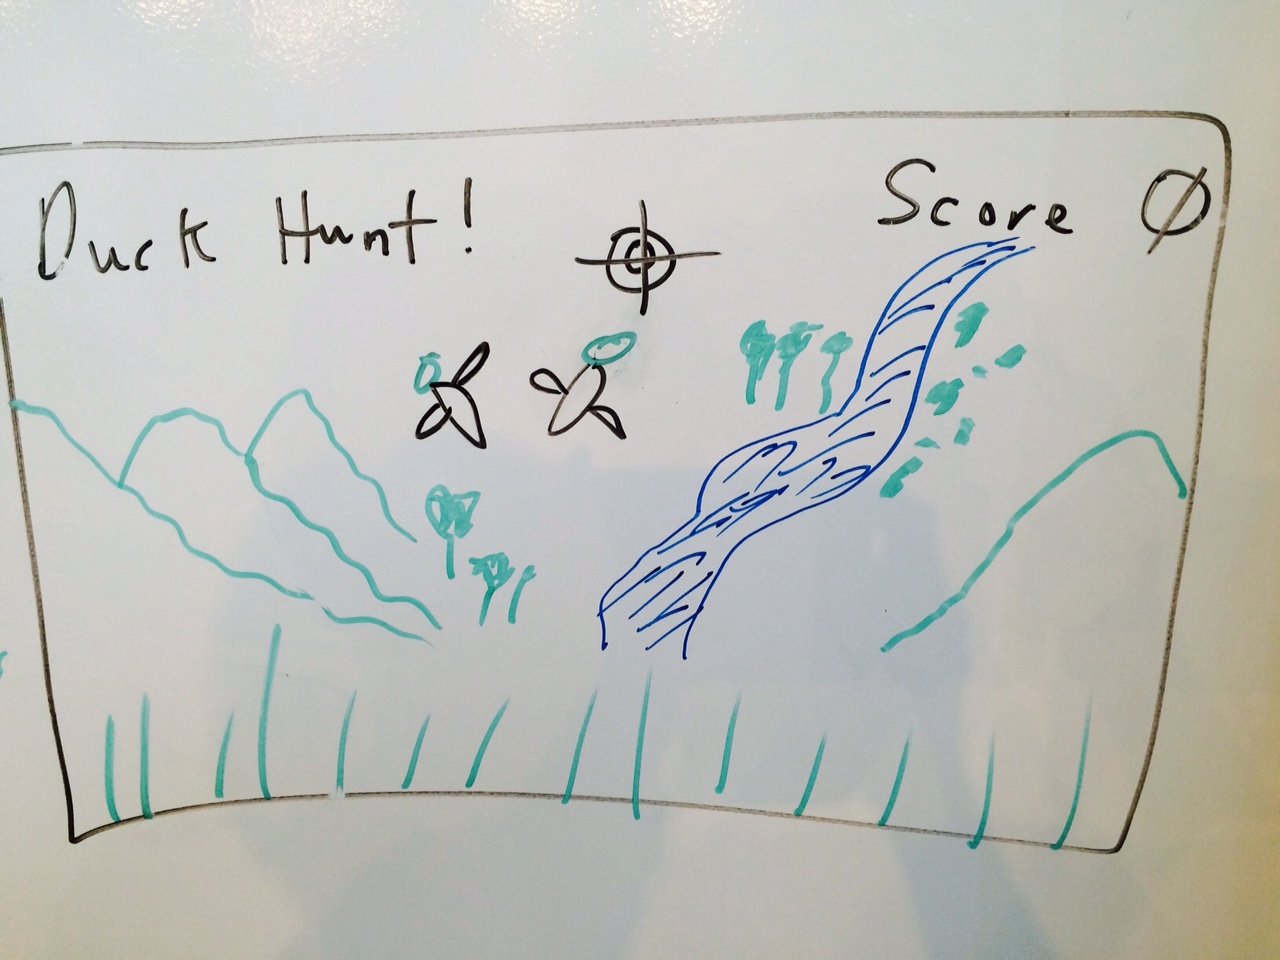
Screen Mockups
Steps to Reproduce This Project
The steps below will demonstrate how to create this project from scratch:
- Step 1 - Setup The Project
- Step 2 - Download the Images and Set Background
- Step 3 - Add Some Ducks
- Step 4 - Make the Ducks Fly
- Step 5 - Shoot the Ducks
- Step 6 - Recycle Ducks
- Step 7 - Deploying to BitBalloon via Drag-and-Drop
Step 1 - Setup The Project
In this step we will create a directory for our project, use Yeoman to scaffold out our project, test our initial project via a grunt build, and finally initialize it as a git repository.
1a. If you haven't already done so, install the webapp Yeoman generator.
npm install -g generator-webapp1b. Create a new directory for this project and run the Yeoman Generator.
cd ~/ga/wdi/mini-projects
mkdir duck-hunt
cd duck-hunt
yo webapp
When prompted, you can choose all of the default values.
1c. Verify that all dependencies were installed:
npm install && bower installThis command should return clean.
1d. Run grunt to test the scaffold.
gruntThis command should run clean.
1e. Initialize Git repo and commit all changes:
git init
git add -A
git commit -m "Created the duck-hunt project."
git tag step1
Now we are ready to start editing the HTML, SASS, and JavaScript files under the app folder. As you edit and save, you will see the changes in the browser.
Step 2 - Download the Images and Set Background
We need some images to make Duck Hunt come to life.
2a. Create an images directory and download the images into it.
mkdir app/images
wget https://raw.githubusercontent.com/drmikeh/duck-hunt/master/app/images/background.jpg -O app/images/background.jpg
wget https://raw.githubusercontent.com/drmikeh/duck-hunt/master/app/images/crosshair.png -O app/images/crosshair.png
wget https://raw.githubusercontent.com/drmikeh/duck-hunt/master/app/images/duckhunt.png -O app/images/duckhunt.png
wget https://raw.githubusercontent.com/drmikeh/duck-hunt/master/app/images/grass.png -O app/images/grass.png
wget https://raw.githubusercontent.com/drmikeh/duck-hunt/master/app/images/mockup.jpg -O app/images/mockup.jpg
wget https://raw.githubusercontent.com/drmikeh/duck-hunt/master/app/images/shot.png -O app/images/shot.png
2b. Edit app/index.html and replace all of the HTMl in the section with the following:
<div class="title">Duck Hunt!</div>
<div class="score">Score: </div>
You can also set the title in the section of app/index.html:
<title>Duck Hunt</title>2c. Edit app/styles/main.scss and replace all of the content with:
$icon-font-path: "../bower_components/bootstrap-sass/assets/fonts/bootstrap/";

// bower:scss
@import "bower_components/bootstrap-sass/assets/stylesheets/_bootstrap.scss";
// endbower

body, html {
  height: 100%;
  overflow: hidden;
}

body {
  background-color: green;
  background-position: center;
  background-image: url('/images/background.jpg');         // a nice meadow
  background-size: cover;
  cursor: url('/images/crosshair.png') 32 32, crosshair;   // our rifle crosshairs

  // add some grass at the bottom that the ducks can hide in
  &:after {
    display: block;
    content: '';
    background-image: url('/images/grass.png');
    position: absolute;
    bottom: 0;
    width: 100%;
    height: 197px;
  }
}

.title {
  position: absolute;
  top: 10px;
  left: 30px;
  font-size: 2em;
  font-family: Tahoma, Geneva, sans-serif;
}

// Display the score in the upper right hand corner
.score {
  position: absolute;
  top: 10px;
  right: 30px;
  font-size: 2em;
  font-family: Tahoma, Geneva, sans-serif;
}
2d. Save your changes and test it all via grunt serve.
2e. Save your work:
git add -A
git commit -m "Added images and set background."
git tag step2
Step 3 - Add Some Ducks
We will use <div> elements for our ducks and make them look like ducks by putting duck images in the divs via JavaScript.
3a. Add 8 duck divs to app/index.html just under the score div:
  <div class="duck left"  style="left: 100px"></div>
  <div class="duck left"  style="left: 200px"></div>
  <div class="duck left"  style="left: 300px"></div>
  <div class="duck left"  style="left: 400px"></div>
  <div class="duck right" style="left: 500px"></div>
  <div class="duck right" style="left: 600px"></div>
  <div class="duck right" style="left: 700px"></div>
  <div class="duck right" style="left: 800px"></div>
3b. Add the SCSS Styling for the Ducks
Add the following SCSS code to app/styles/main.scss:
$transition-speed: 1.0s;

.duck {
  position: absolute;
  width: 110px;
  height: 115px;
  background-image: url('/images/duckhunt.png');    // our sprite image
  background-repeat: no-repeat;
  bottom: 0;

  // transition so that duck smoothly glides from old position to new position
  transition: left $transition-speed, top $transition-speed, right $transition-speed, bottom $transition-speed;
  transition-timing-function: linear;

  // set the correct image from the image sprite for this duck's state
  &.right {
    background-position: -200px -160px;
    &.flap {
      background-position: -300px -160px;
    }
  }
  &.left {
    background-position: -100px -160px;
    &.flap {
      background-position: -430px -160px;
    }
  }

  // replace the duck with a 'splat' image
  &.shot {
    z-index: -1;
    background-image: url('/images/shot.png');
  }
}
3c. Test that the Ducks are Visible
At this point you should the heads of the ducks in the grass. For fun you can comment out the grass background to see the duck bodies:
// background-image: url('/images/grass.png');Just remember to uncomment that line to get the grass back!
3d. Save your work:
git add -A
git commit -m "Added the ducks."
git tag step3
Step 4 - Make the Ducks Fly
In this step we will make the ducks fly by using JavaScript to move the ducks and change their CSS classes.
4a. Edit app/scripts/main.js and replace the content with the following:
'use strict';

// jshint devel:true
console.log('Welcome to Duck Hunt!');

// timing variables
var lostDuckFadeOutTime = 300;
var gameSpeed = 500;              // 2 fps

function isAlive(duck) {
  return duck.hasClass('left') || duck.hasClass('right');
}

function updateDuck(duck) {

  // bounce left to right
  if (duck.offset().left < 0) {
    duck.removeClass('left').addClass('right');
  }

  // bounce right to left
  if (duck.offset().left > $(document).width() - 200) {
    duck.removeClass('right').addClass('left');
  }

  // Set the vertical position of the duck.
  // Note that we set bottom equal to top to move the duck up exactly 1 duck
  // height and this is "smoothed" out by the CSS3 transition settings.
  var newBottom = $(document).height() - duck.offset().top;
  duck.css('bottom', newBottom);

  // flap those wings
  duck.toggleClass('flap');

  // if duck has escaped, fade it out and recycle it.
  if (duck.offset().top < 0) {
    duck.fadeOut(lostDuckFadeOutTime, function() {
      duck.removeClass('left right');
      // TODO: recycle the duck
    });
  }
}

// update the score, duck positions, orientations, and state
function step() {

  $('.duck').each(function (i, duck) {
    duck = $(duck);
    if (isAlive(duck)) {
      updateDuck(duck);
    }
    else {
      console.log('Skipping lost or dead duck');
    }
    console.log('duck: top=' + duck.offset().top + ', class=' + duck.attr('class'));
  });

  // move each left facing duck a little further to the left
  $('.duck.left').each(function (i, duck) {
    duck = $(duck);
    duck.css('left', duck.offset().left - 30);
  });

  // move each right facing duck a little further to the right
  $('.duck.right').each(function (i, duck) {
    duck = $(duck);
    duck.css('left', duck.offset().left + 30);
  });
}

// get everything going.
$(function() {
  setInterval(step, gameSpeed);
});
4b. Edit package.json and add $ as a global to eslintConfig:
  "eslintConfig": {
    "env": {
      "node": true,
      "browser": true,
      "mocha": true
    },
    "rules": {
      "quotes": [
        2,
        "single"
      ]
    },
    "globals": {
      "$": false
    }
  }
4c. Test the results:
You should see that the ducks are moving and flapping their wings. Also notice that when a duck reaches the top of the window it fades out and any ducks reaching the left or right edge will change direction.
Also test that a full grunt build returns success:
grunt4d. Save your work:
git add -A
git commit -m 'Ducks can fly!'
git tag step4
Step 5 - Shoot the Ducks
In this step we will add the JavaScript code to shoot the ducks, recycle dead or lost ducks, and keep score.
5a. Add a function that kills a duck:
// this duck is now dead
function die(duck) {
  ++numKilled;
  duck.removeClass('left right').addClass('shot').fadeOut(dieFadeOutTime, function () {
    // TODO: recycle the duck
  });
}
5b. Add a numKilled variable and initialize it to 0:
var numKilled = 0;5c. Add the dieFadeOutTime variable to the list of timing variables:
// timing variables
var dieFadeOutTime = 1000;
5d. Register the die function as a click event handler by editing the jQuery bootstrap code:
// get everything going.
$(function() {
  $('.duck').on('click', function(event) {
    die($(event.target));
  });
  setInterval(step, gameSpeed);
});
5e. Add an updateScore function and call it from the step function:
function updateScore() {
  $('.score').html('Score: ' + numKilled);
}

// update the score, duck positions, orientations, and state
function step() {

  updateScore();
  ...
5f. Test the game and verify that you can shoot and kill ducks and that the score is updated.
5g. Save your work:
git add -A
git commit -m 'We can shoot ducks and keep score!'
git tag step5
Step 6 - Recycle Ducks
In this step we will add code to recycle ducks when they either escape or are killed.
6a. Add a recycle function:
// Move a dead or lost duck back to a random starting point
// Note that the duck parameter is a jQuery object.
function recycle(duck) {
  console.log('recycle: duck = ' + duck.offset().top);

  // move the duck back to the bottom with a random left/right location
  var newLeft = Math.round(Math.random() * $(document).width());
  duck.css('left', newLeft);
  duck.css('bottom', 0);

  // randomly choose a left facing or right facing orientation
  if (Math.random() > 0.5) {
    duck.removeClass('shot').show().addClass('left');
  }
  else {
    duck.removeClass('shot').show().addClass('right');
  }
}
6b. Call the recycle function by replacing both occurrences of:
// TODO: recycle the duck
with:
recycle(duck);
6c. Have fun playing Duck Hunt!
6d. Verify that a full grunt build passes:
grunt6e. Save your work:
git add -A
git commit -m 'Added recycling of ducks.'
git tag step6
Step 7 - Deploying to BitBalloon via Drag-and-Drop
BitBalloon is an easy way to deploy static web apps to a production server.
BitBalloon requires that you have an account in order to:
- Keep a site for more than an hour
- Make updates to your site.
After creating a BitBalloon account, you can deploy your app by
dragging and dropping your application to a drop zone at bitballoon.com.
For a Yeoman/Grunt/Bower app, you will want to make sure your dist folder
is up to date and drag and drop the dist folder to BitBalloon.
grunt // the default grunt build will update the dist folderNow simply drag and drop the dist folder to Bitballoon to create or update
your production instance.