Beholder is now part of TensorBoard as of this pull request, and is now maintained by the TensorBoard team. See this comment for the latest information on how to use Beholder with your project.
Good news: Beholder is on track to be merged into TensorBoard. See this issue for discussion and this milestone for issues related to the merge.
Beholder is a TensorBoard plugin for viewing frames of a video while your model trains. It comes with tools to visualize the parameters of your network, visualize arbitrary arrays like gradients,
activations from a convolutional layer,
or frames that you've already created:
I made a demo video you can watch, but you can find similar information in this README.
As TensorBoard's third party plugin system currently functions, you need to build a different version of TensorBoard from scratch to use this plugin.
- Install Bazel. Tested with Bazel 0.5.1 and 0.5.3. One test with 0.2.2b did not work.
- Clone the repository:
git clone https://github.com/chrisranderson/beholder.git cd beholder- Install Beholder:
pip install . - Build TensorBoard (this may take a while):
bazel build beholder/tensorboard_x - Run the newly built TensorBoard:
./bazel-bin/beholder/tensorboard_x/tensorboard_x --logdir=/tmp/beholder-demo - Navigate to http://localhost:6006
This repository uses a version of TensorBoard that is newer than the one that comes with TensorFlow. That version of TensorBoard relies on a nightly build of TensorFlow. You can find nightly builds on the TensorFlow README, and pip install <WHEEL_FILE> to install, or use pip install tf-nightly to get a nightly build of the CPU only version.
bazel build beholder/demos/demo && ./bazel-bin/beholder/demos/demo/demo
Before your train loop, instantiate a Beholder:
from beholder.beholder import Beholder
visualizer = Beholder(session=sess,
                      logdir=LOG_DIRECTORY)
In your train loop, trigger an update:
visualizer.update() # visualizes tf.trainable_variables() by defaultupdate takes two optional parameters: arrays expects a list of arbitrary NumPy arrays (like gradients or activations returned from sess.run) and frame expects a 2D NumPy array:
evaluated_tensors = session.run([var1, var2, var3])
example_frame = np.random.randint(1, 255, (100, 100))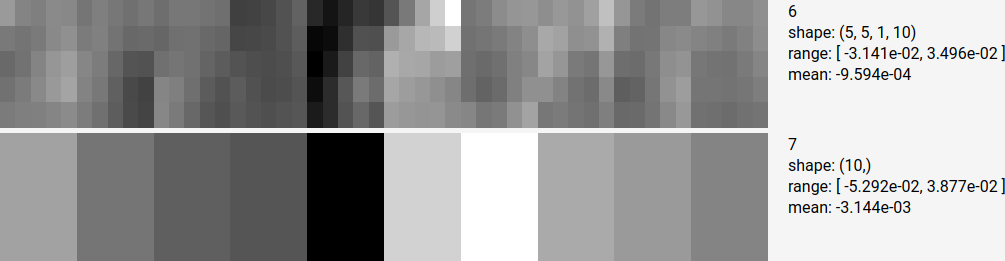
visualizer.update(arrays=evaluated_tensors, frame=example_frame)Each array is reshaped to fit in a rectangular box called a section. Sections are composed of groups of pixels called blocks that represent individual values in the original array. When tf.trainable_variables() is selected, the lower the section is in the image, the deeper it is in the network.
Not all values of large arrays will be shown unless the Show all data option is selected (with the exception of oddly shaped arrays). Here's an example frame when Show all data is enabled on a VGG network variant. You'll need to download it to view the image at full scale.
 Each block in this section represents an individual value in the array.
 Each row represents weights attached to the same input node, each column represents weights attached to the same output node. Bias values immediately below correspond to the output node in the column immediately above them.

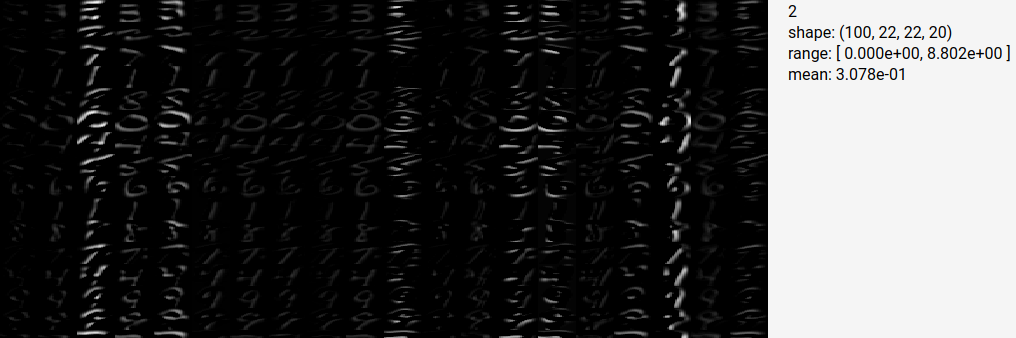
4D layers are assumed to be convolution weights. Here's a zoomed in version of the top left corner, with some areas highlighted:

The orange 3x3 chunk is a single channel of a kernel. Rows of chunks (in yellow) correspond to the same input channel. Columns of chunks (in red) correspond to output channels. If the shape of your weight matrix is (2, 3, 256, 512), there will be 256 rows and 512 columns of 2x3 blocks (assuming the Show all data option is selected).
Using the current values option, you can determine whether there is high information content in your kernels. If the network has finished training and you have many columns that look similar, you might be able to conclude that there are redundancy issues and you can decrease the layer size.
If the shape of the network "looks like" a 4D activation (if shape[0] != shape[1] and shape[1] == shape[2]) from a conv layer rather than a weight array, I reshape it differently:
Other arrays will be flattened and reshaped so that each block is approximately square. If Show all data is selected, some values still may not be shown. Rather than pad the final row with zeros, I truncate it.
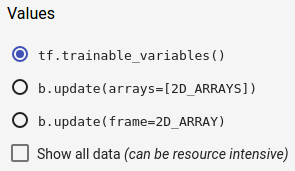
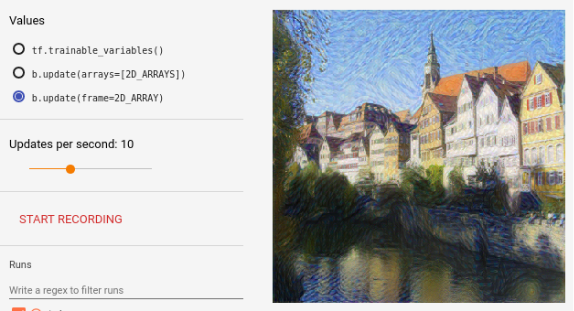
tf.trainable_variables(): visualizesess.run(tf.trainable_variables()), the parameters of the network.b.update(arrays=[2D_ARRAYS]):bis an instance ofBeholder. Visualize whatever arrays you pass into theupdatefunction. Useful for visualizing gradients or activations.b.update(frame=2D_ARRAY):bis an instance ofBeholder. Displays whatever image (as a NumPy array) you give it. Will be scaled to [0, 255].2D_ARRAYcan also be a function that returns a frame (to prevent creating the frame while this option isn't selected). This option can be useful when the output of your network is an image (e.g. image GANs or style transfer).- Show all data: by default, arrays are truncated when they are visualized to save on computation costs. If this option is selected, it shows a minimum of one pixel per parameter. Interesting, but can be very costly. Updates per second can be set to zero to avoid calculating frames while you take a closer look at the current frame, allowing your model to train quickly again.
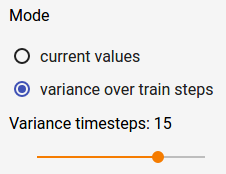
- current values: displays the current values of the current arrays.
- variance over train steps: keeps track of array values over time, and displays the variance of array values. This option might be used to visualize vanishing gradients: if the all sections option is selected, and there is a lot more white at the bottom than the top, maybe you need to change your activation function, or use batch norm or something. :)
- variance timesteps: when variance is computed, this determines the number of time steps to compute variance over. For example, if variance timesteps is 20, Beholder will keep track of array values over the last 20 times that update is called (not the last 20 train steps, necessarily), and compute variance across those 20 sets of arrays.
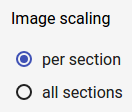
- per section: black is the lowest value in that section, white is the highest value in that section.
- all sections: black is the lowest value across all sections, white is the highest value across all sections.

Updates per second: determines how often the current option is computed. For example, if updates per second is 10 and tf.trainable_variables() is selected, it will compute a visualization for that option only at a maximum of 10 times per second.
It can be useful to set this option to 0 when you aren't looking at the visualization, or would like to pause and look at a frame. The visualization will not be computed, allowing your model to train at full speed (some small things including a disk read still happen, but they are small operations).

If ffmpeg is installed, it streams frames to ffmpeg until you click stop recording, and it saves an mp4 in <logdir>/plugins/beholder.
If ffmpeg is not installed, it saves PNGs to <logdir>/plugins/beholder/video-frames-<timestamp>.
Whether ffmpeg is installed or not, a new recording starts whenever the shape of the visualization changes. For example, if b.update(arrays=[2D_ARRAYS]) is selected when you start recording, and the image displayed is 768x1500, and you switch to b.update(frame=2D_ARRAY) and the image displayed is 400x400, a new recording will start.
Please let me hear your thoughts/complaints/suggestions/success stories/unrelated banter. Submit an issue, or send me a direct message on Twitter (you don't need to follow me to send me a message).
I'm graduating soon with my Master's degree in Computer Science, and I'll be available for full-time work in January (2018). If you or someone you know is hiring software engineers and may be interested, please let me know at chris.anderson@byu.net.