Flutter iOS/Android Mobile App utilizing ServiceStack's native support for Dart.
To showcase popular API Requests in action we've created a basic HelloFlutter App that mimics functionality in the HelloMobile App used to provide working examples of the same ServiceStack Service Client features running in the different supported Mobile and Desktop platforms.
HelloFlutter was created in VS Code with the DartCode extension using the Flutter: New Project action in VS Code's Command Palette.
This creates a basic Flutter App which you can run in your Android Device or Android Emulator where it's automatically picked and made visible in the bottom right of VS Code's status bar.
Then to use JsonServiceClient add the servicestack dependency to your apps pubspec.yaml:
dependencies:
  flutter:
    sdk: flutter
  servicestack: ^1.0.5
Saving pubspec.yaml automatically runs flutter packages get to install any new dependencies in your App.
Our App will be making API calls to 2 different ServiceStack instances which we'll need to get typed DTOs for using the dart-ref command-line utility:
cd lib
dart-ref https://www.techstacks.io
dart-ref http://test.servicestack.net test
Which will save the DTOs for each endpoint in different files:
Saved to: techstacks.dtos.dart
Saved to: test.dtos.dart
Incidentally you can get the latest version for all Dart Service References by running dart-ref without arguments:
dart-ref
Which updates all Dart references in the current directory, including any customization options available in the header of each file:
Updated: test.dtos.dart
Updated: techstacks.dtos.dart
This gives us everything we need to call Web Services in our Flutter App, by importing package:servicestack/client.dart containing JsonServiceClient as well as any generated DTOs.
Then create new JsonServiceClient instances initialized with the BaseUrl for each of the remote endpoints we want to call:
import 'package:servicestack/client.dart';

import 'test.dtos.dart';
import 'techstacks.dtos.dart';

const TestBaseUrl = "http://test.servicestack.net";
const TechStacksBaseUrl = "https://www.techstacks.io";

var testClient = new JsonServiceClient(TestBaseUrl);
var techstacksClient = new JsonServiceClient(TechStacksBaseUrl);Flutter works similarly to React and React Native where you need to return the entire UI layout for your Widget in its Widget build(BuildContext context) method, akin to React's render() method. For complete reference the app is contained in lib/main.dart, but for clarity we'll just highlight the relevant parts in each section.
Our widget requires some state to render its UI so our widget needs to inherit StatefulWidget. Stateful widgets require an additional supporting class for reasons explained in this Thread:
With a stateful widget, it's common to make closures whose life cycle are tied to the state's life cycle, which lasts through multiple widgets. With a stateless widget, it's common to make closures whose life cycle are tied to the widget's life cycle, which doesn't cause a problem.
Ultimately this results in following the same dual class pattern below where the HelloFlutterState defines the state it needs as instance fields, this state is preserved across Hot Module reloads which is how Dart can update a live running App despite the implementation of the class changing.
class HelloFlutter extends StatefulWidget {
  @override
  State<StatefulWidget> createState() => new HelloFlutterState();
}

class HelloFlutterState extends State<HelloFlutter> {
  //State for this widget
  String result = "";
  Uint8List imageBytes = new Uint8List(0);

  @override
  Widget build(BuildContext context) {

      //...
      new RaisedButton(
        child: new Text("Async"),
        onPressed: () async {
          var r = await testClient.get(new Hello(name: "Async"));
          setState(() {
            result = r.result;
          });
        },
      ),

      //...
      result != null && result != ""
          ? new Text(result)
          : new Image.memory(imageBytes, width:500.0, height:170.0),
  }
}
HelloFlutter's UI consists of 6 buttons across the top of the screen and an area to display the results of each call in the Widget's body. Each of the example Requests will populate either the result String for standard JSON responses or imageBytes for the HelloImage Service returning binary data.
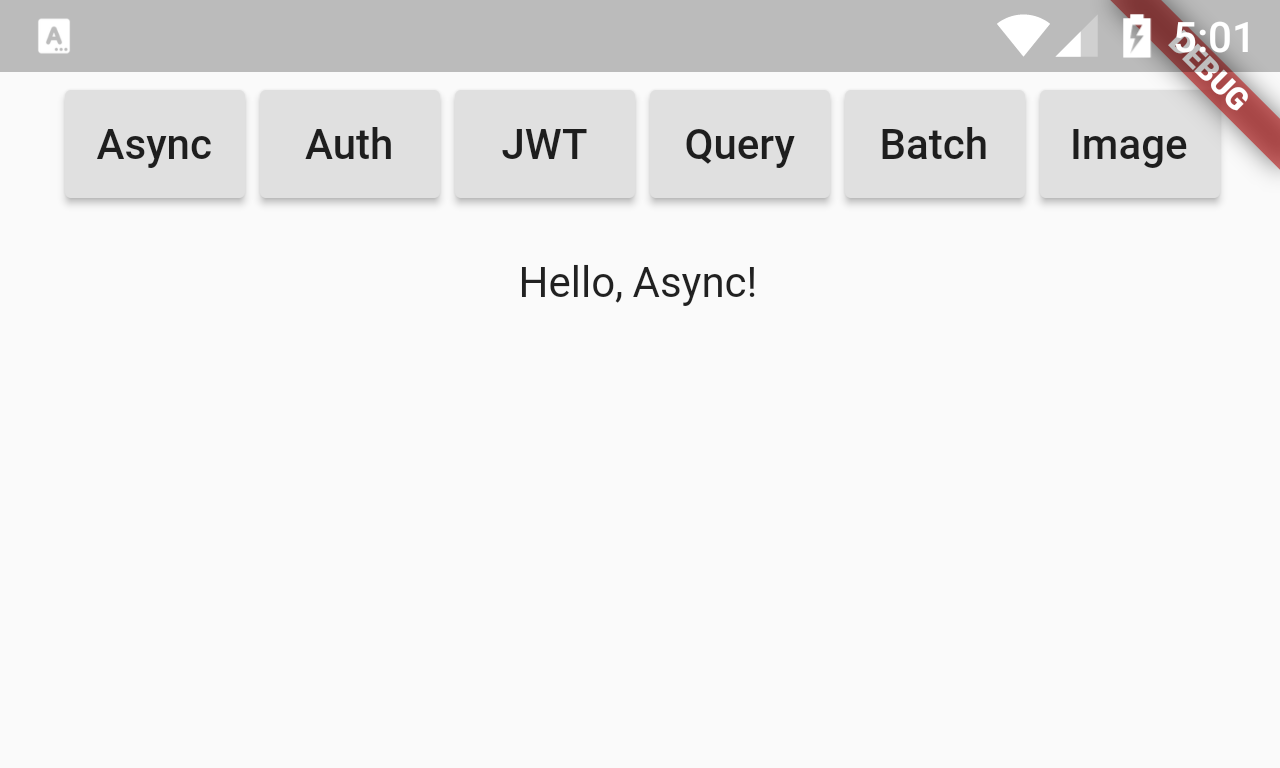
The first Async example shows an example of the most popular API Request for calling ServiceStack Services, simply by sending a populated Request DTO that returns a populated Response DTO, in this case sending a Hello Request DTO that returns a HelloResponse DTO:
var r = await testClient.get(new Hello(name: "Async"));
setState(() {
  result = r.result;
});
To update the UI any modified State needs to be done within the setState((){ }) closure which triggers re-rendering of the Widget with the new state.
This results in displaying the contents of the result String in a Text widget that was returned by the remote Hello Service:
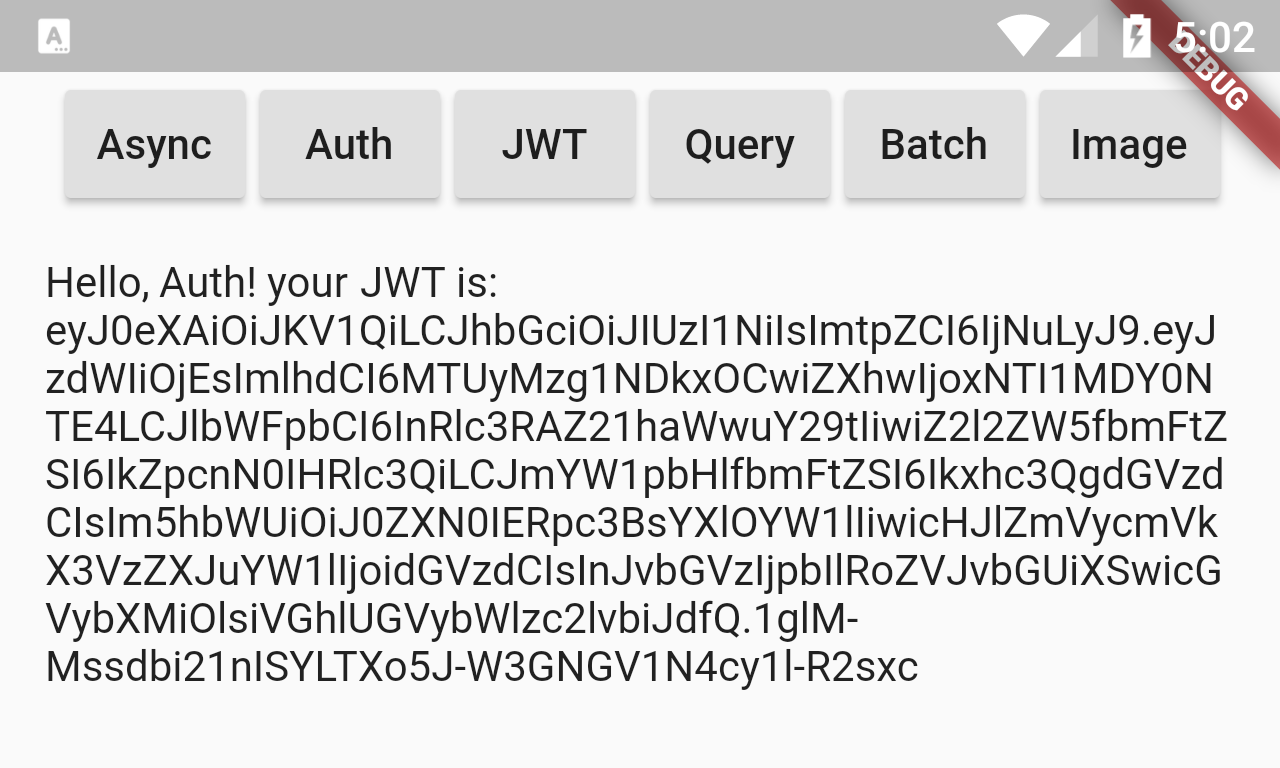
This example shows how to make Authenticated Requests where first the JsonServiceClient instance is authenticated by sending a Authenticate request with valid Username/Password credentials which is validated against the servers configured CredentialsAuthProvider. If successful this will return Session Cookies containing a reference to the Authenticated UserSession stored on the server. The Cookies are automatically saved on the JsonServiceClient instance and re-sent on subsequent requests which is how it's able to make an Authenticated request to the protected HelloAuth Service:
new RaisedButton(
  child: new Text("Auth"),
  onPressed: () async {

    var auth = await testClient.post(new Authenticate(
        provider: "credentials",
        userName: "test",
        password: "test"));

    var r = await testClient.get(new HelloAuth(name: "Auth"));

    setState(() {
      result = "${r.result} your JWT is: ${auth.bearerToken}";
    });
  },
),
If the Username and Password were valid it will display the result of the HelloAuth Service along with the encapsulated JWT Token returned in the initial AuthenticateResponse call.
JWT's encapsulate a signed, stateless Authenticated UserSession which is able to Authenticate with remote Services that have an JwtAuthProvider registered with the same AES or RSA Key used to sign the JWT Token. As they enable Authentication with stateless Services they're ideal for use in Microservices.
The JWT sample shows an example of authenticating via JWT, but instead of configuring the JsonServiceClient instance with the JWT BearerToken above (and what's needed to make JWT Authenticated Requests), it's only populating the long-lived RefreshToken which the client automatically uses behind the scenes to fetch a new JWT Bearer Token from the remote ServiceStack endpoint, which if the User is still allowed to Sign In will populate the instance with a new JWT Bearer Token encapsulated with the latest UserSession.
new RaisedButton(
  child: new Text("JWT"),
  onPressed: () async {
    var auth = await testClient.post(new Authenticate(
        provider: "credentials",
        userName: "test",
        password: "test"));

    var newClient = new JsonServiceClient(TestBaseUrl)
      ..refreshToken = auth.refreshToken;

    var r = await newClient.get(new HelloAuth(name: "JWT"));

    setState(() {
      result = "${r.result} your RefreshToken is: ${auth.refreshToken}";
    });
  },
),
The RefreshToken is smaller than a JWT Bearer Token as it just contains a signed token with permission to fetch new JWT Tokens and not the actual UserSession contained in the JWT Bearer Token.

AutoQuery lets us effortlessly creating queryable high-performance RDBMS APIs with just a Request DTO class definition, e.g:
[Route("/technology/search")]
public class FindTechnologies : QueryDb<Technology>
{
    public string Name { get; set; }
    public string NameContains { get; set; }
}
ServiceStack takes care of creating the implementation for this Service from this definition which queries the Technology RDBMS table.
Any properties added to the AutoQuery Request DTO will be generated in the Dart FindTechnologies Request DTO. However AutoQuery also lets you query any other property on the Technology table using any of the configured Implicit Conventions.
We can include any additional arguments that are not explicitly defined on the Request DTO using the optional args parameter available in each IServiceClient API.
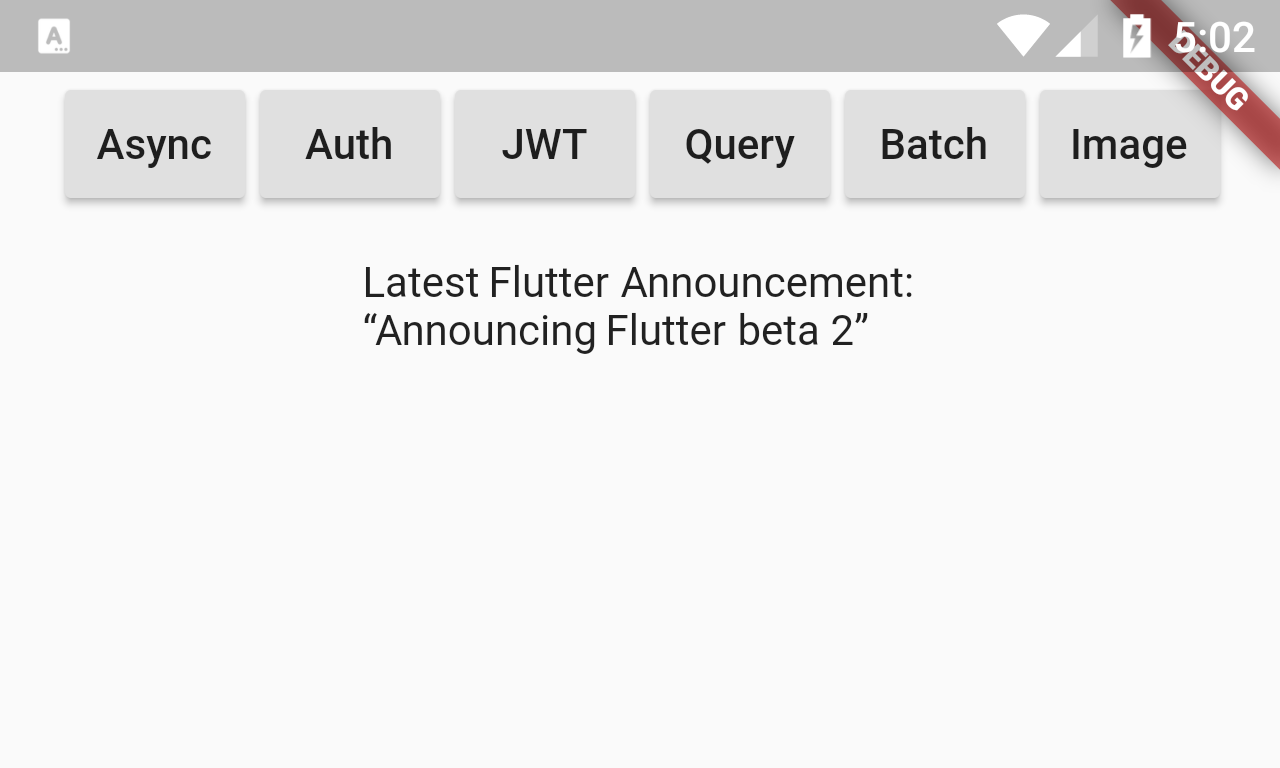
This examples calls 2 different AutoQuery Services, first to retrieve the Flutter Technology in https://techstacks.io to retrieve its id which it uses to query the latest Announcement or Showcase posted in the Flutter organization:
new RaisedButton(
  child: new Text("Query"),
  onPressed: () async {

    var techs = await techstacksClient.get(new FindTechnologies(), args: {"slug": "flutter"});

    var posts = await techstacksClient.get(new QueryPosts(
        anyTechnologyIds: [techs.results[0].id],
        types: ['Announcement', 'Showcase'])
      ..take = 1);

    setState(() {
      result = "Latest Flutter Announcement:\n“${posts.results[0].title}”";
    });
  },
),
The 2nd Request calls the QueryPosts AutoQuery Service highlighting the Service Client's support for sending complex type arguments on the QueryString and an example of using Dart's method cascade operator to populate the take field in the inherited QueryBase class.
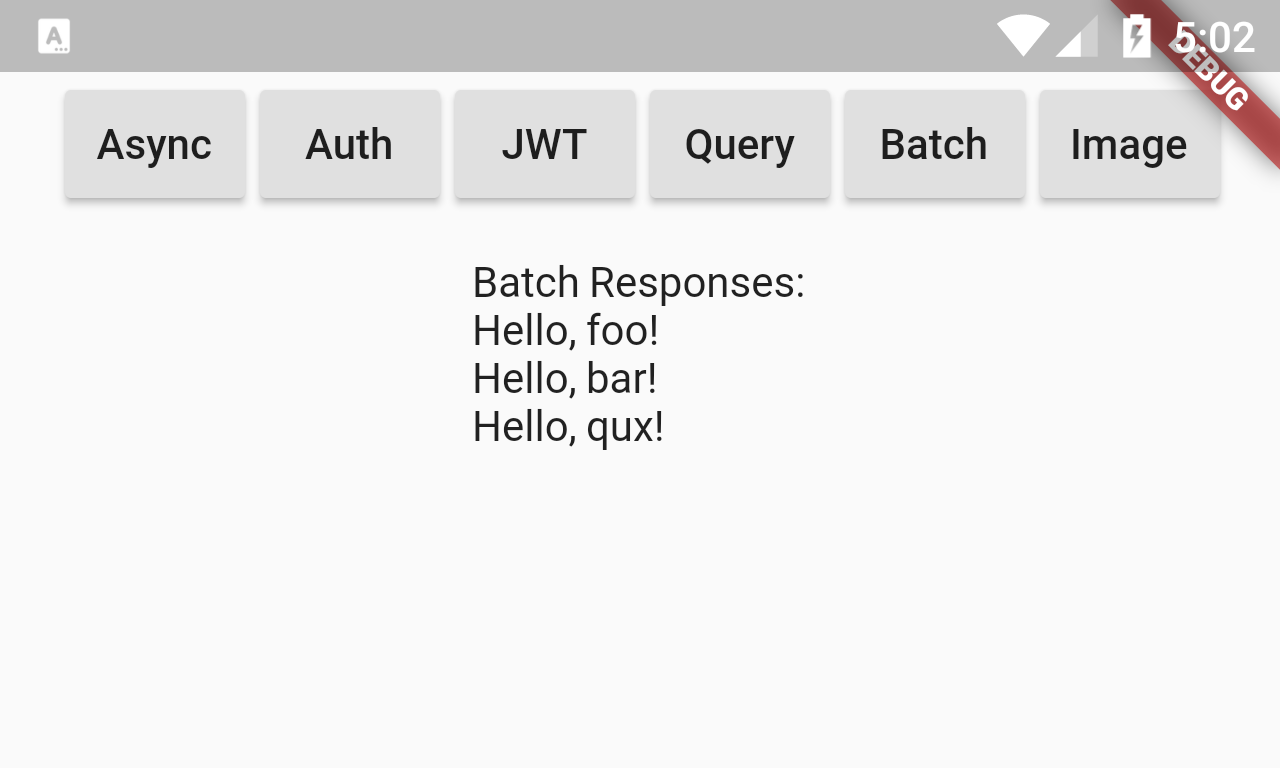
The sendAll and sendAllOneWay APIs lets you use ServiceStack's Auto Batched Requests feature to batch multiple Requests DTOs of the same Type in a single Request that returns all Responses in a single Response, e.g:
new RaisedButton(
  child: new Text("Batch"),
  onPressed: () async {

    var requests = ['foo', 'bar', 'qux']
        .map((name) => new Hello(name: name));

    var responses = await testClient.sendAll(requests);

    setState(() {
      result = "Batch Responses:\n${responses.map((r) => r.result).join('\n')}";
    });
  },
),
This is one area where we hit limitations of not being able to use Reflection in Dart which requires generating factories ahead-of-time for each type we need to create instances of at runtime. This is typically inferred by inspecting all Types referenced in each DTO, but as Auto Batched Requests lets you combine multiple requests for every Service, in the interest for reducing the amount of code-generation needed ServiceStack doesn't generate an explicit Service Contract for the Batched version of each API.
Instead you'll need to specify missing types needed, the easiest solution to do this is to create a Dummy Service containing properties of any missing Types needed, in this case we need to generate a factory for the List<HelloResponse> used to return the batched HelloResponse DTOs in:
public class DummyTypes
{
    public List<HelloResponse> HelloResponses { get; set; }
}

public class DummyTypesService : Service
{
    public object Any(DummyTypes request) => request;
}Most API Requests typically involve sending a populated Request DTO that returns a Typed Response DTO although ServiceStack Services can also return raw data like String, byte[] and Stream responses which the JsonServiceClient also seamlessly supports where instead of returning a Typed DTO it returns the raw HTTP Body as a String for Request DTOs implementing IReturn<String> or an Uint8List for any binary responses (e.g. Services implementing IReturn<byte[]> or IReturn<Stream>).
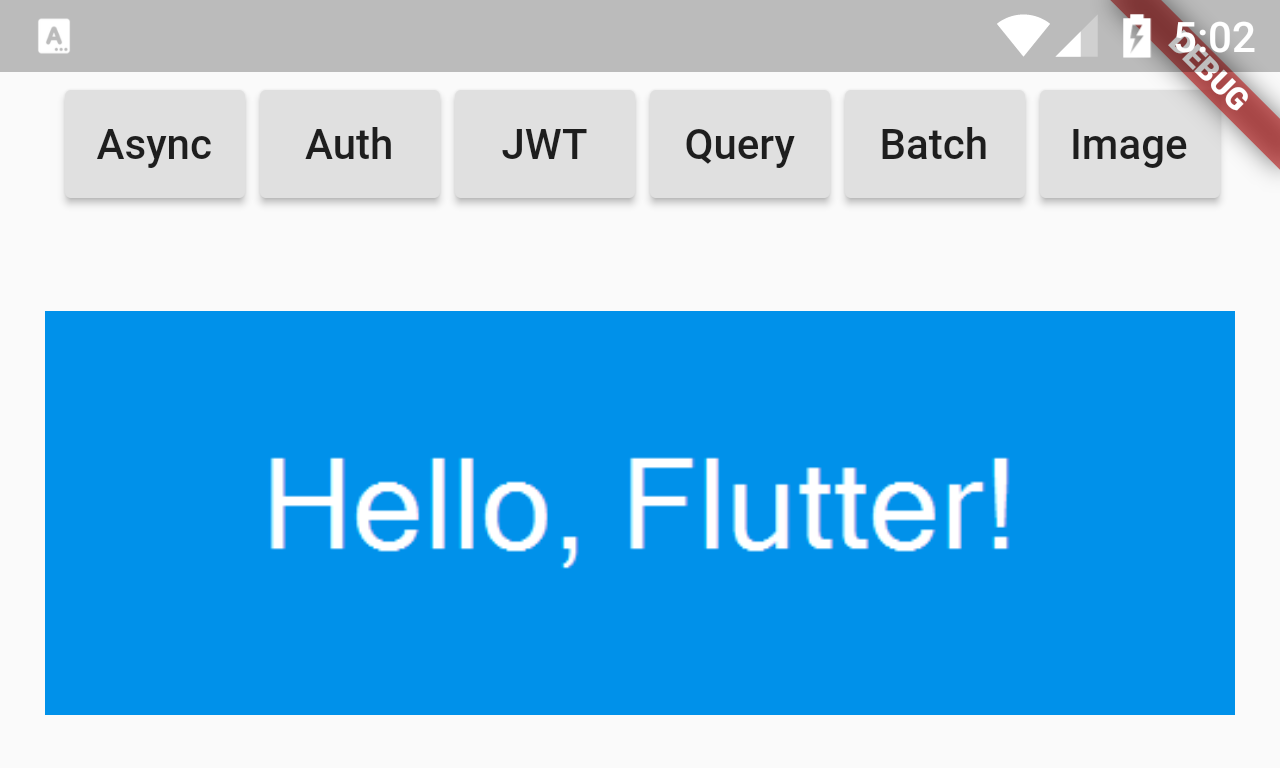
This example calls the HelloImage Service which dynamically creates and returns an image based on the different properties on the incoming HelloImage Request DTO. As it implements IReturn<byte[]> the JsonServiceClient returns the binary contents of the HTTP Response in a Uint8List - the preferred type for bytes in Dart.
new RaisedButton(
  child: new Text("Image"),
  onPressed: () async {

    Uint8List bytes = await testClient.get(new HelloImage(
        name: "Flutter",
        fontFamily: "Roboto",
        background: "#0091EA",
        width: 500,
        height: 170));

    setState(() {
      result = "";
      imageBytes = bytes;
    });

  },
),

//...
result != null && result != ""
    ? new Text(result)
    : new Image.memory(imageBytes, width:500.0, height:170.0),
To display the image we assign the response to the imageBytes field within the stateful widget's setState() which triggers a re-render of the UI containing the generated Image displayed using the Image widget: