This repository provides you a quick start for Bringing your own custom container image to Amazon SageMaker Studio notebooks.
In order to build a custom kernel your Amazon SageMaker Studio Execution role will require additional permissions, see the PRE-REQS.md for applying to an existing role.
Alternatively, you use the AWS CloudFormation stack cloudformation\sagemaker-studio-infra.yaml to setup a new SageMaker Studio domain and Execution role with sufficient permissions, or click the following button to launch the stack in us-west-1 region.
This stack will return output parameters for the following resources
- SageMaker Default S3 Bucket
- SageMaker Studio Domain ID
- SageMaker Studio Execution Role
- Open the SageMaker console
- Chose Amazon SageMaker Studio at the top left of the page.
- On the Amazon SageMaker Studio Control Panel, choose the default username and then choose Open Studio.
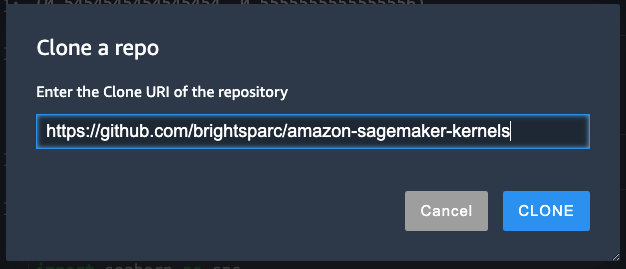
- Follow the instructions to Clone a Git Repository and provide the repository
https://github.com/brightsparc/amazon-sagemaker-kernels
Open the cloned folder to browse to the r-kernel folder.
In the r-kernel example we use the BUILD.ipynb notebook to demonstrate how to use the Sagemaker Studio Image Build CLI to build and register a customer Notebook Kernel from within SageMaker Studio.
This allows allows you to run R code inside a SageMaker Studio Notebook.

