
This is a PyTorch implementation of image steganography via deep learning, which is similar to the work in paper "Hiding Images in Plain Sight: Deep Steganography ". Our result significantly outperforms the unofficial implementation by harveyslash.
Steganography is the science of unobtrusively concealing a secret message within some cover data. In this case, a full-sized color image is hidden inside another image with minimal changes in appearance utilizing deep convolutional neural networks.
-
Clone or download this repository
-
Install the dependencies
pip install -r requirements.txt -
If you just want to inference via the model
# because the file size is limited to 100MB, so the model is separated into 2 file netH.tar.gz.1 and netH.tar.gz.2 in the checkPoint folder
cat ./checkPoint/netH.tar.gz* | tar -xzv -C ./checkPoint/
CUDA_VISIBLE_DEVICES=0 python main.py --test=./example_pics
You can also use your own image folder to replace example_pics.
-
Otherwise if you need to train the model on your own dataset, change the DATA_DIR path(in 35th line) in the main.py
DATA_DIR = '/n/liyz/data/deep-steganography-dataset/'Put train and validation datasets into the folder and run
CUDA_VISIBLE_DEVICES=0 python main.py
This task requires a lot of computing resources. Our model was trained on 45000 images from ImageNet, and evaluated on 5000 images. All images are resized to 256×256 without normalization. This took us nearly 24 hours on one NVIDIA GTX 1080 Ti.
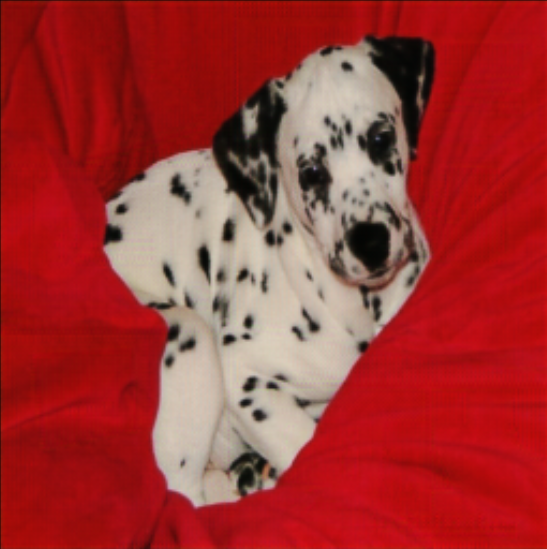
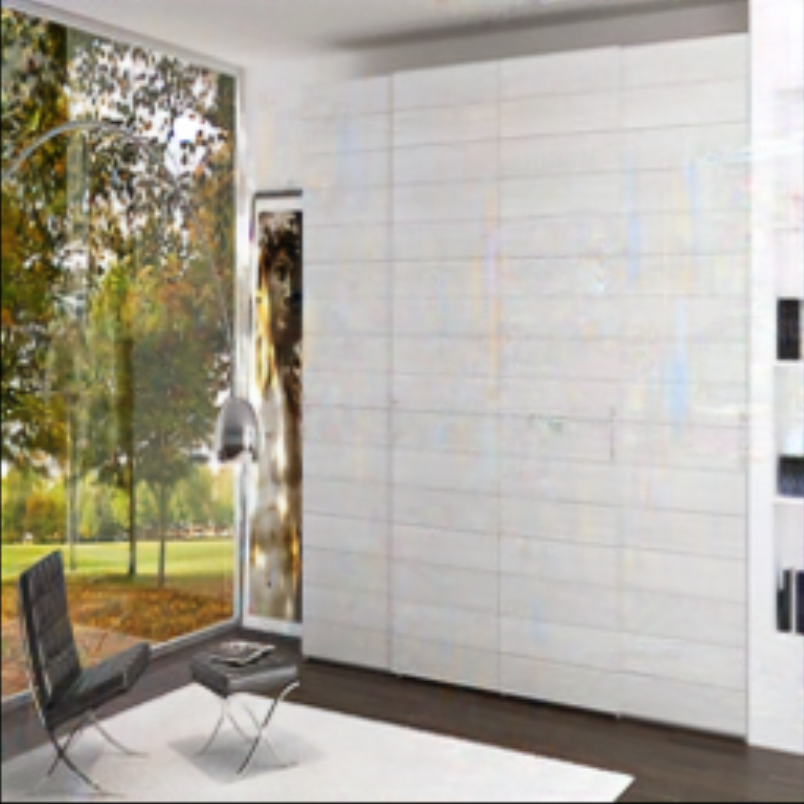
The Framework takes as input two images: cover image(the 1st row) and secret image(the 3rd row) . The goal is to encode a secret image into a cover image through a Hiding network(H-net) such that the secret is invisible. Output of H-net is called container image(the 2nd row). Then, putting this container into a Reveal network(R-net), one can decode the hidden image called revealed secret image(the 4th row).

-
deviation between cover and contianer
cover image container image 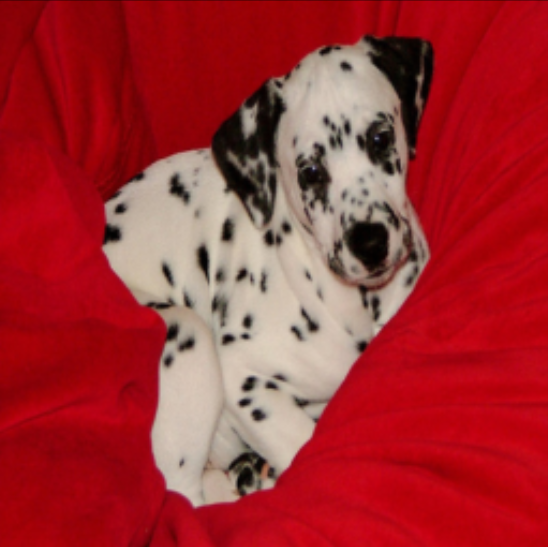
-
deviation between secret and revealed secret
secret image revealed secret image 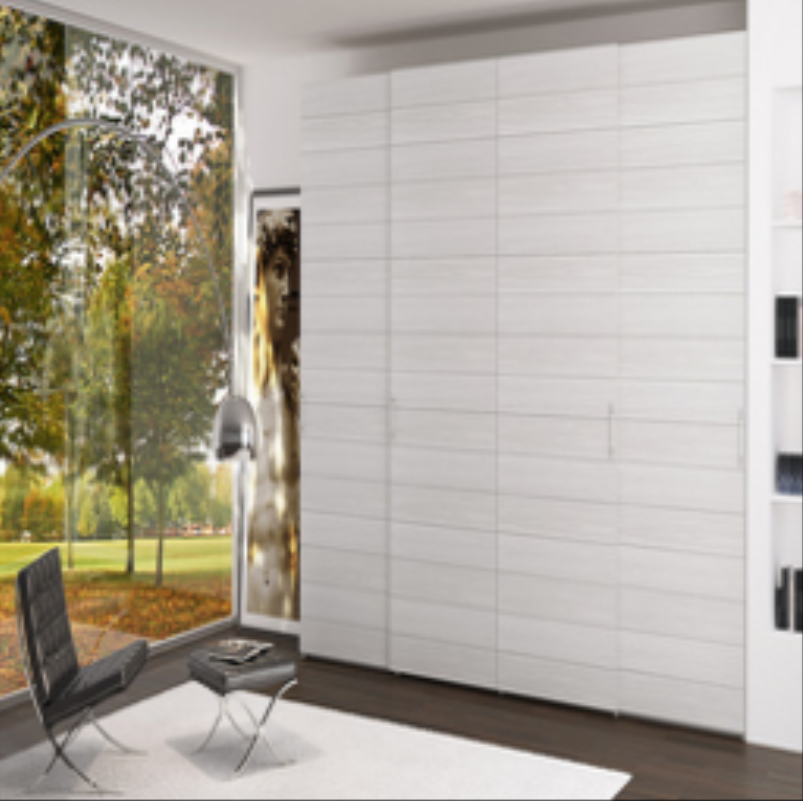


- Unlike [1], we only used two nets(H-net and R-net) to get this result.
- For the H-net, an U-net structured convolutional network was selected to achieve this goal. Cover image and secret image are concatenated into a 6-channel tensor as the input of the H-net.
- For R-net, there are 6 conv layers with 3×3 kernel size, and each layer is followed by a BN and ReLU except the last one. Contianer images produced by H-net are taken as input of R-net directly.
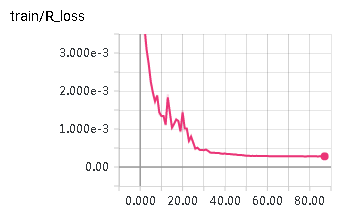
Two networks were trained with a hyper-parameter with an empirical value 0.75 to balance the visual performance of cover images and revealed secret images. Batch size was set to 32(16 covers and 16 secrets). The loss curves are shown below.
-
Loss curves on H-net and R-net
MSE loss on cover and contianer MSE loss on secret and revealed secret 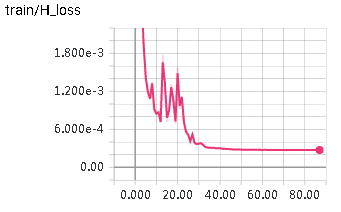
-
Averaged pixel-wise discrepancy


| Dataset | Contianer - Cover(APD) (0-255) | Secret - Rev_Secret(APD) (0-255) |
|---|---|---|
| Training | 4.20 | 4.73 |
| Validation | 4.16 | 4.40 |
Baluja, S.: Hiding images in plain sight: Deep steganography. In: NIPS. (2017).
Thanks for the help of @arnoweng during this project.