- Configuring Data Pipelines with Airbyte
- Deploying Infrastructure as Code with Terraform and Yandex.Cloud
- Instant development with Github Codespaces
- Assignment checks with Github Actions
- Fork this repository
- Configure Developer Environment
- Start with GitHub Codespaces:
- Use devcontainer (locally)
- Deploy Infrastructure to Yandex.Cloud with Terraform
- Get familiar with Yandex.Cloud web UI
- Configure
ycCLI - Populate
.envfile, Set environment variables - Deploy using Terraform: VM with Airbyte installed, S3 Bucket, Clickhouse
- Access Airbyte
- Get VM's public IP
- Log into web UI
- Configure Data Pipelines
- Configure Postgres Source
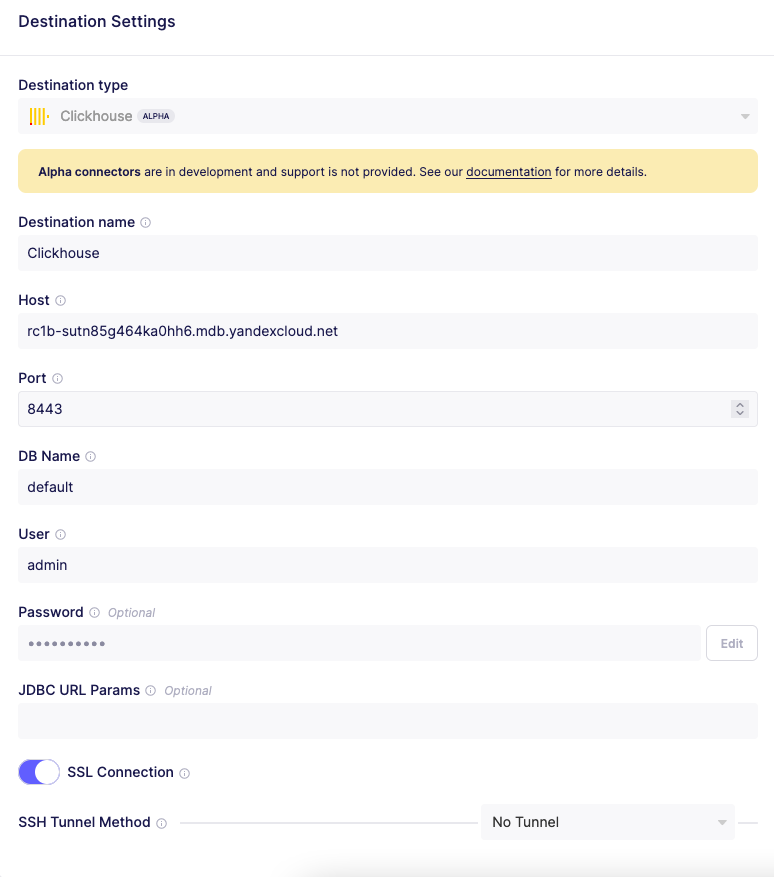
- Configure Clickhouse Destination, S3 Destination
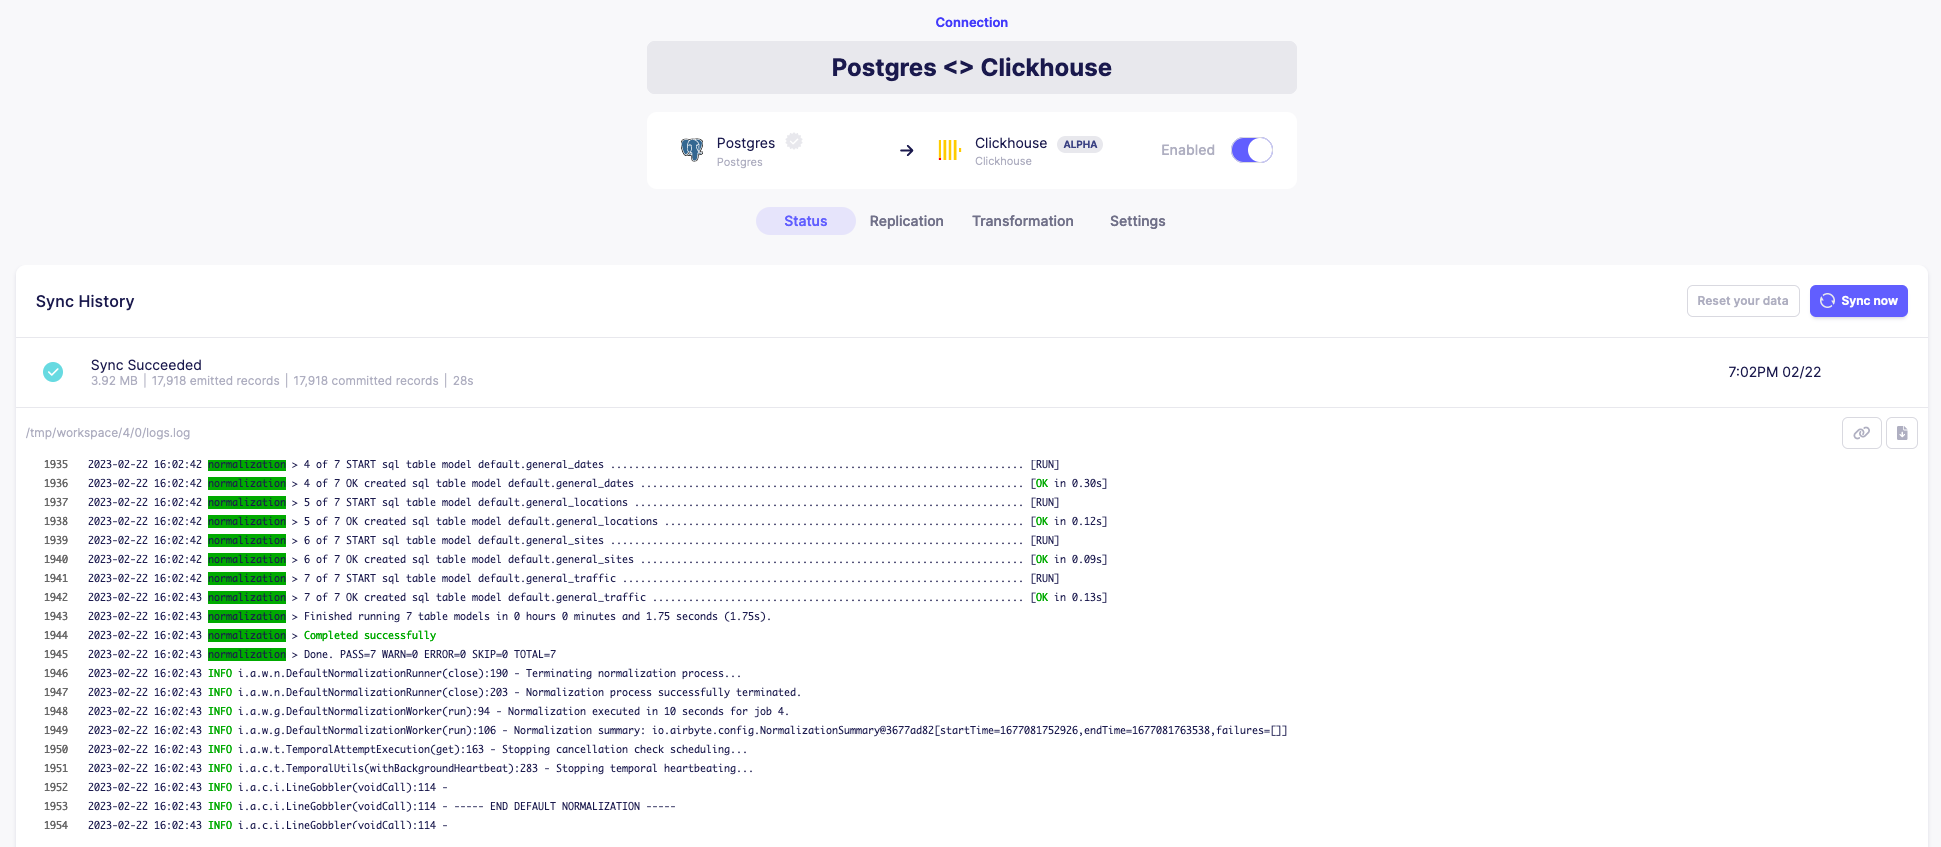
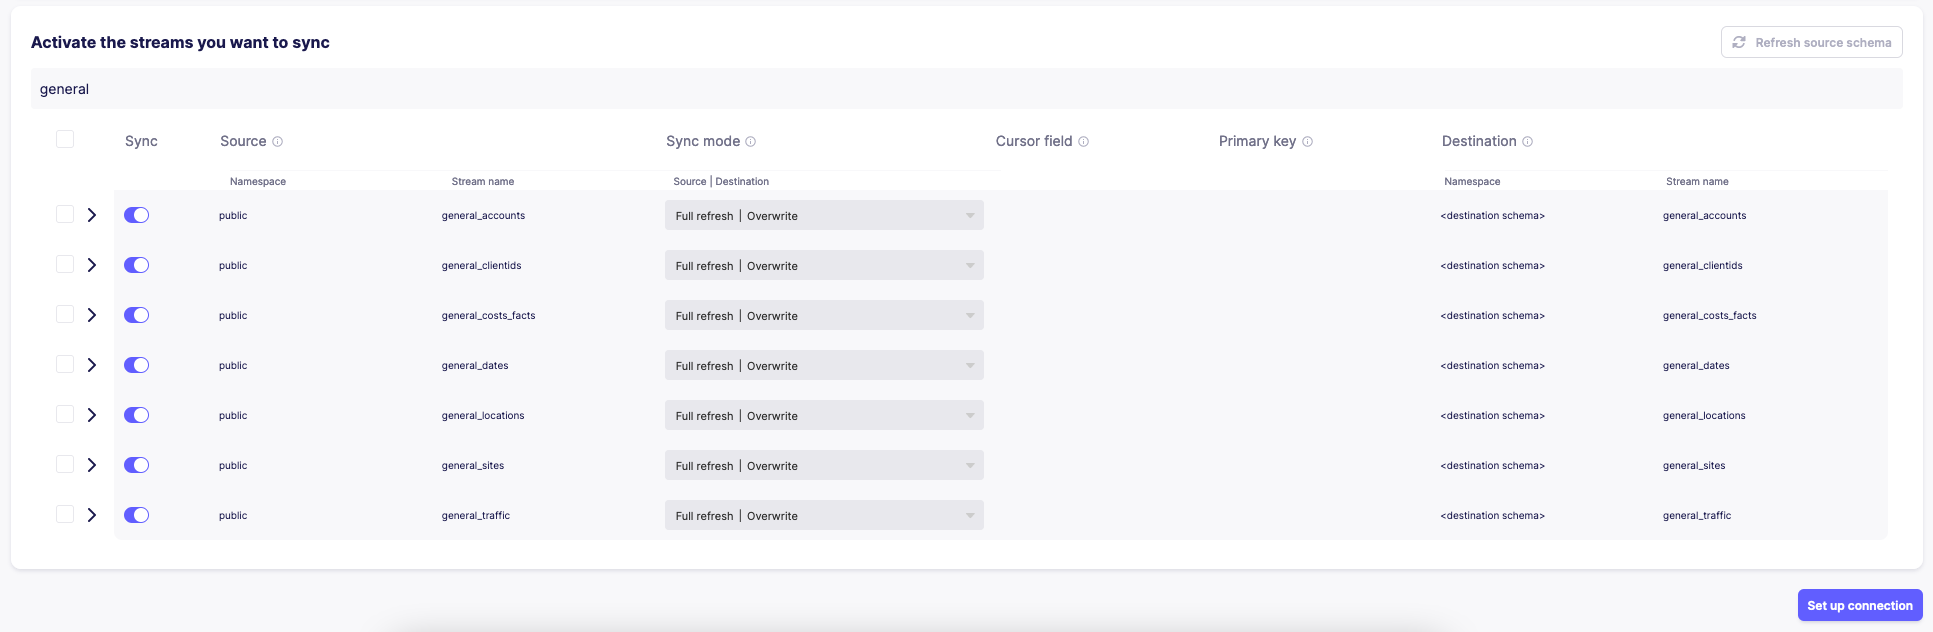
- Sync data to Destinations
- Test your Pipeline with dbt
- Run tests with your own created Clickhouse cluster
- Open PR and trigger automated testing with Github Actions
- Delete cloud resources
You have got several options to set up:
Start with GitHub Codespaces:

Use devcontainer (locally)
-
Install Docker on your local machine.
-
Install devcontainer CLI:
Open command palette (CMD + SHIFT+ P) type Install devcontainer CLI

-
Next build and open dev container:
# build dev container
devcontainer build .

# open dev container
devcontainer open .

Verify you are in a development container by running commands:
terraform -v

yc --version

dbt --version
If any of these commands fails printing out used software version then you are probably running it on your local machine not in a dev container!
-
Get familiar with Yandex.Cloud web UI
We will deploy:
-
Configure
ycCLI: Getting started with the command-line interface by Yandex Cloudyc init
-
Populate
.envfile.envis used to store secrets as environment variables.Copy template file .env.template to
.envfile:cp .env.template .env
Open file in editor and set your own values.
❗️ Never commit secrets to git
-
Set environment variables:
export YC_TOKEN=$(yc iam create-token)
export YC_CLOUD_ID=$(yc config get cloud-id)
export YC_FOLDER_ID=$(yc config get folder-id)
export TF_VAR_folder_id=$(yc config get folder-id)
export $(xargs < .env)

## DEBUG
# export TF_LOG_PATH=./terraform.log
# export TF_LOG=trace
-
Deploy using Terraform
Configure YC Terraform provider:
cp terraformrc ~/.terraformrcGet familiar with Cloud Infrastructure: main.tf and variables.tf
terraform init
terraform validate
terraform fmt
terraform plan
terraform apply
Store terraform output values as Environment Variables:
export CLICKHOUSE_HOST=$(terraform output -raw clickhouse_host_fqdn)
export DBT_HOST=${CLICKHOUSE_HOST}
export DBT_USER=${CLICKHOUSE_USER}
export DBT_PASSWORD=${TF_VAR_clickhouse_password}
[EN] Reference: Getting started with Terraform by Yandex Cloud
[RU] Reference: Начало работы с Terraform by Yandex Cloud

-
Get VM's public IP:
terraform output -raw yandex_compute_instance_nat_ip_address
-
Lab's VM image already has Airbyte installed
I have prepared VM image and made it publicly available:
https://cloud.yandex.com/en-ru/docs/compute/concepts/image#public
yc resource-manager cloud add-access-binding y-cloud \
    --role compute.images.user \
    --subject system:allAuthenticatedUsers
TODO: define VM image with Packer so that everyone is able to build his own image
However if you'd like to do it yourself:
ssh airbyte@{yandex_compute_instance_nat_ip_address} sudo mkdir airbyte && cd airbyte sudo wget https://raw.githubusercontent.com/airbytehq/airbyte-platform/main/{.env,flags.yml,docker-compose.yaml} sudo docker-compose up -d -
Log into web UI at {yandex_compute_instance_nat_ip_address}:8000
With credentials:
airbyte
password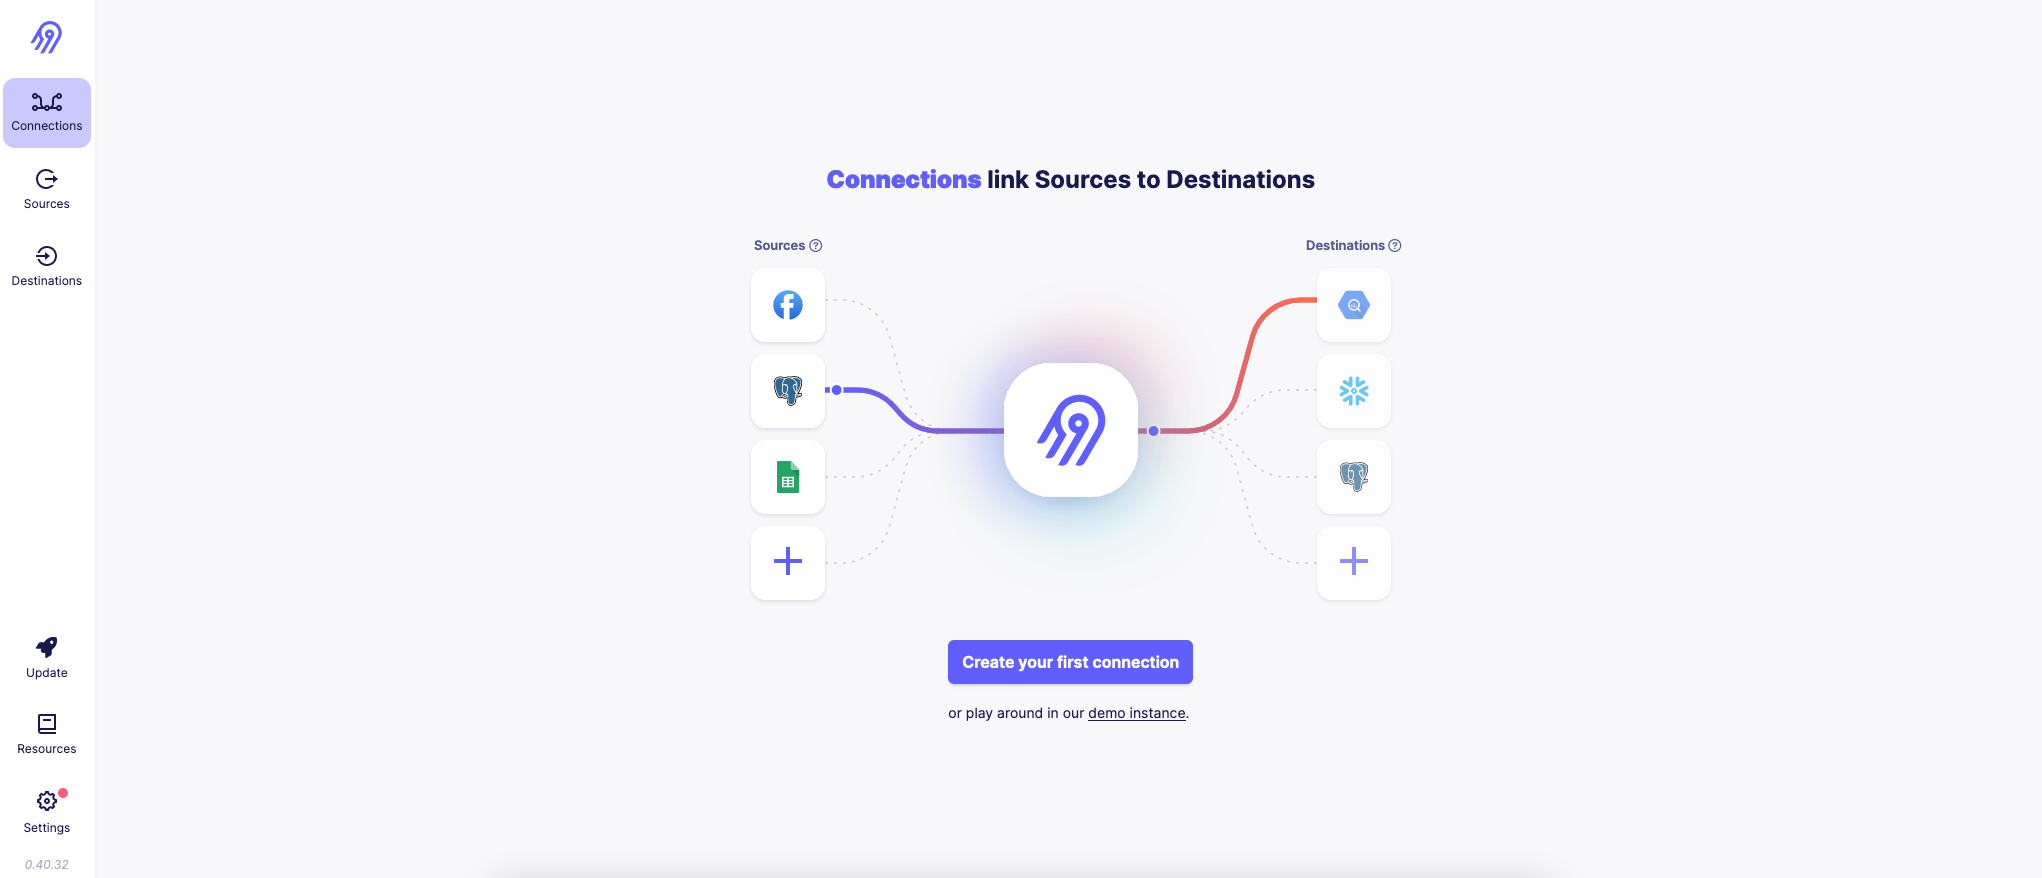

-
Configure Postgres Source
Get database credentials: https://github.com/kzzzr/mybi-dbt-showcase/blob/main/dbt_project.yml#L34-L40
❗️ Supply JDBC URL Parameter:
prepareThreshold=0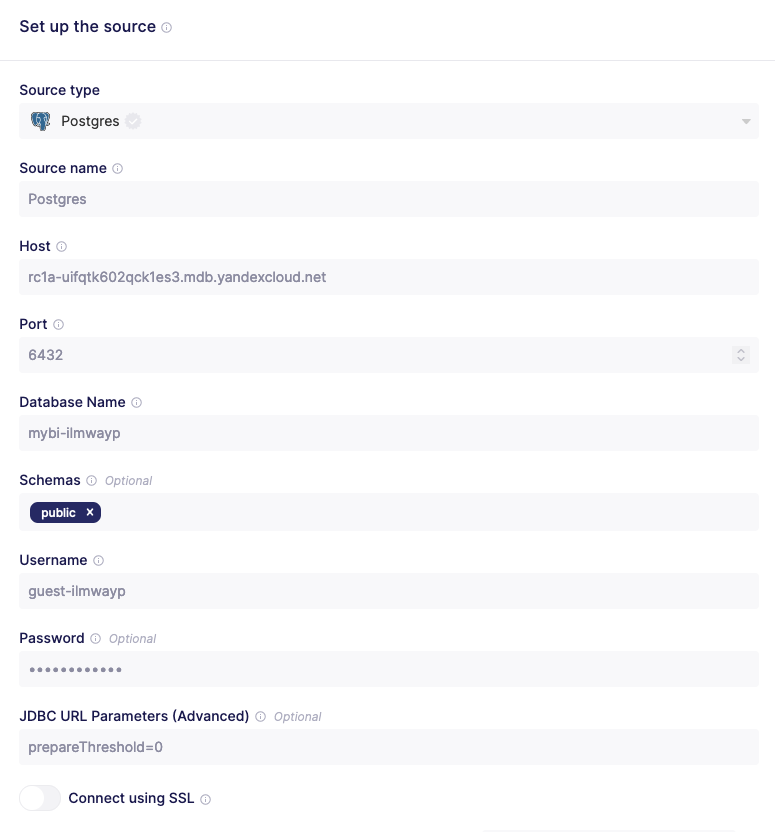
-
Configure Clickhouse Destination
terraform output -raw clickhouse_host_fqdn
-
Configure S3 Destination
Gather Object Storage Bucket name and a pair of keys:
export S3_BUCKET_NAME=$(terraform output -raw yandex_storage_bucket_name)
export S3_ACCESS_KEY=$(terraform output -raw yandex_iam_service_account_static_access_key)
export S3_SECRET_KEY=$(terraform output -raw yandex_iam_service_account_static_secret_key)

echo $S3_BUCKET_NAME
echo $S3_ACCESS_KEY
echo $S3_SECRET_KEY
❗️ Make sure you configure settings properly:
- Set
s3_bucket_pathtomybi - Set endpoint to
storage.yandexcloud.net
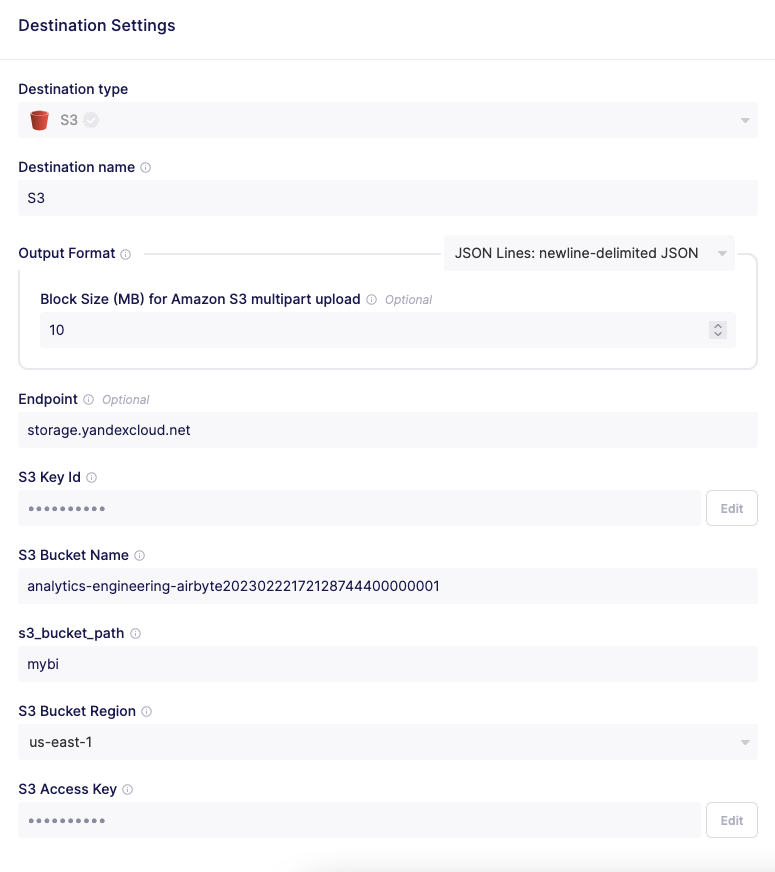
❗️ Set Destination Connector S3 version to
0.1.16. Otherwise you will get errors with Yandex.Cloud Object Storage.
- Set
-
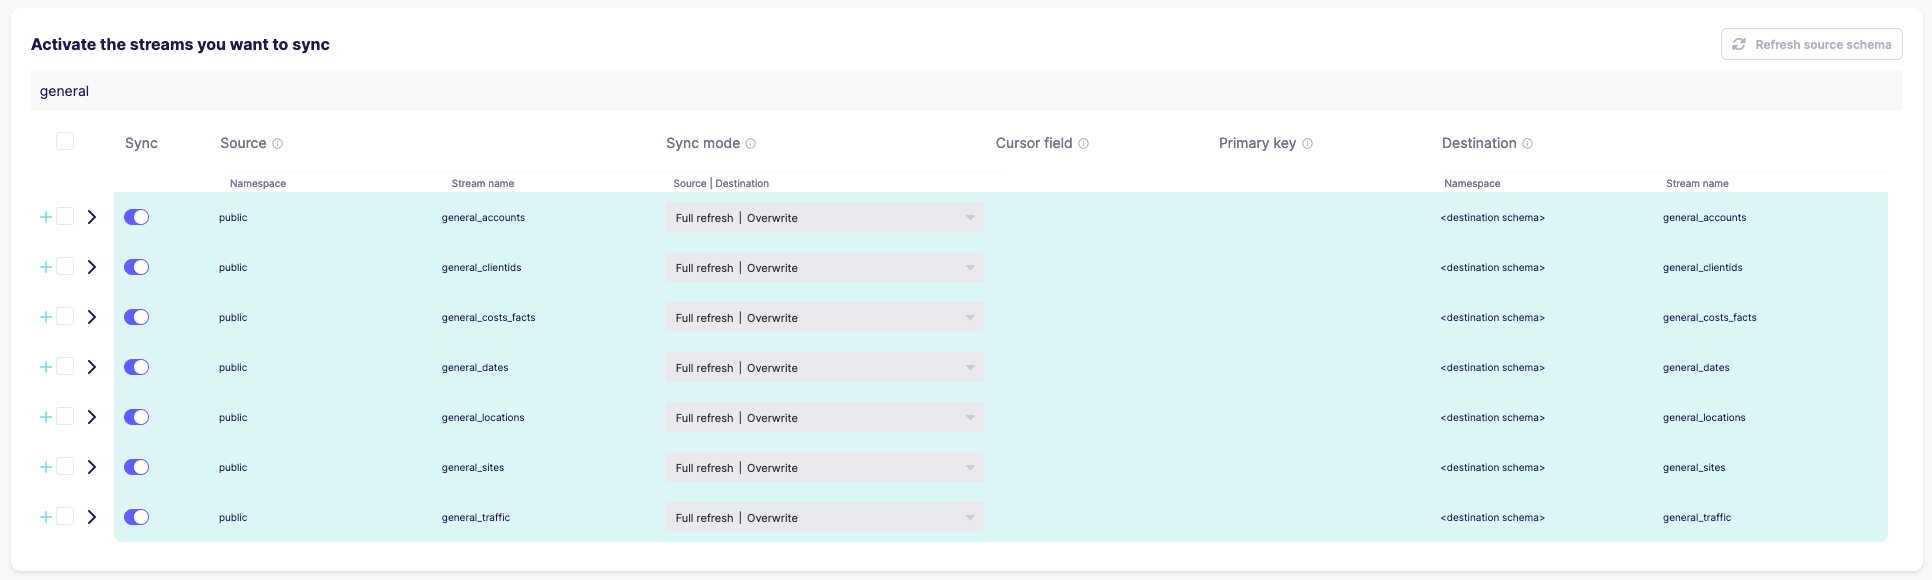
Sync data to Clickhouse Destination
Only sync tables with
general_prefix.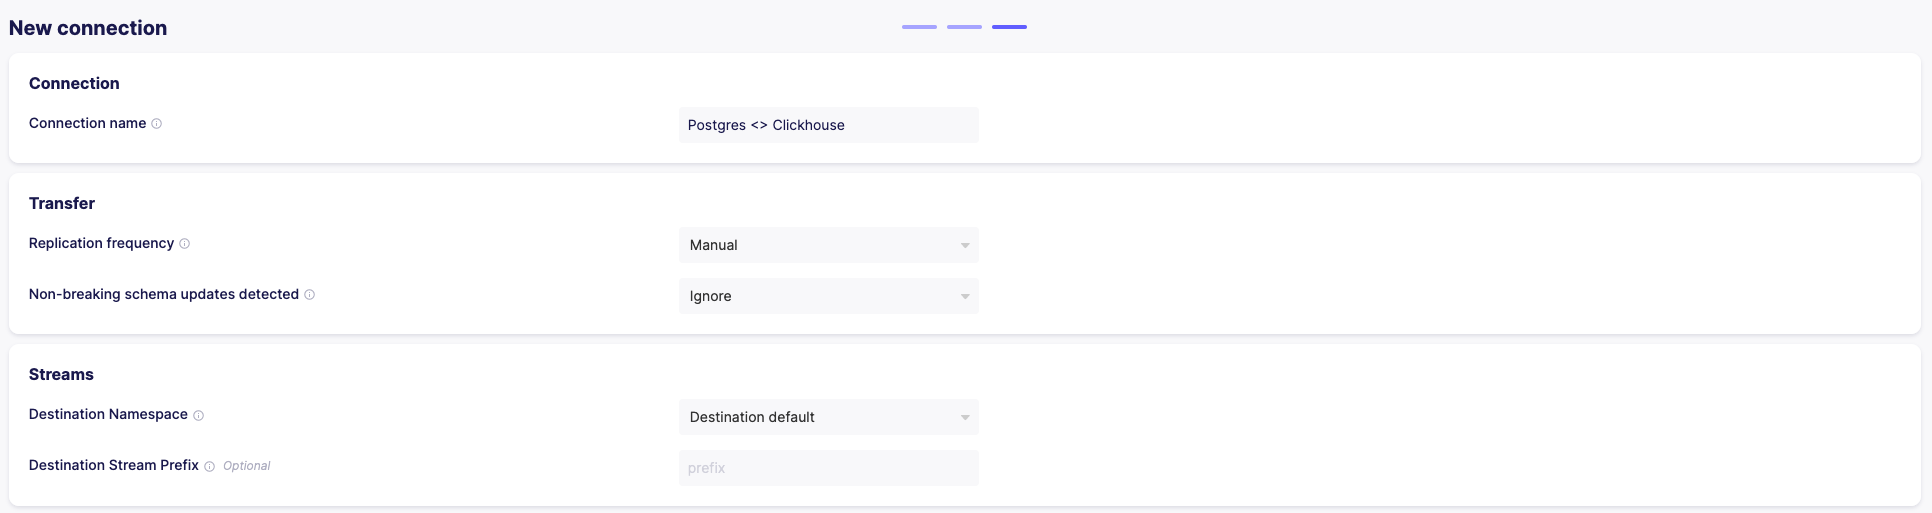
-
Sync data to S3 Destination
Only sync tables with
general_prefix.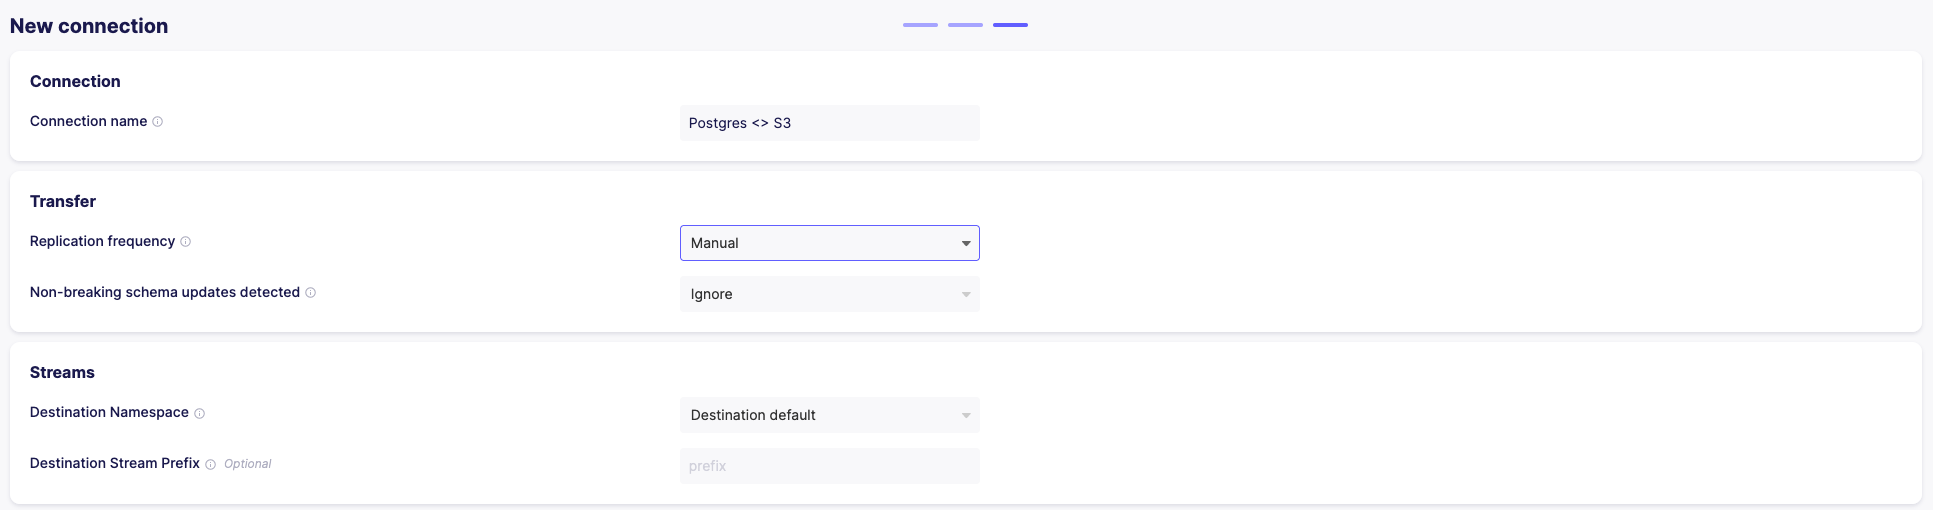


- First run tests with your own created Clickhouse cluster
Since you have synced data to S3 bucket with public access, this data now should be available with Clickhouse s3 table engine
Export variables to allow connection to Clickhouse in your Cloud:
export CLICKHOUSE_HOST=$(terraform output -raw clickhouse_host_fqdn)
export DBT_HOST=${CLICKHOUSE_HOST}
export DBT_USER=${CLICKHOUSE_USER}
export DBT_PASSWORD=${TF_VAR_clickhouse_password}
Make sure it works:
dbt debug
dbt build
- If it works for you, open PR and trigger automated testing with Github Actions
- ❗️ Fill in your own bucket name to .github/workflows/ci.yml
- Submit your Pull Request


terraform destroy